So, you have made that great decision of jumping from Windows 10 to Windows 11. If you are already in the process, do check out the things you should do before upgrading to Windows 11.
Now that once you have upgraded to Windows 11, it’s time to upgrade its performance.
Though Windows 11 default settings are themselves great from a performance point of view, you can always optimize Windows 11 for ultimate performance. In this blog, we are going to enlist a few such settings that’ll quickly speed up your Windows 11 performance and make it better than before.
Also Read: Best TuneUp Utilities For Windows 10 PC in 2021
Best Ways For Optimize & Speed Up Windows 11 Performance
– Restart and Look for Updates
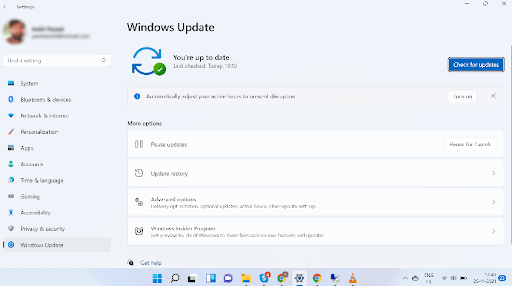
The first thing is to restart your computer. In fact, this is one step which is highly recommended and it is something that you should do once in a while. A simple restart can fix many small and even big issues. Next, you should check your Windows 11 for any further updates. The reason being, that with every update Microsoft rolls out new features and patches any impending vulnerabilities. Here’s how you can check Windows 11 for updates.
- Head to Settings
- Go to Windows Update

- If there is an update, fetch it
Also Read: How to Upgrade Windows 10 to Windows 11
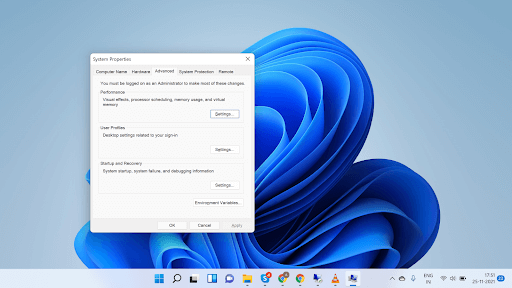
– Tweak Performance Settings
- Click on Search in the Taskbar
- Type Advanced
- Select View advanced system settings
- Under Performance select Settings
- Select the Adjust for Best performance radio button and click on OK

– Use A Third Party Utility To Optimize System Performance
Still befuddled by the very question: how to speed up Windows 11? How about we give you a great tool that can take care of your Windows 11 performance needs. You can try Advanced System Optimizer. Quite true to its name, it takes care of everything that is coming between great optimization and your Windows 11 laptop or desktop. Let’s first have a look at some of the best features of Advanced System Optimizer –
- Takes care of disk cleaning and disk optimization
- Safely optimizes and cleans registry
- Better RAM memory allocation
- Provides a disturb-free environment for smooth gaming performance
- Ability to update essential drivers
- Facility to backup files
Plus, there are tons of other great features. Here’s an inside-out review of Advanced System Optimizer.
How To Use Advanced System Optimizer?
Let’s get you started –
Download Advanced System Optimizer

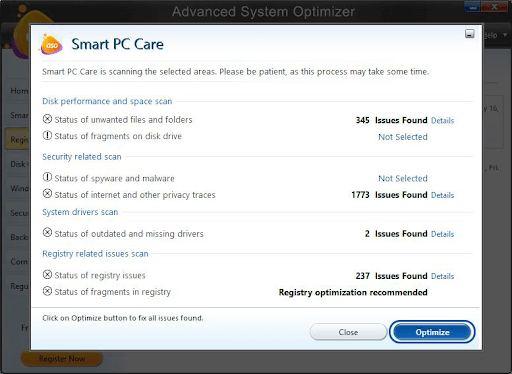
1. Download, run and install Advanced System Optimizer
2. From the left-hand side, click on Smart PC Care and wait for the scan to complete
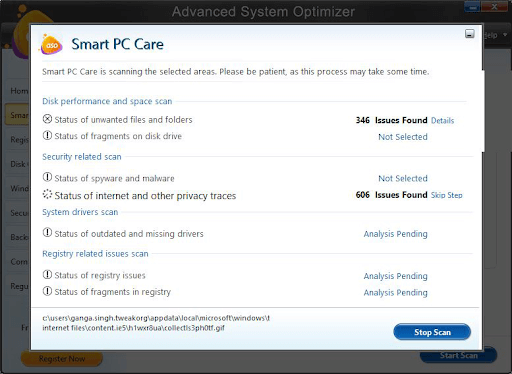
3. Click on Optimize
You are, of course, most welcome to play around with several other modules and you won’t be disappointed. You’ll soon be able to see that your Windows 11 PC is functioning faster and better than before.
Also Read: How To Set The Default Browser On Windows 11
– Clean Startup Items
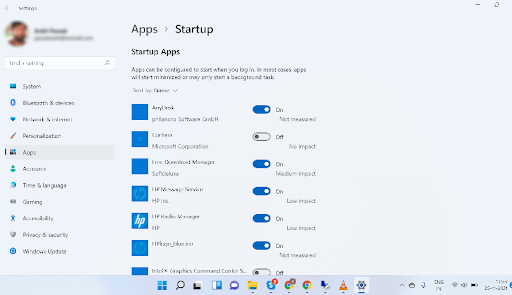
It’s no use that you have a plethora of unwanted apps popping up every time you start your PC. They might look harmless and slightly irritating, but trust us, they take a huge toll on your Windows 11’s speed and even performance. Bottom line? Disable the startup apps and speed up Windows 11. Here’s how that can be done –
- Click on Start
- Select Settings
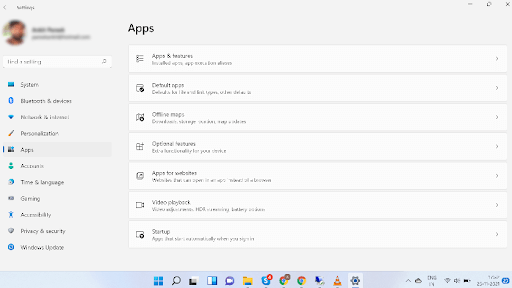
- Head to Apps on the left-hand pane
- Click on Startup Apps
- Toggle off all Startup apps you don’t wish to run in future
– Use SSD Instead of HDD or Have A Device That Uses Both
While the magnetic storage medium, our beloved HDD is reliable and might still have a long way from being obsolete, SSD is the future.
We have already covered a post that gives you the differences between both. That being said, SSD in simple terms, speeds up your applications, your operating system, and needless to say it even increases performance as well. But, you can always look for options where you have both HDD and SSD. The former will take care of the storage and the latter will take care of the speed and storage.
Also Read: Tips To Maintain Your SSD and HDD Performance
– Optimize Power Mode
Want to see what ultimate Windows 11 performance looks like? Dare to play with the performance mode. In the below-listed steps, yes, we’ll be testing the battery life, but to such an extent, that you are able to extract good performance levels –
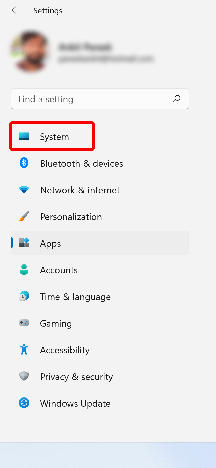
- Open Settings
- Select System from the left-hand side
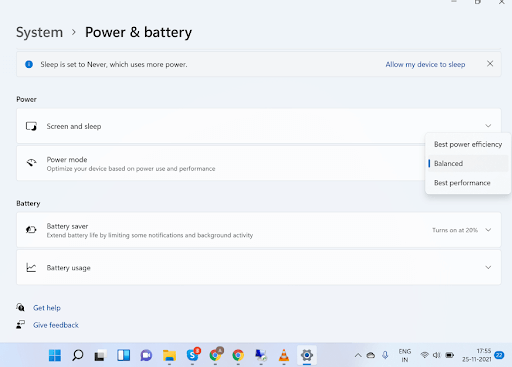
- Click on power and battery
- Click on Power mode under power
- Choose Best performance
– Disable Apps Running In The Background
Quite like startup apps, there are even apps that run in the background to stay updated. Oftentimes, these apps make your device lag. So, what do you do? Disable them, as simple as that. This method may only work with apps that are downloaded from the Microsoft Store –
- Click on Start
- Select Settings
- Click on Apps
- Click on three dots that you can find next to the application that you don’t want to run in the background
- Click on Advanced Options
- Under Background app permissions click on Never
- Repeat the same steps with all the apps
Also Read: Windows 10 Vs Windows 11 – What We Can Anticipate
Wrapping Up:
Have you started using Windows 11? What other settings have you tweaked so far so as to speed up Windows 11 or more so optimize windows 11 performance? Do let us know in the comments section below. For more such content, keep reading Tweak Library.


Leave a Reply