Windows 11 Windows Explorer or File Explorer is more modern in look and feel. It has more modern icons, a refurbished context menu, and much more. Don’t worry, the design hasn’t gone through a 360-degree change. You will still find a design that you are familiar with but the visual elements are something that might take you by surprise. And, why won’t they? These tweaks are one of the major updates that Windows has produced over the years?
What Kind of Changes Can I Expect In Windows 11 File Explorer?
The ribbon-style menu is gone and a new command bar has paved its way. It interestingly has icons for cut, copy, paste, delete, and share but there are no labels. These icons shouldn’t create much of an issue but it could be that you might take some time to get familiar with the actions they perform.
Also Read: Widgets Not Working On Windows 11? Here Are Some Fixes
Best Windows Explorer Customization Tips for Windows 11
1. Creating New Items Was Never This Easy
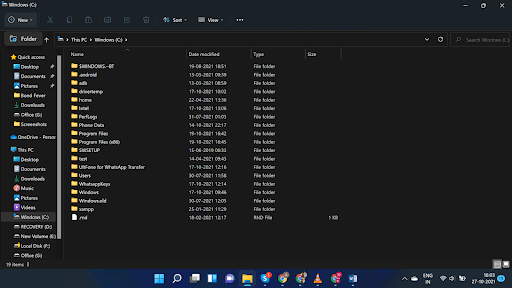
Whether it is creating a New Folder or any sub-items, it couldn’t have been easier. On the Menu bar, you can see the New dropdown, Click on it, and from here, you can choose to create a new folder or any file type you desire.
Also Read: Best Ways To Disable Startup Programs in Windows 11
2. Sort Items Right From The Menu Bar
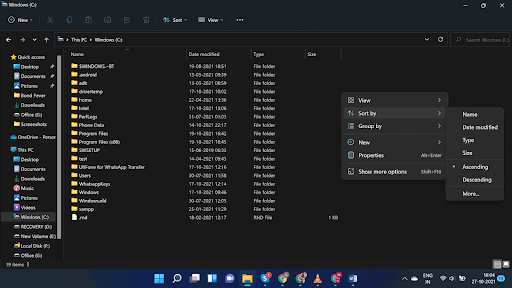
As opposed to Windows 10 or previous versions where you had to right-click somewhere on the screen and then select the Sort By option, Windows 11 presents the Sort option right in the Menu bar itself. You can click on it and sort files by Name, Date Modified, Type, Ascending/ Descending, and much more, quite similar to how you sorted files in preceding versions.
3. Change File Icon Size
![]()
In the menu bar, click on the View button and then you can select the size of the icon. For instance, you can even choose to have Extra large icons as well. Another way of changing the file icon size is to click on the small buttons that you can see at the bottom-right corner of your File Explorer.
4. Pin Item To Quick Access
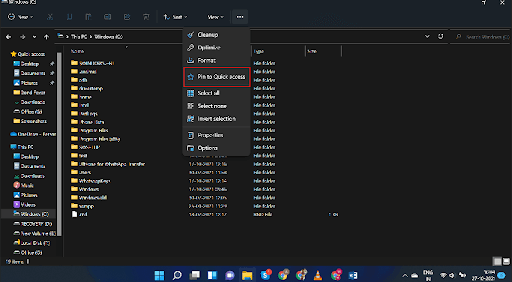
With Windows 11, you can easily add items to Quick access and then further access items or folders in Quick access. For that, click on the three-dotted icons in the menu bar and then click on Pin to Quick access from the presented options.
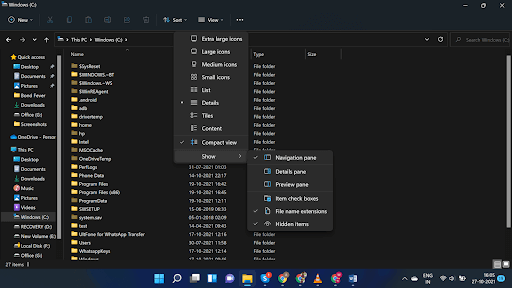
5. Hide or Show Hidden Items
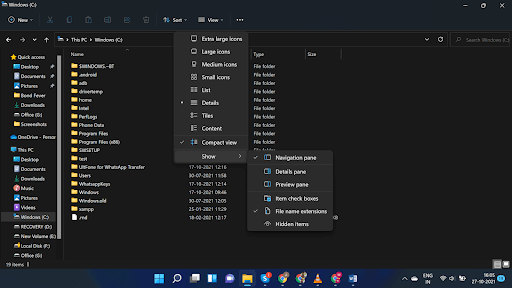
Hiding or showing hidden items has become easier than ever. Again click on the View button, click on Show ad then click on Hidden items. If you see a tick mark beside the Hidden Items options, the option is enabled else not.
6. Delete Files Right From The Menu
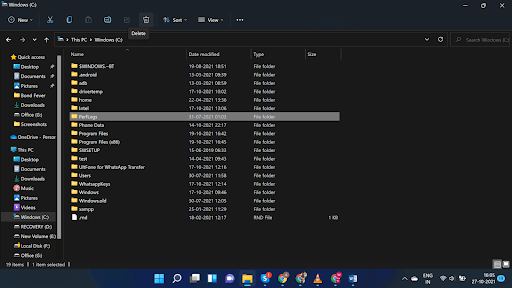
Deleting a file was a slightly longer process in the preceding version of Windows. Not exactly a Windows 11 customization process but now, if you wish to delete a file, all you have to do is select a file and then click on the Trash icon that you can see in the menu bar.
7. Checkboxes Ease Up File Selection Process
Windows 11 lets you choose multiple files in whichever order you want. No more will you have to press the Control key and select files you want to delete. You can free up that hand of yours now. But then how can you select multiple files in Windows 11. To customize Windows Explorer to do that, click on the View button in the menu bar and then select Item checkboxes.
8. Don’t Just Select Or Deselect Files But Even Invert Selection
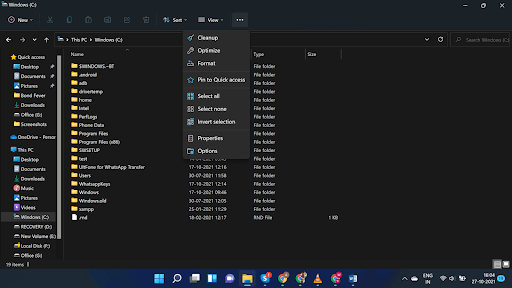
The three horizontal dots that you see on the menu bar can help you with Windows Explorer customization. For instance, you can select files or deselect them. And, not just that, you can even choose to invert your selection as well. For that, select some files, click on this three-dotted icon on the menu and choose from Select all, Select none or Invert selection.
Wrapping Up
In case you have recently upgraded from Windows 10 to Windows 11, we hope that this post will prove to be helpful to you. If you liked what you read and found the post to be helpful, do give it a thumbs up and share it with your friends, family, and colleagues, for more such tech-filled fun stuff keep reading Tweak Library.


Leave a Reply