Windows 11 launched and all the Windows enthusiasts were dying to get their hands on it. But wait ! Before you get that super cool brand new Windows 11 on your machine, let us tell you all that you must know before upgrading to Windows 11.
We examined all the major reasons which cause Windows 11 up-gradation failure and have presented to you the most important points which users should keep in mind before upgrading to Windows 11.
Most importantly, check your current device for a genuine Windows 10 version 2004 or later license before proceeding to upgrade to Windows 11.
Also Read: How To Record Screen In Windows 11
Things To Do Before Upgrading To Windows 11
1. Check Compatibility
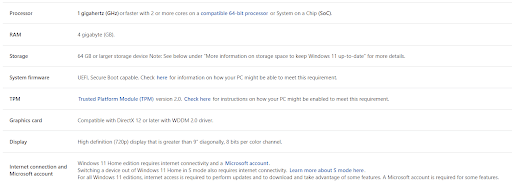
To start with the process of upgrading to Windows 11 from Windows 10, the first thing to check is the minimum system requirements. Because with every version of Windows, the system requirement changes and if you are using an old computer that does not have the minimum system requirements then to upgrade to Windows 11, you need to buy a new computer.
If you have recently purchased a computer, then you can check the minimum requirements to upgrade to Windows 11 from Microsoft’s official website.
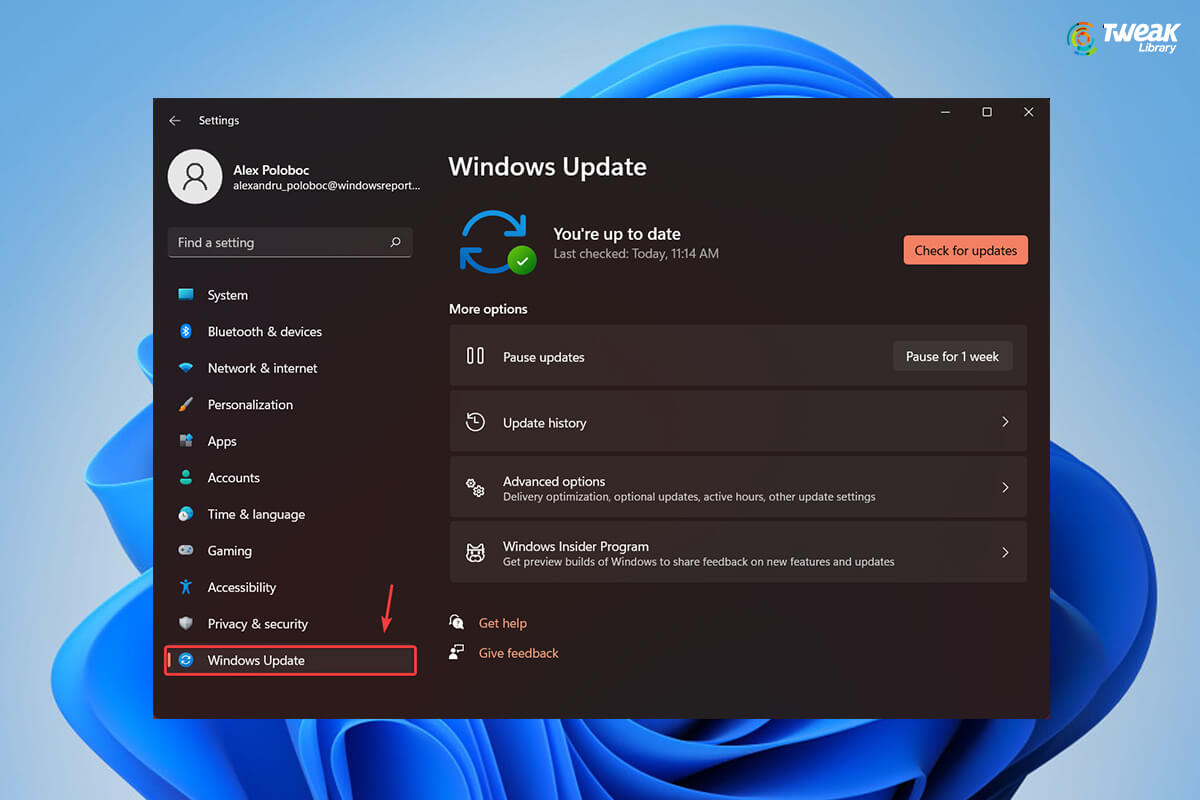
To check whether your computer supports the minimum requirement or not you need to download and install Microsoft’s PC Health Check App.
Once the app is installed, click on Check now.

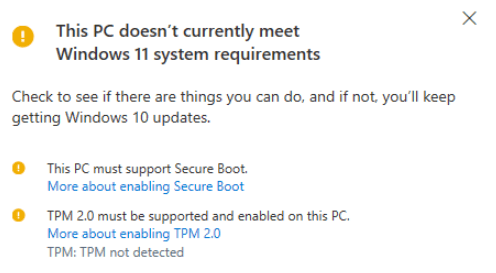
After this, you will get the result which will say This PC must support Secure Boot and TPM 2.0 must be supported and enabled on this PC.
2. Check TMB is enabled or not
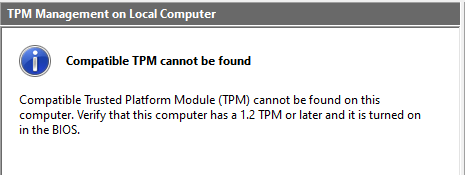
TPM is a chip that stores sensitive security data on the computer. It is installed on the motherboard and to check if your system has a TPM chip, open the Run window by clicking Windows key + R. Now type tpm.msc.
If your computer does not have TPM, then you will get a message like this and you will have to install TPM on the motherboard:-
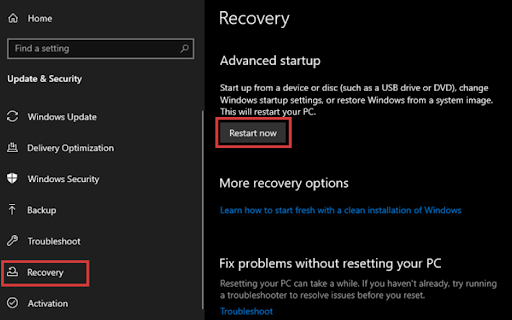
If your computer has TPM but it is disabled, then you need to follow the process:-
- Settings> Update & Security> Recovery
- Then under Advanced startup, click Restart now

- Then navigate to Troubleshhot> Advanced Options> UEFI Firmware ASettings> Restart> Boot and change TPM 2.0 to enabled.
3. Enable Secure Boot
Secure Boot is a security feature to boot only the trusted operating system.
To enable it, please navigate to:-
- Settings> Update & Security> Recovery
- Under Advanced startup, click Restart now
- Troubleshoot> Advanced Options>UEFI Firmware Settings> Restart> Boot
- Here change the Secure Boot status to enabled.
Note:- Computer may not Boot after enabling security feature on the desktop which has BIOS. To resolve this convert MBR to GBT and switch BIOS to UEFI.
4. Backup data
Take the backup of the computer so that you do not miss any important data while upgrading to Windows 11. The best way to take the backup of the computer is to transfer the data to an external drive or use a cloud service for backup.
Once the OS is upgraded to Windows 11, then transfer all the data to the new version.
Also Read: Windows 10 Vs Windows 11 – What We Can Anticipate
5. Optimize Storage
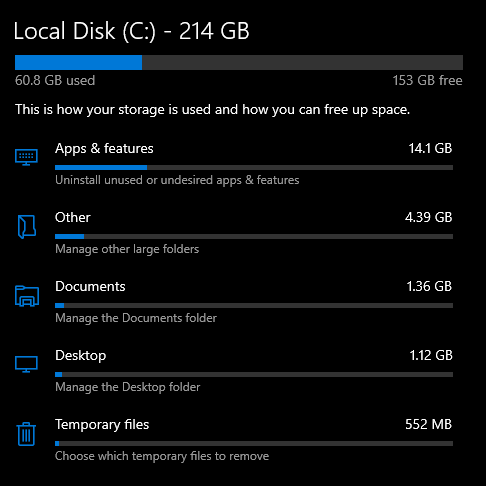
Generally, computers have 1 TB disk space or a minimum of 500 GB, and that space is not completely used. But if you have used all the disk space and you are planning to upgrade to Windows 11, then make sure you have at least 64 GB of free space because that is the minimum required disk space to install and run Windows 11.
To clean up some space on your computer, you can choose the following options:-
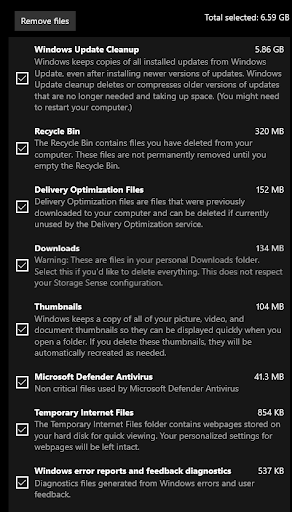
- Use disk clean-up to delete temporary files and non-essential files from the primary portion. Go to Start menu Search bar> Delete temporary files
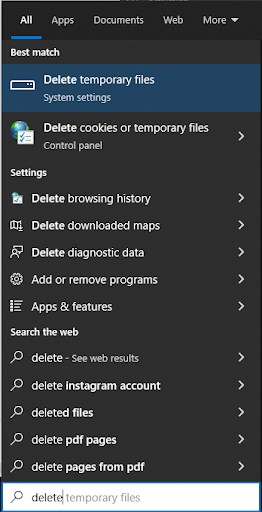
From here delete temporary files and files you think appropriate to delete.
6. Stable Internet Connection
A poor internet connection can be a major reason for the Windows 11 OS upgrade failure because it is a software upgrade from the Microsoft server. Therefore, it is highly recommended to use a stable Wi-Fi connection and not mobile data or a public Wi-Fi where chances are more of a connection failure.
7. Microsoft Account Credentials
After upgrading to Windows 11, you will be required to sign in to your Microsoft account. Users generally sync their data with skype and email accounts and then forget the password.
Therefore, it is highly recommended to remember the password of the Microsoft account and if in case you do not remember the password, then first reset the password and then upgrade to Windows 11.
8. Plug-In Charger
A most common problem which generally users fail to comply with is to plug in the charger to the laptop while upgrading to Windows 11. If your laptop’s battery is drained, then first charge it to full and then keep the charger plugged in till the upgrading process is completed. Else you will fail to upgrade to Windows 11 if the battery is drained.
Conclusion:-
Users are upgrading to Windows 11 from Windows 10 but they fail to upgrade to Windows 11 because of some minor mistakes. In this blog, we have discussed some very important points to remember while upgrading to Windows 11. These points will help you to upgrade to Windows 11 smoothly and you will not face any issues after upgrading the OS if you adhere to these pointers.
Let us know in the comment section below if there is something more to add to this.

Leave a Reply