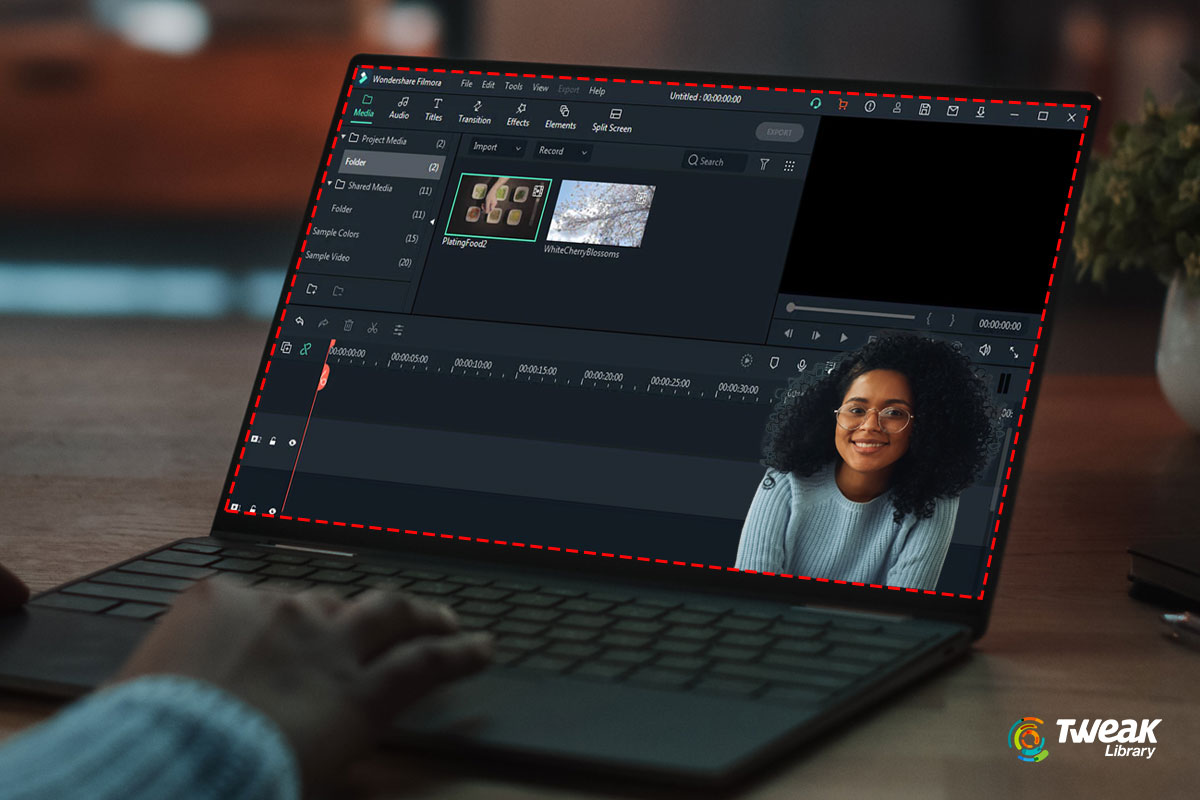
Learn how to create tutorial videos with audio using the best screen recording tool TweakShot Screen Recorder.
A lot of tutorial videos are being uploaded on YouTube these days. However, not all of them are of high quality, that’s why they don’t receive enough views. If you don’t want to be like others, use TweakShot Screen Recorder & make high-quality instructive videos. The tool allows you to record video in 4K and in different formats like FLV, MP4, and AVI.
Moreover, it has an auto-stop and auto split function that helps stop the recording even when you are not round. Not only this, the screen recording tools allow recording both internal and external audio. This makes it a must-have tool to record screens, create tutorial videos and even record TV shows, movies, etc.
| Note: We do not recommend recording copyrighted content—either on Netflix or elsewhere—without permission. Before recording any content, make sure you’re allowed to do so. |
What is TweakShot Screen Recorder, and how does it work?
Also Read:- TweakShot Screen Recorder Review – The Best Tool To Record Screen
TweakShot Screen Recorder, as the name implies, is recording software that aids in creating teaching videos and recording Skype calls, live broadcasts, movies, Zoom calls, gaming, & video with a webcam overlay. This article will show you how to utilize the tool and create tutorials.
TweakShot Screen Recorder is among the best screen recorder programs for making videos and capturing screenshots. It helps simultaneously grab snapshots and record video. You can also use it to record voice-over, add a watermark to the video, and do more.
How to Use TweakShot Screen Recorder?
1. Get TweakShot Screen Recorder and install it.

2. Open TweakShot Screen Recorder, & before you click the Record button choose from the given options to decide how you would like to record the video.
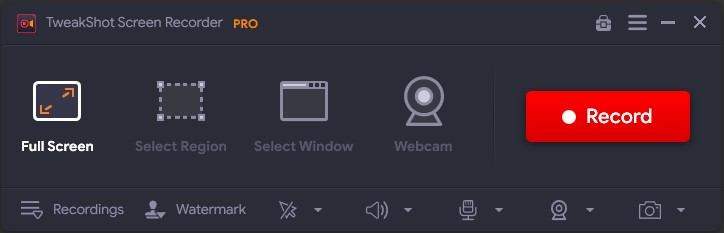
- Full-Screen
- Select Region
- Select Window
Furthermore, you can record with a webcam overlay. For this, you need to click the Webcam icon > select the name of the webcam you want to use and start recording.
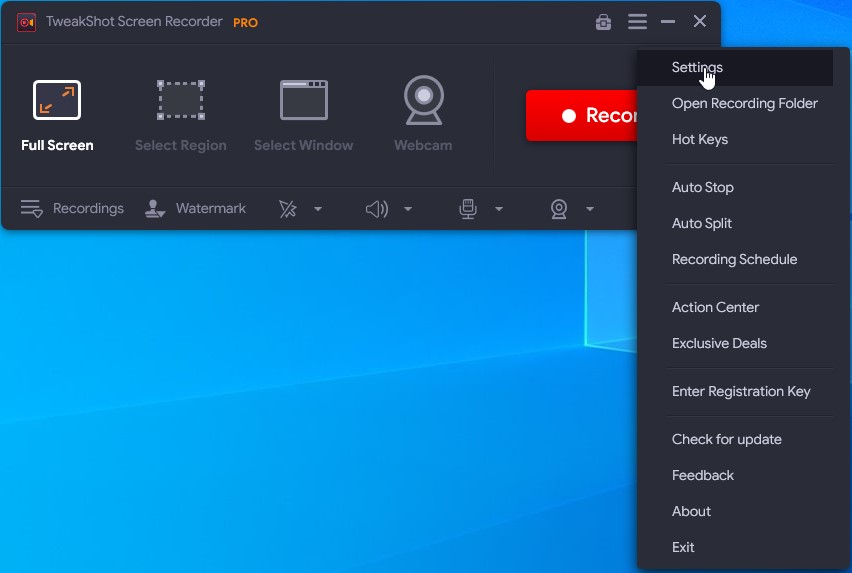
3. Next, if you don’t want to use the default settings to record video, you can modify the Format, Frame Rate, and Size. To do so, click the three horizontal lines > Settings > Record. This will help make the changes. To access the options click the down arrow under each heading.
4. Once everything is in place, pick the region to record and press the Record button. Before the recording starts, you will get a 3 seconds timer after which the recording will start. Once the tutorial video is being recorded in the system tray, you can see a small bar with a timer and a stop button.
5. When the recording is done, click the Red square icon to stop recording. The recorded video by default is saved under Documents > TweakShot Screen Recorder.
6. That’s it, with the help of the above steps, you can record a training video, makeup video, or whatever you are doing on and from your Windows PC.
Benefits of Using TweakShot Screen Recorder
1. Record video with or without watermark.
2. Simultaneously capture screenshot and record video.
3. Record without any time limit.
4. Record all activities you perform on your PC.
Last Thoughts:-
You can quickly record a training video, record screen, and capture screen while recording with this amazing application, whether you’re a novice or a master. You may also record gameplay, use a camera overlay, live stream videos, etc.
We hope you found the information provided useful and that you will utilize TweakShot Screen Recorder to generate nice instructive videos and screenshots for presentations. Please leave your comments in the box below.


Leave a Reply