
Being a Windows user has its perks, but maybe, you have decided to step into the wonderful world of macOS. If you have, a more budget option is to buy a second-hand MacBook. Because then, you could use it for a year and after getting a hang of it, you could probably invest in a brand new Mac. But, even if you are buying a used MacBook Pro or MacBook Air, don’t just make your purchasing decision in haste. After all, you must get the right worth of the cash you are spending. Also, a malfunctioning MacBook can give the Mac a really bad rep.
So, here are a few things you should certainly check when taking home a second-hand, MacBook.
Also Read: Best Mac Cleaner Software To Optimize Your Mac in 2021
When Buying A Used MacBook Pro/ Air, Consider Checking The Following Things
Don’t worry! We are not going to overwhelm you with hundreds of checks that would drench you in unwanted technicalities. These are few basic but very necessary checks that will ensure that the MacBook that’s coming your way is functioning right.
List of Contents
1. Looks Do Matter
First and foremost, give the MacBook Pro a thorough look. Flip it around and don’t even spare the screws and hinges. Your Mac shouldn’t bear any unwanted scratches unless you are paying absolute peanuts. Closely look at all the ports, the corners, the accessories such as power adapter, etc.
Here’s something you can do – unless and until you are buying the used MacBook Pro from a reliable relative/ friend or colleague, you can opt for a refurbished MacBook. Refurbished MacBooks are mostly sold by reputed sellers who make sure that all damaged components are replaced before the device is handed over to the seller.
What’s even better?
These sellers even have several warranty schemes as well.
2. Check How Old The Used MacBook Pro Is

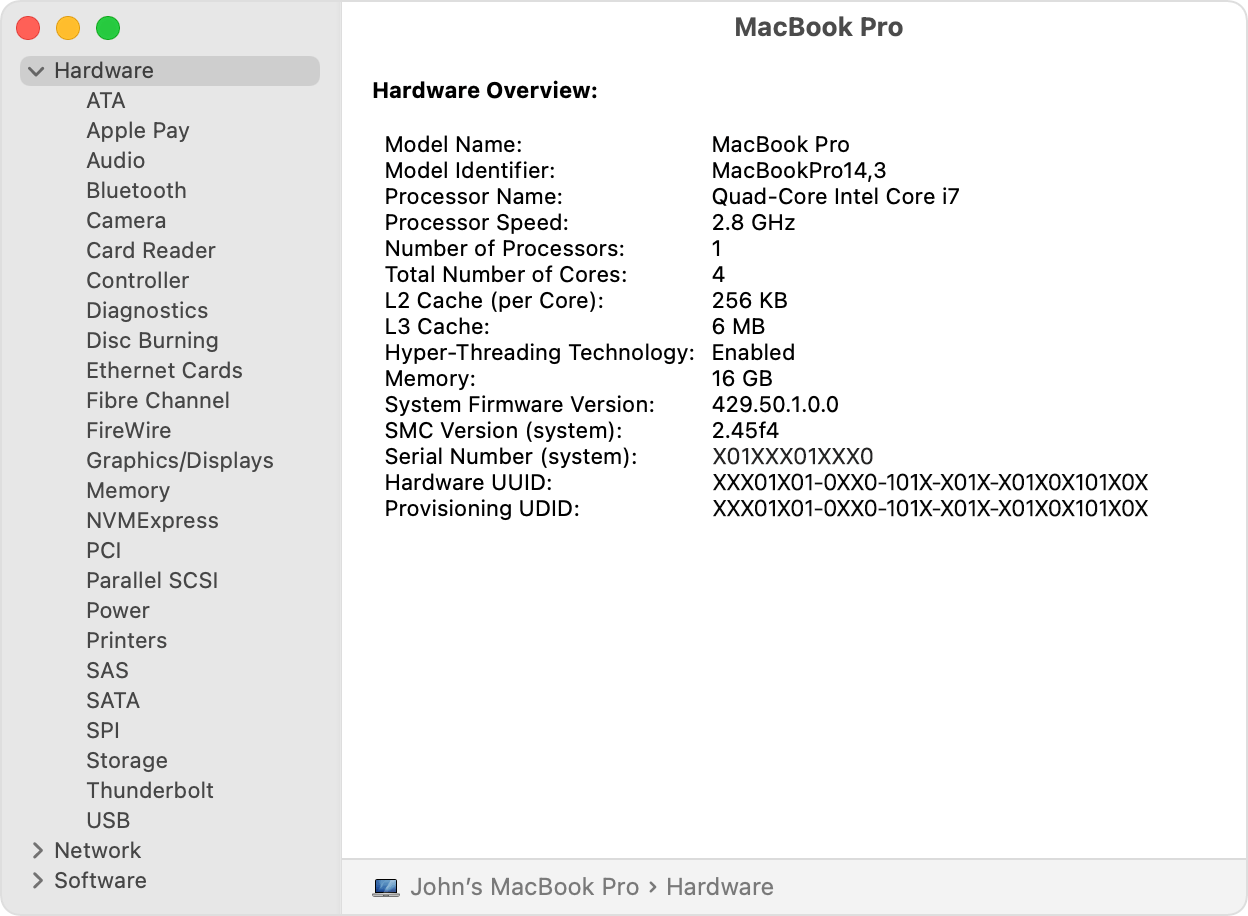
On the face of it your second-hand MacBook Pro might look new and shiny, but how new is it on the inside? And, checking the same isn’t at all difficult. In a few simple steps, you can check the actual age of your second-hand MacBook Air.
First, click on the Apple menu from the upper left-hand corner of the screen. Then click on About This Mac. That’s it! Move your focus to the place where MacBook Air… is written and check the age.
But, what if you have received a used MacBook Pro without the macOS? How would you then check the age? First, turn your Mac over and take a note of the serial number that you will find next to the regulatory markings and head to Apple’s Check Coverage page . You’ll not just be able to see your Mac’s age but even details such as support and warranty as well.
3. Remove The Firmware Password Or Get It Removed
Unless and until the firmware password of your Mac is removed, you won’t be able to boot Mac from a USB drive. So, before you take your second hand MacBook Pro home, make sure you disable the firmware password. If you can’t do it yourself or don’t have the time to do so, it is better to ask the owner/ seller to remove it for you. However, what’s wrong in taking the plunge in your own hands?
To remove firmware password, follow these steps –
- Turn off your MacBook Pro
- Turn it on again but this time, hold down the ⌘+ R immediately. Release the keys. This way you will enter the recovery mode. If you are unable to access the Recovery mode, do check our blog on ways you can fix the issue
- You’ll also see a lock icon and a field asking you to enter the password
- Ask the seller to enter the password
- Now click on Utilities > select Firmware Password Utility or Startup Security Utility and click on Turn Off Firmware Password
- Re-enter the firmware password again
- Quit utility and Restart Mac
Also Read: CleanMyMac X vs MacBooster 8
4. Boot Your MacBook
Time to give your MacBook a spin! Before giving it a whirl, carry a bootable drive so that in case the MacBook doesn’t have macOS installed, you can boot macOS from the drive. For this hold down the option key and when you hear the startup chime, choose the external startup drive.
And, in case it is not starting up, try one of these fixes.
5. Check The Condition Of The Battery
Your second-hand MacBook air is all shiny, but just after an hour of use, the battery drained. You certainly wouldn’t appreciate that, would you? So, here comes the next check you should perform –
- Click on the Apple Logo
- Hold down the Option key
- Click on System Information from the dropdown that appears
- Open Power from the left menu
- Closely watch the Condition. If it says Replace Soon, you know what is to be done. As a rule of thumb, the Cycle Count should fall between 300 and 1000 charge cycles
Also Read: CleanMyMac VS OnyX : Which is a better Mac Cleaner?
6. Ensure That The Mac Hard Drive Is In Best Of Shape
The purpose of this check is to make sure that you don’t eventually buy a used MacBook which has a failing hard drive. Now, how do you check your Mac for a failing hard drive. For this follow the below-mentioned steps –
- Open Finder which is the smiley icon in the blue and white present at the bottom of the screen
- From the left-hand pane, locate Favorites and then click on Applications
- Scroll down and locate Utilities. Double click on it
- Scroll down again and look for Disk Utility and double click on it
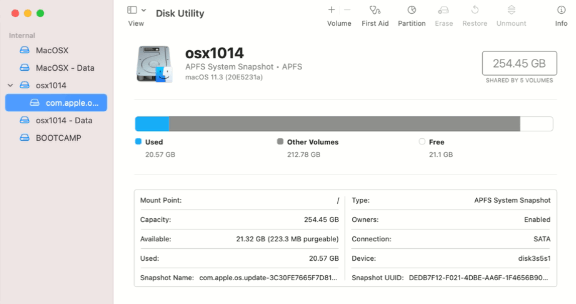
- Click on First Aid on the top right signified by a stethoscope and then click on Run
- Wait for the checkup to get over
If the used MacBook Pro you are buying doesn’t have a failing hard drive, you will see a green tick throughout. However, if there is anything wrong, you will notice the messages in red. Although, this can still be fixed, at the outset, if you decide to go with a second-hand Mac with a failing hard drive, always go for a discount.
Now, maybe you are not able to access certain directories and you might mistake it for a failing hard drive. In that situation, you can repair disk permissions using a specialist disk cleaning utility like CleanMyMac X. Once you install CleanMyMac X, follow these steps to repair disk permissions –
- From the left-hand pane click on the Maintenance tab
- From the right-hand side, click on Repair Disk Permissions
- Additionally, you can even click on Run Maintenance Scripts
Download CleanMyMac X

Also Read: Complete CleanMyMac X Review
Wrapping Up
A used MacBook Pro can make or break your macOS experience, so choose a used MacBook Pro or Air wisely. It would be even better, if you can ask an existing Mac user to accompany you who would help you guide with the above-mentioned steps, that’s even better, That being said, do bookmark this blog, so that it can act as a ready reference when you are being handed over your new MacBook. If you found value in the blog, do give it a thumbs up and for more such content, keep reading Tweak Library. You can also find us on Facebook, YouTube, Twitter, Flipboard, Instagram, Pinterest, and Tumblr.
Next Readings:
How To Check Storage On Mac – Quick And Easy Ways
Complete Review on The Movavi Mac Cleaner
Best Uninstaller For Mac To Look For In 2021


Leave a Reply