


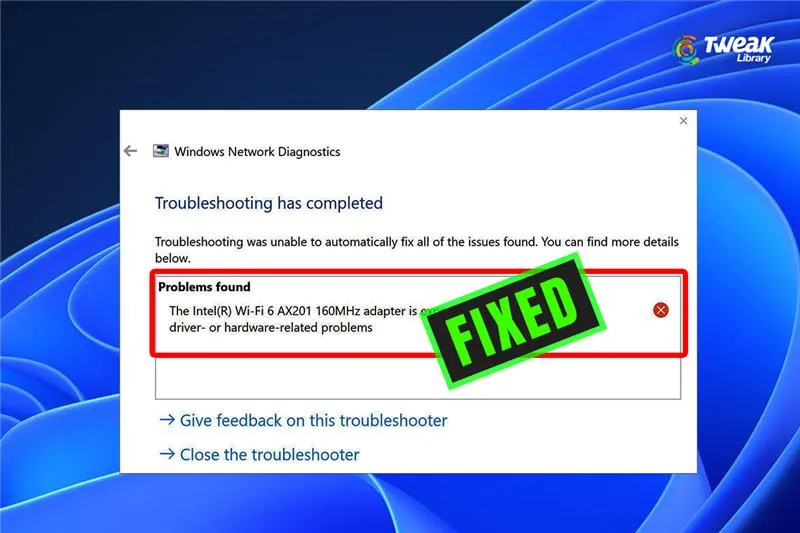
To connect to the internet wirelessly, you need a Wi-Fi Network Card on your PC. One such device is the Intel WiFi 6 AX201 160MHz card on Windows 11/10 PCs. However, there have been some complaints that users with PCs equipped with this card are facing Wi-Fi 6 AX201160MHz not working issues. Today, in this guide, we will attempt all the troubleshooting methods to fix the Wifi 6 AX201160MHz not working problem once and for all.
What Can You Try Before Troubleshooting The Issue?
Before you start hardcore troubleshooting, we suggest that you follow these two steps.
- Restart your computer to ensure that there are no temporary conflicts leading to temporary glitches.
- Open Device Manager and disable the Intel Wi-Fi 6 AX201 driver, and then enable it by placing a right click on the WIFI 6 AX201 card under Network Adapters.
Expert-Recommended Methods To Fix Intel Wi-Fi 6 AX201 Not Working On Windows.
Method 1 – Uninstall The Driver.
Many experts have recommended that there could be a conflict with the driver already installed, and it would be correct to uninstall the driver completely and then reinstall it. We have explained the steps to uninstall the driver from your PC.
- Press Win + X to open the Windows Power Menu.
- Click on Device Manager, and a new window will open.
- Click on the Network Adapter driver category to view the contents.
- Locate and right-click on the Intel Wi-Fi 6 AX201 and choose Uninstall Device from the context menu.
- Follow the onscreen instructions to remove the driver from your PC and reboot the computer.
Note – Any driver that is uninstalled will be automatically installed by Windows OS upon the next reboot. However, it may not be the most updated version of the Intel WiFi 6 AX201 160MHz driver. You will have to follow the next method to update the driver.
Method 2 – Update Driver.
If you are confident that the driver installed on your system is not faulty or corrupted, then you can update the driver instead of uninstalling it. Any driver can be updated by 4 different methods. We have explained all the methods below.
Use The OEM Website.
All device manufacturers maintain a website to maintain resources for their hardware. You need to visit that website, search for the appropriate drivers based on the model of your hardware, and download them, followed by installation. Here are the steps.
- Visit the Intel Official Website.
- Locate the search box and type AX201 followed by Enter.
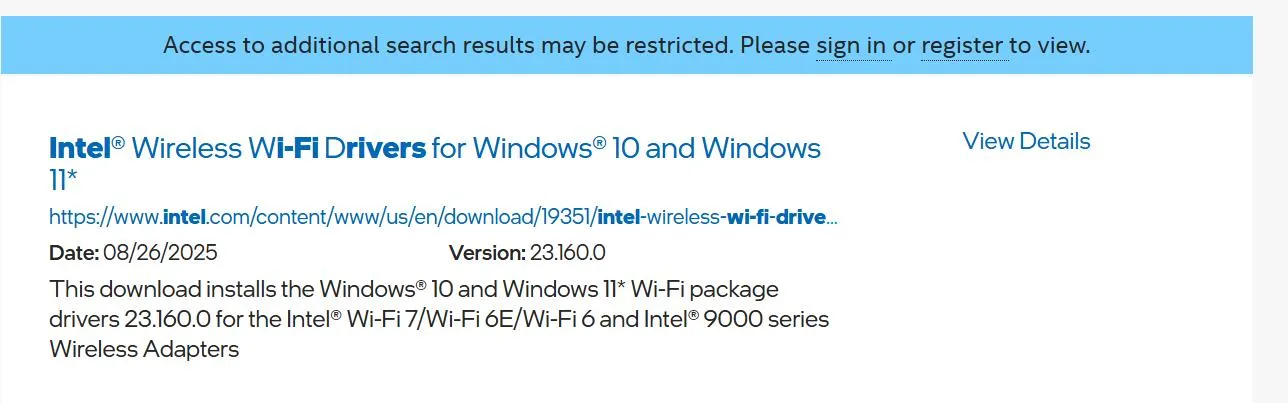
- In the new page, click on the relevant link and then click on the Download button.
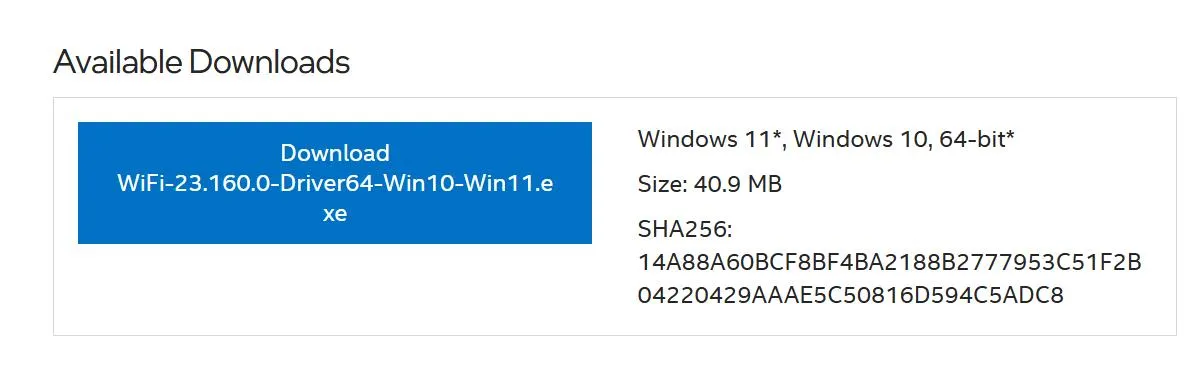
- Double-click on the file downloaded and follow the onscreen instructions to install the updated driver on your PC.
Use The Device Manager.
The Device Manager is a driver updater tool provided by Microsoft to all Windows users. Here are the steps to use this tool to update the Intel WiFi 6 AX201 160MHz driver on Windows 11.
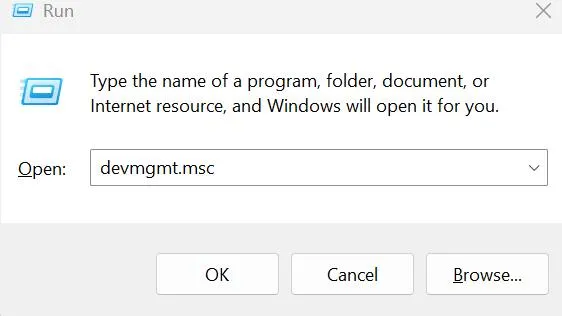
- Press Win + R to open the RUN box.
- Type devmgmt.msc and click on the OK button.
- In the Device Manager window, click on the Network Adapters dropdown to reveal all drivers.
- Right-click on the Intel Wi-Fi 6 AX201 driver and choose Update Driver from the context menu.
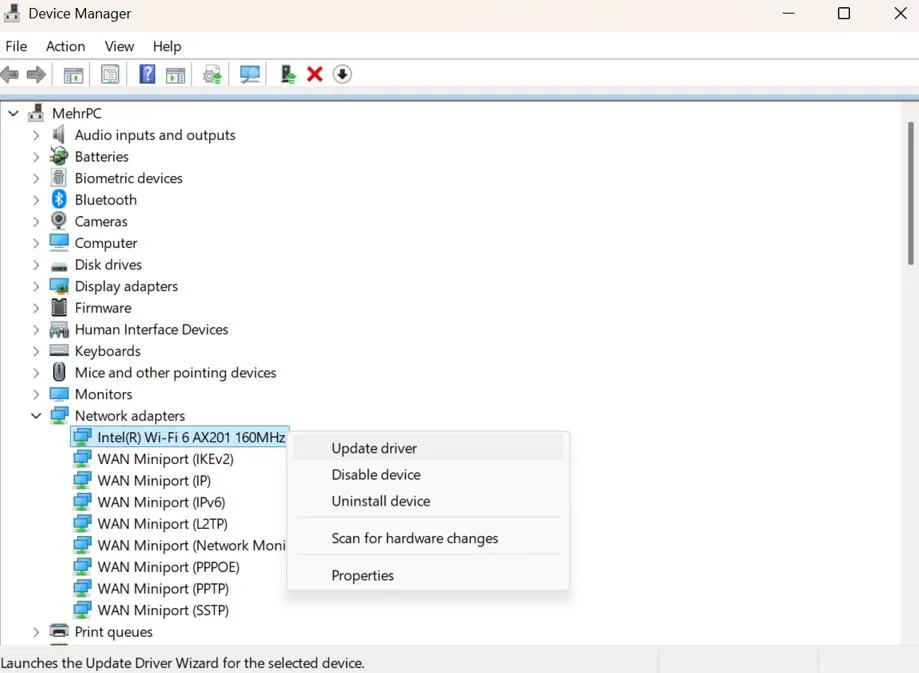
- Follow the onscreen instructions, and the driver will be downloaded and installed by the Device Manager.
- Restart the computer after the update process is completed.
Use The Windows Updates.
Windows Updates include security patches, bug fixes, new features, and driver updates, among other things, that are done for free using Windows Settings. You might get an update for the Wi-Fi driver and fix the Wifi 6 AX201160MHz not working issue in no time. Here is what you need to do.
- Press Win + I to open the Settings.
- Click on the Windows Update tab in the left panel.
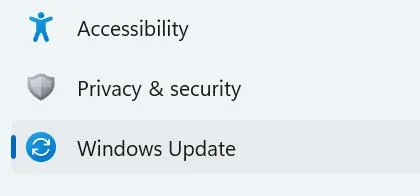
- Now, click on the Check For Updates button and wait for the updates to be downloaded and installed.
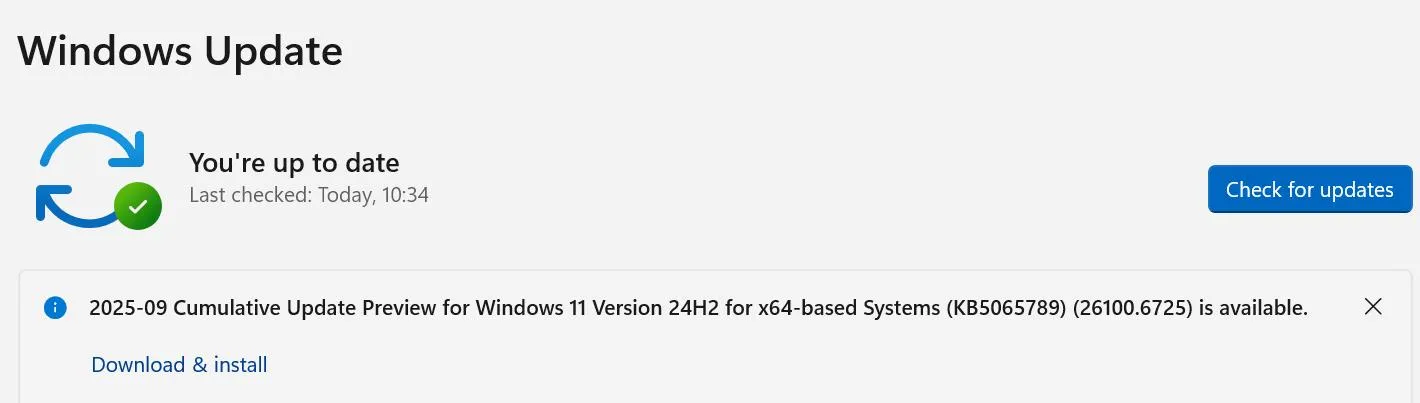
- Restart the PC.
Use The Advanced Driver Updater.
The Advanced Driver Updater is a third-party program that can help users update all the drivers on their PC. Here are the steps to use this application.
- Download and install the Advanced Driver Updater using the Download button given below.

- Launch the software and click on the Start Scan Now button.
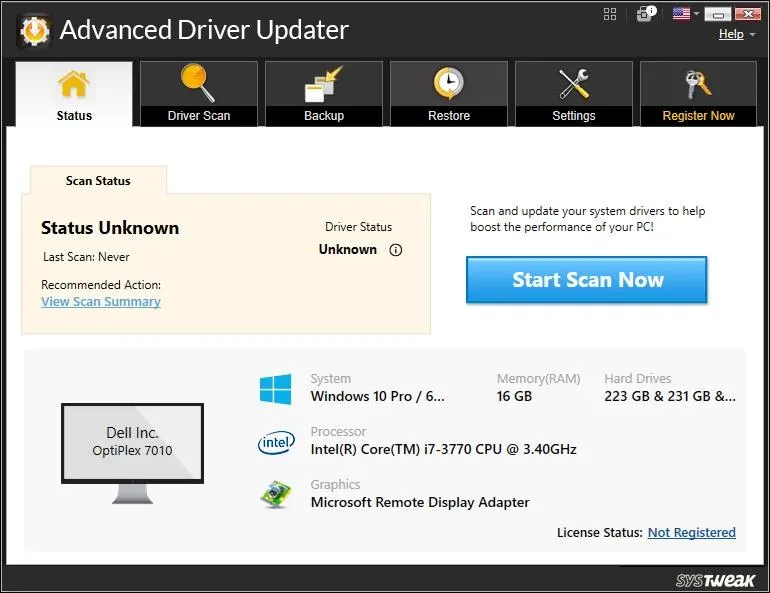
- A list of driver issues will be presented on your screen.
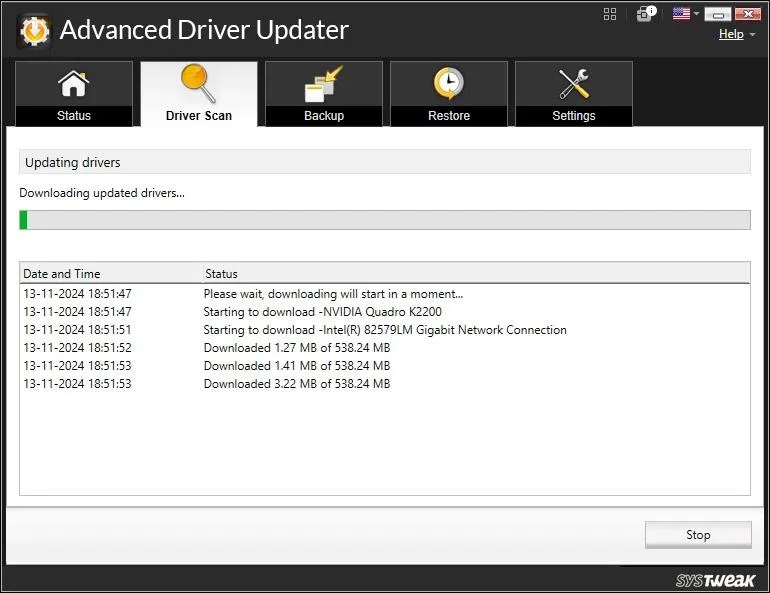
- Click on the Update button next to Wifi 6 AX201160MHz driver and follow the steps to update this driver.
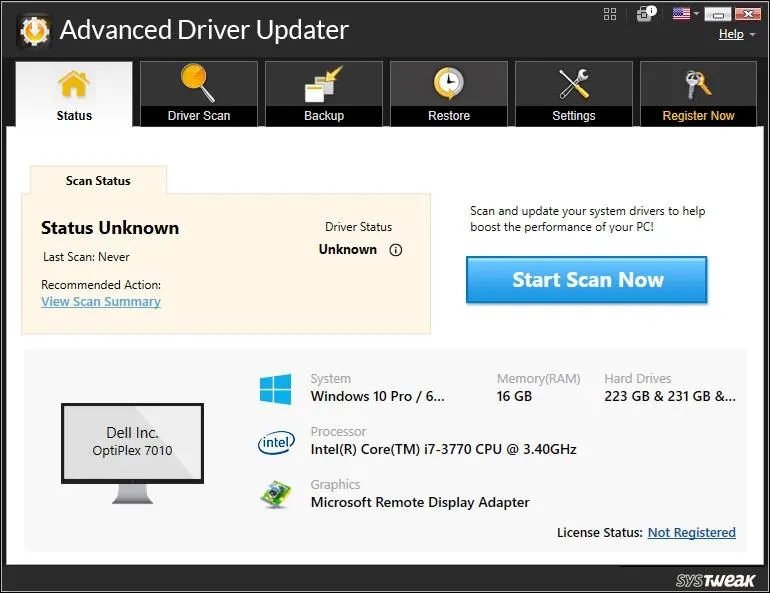
- Reboot the PC to let the changes take effect.
Method 3 – Reset Winsock and TCP/IP (Command Prompt)
Sometimes the internet connectivity can be broken due to network stack corruption. In this case, you have to reset the Winsock and TCP/IP.
- Press the Windows key and type “Command Prompt”.
- The relevant app will be highlighted. You need to click on Run As Administrator.
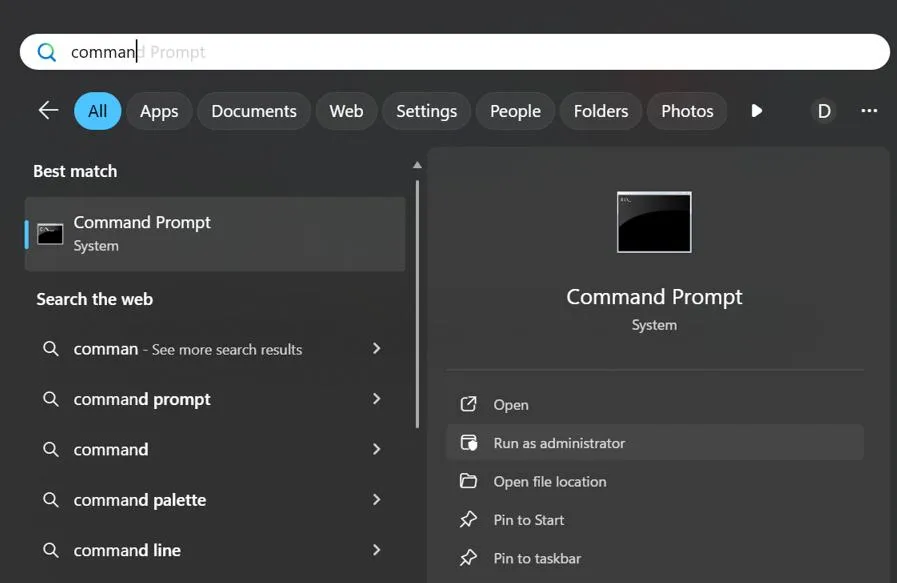
- Run these commands one by one, each followed by the Enter key:
netsh winsock reset
netsh int ip reset
ipconfig /release
ipconfig /renew
ipconfig /flushdns
- Restart your PC.
Method 4 – Run Windows Troubleshooter.
- Open Settings → System → Troubleshoot → Other troubleshooters.
- Run Network and Internet troubleshooter.
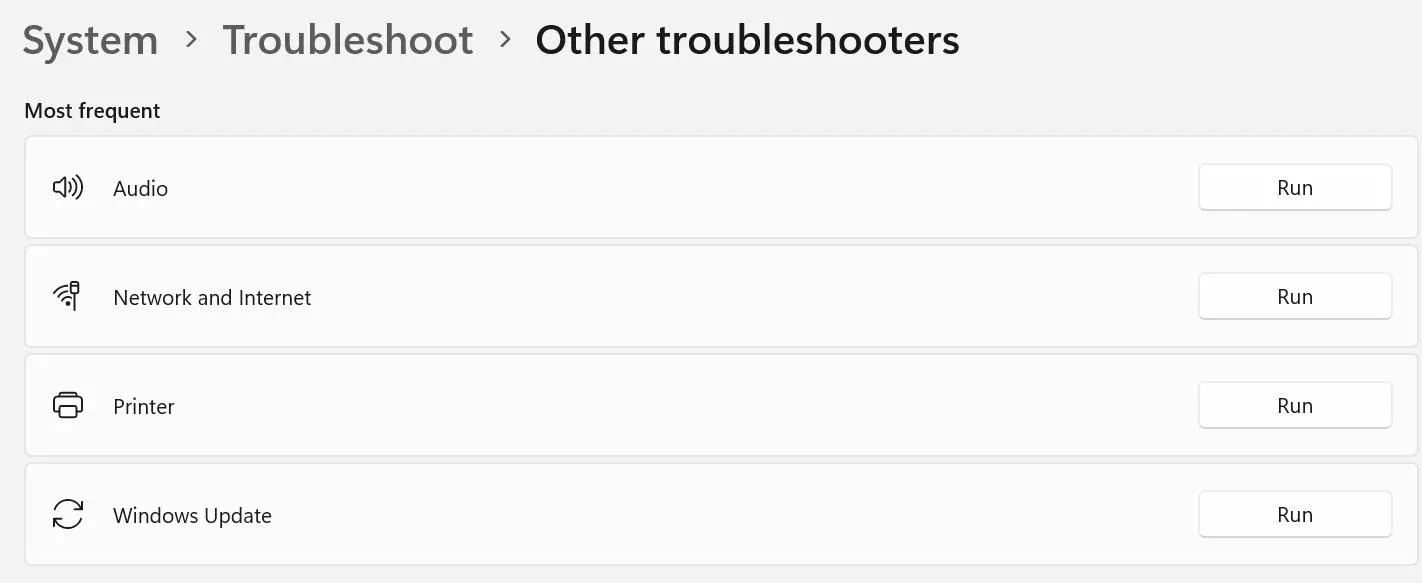
- Apply any suggested fixes.
Method 5 – Reset Network Settings.
- Open Settings → Network & Internet → Advanced network settings → Network reset.
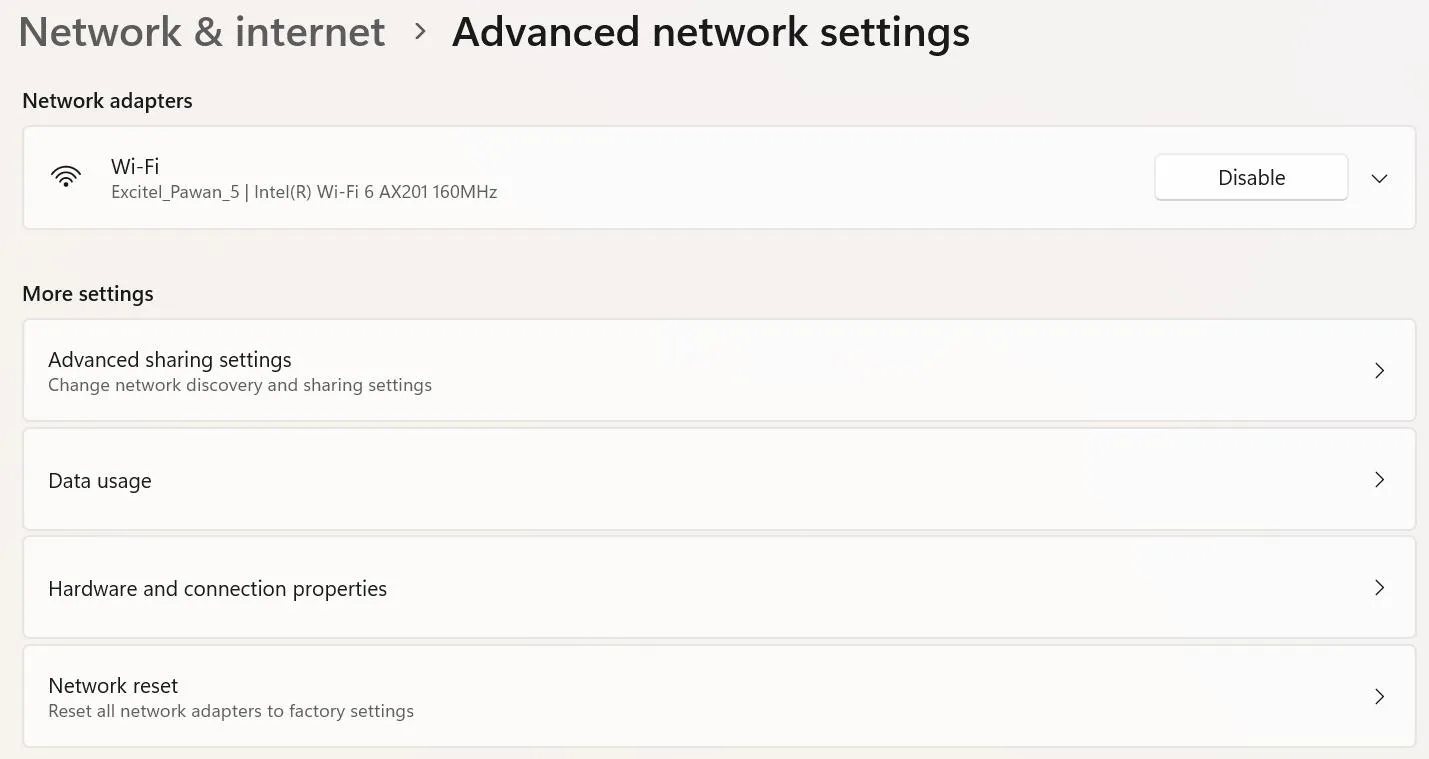
- Click Reset now.
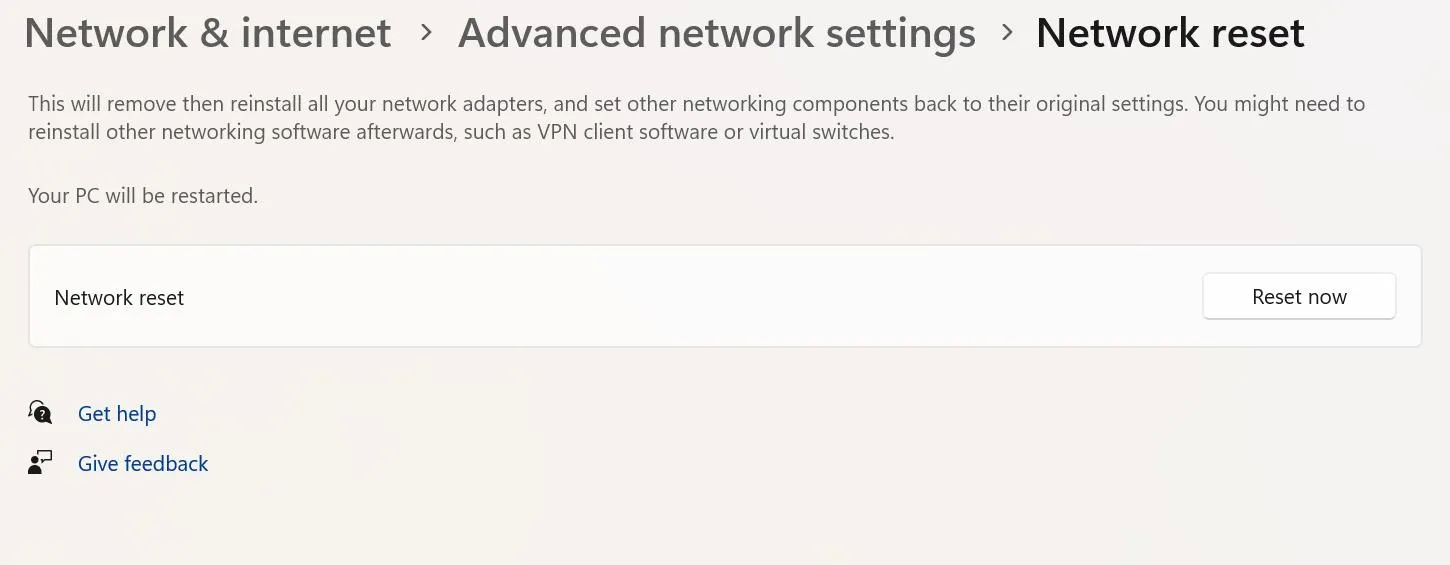
- Reboot your PC.
- Reconnect to your Wi-Fi network.
Method 6 – Disable Power Saving for Wi-Fi
- Press Windows + X → Device Manager.
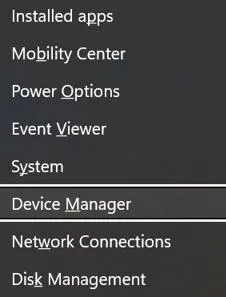
- Right-click Intel Wi-Fi 6 AX201 → Properties.
- Go to the Power Management tab.
- Uncheck the following option.
“Allow the computer to turn off this device to save power.”
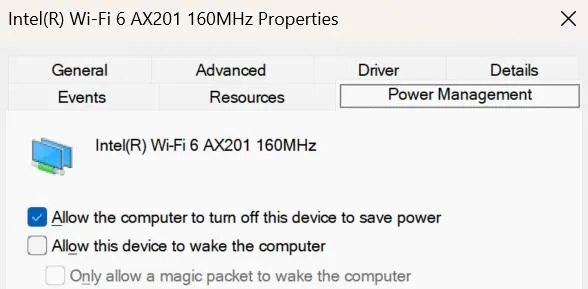
- Click OK.
- Also, go to the following option.
Control Panel → Power Options → Change plan settings → Change advanced power settings → Wireless Adapter Settings → Power Saving Mode → Set to Maximum Performance.
Method 7 – Update BIOS and Firmware.
An outdated BIOS can cause hardware detection issues.
- Go to the support section of the PC manufacturer’s website, which includes Dell, HP, Lenovo, and ASUS.
- Download the latest BIOS update and the Intel Wi-Fi driver for the system.
- Install the BIOS update.
- Restart the system.
- Test the Wi-Fi.
Method 8 – Check if the Adapter Is Detected in BIOS
- Restart the system. Enter the BIOS settings using the key F2 / F10 / DEL.
- Locate the Wireless / Internal Network Adapter.
- Ensure the adapter is enabled.
- Save changes. Exit the BIOS.
- If the adapter is disabled or not present, the Wi-Fi adapter could be loose or faulty.
Method 9 – Roll Back Driver.
If the issue started after a Windows or driver update:
- Open Device Manager → right-click Intel Wi-Fi 6 AX201 → Properties.
- Go to the Driver tab → click Roll Back Driver (if available).
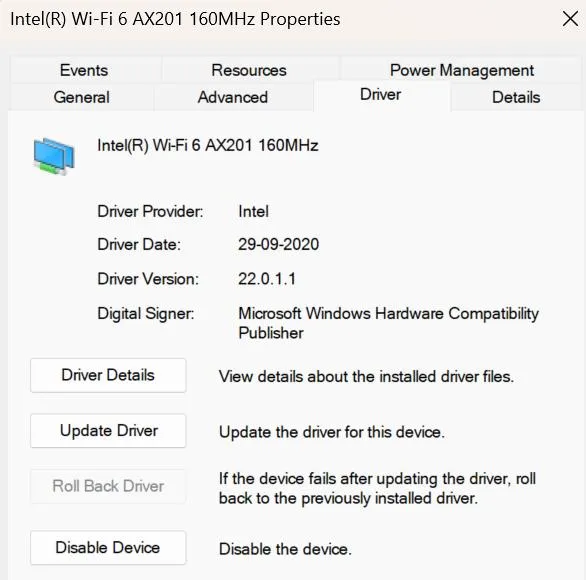
- Restart PC.
Conclusion – Have You Fixed Wi-Fi 6 AX201160MHz Not Working?
If you are facing Wifi 6 AX201160MHz not working on Windows 11/10, then the main culprit is the drivers. You have to update the drivers to get rid of this issue, and there are 4 ways to do so. If you ask us, then we recommend that you use Advanced Driver Updater, as this software updates the drivers with a few mouse clicks and reduces the time and effort involved.





Leave a Reply