Many customers have reported that the NVIDIA driver installation cannot proceed while attempting to install the newest NVIDIA graphics card. Are you also getting the message NVIDIA Installer Cannot Continue while installing NVIDIA drivers? Don’t worry; we have got your back.. We’ll go through several quick workarounds for the situation where the NVIDIA installation won’t proceed on Windows 11, 10, and 8.
So, without further ado, let’s see how to resolve the NVIDIA installation issue on Windows 11 and 10.
Note: There might be various reasons why NVIDIA driver installation is unable to proceed. As a result, we recommend that you go through each process until you discover one that works for you.
How to Fix NVIDIA Installer Won’t Finish on Windows 11, 10
You can update drivers manually or by using a reliable third-party driver. Manually updating drivers can be time-consuming, takes some technical knowledge, and carries some risk. Things are much easier if you use a driver updater like Advanced Driver Updater to update your drivers. This driver updater scans your computer for outdated drivers and helps you keep them up to date in no time.
Method 1: Updating the NVIDIA Graphics Driver Manually
The first method tells you how you can download and update the Graphics Driver by NVIDIA Manually on Windows 11 and 10.Follow these step-by-step instructions for manually updating drivers:
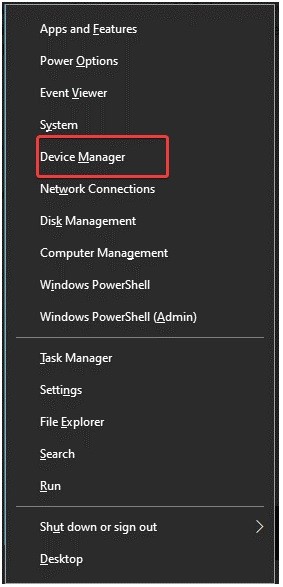
1. Go to Device Manager by pressing Windows + X.
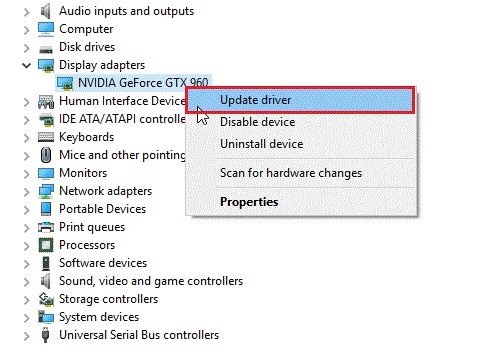
2. Look for the Display adapters category as you go down.
3. Expand it by double-clicking it and looking for NVIDIA devices. Select using the right-click menu > Drivers should be updated.
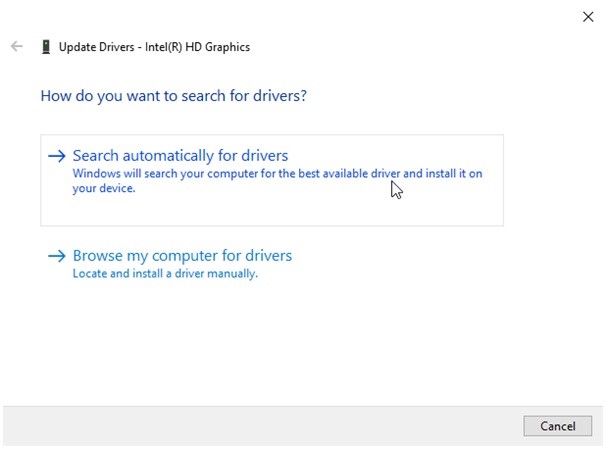
4. This will open a new tab in your browser. Select Search automatically for drivers from the drop-down menu.
5. After that, wait for Windows to look for a newer driver version. It will be installed in the background if available, and you will have to restart the computer.
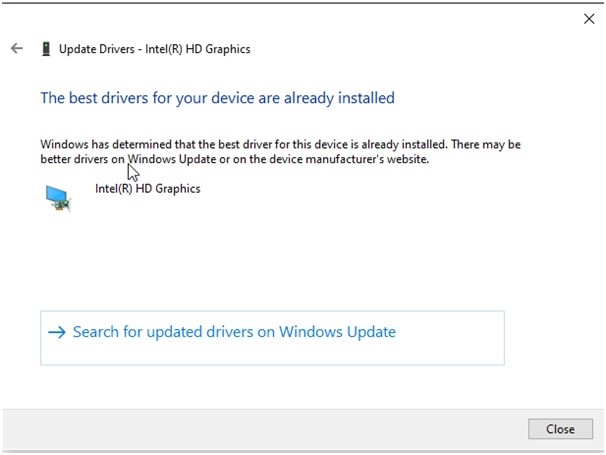
6. If you see a notification that says, “The best drivers for your device are already installed,” . Just to be sure we recommend going on to the next step as sometimes the Windows Troubleshooter might not be able to get the newest version for you.
Updating NVIDIA Graphics Drivers Via Advanced Driver Updater(Recommended)
Use Advanced Driver Updater if you are short on time or the manual way does not appear to be something you are comfortable with. This best driver updater searches your computer for device information and displays a list of outdated drivers. This cleverly designed tool is available in both free and paid editions.
Read the complete review of Advanced Driver Updater
Note: The Free version requires you to update each driver individually, but the paid version allows you to update them all in one go.
1. Download and Install Advanced Driver Updater.

2. To update obsolete, missing, or corrupt drivers, open Advanced Driver Updater.
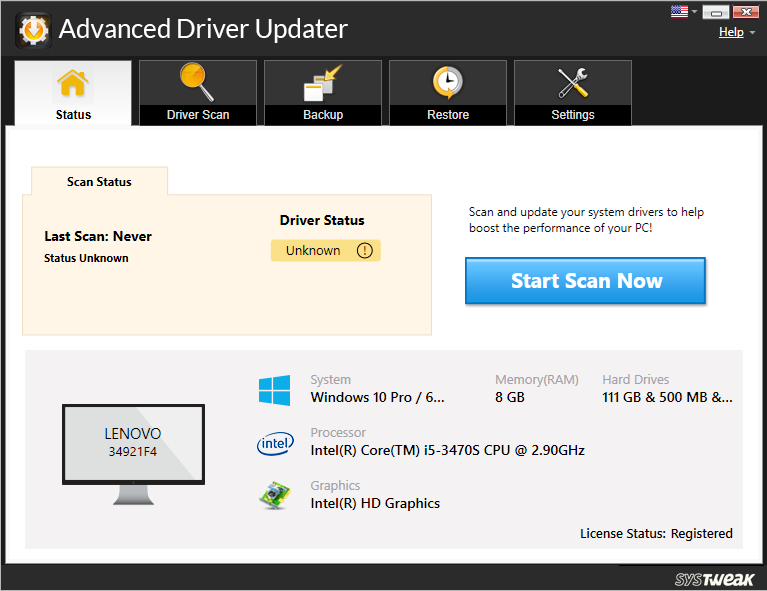
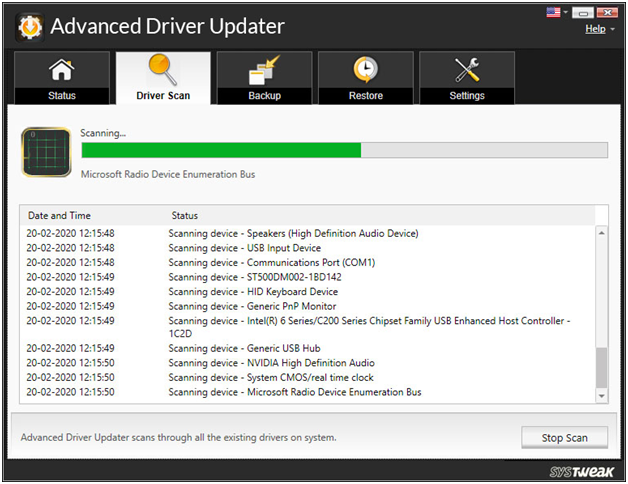
3. Wait for the scan to finish after clicking Start Scan Now.
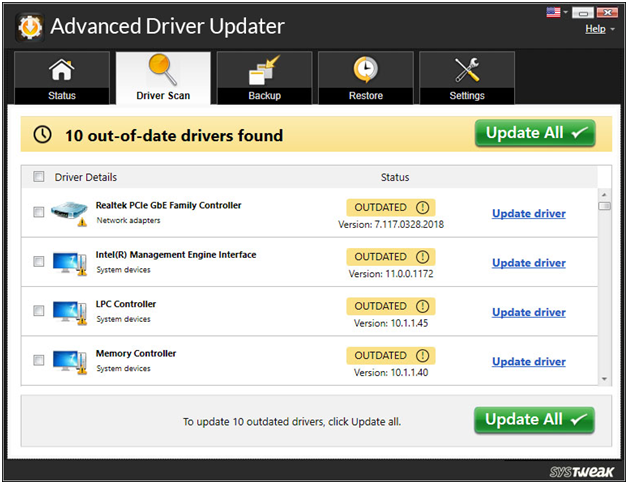
4. After that, go over the scan findings and make sure the NVIDIA graphics driver is up to date. If you’re using the free version, locate the driver from the results and select Update driver. However, if you’re using the registered version, just click Update All.
5. Restart the computer, and the NVIDIA installation should no longer be unable to proceed with Windows 7.
If this doesn’t work, continue to the next step.
Method 2:- Reinstall the NVIDIA Driver
Incompatible driver installation is another typical reason for NVIDIA driver installation failing. Reinstalling the NVIDIA driver is the best approach to repair it. Here are the easy steps to follow.
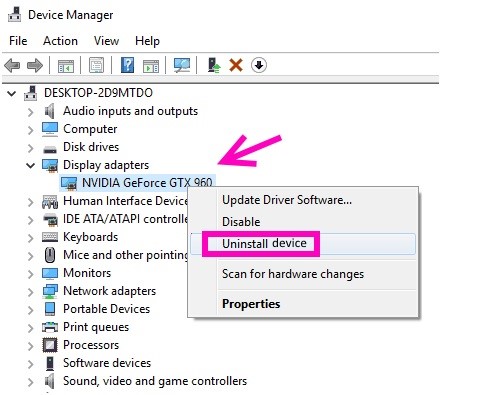
1. Go to Device Manager by pressing Windows + X.
2. Right-click Display adapter > NVIDIA device > Uninstall from the context menu.
3. After that, go to the Device Manager window’s Action tab and select the Scan for Hardware Changes option.
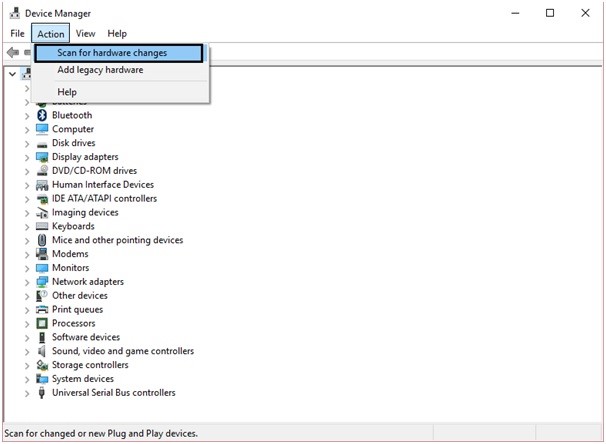
4. The NVIDIA driver will now be reinstalled by Windows.
5. Reboot the computer to implement the modifications and verify that the NVIDIA installation package is now functional.
Method 3: Activate the NVIDIA Graphics Card
If the NVIDIA installation cannot continue Windows 11, 10, and the issue remains, the NVIDIA graphics card’s chance of deactivating exists. If this is the case, the error will continue to appear no matter what you do. Follow the instructions below to repair it:
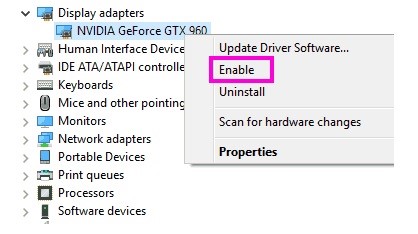
1. Go to Device Manager by pressing Windows + X.
2. Right-click NVIDIA > double-click Display Adapters > Enable
3. Restart the computer and verify that the NVIDIA installation error has been resolved.
Method 4. Rename the NVIDIA Folder
In Program Files, rename the NVIDIA Folder. This method has shown to be effective for several people, so we recommend giving it a shot.
1. Go to the system disk partition and open it (which is usually a C drive)
2. Locate the Program Files folder.
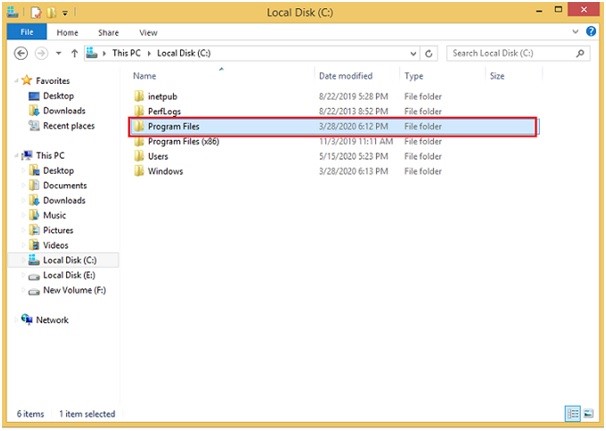
3. To open it, double-click it.
4. Look for a folder named NVIDIA Corporation. rename (right-click > rename)
5. Reinstall the NVIDIA driver after changing the name.
6. The setup should go off without a hitch. After that, restart the system to verify whether the fault has been resolved.
Method 5:- Turn off your Antivirus Program
Antivirus software has been known to stop even the safest installs, so your antivirus may obstruct the installation if you’re having trouble. The procedures to disable your antivirus vary depending on the one you’re using. However, right-clicking the antivirus icon on the taskbar and looking for a Disable option is an intelligent place to start. If you can’t find one, open your software & start looking for it. See if the setup works without the antivirus being turned off.
Note: Don’t forget to enable your Antivirus once you have installed the Nvidia driver.
Conclusion:-
NVIDIA graphics driver errors might occur for various causes, therefore please follow these steps until it starts working for you. Also, please tell us which approach worked best for you. If you find another way that works for you, please share it in the comments area. We look forward to hearing from you.

Leave a Reply