If you don’t want to pay extra for space on Google Drive, you need to be smart. Here’s a quick guide that will help save you from spending on Google Drive.
When we sign up for a Google account, we get 15GB of free cloud space divided into three main products—Gmail, Google Drive, and Google Photos. Once the limit exceeds a payment needs to be made for the Google One storage plan, which starts at $1.99 monthly for 100 GB of space.
Provided you’re smart you can save yourself from this and can manage data. But with Google Photos being counted as part of 15GB free storage, this seems to be a daunting task.
Understanding this, here we will enlist certain tricks to manage storage space occupied by Gmail, Google Drive, and Google Photos.
How To Manage Google Drive Storage Space?
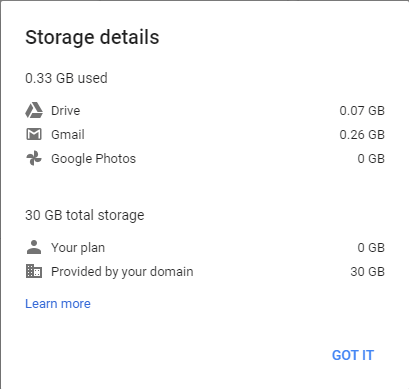
Before we get into the details, let us check the space you’re using across each Google product. To do so, click here and sign in to your Google account.
Note: Once the storage limit of 15 GB is exceeded you won’t be able to add new files. Also, according to Google, you might not be able to receive emails in Gmail. This means, to avoid all this you need to either free up space or purchase a Google One plan.
How to Manage Storage Space Gmail?
Gmail gives you the option to decide which emails are important and which aren’t. Though emails don’t take much space, still if you have been using a Gmail account for years, it might soon fill up the space. One way to deal with this is to wipe older emails. For this type “older_than:1y” into the Gmail search box and look for messages older than a year. Likewise, you can change the number of years, or switch to months (“older_than:3m” or “older_than:6m”).

When you get the search results, select the conversations (click the Select all conversations that match this search option) if there are no results you might not get this option. Click the Delete button. This will move selected emails to the Trash folder and they will stay there for 30 days. However, you can manually clean the Trash folder.
In addition to this, you can also search for emails with large attachments, as they also take up a lot of room in your Gmail inbox. To find such email in the search box, type “has: attachment larger:10m” (this will find email attachments bigger than 10 megabytes) Select the email and click Delete. This will help manage storage space taken up by emails received in Gmail.
Bonus Tip:
Labels can also help get rid of unwanted messages. If you trust Google’s algorithms in the search bar type “label: unimportant.” This will bring up the newsletters, emails from contacts you don’t interact with very often, marketing messages, and beyond.
Also, remember Spam messages count towards your storage quota. Though emails in this folder are deleted automatically after 30 days. But if you have a large amount of them, it will take up a good chunk of cloud storage space. To remove Spam email, click the spam folder > Delete all spam messages now to clear the folder.
How to Manage Google Drive at once?
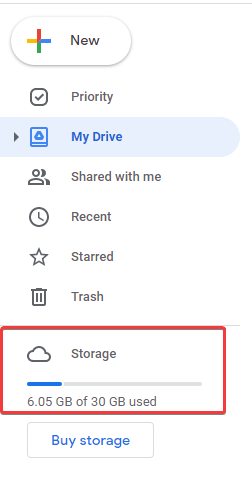
On Google Drive, you can save all file types. To know which ones are taking the most space visit https://drive.google.com/drive (web interface) > click Storage.
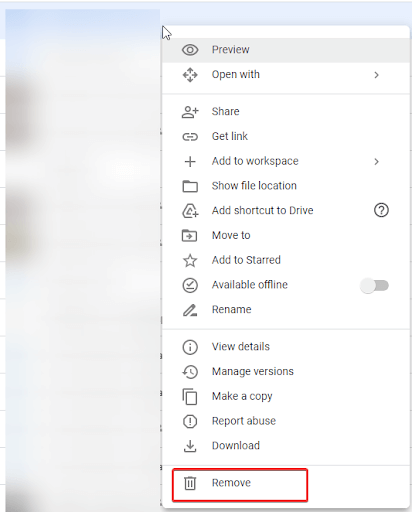
When redirected you will be surprised to see the Storage used by different file types. By selecting the files > right-clicking > Remove you can get rid of such files.
But this is not feasible for all. Fortunately, there’s a much better way and we will discuss it now.
Best Way to Manage Google Drive Storage
One of the reasons for wasted storage space is duplicate data. It can be in the form of photos, documents, audio, video, and so on. Identifying it manually isn’t easy, especially when you have a lot of data stored on Google Drive. But if you have the Duplicate Files Fixer installed there’s nothing to fear. Using this amazing duplicate data cleaner without even downloading any data from Google Drive you can scan the drive for duplicate data.
Here’s how to use Duplicate Files Fixer to find and remove duplicates stored on Google Drive.
Click Here to Download Duplicate Files Fixer


Review on Duplicate Files Fixer
1. Download and install Duplicate Files Fixer
2. Run Duplicate Files Fixer
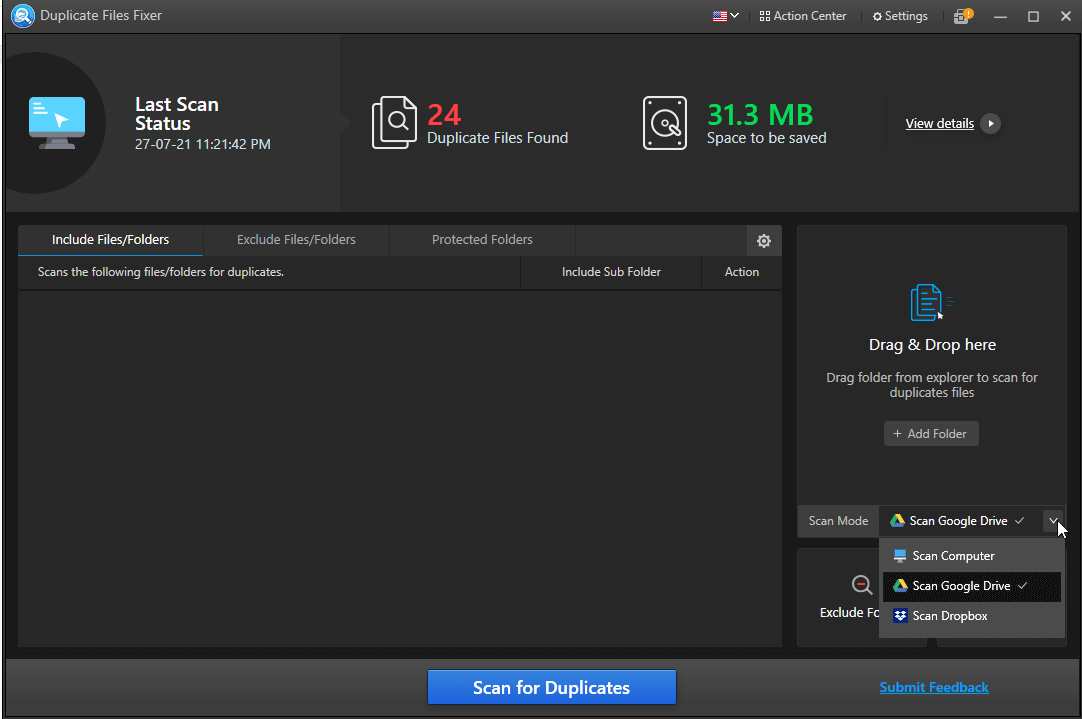
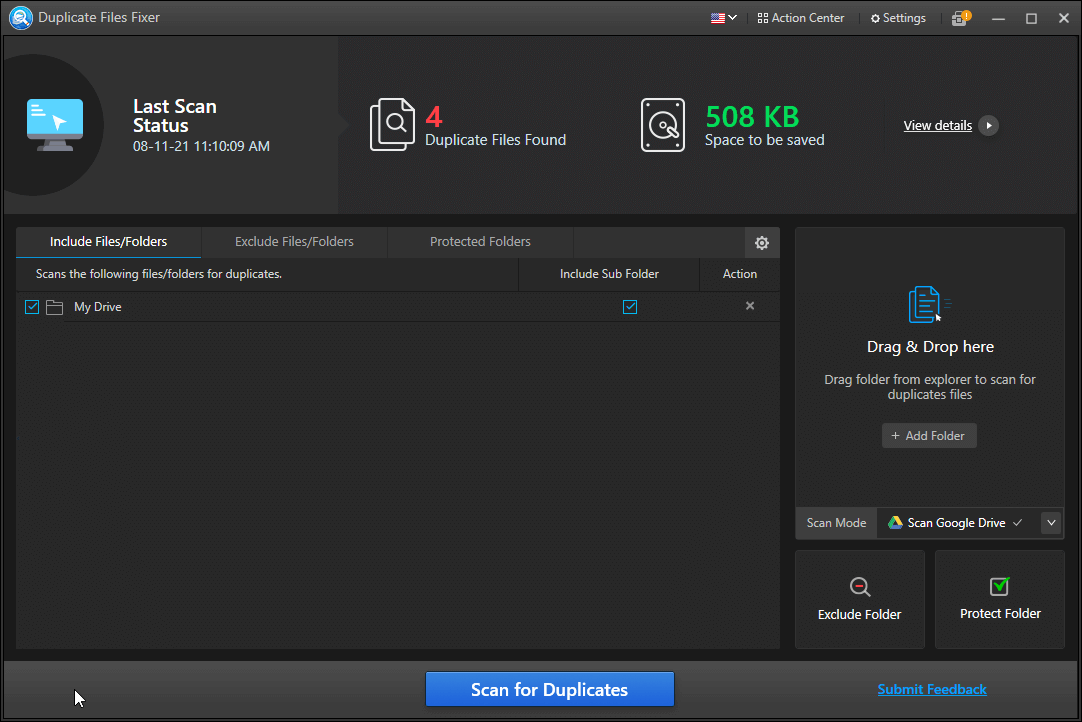
3. To scan Google Drive, you need to select Google Drive from the dropdown menu next to Scan Mode. (Refer to the screenshot below)
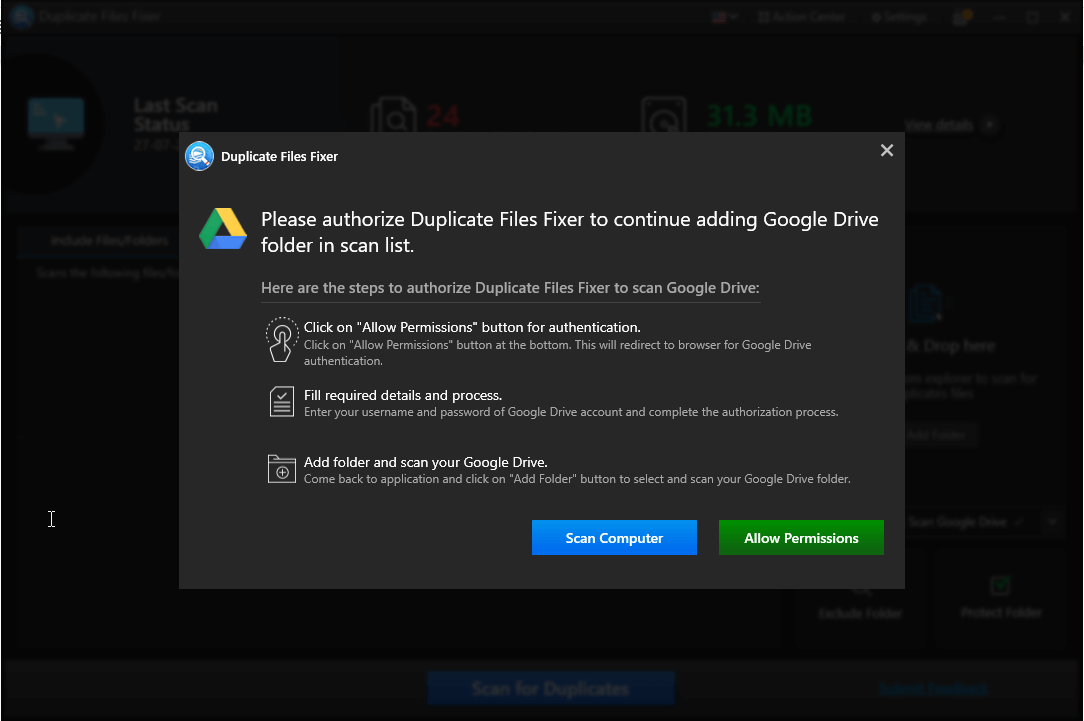
4. Once selected you will be asked to grant access permission click Allow Permissions.
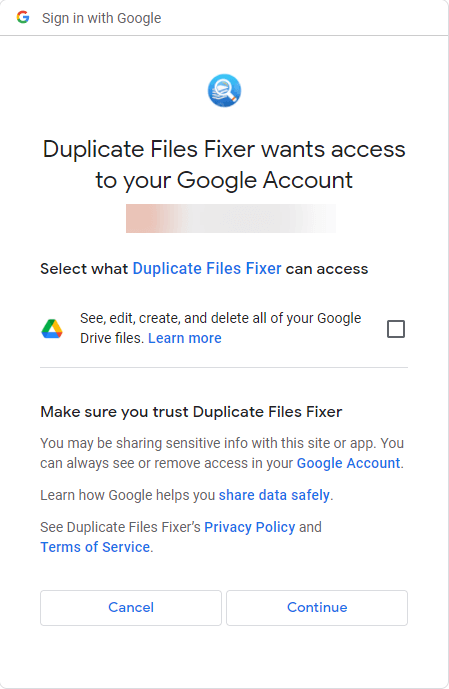
5. Sign in to your Gmail account > checkmark the box next to See, edit, create, and delete all Google Drive files > Continue.
6. You will now see a new window in your default web browser that reads, “Received verification code. You may close this window.”
7. This explains the permission is granted and now you can scan Google Drive directly from Duplicate Files Fixer.
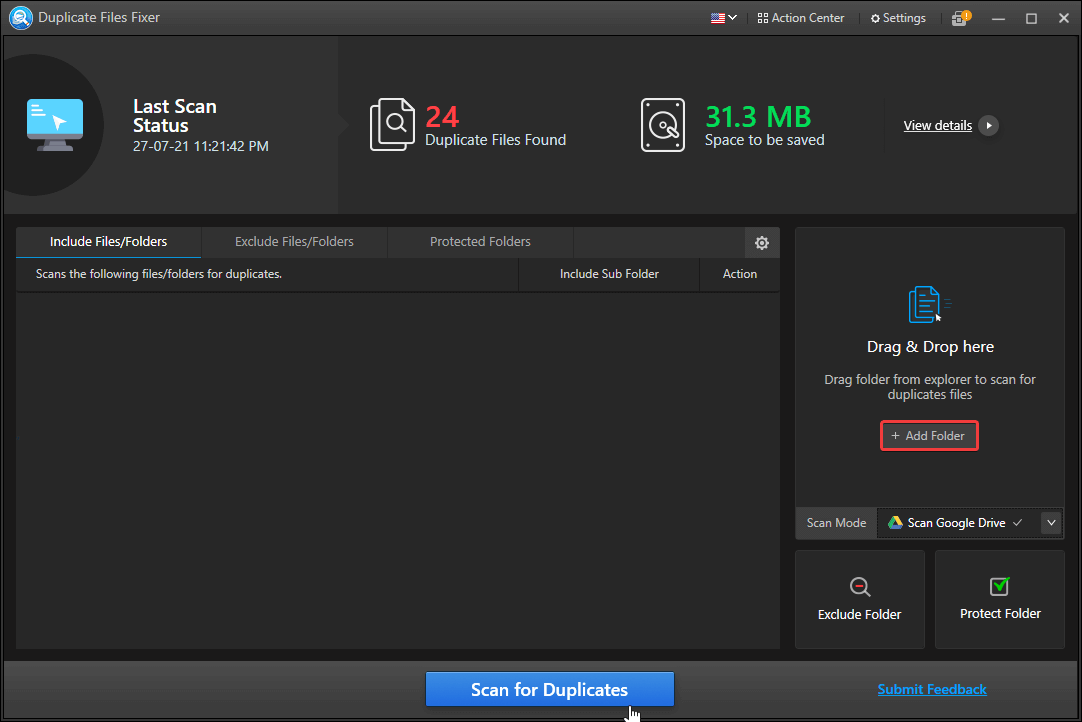
8. Run Duplicate Files Fixer > Add Folder.
9. Select the folder to scan > ok.

10. Selected folder will be added to the Duplicate Files Fixer.
11. To scan hit Scan for Duplicates and wait for the process to complete.
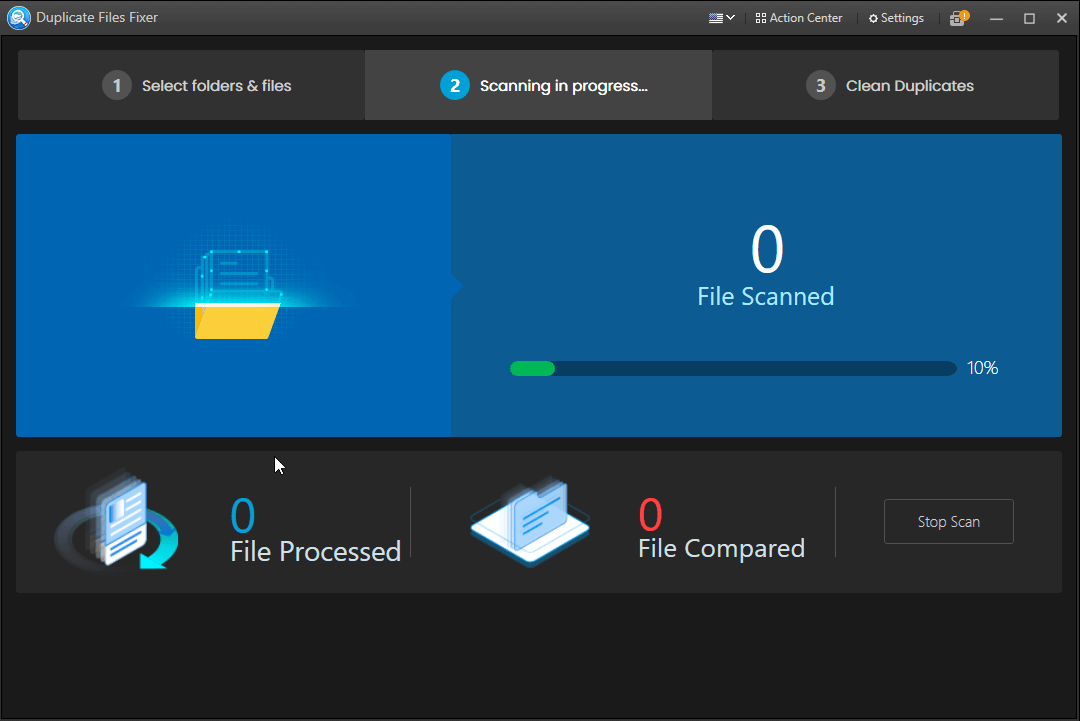
12. Review scan results, double click expands search results, and preview them.
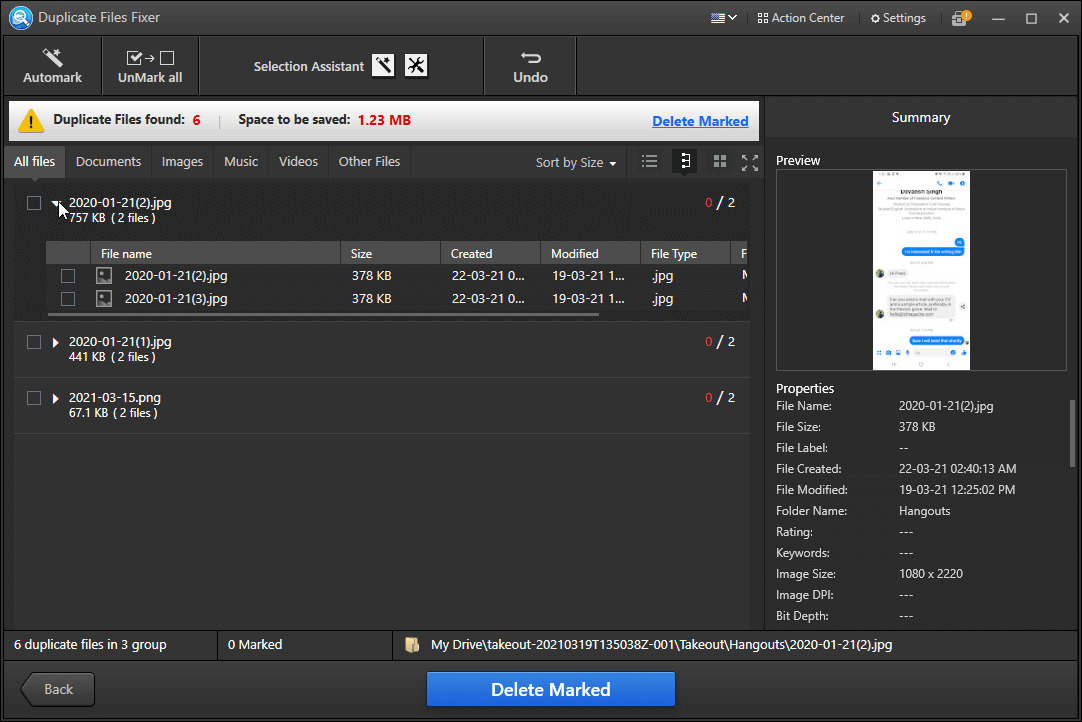
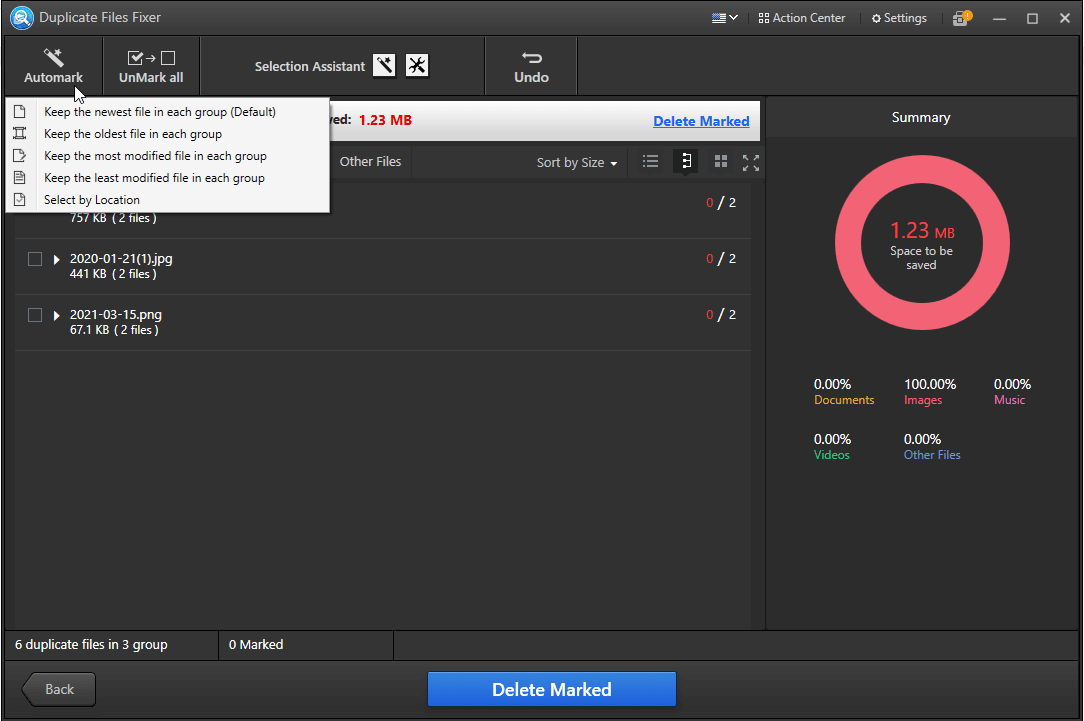
13. To remove detected duplicates, click Automark. Using this option, you can automatically select and remove duplicates leaving one in each unmarked.
By default, Duplicate Files Fixer shows All files.
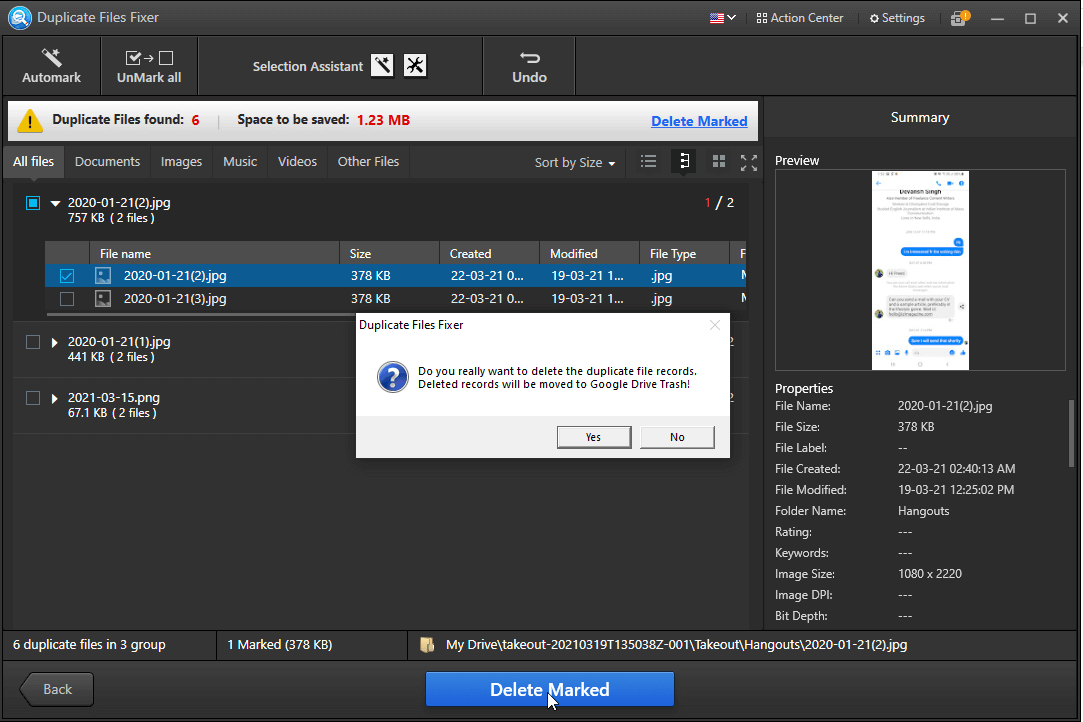
14. Next, click the Delete Marked button to get rid of duplicates.
15. Click Yes, to confirm
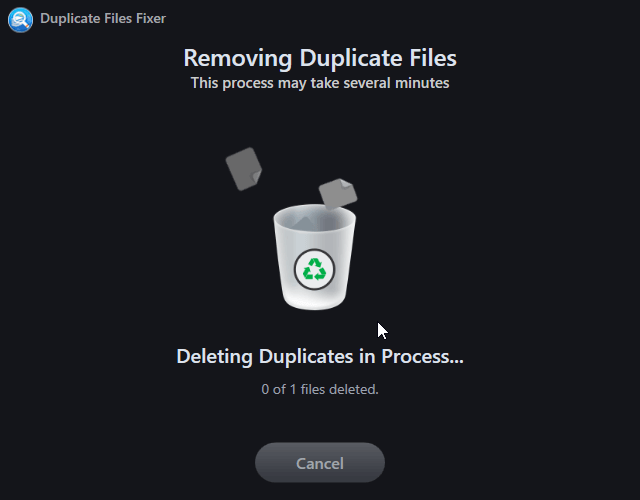
16. Wait for the process to finish.
17. You will now get a summary of the action performed.
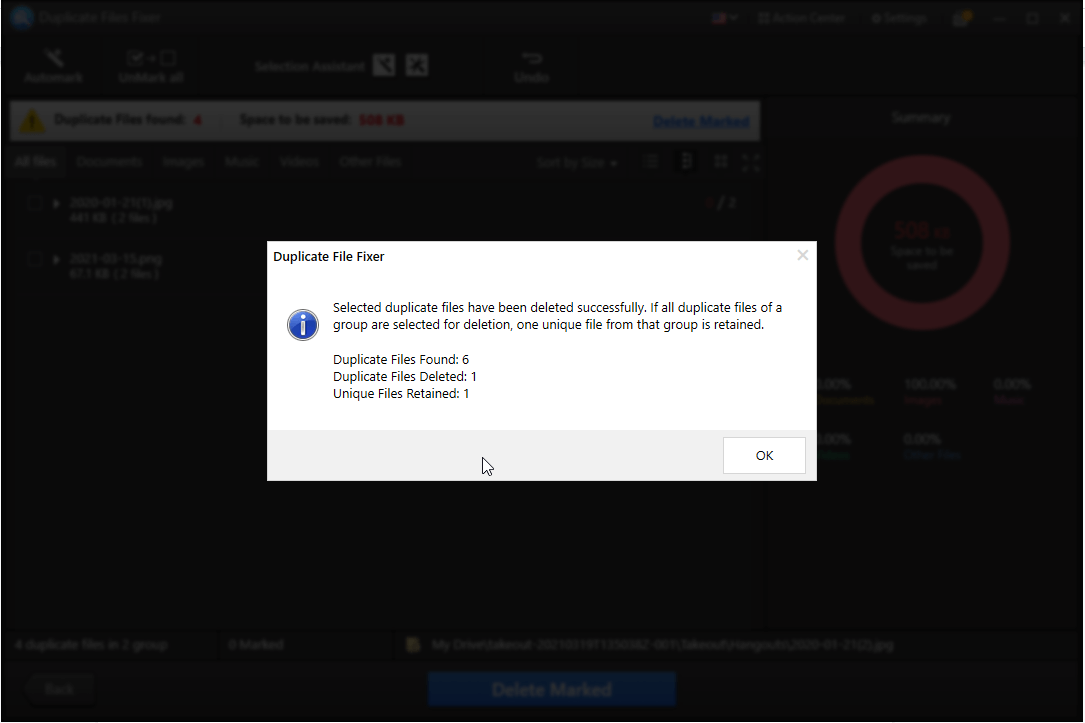
18. Click Ok.
19. Hitting Back button will take you to Home Screen from there you can add more folders and files and drop duplicates using Duplicate Files Fixer.
That’s it, using these simple steps in no time, you can get rid of duplicate files stored in cloud storage and can organize data under the 15GB free storage. By implementing this method, you can not only save time but can also accurately detect duplicate data. Also, Duplicate Files Fixer is a great way to avoid duplicates, manage data and keep Google Drive decluttered and duplicate-free.
We hope you enjoyed reading the post and will use the information shared to save yourself from spending on buying additional storage. Do share your feedback about the same in the comments section.


Leave a Reply