Apple is giving your iPhone more privacy-focused capabilities within iOS 16. We’ve previously talked about Lockdown Mode, which guards your information if you think you could be the target of cyberattacks. Although it isn’t a general use case, the new Safety Check feature in iOS 16 is useful for everyone who owns an iPhone.
Safety Check can be useful to everyone owning an iPhone. It enables you to rapidly evaluate who has access to the information on your smartphones, like your location, home access, and shared notes, and cancel those rights straight away.
Read Also: How To Use The New Haptic Keyboard In iOS 16
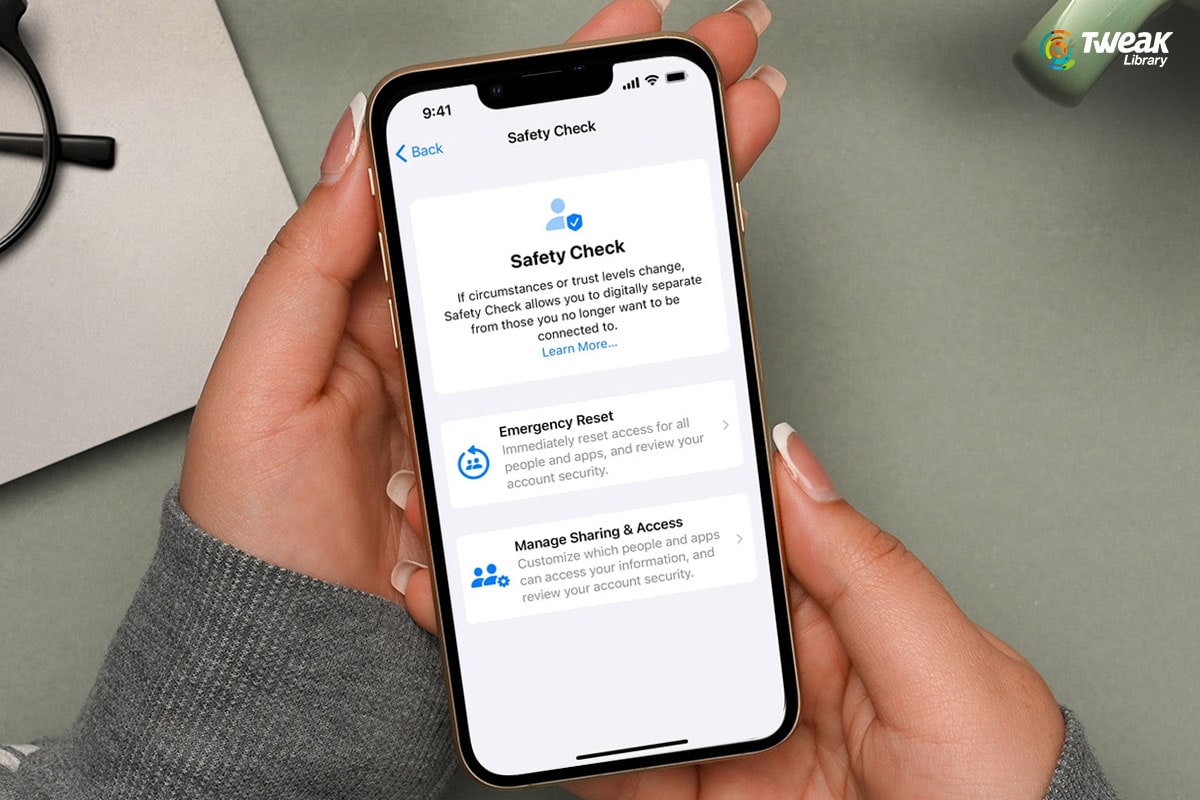
What Is Safety Check In iOS 16?
Safety Check is the center point of your iPhone’s security. You should regularly use safety check on your iPhone to guarantee that no unwanted device or person is accessing your data and activities. It enables you to check which applications have permission to access the sensors on your iPhone and personal information and ensure that no useless apps are using these features secretly.
Apple claims that Safety Check is intended for victims of intimate relationships or domestic abuse. The Safety Check feature is intended to make it simple for users to immediately reset every piece of data and location exposure they have permitted to others.
Must Read: How To Show the Notification Count on iPhone in iOS 16
| Note: If you run the risk of being caught using Safety Check, a “Quick Exit” option immediately returns you to your iPhone’s Home Screen. |
How To Use Safety Check On iPhone
Because it is an iOS 16 feature, you must install the latest iOS 16 Beta on your iPhone. Once you have successfully downloaded & installed the iOS 16 Beta, follow the steps below to use Safety Check on iPhone with iOS 16:
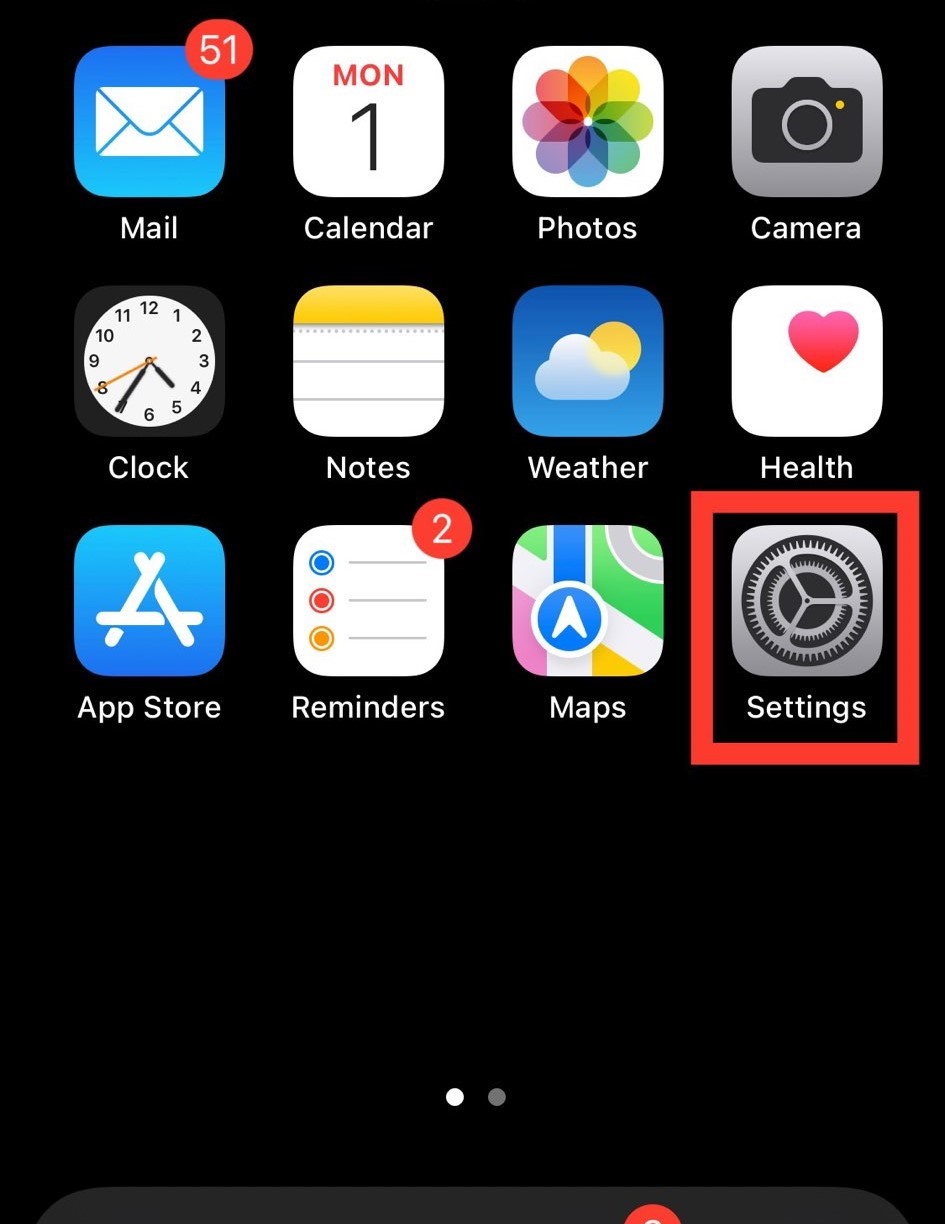
- Open the “Settings” app.
- Now scroll down a bit and tap on “Privacy & Security.”
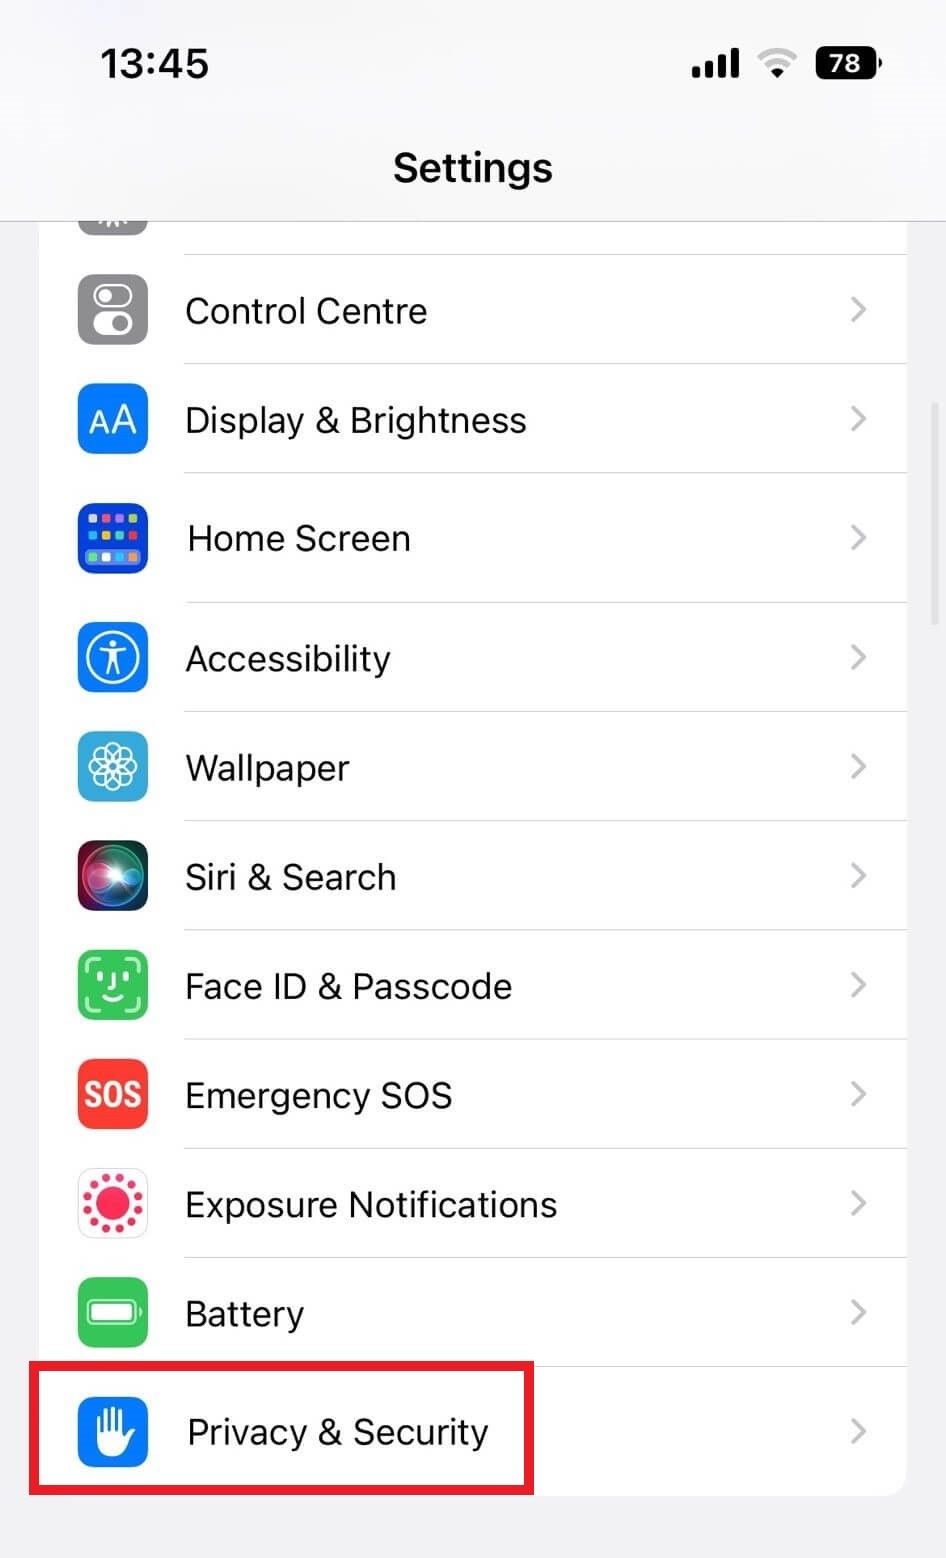
- On Privacy & Security page, scroll down to “Safety Check” and tap on it.

- Once opened, you will find two options to use Safety Check.
1. Emergency Reset
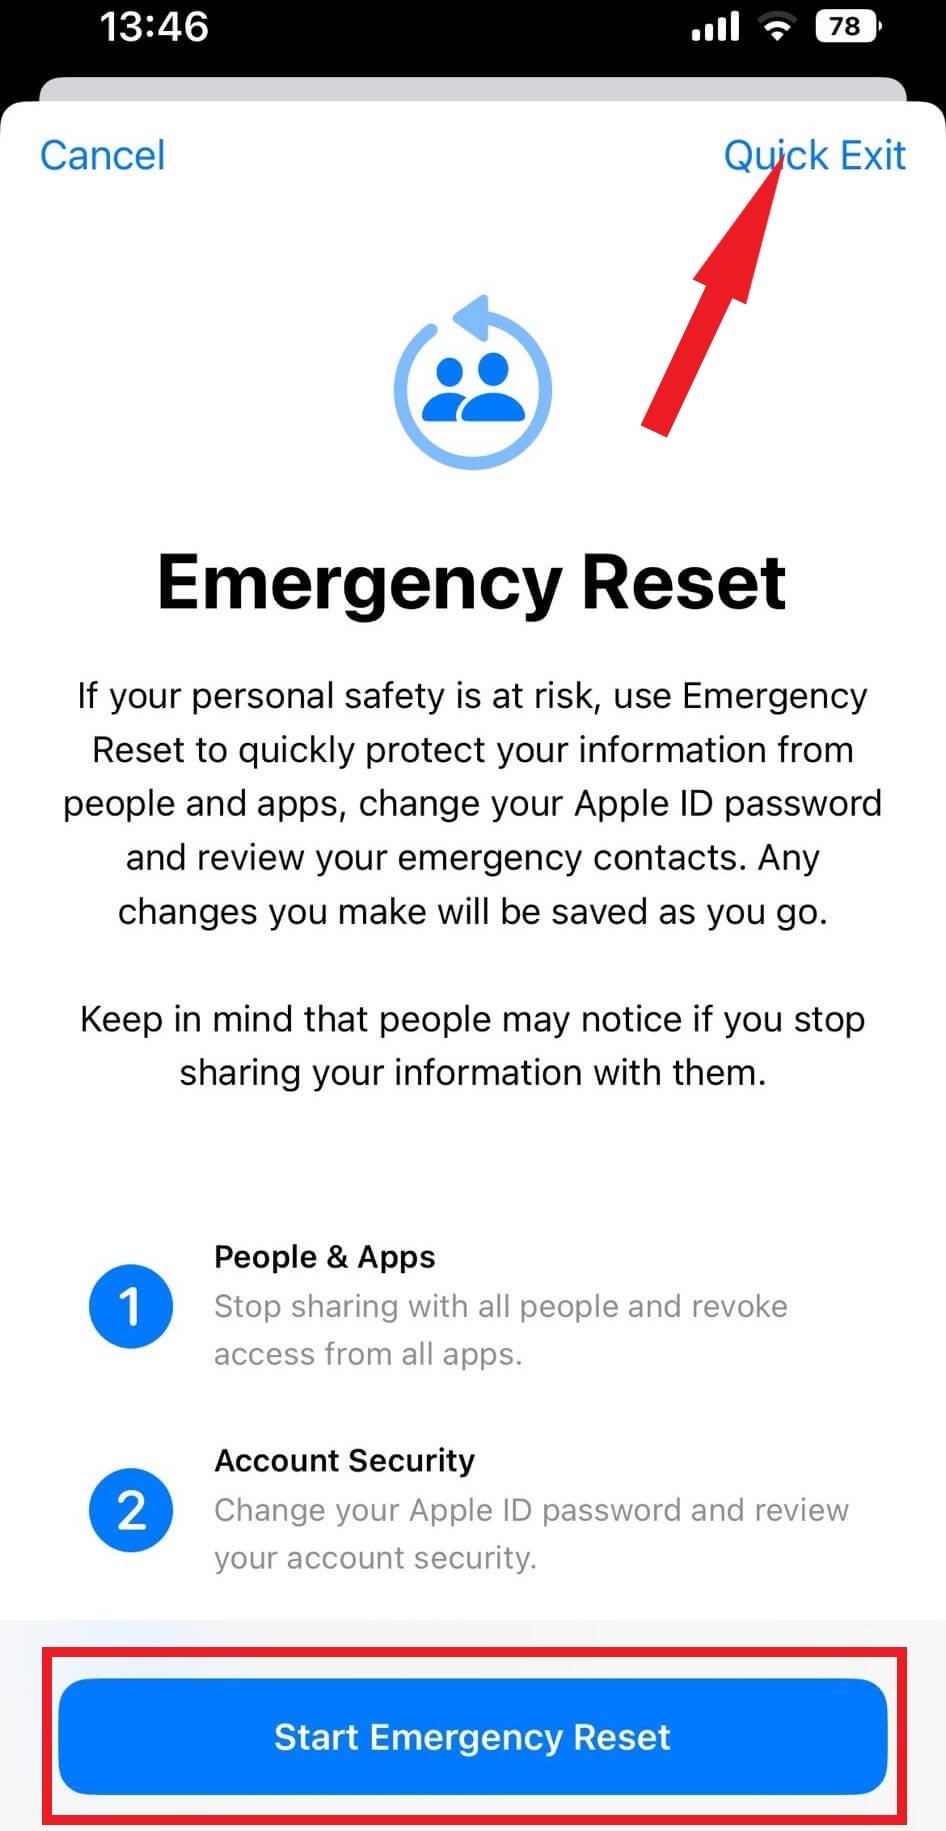
When you activate Emergency Reset, all sharing with all users and applications is immediately terminated. Apple advises using the Emergency Reset in the event that you believe personal safety is in danger.
You may use Emergency Reset to reconfigure your Apple ID & password, eliminate any emergency contacts, and prevent anyone from accessing your account.
2. Manage Sharing & Access
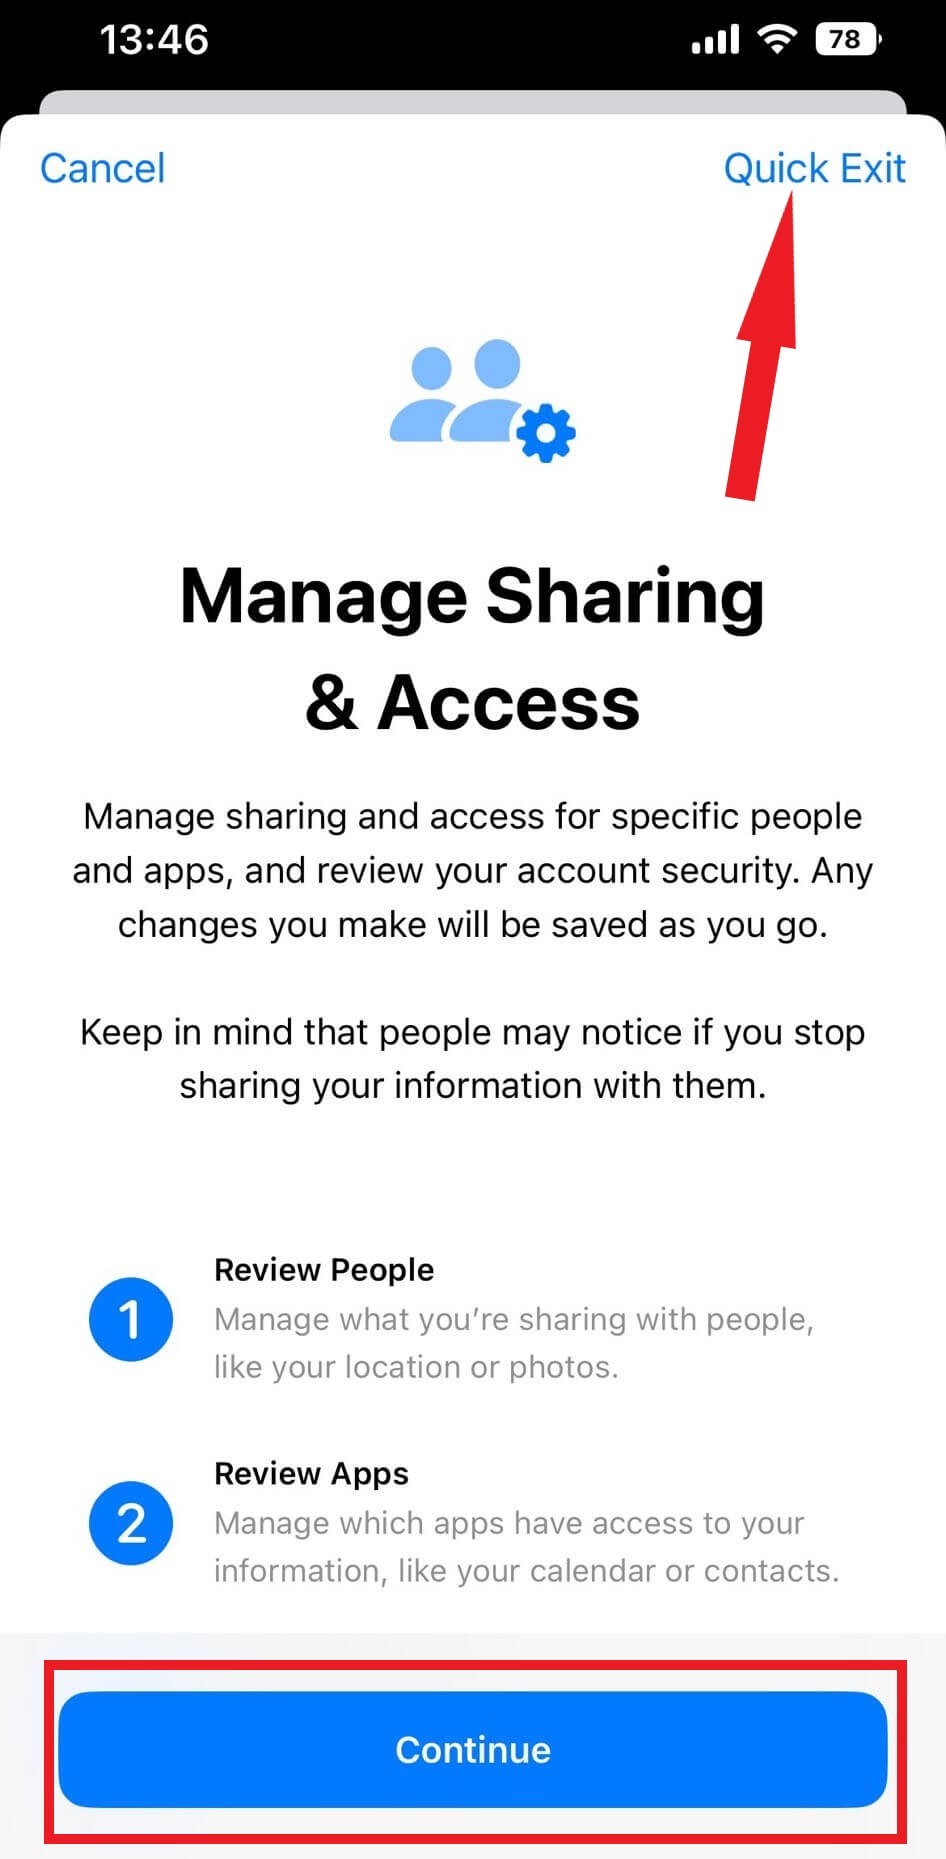
Under Manage Sharing & Access, you can control which application and person have access to your information and examine the security of your account. On the Manage & Sharing Access page, you will find two options to manage access to personal data with any app or person.
- Review People
- Review Apps
Along with applications having access to sensitive data, you can check with whom you are exchanging data and what information they have access to. To immediately stop sharing, choose a certain person or application and click the “Stop Sharing” option.
Check This: How To Remove Background From Photos In iOS 16 On iPhone
Final Words on How To Use Safety Check On iPhone
So, this was a small how-to guide on how to use Safety Check in iOS 16. If you continue to use the Safety Check functionality once every couple of months, you may relax knowing that your data is protected. Do you believe it can help vulnerable individuals with domestic violence or abuse? Let us know your opinions in the comments below.


Leave a Reply