| Key Notes: Trouble with the backspace key? Do not let errors and typos stop you! The steps in this guide will help you get your backspace button working again. We have you covered with our troubleshooting guide. From simple problems such as deactivating Sticky Keys to advanced troubleshooting methods, check them out.
Common causes: These include backspace key failure due to physical keyboard problems, software disputes, incorrect settings, or system glitches. Quick Solution: Steps for troubleshooting: Inspect your keyboard, do a clean boot, run Keyboard Troubleshooter, update drivers or get rid of some of them then re-install the keyboard. Also, consider updating Windows or rolling it back. Prevention measures: Keep your system and keyboard drivers updated frequently to minimize any issues that may arise. By using these tips you can efficiently restore the functionality of the backspace key. |
Why is My Backspace Key Not Working?
- The keyboard’s physical problems, such as worn-out or broken keys can be the cause of this problem.
- This can happen due to malware or incompatible software related to the keyboard.
- Sometimes unintentional changes or wrong key mapping can also cause this error.
- Sometimes some keys, such as the backspace key, do not work as they should due to operating system glitches or errors.
- This issue can also happen due to outdated drivers as well.
In case you missed our previous guide: All About Windows 10 Keyboard Shortcuts
How to Troubleshoot a Non-Functioning Backspace Key in Windows 10?
Most probably disabling “Sticky Keys” & “Filter Keys” will help you fix the “can’t backspace properly” issue. But if the problem persists, try the below-mentioned hacks shared below:
List of Contents
Solution 1: Check your keyboard
Before you move to settings level troubleshooting we suggest you should check your keyboard first. You need to ensure the issue is with backspace key only or other keys aren’t also working. You can try using an external keyboard or virtual keyboard to check if the issue is at hardware or settings level. If you find the keyboard working fine, then you can consider making tweaks at settings level to fix backspace not working in Windows 10.
Also Read: How to Fix WASD Keys Not Working in Windows 10
Solution 2: Perform A Clean Boot
If you are experiencing difficulties in using the Backspace key, there might be chances that some applications have hijacked its default function, making it completely unresponsive. By performing a clean boot, you can identify the culprit application and regain control of your Backspace button.
To start the troubleshooting process, all you have to do is:
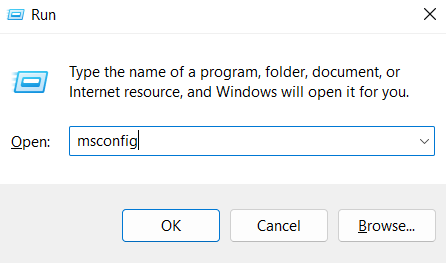
STEP 1 = Launch the Run dialog box by pressing the shortcut keys – WIN + R.
STEP 2 = Type “msconfig” and hit the Enter button! This will automatically load the System Configuration tool on your PC.
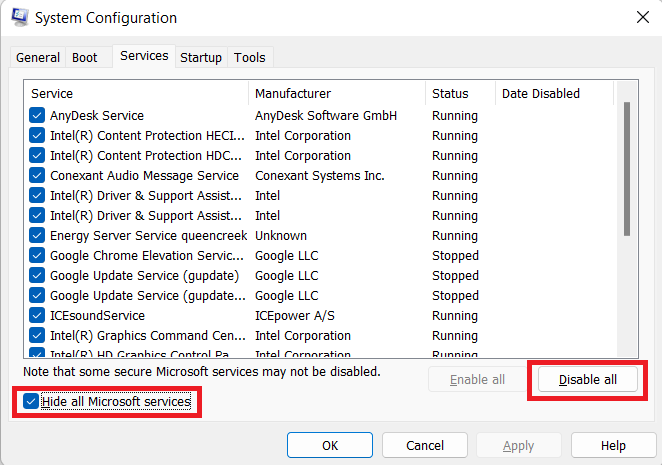
STEP 3 = Head towards the “Services” tab and check the box next to “Hide all Microsoft Services”.
STEP 4 = Click on the “Disable all” button and confirm the process by hitting the “Apply” button. This step will disable the non-Microsoft services.
STEP 5 = Next, you need to navigate to the “Startup” tab. Select the option “Open Task Manager”.
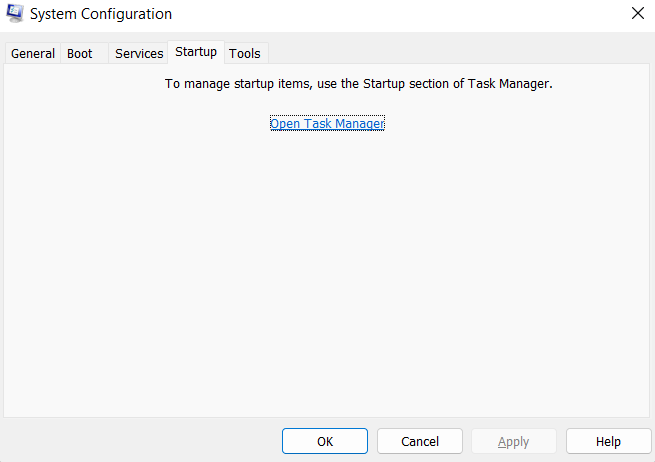
STEP 6 = From the Task Manager window, disable all apps by clicking on them and selecting “Disable.”
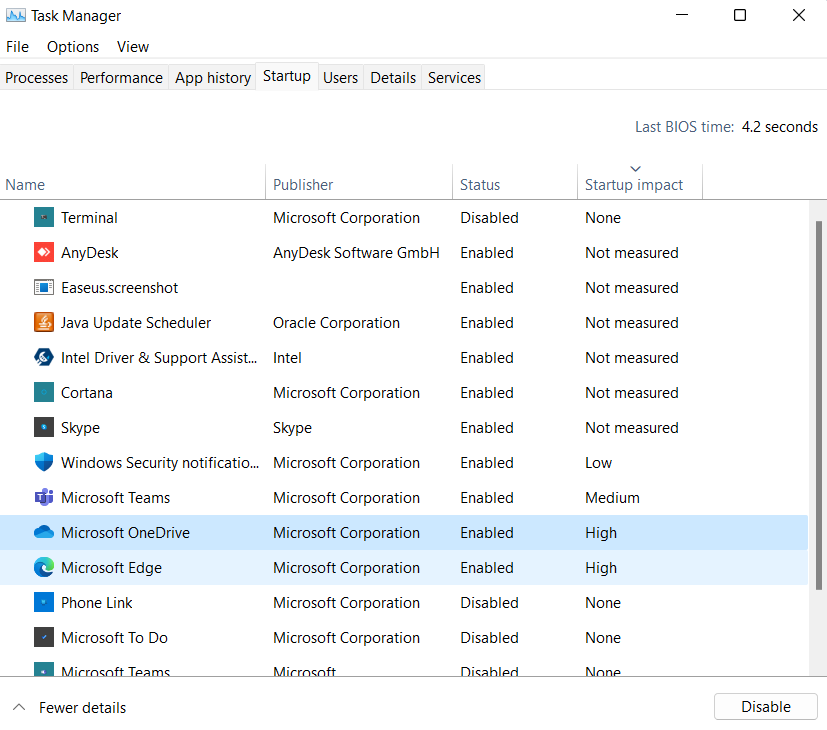
Finally, restart your computer and observe if the Backspace key functions properly now. By performing the clean boot on your Windows 10 PC, you will be able to determine if any specific application is causing the “backspace on keyboard” not working!
Solution 3: Use the keyboard troubleshooter
Windows Troubleshooter is a useful addition to your system. It helps you find and fix software, hardware, settings, and network related issues. You can use the Troubleshoot feature to fix backspace not working in Windows 10. To do this, follow these steps:
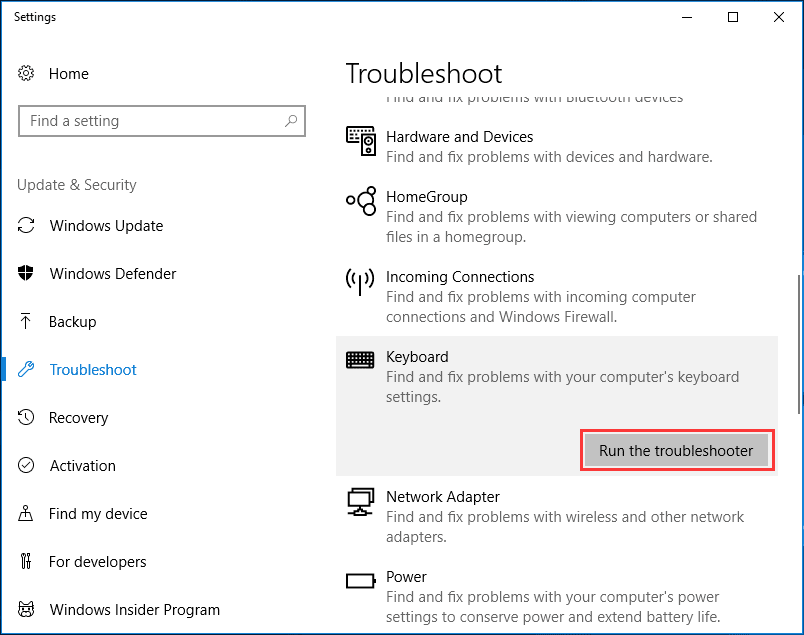
- Search and select Troubleshoot from the search bar on the taskbar.
- In the right pane swift through all the options to find Keyboard and click on it.
- Now click Run the troubleshooter. It will help you fix the problem with keyboard settings automatically.
- Check if the backspace issue is fixed.
Solution 4: Update keyboard drivers
Outdated, incompatible or corrupt drivers could cause lot of problems with hardware devices on your PC. We suggest updating device drivers to fix all types of issues effortlessly. To fix issue with backspace, we suggest you should update keyboard drivers. To do this, follow these steps:
- Right click Start menu and select Device Manager.
- On the Device Manager window, expand the Keyboards
- Right click on device type and select Update driver.
Now it will ask you to allow Windows to search and install all latest drivers automatically, select that option. Alternatively, you can browse device location to find and install latest drivers manually. In that case, you need to download device drivers beforehand from the device manufacturer website.
Use best driver updater software:
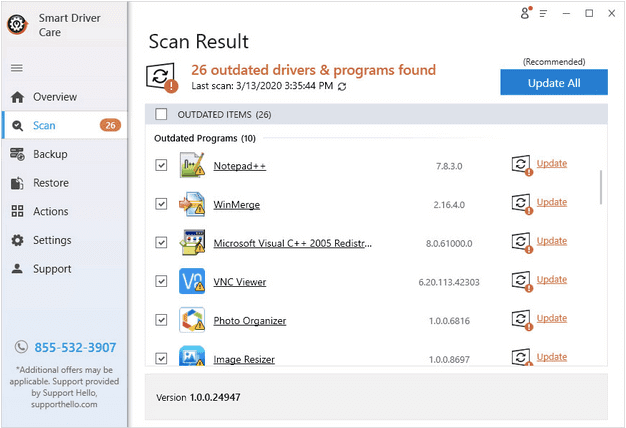
If you find manual process to update drivers too complex, then we suggest you should use driver updater software. These powerful tools help you update all outdated, corrupt and incompatible drivers automatically. One such tool is Smart Driver Care that is known for its advanced features. To check this software click here.
You can download Smart Driver Care from here.

Complete Review on Smart Driver Care
Solution 5: Reinstall your keyboard
It is possible that the connection behind your system keyboard and Windows operating system is corrupted causing the issue with the backspace key. To fix this problem, you need to reinstall the keyboard. To do this, follow these steps:
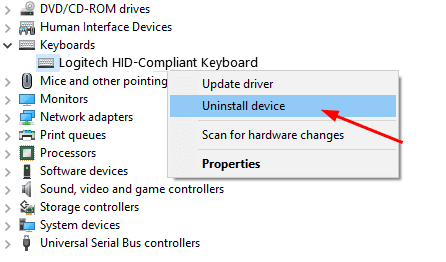
- Type msc in the search bar on the taskbar and select Device Manager.
- On the next window, expand the Keyboards
- Now right click on device type and select Uninstall device.
- Restart your PC and it will reinstall the system keyboard automatically.
Check if backspace not working is fixed.
Solution 6: Update or Rollback Windows OS (Recommended)
Well, if you’re encountering problems with your Backspace button after a recent system update, then maybe it’s time to update or roll back your Windows version. Depending on the scenario, you can explore any of the two workarounds shared below to address the issue.
Update Windows OS, if you haven’t in a long time:
STEP 1: Open Settings.
STEP 2: Go to Update & Security.
STEP 3: Click on Check for updates.
STEP 4: Install any available updates.
STEP 5: Restart your computer if prompted.
Keep your system up to date with these quick steps!
Rollback Windows OS, if you have recently updated your PC:
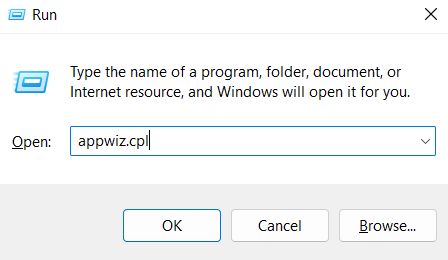
STEP 1: Open the Run dialog by pressing Windows Key + R.
STEP 2: Enter “appwiz.cpl” and hit Enter to launch Programs and Features.
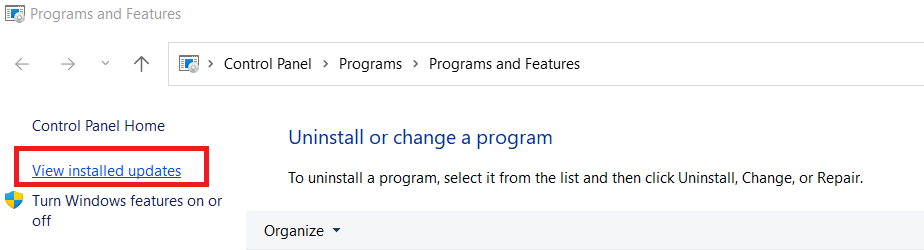
STEP 3: Click on “View installed updates” and scroll down to “Microsoft Windows.”
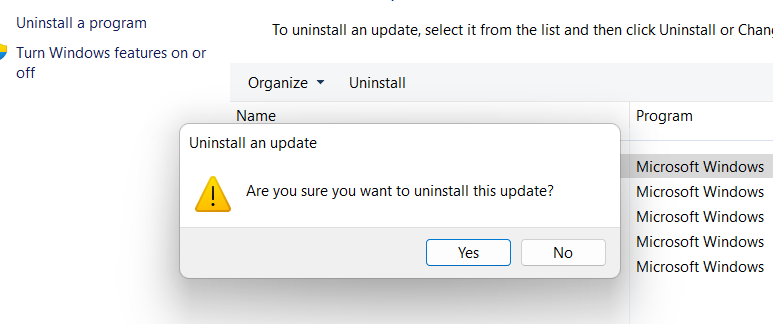
STEP 4: Check the date and select the latest update.
STEP 5: Click “Uninstall” and confirm with “Yes” to remove the update temporarily.
Hope these steps help and get your Backspace key back in action!
Solution 7: Update Windows
It might sound strange, but updating Windows will take care of this problem. Windows updates automatically install the most recent drivers for all of your devices, fixing the root cause of the problem. Follow these steps:
Step 1: Click on the Windows key and type Windows update on the search bar.
Step 2: Then click on Open to open Windows Update Settings.
Step 3: You will updates here. If there is no update, tap on Check for updates.
Step 4: Now click the Download and Install button beneath the Update.
Solution 8: Replace your Keyboard
If the problem persists, your keyboard may be broken or dead. Visit a local electronics shop near you and purchase a new keyboard. After purchasing, install the drivers for the same.
If you are using a laptop, visit the official service center of your laptop brand and get it repaired.
Regain Control of Your Backspace Key and Enhance Typing Efficiency
The backspace key is a vital tool on your device’s keyboard, allowing you to effortlessly correct mistakes. Ensuring its proper function is crucial for a seamless typing experience. Luckily, we’ve got you covered with some quick solutions to fix the dreaded “backspace key not working” issue in Windows 10. Reinstalling the keyboard driver helped us to get out of the vicious loop of the ‘can’t backspace problem’.
Give these methods a try and share your experience in the comments below. Let’s reclaim the magic of our backspace key together!
Conclusion:
Knowing the fact that the backspace is an important key on your device keyboard, it becomes crucial to keep it working. Here, we have discussed a few quick solutions to fix backspace key not working in Windows 10. Do try them and share your experience in the comments below.


Lucy Taylor
Bookmarked !! I will definitely use this tip if my backspace key stuck.