Going by the title of the blog – don’t misconstrue this blog as something meant for only avid or seasoned photographers.
Resizing images these days whether on Windows or Mac can be a big deal for anyone. Know-how of how to resize images can be a great skill to acquire if you often have to indulge in sending or uploading images.
What is Resizing Images?
In simple terms, resizing an image means you only alter the size of the image. Here you do not intend to modify the quality of the image or cut any of its components (something that’s evident in cropping).
Why Resize Images?
After having spent a considerable amount of time, pondering over angles and stuff, you take an image or bunch of images. Or, after an enormous search, you finally stumble upon the right images for your blog or images that you need to share with your friends, family, or colleagues. Then what’s the need to take that extra mile and resize images?
When you are resizing an image, you have to fit that image in a certain space. Also, there are times when you have to consider the amount of time the photo will take to upload. Because, the larger the image size, the more time it will take to upload.
Also Read: How to Resize Image Without Losing Quality Using Image Resizer
Tips On Resizing Images
– Know Where You Want To Share Or Upload Images
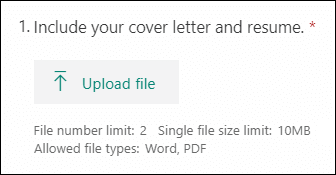
Let’s say, you have clicked a snap of yourself and your signature, to upload on an online form. Take proper heed of the image format and the size of each of the elements asked. It could be, for example, that the images should be in JPEG format and the size required for a photo image is between 10 KB and 200 KB and the size of the signature’s image should be between 4 KB and 30 KB.
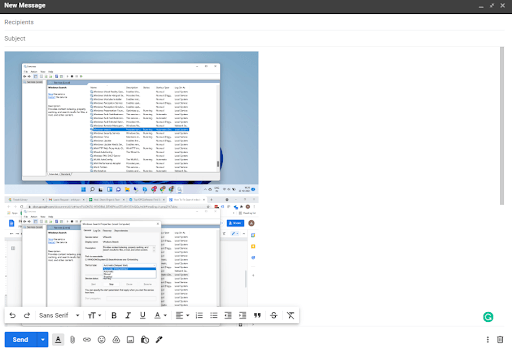
Similarly, you may want to compress images for your blog posts without losing quality or you may want to compress images for email attachments so that they can upload fast.
– Resize First, Crop Later
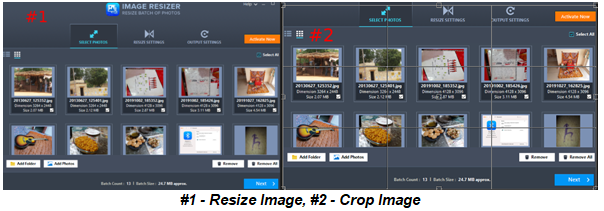
It is always recommended to resize photos first. A scaled-down image will still look good. it‘ll still have all the necessary pixels intact. On the contrary, a larger image is tough to deal with. If it doesn’t have enough pixels, it is going to look choppy and fuzzy. Also, when you resize photos first, you have more control over image quality, something that is of utmost importance when you want your output to look spot-on, professional, polished, and clear.
Also Read: Best Image Editor for Mac: Free and Paid
-Use A Third-Party Image Resizer (Mac and Windows)
For those who are well versed with photo editing tools, you might skip this point. But, for those who find photo-editing tools like Photoshop overwhelming, you needn’t worry. You can instead install a lighter third-party batch image resizer whether on Windows or macOS. And, then in a few simple clicks, you will be able to batch resize images. An image resizing utility also minimizes the chances of distortion.
Image Resizer from Tweaking Technologies is one of the best image resizing tools available. It is a spot-on tool that doesn’t just help you resize multiple images, but, even flip, rotate, change the format and rename them. In the process, it makes sure that no harm is caused to the original quality of the image.
Know more about why Image Resizer is a spectacular and simple batch image resizer for both Windows and macOS
How To Use An Image Resizer?
Download Image Resizer Tool


Complete review on image resizer – windows
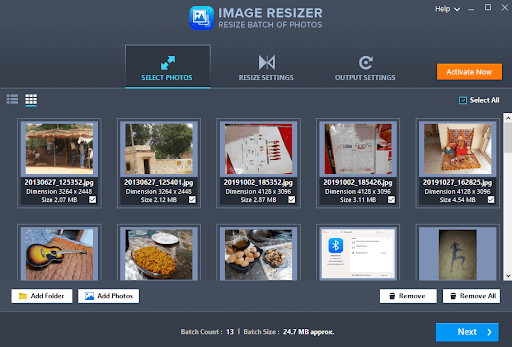
- Download, install and run Image Resizer
- You can either select and add individual photos or add a complete folder

- Click on Next
- Change the Resize Option, rotate the image if you want using Rotating Option or even flip the image using Flip Option
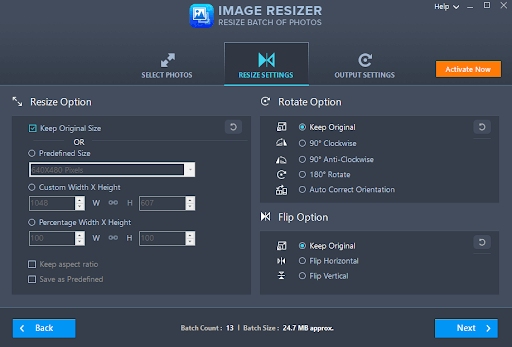
- Click on Next
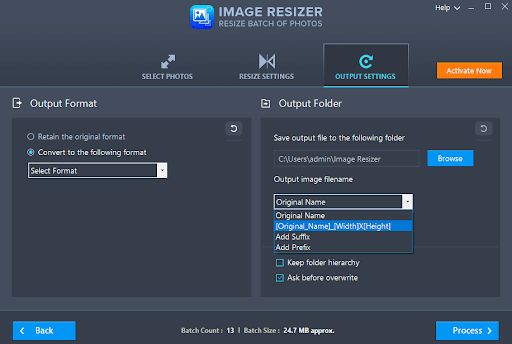
- You can even choose to change the image format, rename it and save it to your desired location
- Last, click on Process
Wrapping Up:
Now with the basics of resizing images on Windows and Mac down, you should have no problems in either scaling down an image or getting it prepped up for further editing. For more such interesting content, technical troubleshooting, and other fun tech-related content, keep reading Tweak Library.
Leave a Reply