JPEG or JPG is a very common image format. With that out of the way, let’s get down to the intent of this blog. Here we shall be discussing some quick ways to increase JPEG quality. You might be wondering, why is there a need to enhance image resolution. If in case, we come across an image with poor quality, we simply delete that image without giving it a second thought, isn’t it? But, let’s say you have snapped a wonderful image with everything in place – right composition, spot-on perspective but, the lighting was something that was not up to the mark. Or, the grains on that image disappointed you.
In such instances, instead of deleting the image, you should at least once try and enhance the quality of the image. You must try and see if you can get rid of some minor blemishes at your end. Here we are not going to discuss extensive photo editing methods but just some easy and quick ways to increase JPEG quality that even a beginner or someone with little to no experience in photo editing can apply.
How To Increase JPEG Quality Quickly –
1. Increasing JPEG Quality With The Help of Inbuilt Windows 10 Tools
-Paint Can Help You Increase JPEG Quality
There is a very slight chance that you haven’t heard of Paint. But not many know that this very Windows 10 tool can help increase JPEG quality and that too with just a few clicks and little patience. Here is how you can increase JPEG resolution with the help of Paint.
- Start paint
- Click on File > Open
- Open an image whose JPEG quality you want to increase
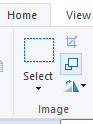
- From Home select Resize

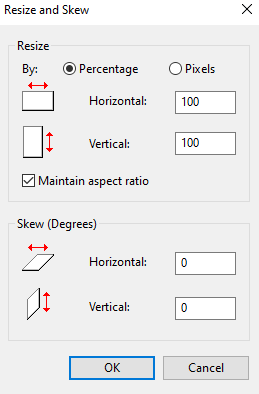
- Click on the Resize and Skew dialog box, the image of which is shown below,
- Enter a lower image dimension
- Click on OK
- Save the file
-Use The Photos App
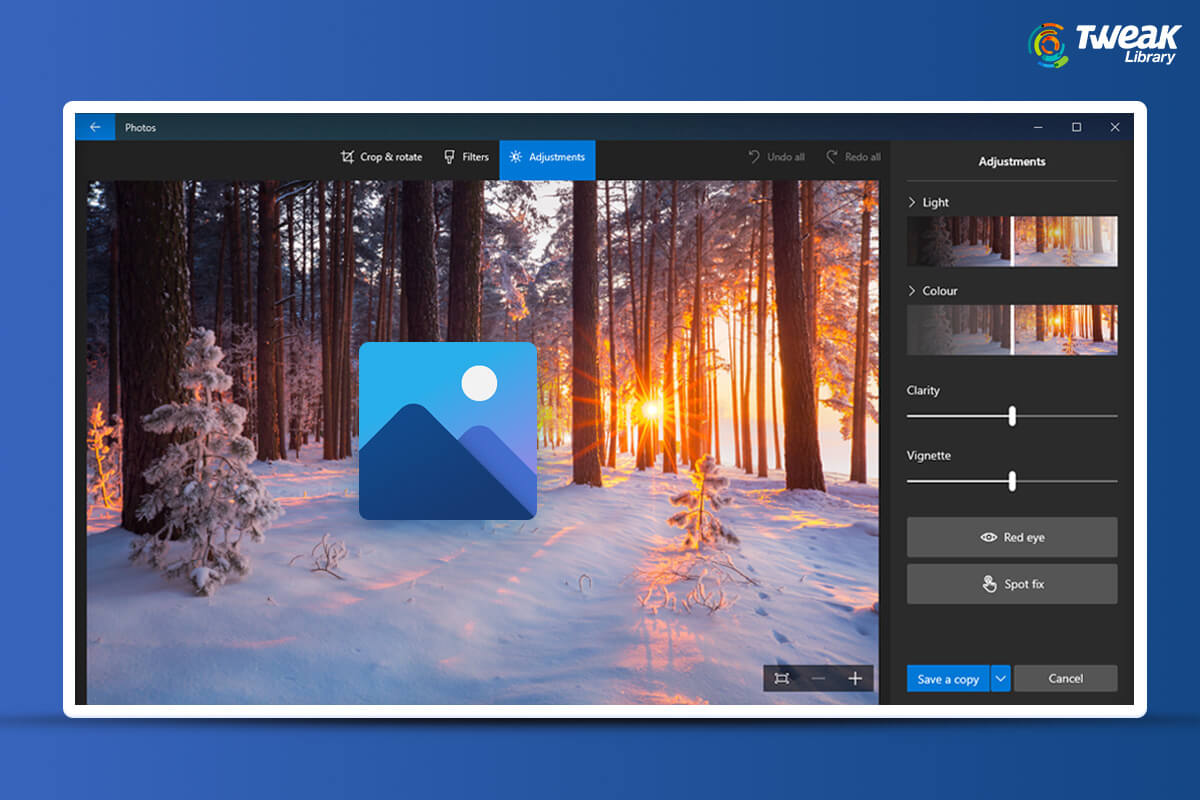
You needn’t install a bulky photo editing app, instead, you already have something right on your computer. Windows 10 has a decent Photos app with the help of which you can enhance the JPEG quality of an image. The process is simple and the steps for the same are mentioned below –
- Go to the folder where the image is placed
- Right-click on it and select Open with > Photos
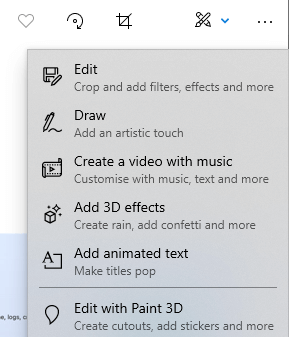
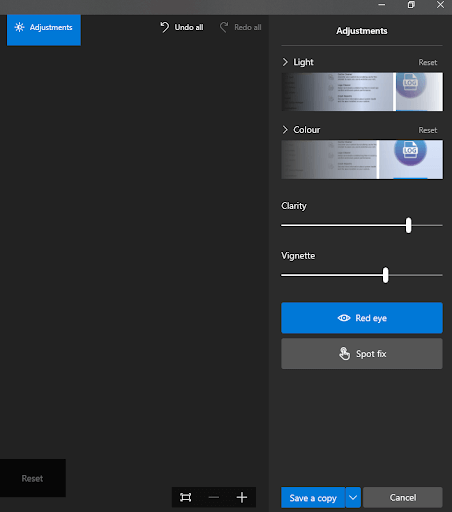
- Once the image is opened in the Photos app click on the Edit and create dropdown as shown below and select Edit
- Here you can choose from several Filters or auto-enhance the image by clicking on Enhance your photo
- If you go further and click on Adjustments you can fix blemishes such red-eye that might have occurred because of flash and you can even adjust its color, clarity, and few other things
2. Using Third-Party Tools To Improve JPEG Quality
It could be that until now you haven’t been able to achieve a quality that you desired. A third-party utility can help you increase JPEG quality. Here are two of the most popular utilities that can help you fix JPEG images –
– Use Stellar Repair for Photo To Increase JPEG
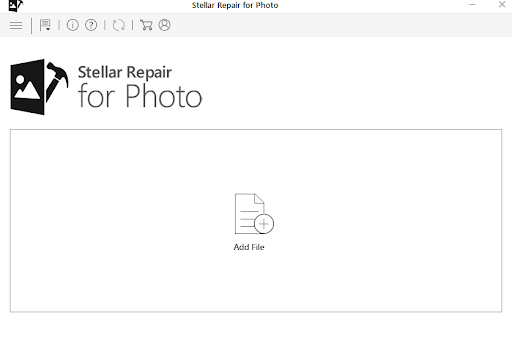
The first utility that can easily help you enhance the quality of a JPEG image is Stellar Repair for Photo. Here are the steps to enhance or fix the quality of a JPG or JPEG image using this tool –
1. Download and install Stellar Repair for Photo
Download Stellar Repair for Photo – Windows

Download and install Stellar Repair for Photo- Mac
2. Add the images whose quality you want to improve
3. Click on the Repair option
4. You can even preview the image to check if the improvement is as per your desires
5. Not satisfied yet? Click on Advanced Repair and add all perfect JPEG files that you have taken
6. Click on Save Repaired Files
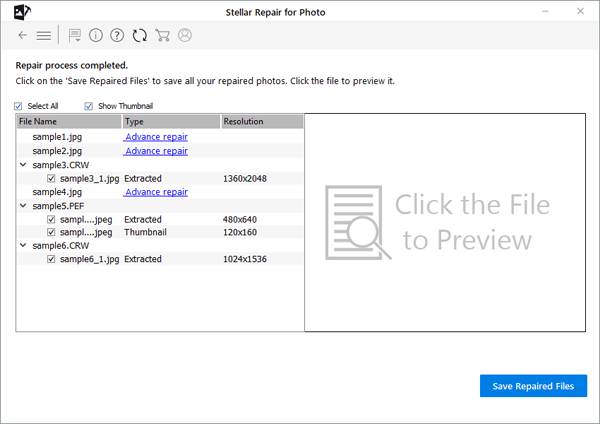
Note: The free version lets you preview and evaluate images.
Also Read: How to Repair PDF Files using Stellar Repair for PDF?
3. Improving JPEG Quality With The Help of Adobe Photoshop
Undoubtedly, Photoshop is a go-to application for photo editing, so much so that you might find it on almost every graphic designer’s system. Wait! Here is a notion that might have knocked on your brains – isn’t using Photoshop something that’ll require some skill? Yes, it does. We don’t negate that completely, however, for the purpose of enhancing JPEG quality, you might not need extensive expertise. Here is how you can increase JPEG quality using Photoshop
- Click open the image that has a poor quality
- Click on Edit > Preferences > Technology Preferences
- Check the box that says Enable Preserve Details 2.0 Upscale (you may have to check if this option is available in your Photoshop)
- Now, click on the Image that you can see on the top menu bar
- Click on Image Size and make sure that you have checked the Resample checkbox
- Change the dimensions to 200% and click on Automatic next to Resample
- You can even preview the image
- If you are satisfied, click on OK and save the JPEG to your computer
Wrapping Up:
Sometimes we put our heart and soul into an image. But, when the output quality is not up to the mark, we get disheartened and end up deleting the image. We hope that now you will be able to increase the quality of your JPEG images with ease. At least this will give your hard work a second chance to stay with you. For more such content, keep reading Tweak Library.
Related Topics


Leave a Reply