
Before we start learning the steps on how to recover DNG files on Windows. Let us learn a bit about DNG files.
Often confused with RAW files, the DNG file format is Adobe’s proprietary image standard created to save image data in a high-compatible and generic format. When these files go missing, recovering them becomes a task.
In this post, we will cover a detailed guide on how to retrieve DNG files.
Why are DNG files better than RAW?
- Compared with RAW images DNG files are smaller in size
- DMG files help detect and prevent file corruption also include checksum information
- Compatible with almost all software
- Using Adobe application can convert a RAW image into DNG format
- Changes made are directly written on DNG
Reasons for losing DNG files
- Bad sectors on the disk drive
- Malware or spyware attack
- Due to disk formatting
- Accidentally pressing the delete button
How to Recover DNG Files on Windows?
If you think restoring DNG files is difficult, use the three methods explained below to retrieve deleted files on Windows.
Method 1. Recovering Deleted DNG Files from Recycle Bin
Well, yes when you hit the Delete button or accidentally lose or delete a file it is moved to the Recycle Bin. So, before learning the technical steps or using a data recovery tool, let us check the Recycle Bin. If you are lucky, you might find the deleted DMG file format there.
To use this method, follow these steps:
1. Look for Recycle Bin icon on the desktop
2. Double click to open it
3. Here look for the deleted DNG files > right-click Restore
4. This will put back the deleted file to its original location.
However, if you are unable to find the file in Recycle Bin, nothing to worry about, there are other methods to get back the deleted DNG file.
Method 2. Unhide Files and Folders
If there’s nothing in the Recycle Bin, chances are that your system might be infected. Due to which you cannot see DNG files. To ensure that is not the case we suggest unhide the DNG files. To do so, follow these steps:
1. Press Windows + E to open Windows Explorer
2. Navigate to the folder where the DNG files are stored.
3. Click on the top of the menu bar and tap on View > Options > Change Folder and folder options button.
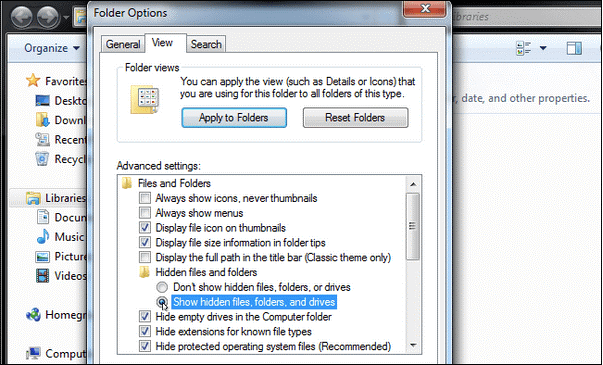
4. Click the “View” tab.
5. Scroll down and look for “Advanced Settings.” Tap on the “Show hidden files, folders, and drives” option.
6. Press the OK > Apply buttons to save your changes. You will now be able to view the hidden DNG files in the folder.
If this doesn’t help, this means the file is permanently deleted. In such cases using a data recovery tool is the right decision. For this, you can try Advanced Disk Recovery.
To learn more about the best data recovery tool, follow the steps below
Method 3. Restoring DNG files using Advanced Disk Recovery
1. Download and install Advanced Disk Recovery
Click Here to Download Advanced Disk Recovery

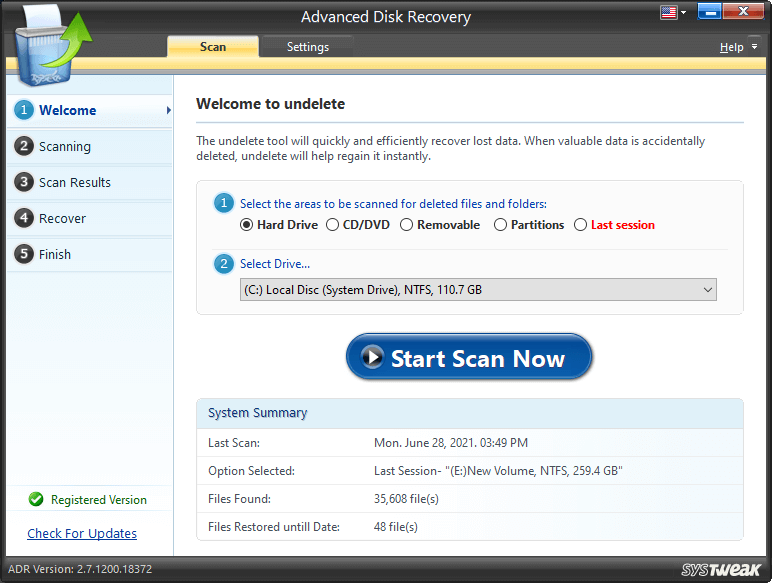
2. Launch the data recovery tool on your Windows PC
3. Select the areas to be scanned. Advanced Disk Recovery allows scanning disk drives, removable storage media, including USB sticks, SSD, memory cards, and beyond.
4. If you want to scan Hard Drive, select the Drive and click Start Scan Now
5. Select from the scan type – Quick Scan or Deep Scan.
Quick Scan is faster than Deep Scan but shows lesser results as it just identifies the MFT. Therefore, if the DNG file you are trying to get back is old, use Deep Scan.
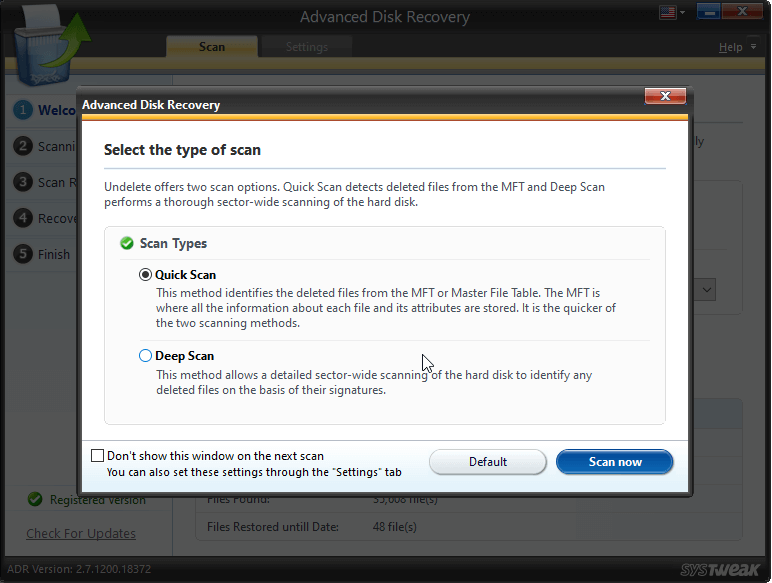
6. After making the selection, hit Scan now and wait for the process to finish.
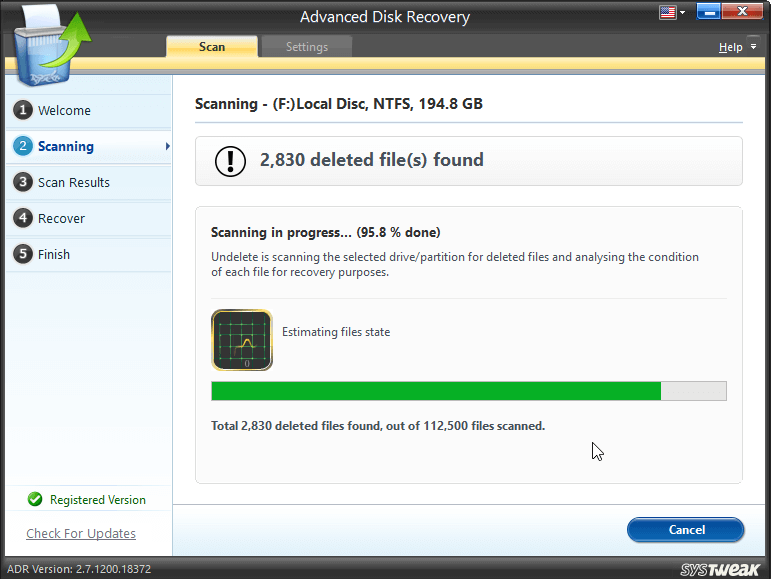
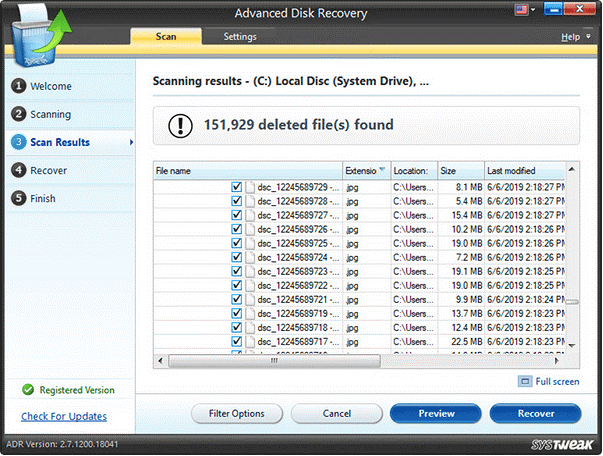
7. When done, you will see a list of scan results.
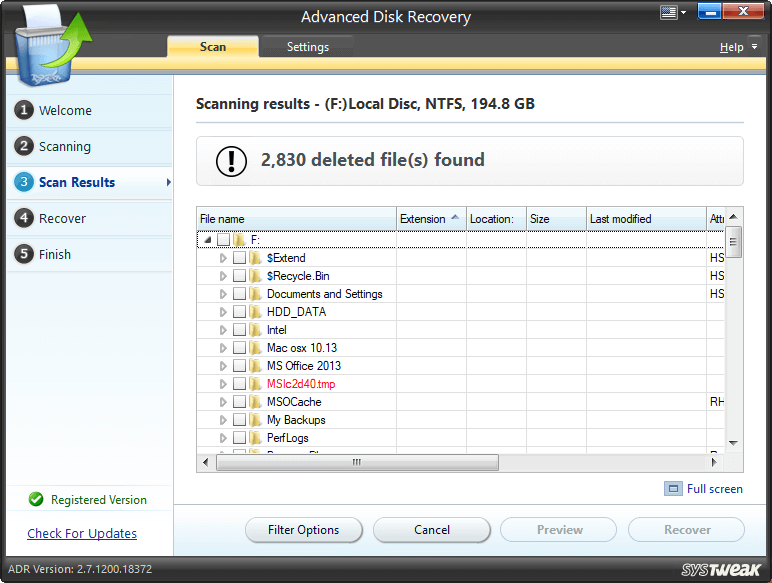
8. Look for the DNG file from it to recover. Select it and hit Recover.
9. Select the location where you want to save the file. Make sure it is not the same as the one from which you are recovering data.
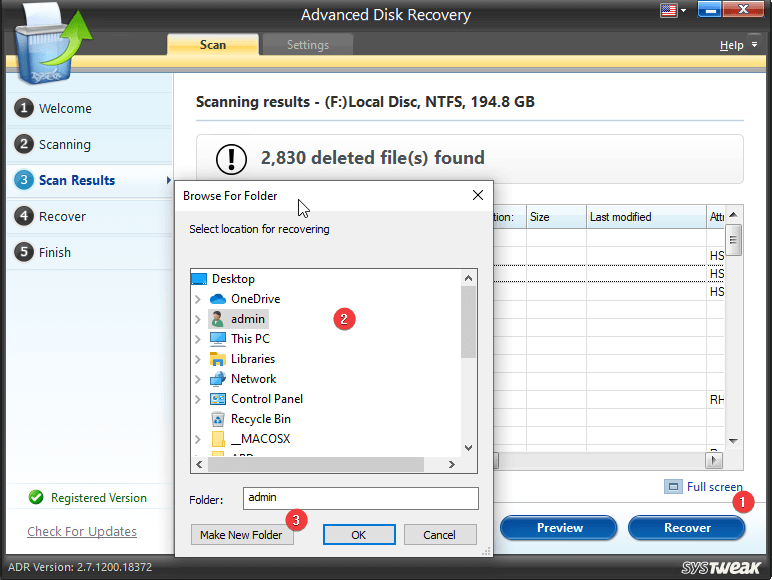
10. Wait for the recovery process to finish and that’s it, you will now have the lost or deleted DNG file.
Pick the ones that you need to recover and then tap the “Recover” button to confirm your selection.
Conclusion:
These were the 3 easiest and quickest methods to recover DNG files on Windows. To ensure you never face this situation again, try to keep a regular data backup. This will help stay secure from viruses, malware attacks also.
However, if you forget to take a backup, you can anytime come back to Advanced Disk Recovery for help and restore deleted data.
Hope you find the information helpful. Please do share your feedback in the comments section.


Leave a Reply