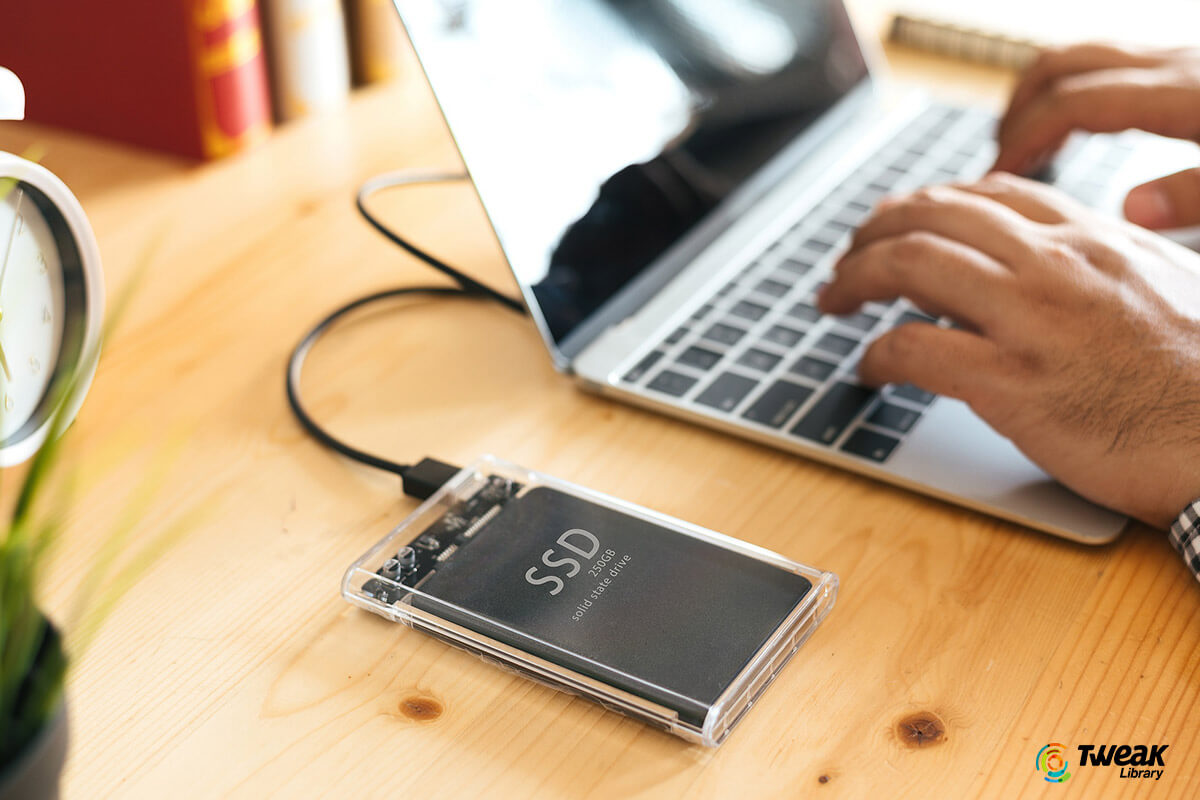
SSDs are highly popular these days. They have become a lot more affordable options in the past few years and all the midrange to high-range PCs offer SSDs as primary data storage drives.
Fact: SSDs have been around since the 1950s, only that people had to pay around $1000 for 20MB of Storage.
The reason behind their popularity is obvious – their Speed, fewer mechanical components involved, quiet working, ease to carry, etc. However, SSDs can be tough business when it comes to recovering deleted data or in the case where the drive completely fails.
Note: SSDs have a long working life and don’t usually fail.
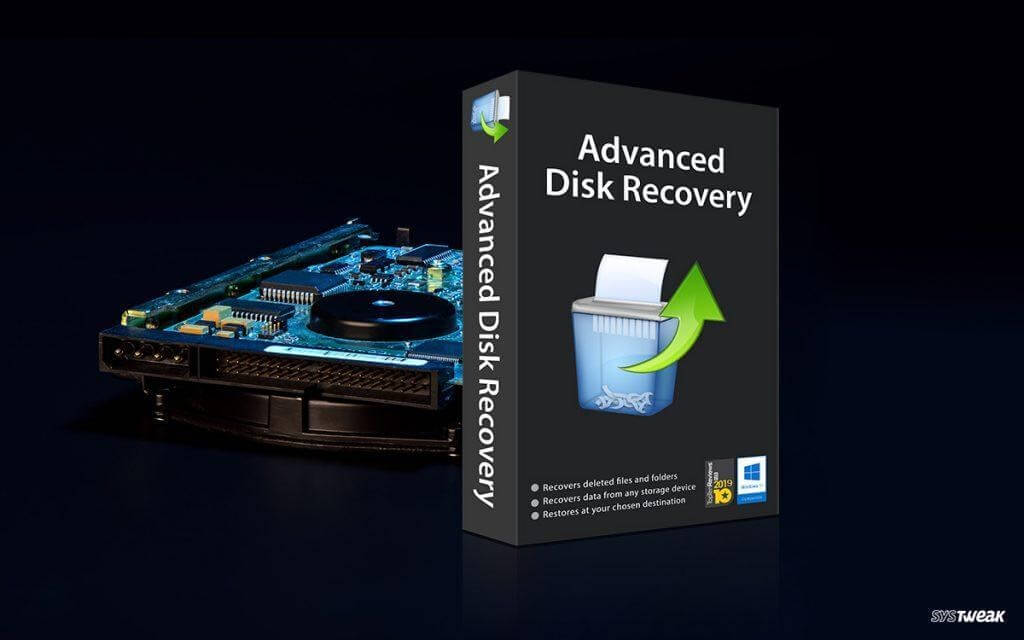
Hence, when they do, it isn’t really easy to recover data from SSDs. Due to this using professional Data Recovery Software is suggested. Our suggestion to restore data from SSD is to use Advanced Disk Recovery Software by Systweak.
How does Trimming Make Data Recovery Complicated On An SSD?
Trimming is a process through which the system tells your Hard Drive what blocks of data are no longer in use. This means, when you have SSD Trimming Enabled, your OS sends the TRIM command as soon as you delete some data to tell the SSD drive that the block of data that was just deleted will no longer be needed and hence, can be cleaned completely. This helps maintain the performance of your SSD Drive.
However, it makes the Data Recovery process much more complicated and difficult. You can disable and enable SSD Trim with the steps given below:
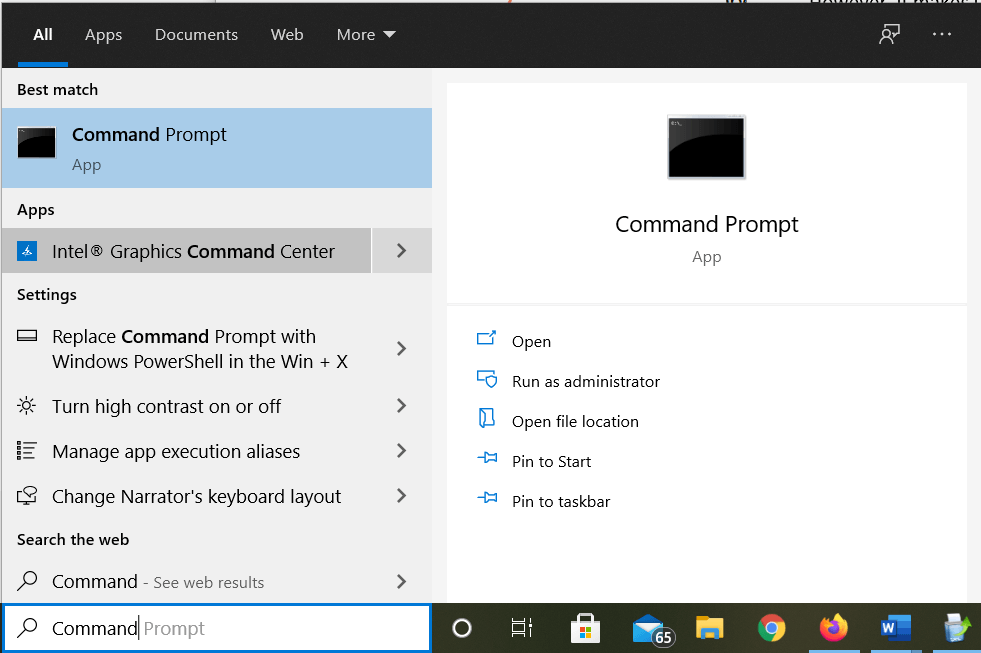
Step 1: Search for Command Prompt in Cortana Search Bar.
Step2: Right-click on the Command Prompt and click on Run as administrator.
Step 3: To know the status of SSD Trim, type the command given below and press Enter.
fsutil behavior set DisableDeleteNotify
Step4: If the Answer after the command comes to be ‘0’, SSD Trim is Enabled and if comes out to be 1, then SSD trim is disabled.
Step 5: To Disable SSD Trim, type the following command.
fsutil behavior set DisableDeleteNotify 1
Step6: To Enable SSD Trim, type the following command.
fsutil behavior set DisableDeleteNotify 0
And that’s how you can simply turn SSD Trim ON and OFF through the Command Prompt.
Also Read: Recover Data from SD Card with Advanced Disk Recovery
How to Recover Data from SSD with Advanced Disk Recovery?
We’ll take you through the step-by-step process on How to Recover Data from SSD with Advanced Disk Recovery in this section. So, let’s not waste anymore of our time and get straight into it:
Step 1: To begin recovering data from SSD using Advanced Disk Recovery, download and install the software.
Click Here to Download Advanced Disk Recovery

Step 2: Nex, before running the program, make sure that the SSD is connected to the computer, on which Advanced Disk Recovery is installed.
Step 3: Launch the best data recovery application, and then choose a hard drive.
Note: If the SSD you are trying to recover data from is internal select Hard Drive. However, if external select Removable.
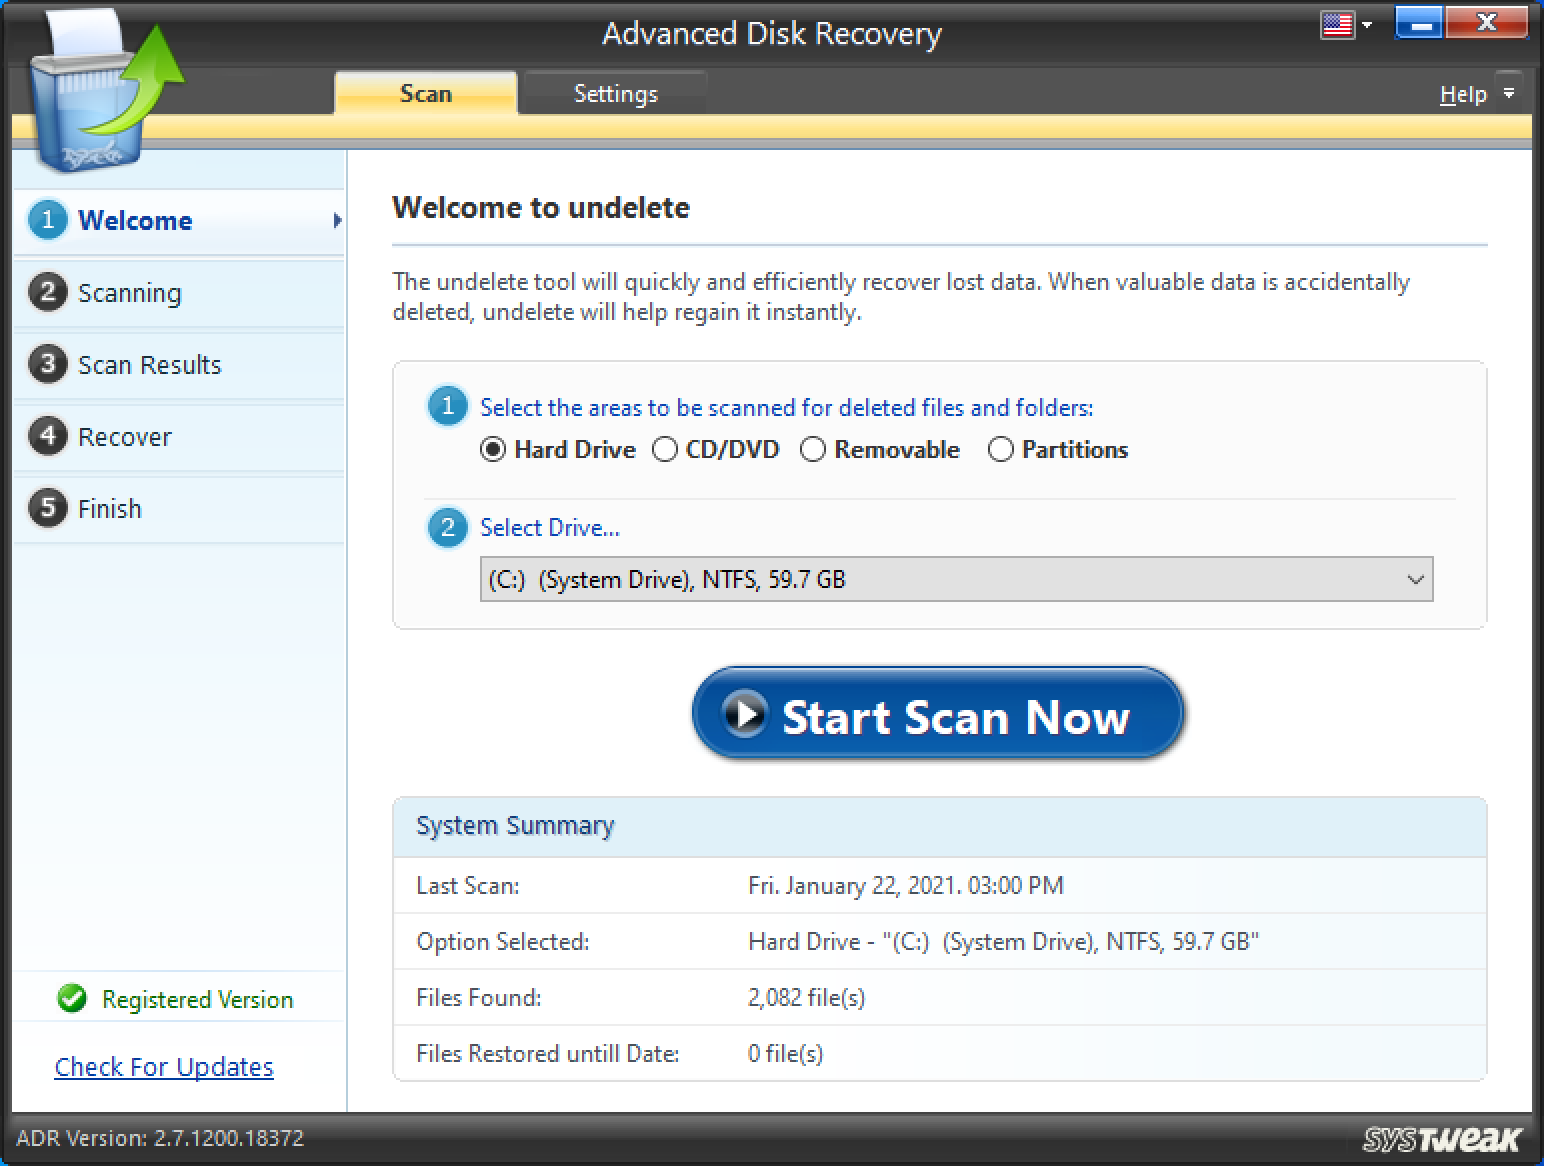
Step 4: Once you click on the relevant option, Choose the Drive you want to scan from the second option “Select Drive”. Here you can simply choose the drive you want to scan to recover data from the SSD.
Step 5: Thereafter, click Start Scan Now.
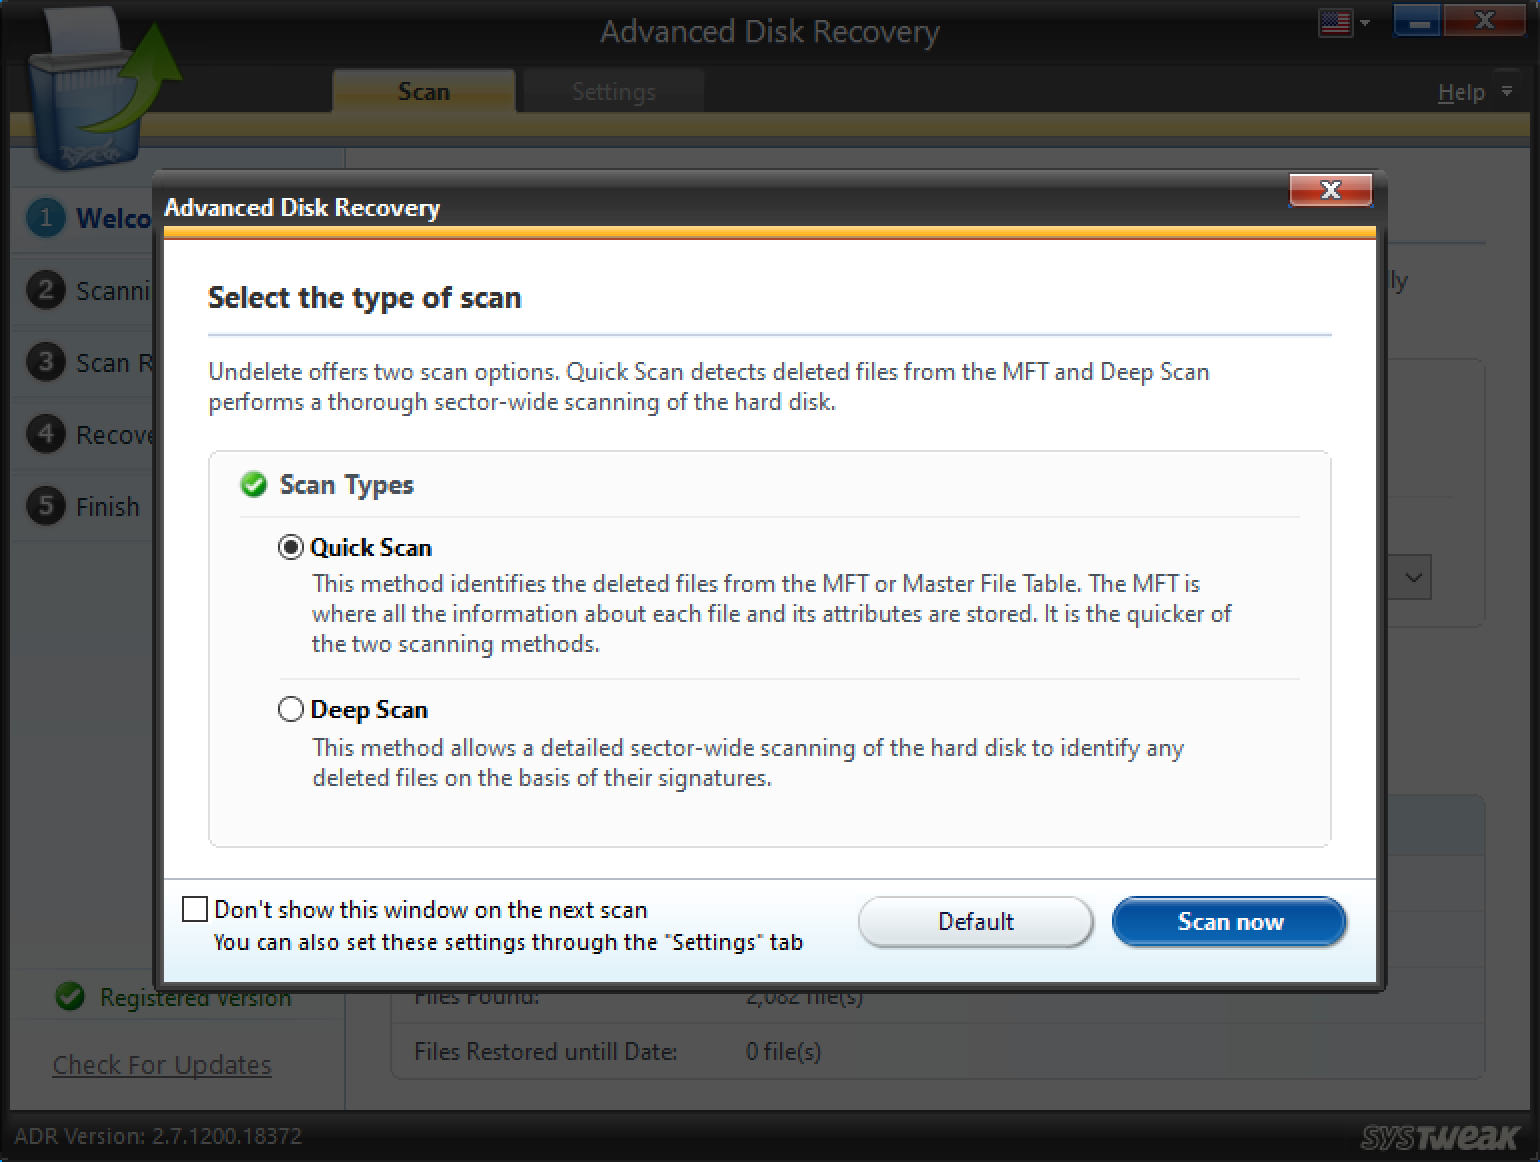
Step 6: On the next window, you will find the option to choose the type of scan you want to perform – Quick Scan or Deep Scan and click Continue.
The purpose is simple, Quick Scan is for the files that have recently been deleted and Deep scan for files that have been deleted a while ago. However, for SSDs, I suggest you go with the Deep Scanning option, as it is thorough and does in-depth scanning for deleted files
Note: Deep Scanning is time-consuming.
Step 7: The software will now search for all the recoverable files on the drive. Once the process is completed, you will see a list of all files that can be recovered.
Step 8: You can either choose specific files or select all the files at once and Click on Recover Files.
Note: The option to recover files is only available if you have purchased the Pro version. The Trial version just allows you to scan and let you confirm that your purchase won’t go in vain. You can check the Advanced Disk Recovery Pricing here.
Step 9: Voila, you have successfully restored all the deleted files from SSD. However, there are a few tips that can further increase the chances of Data Recovery from SSD.
Tips to Increase the Chances to Recover Data from SSD:
- Once you have accidentally deleted something that you didn’t want to, stop using your SSD or Device with the SSD until you recover the data.
- Don’t install the Data Recovery Software on the same drive.
- Don’t Overwrite data on the Drive, you want to recover deleted files from.
- Turn of Trimming on SSD.
So, this was all from our end on How to Recover Deleted Files from SSD. Also, you can recover data from a Failed SSD in a similar fashion. We hope we were able to provide you the information you were looking for. If you have any queries, do let us know in the comment section below. Keep Visiting Tweak Library for more such tech-related content.
Next Read:
Recover Accidentally Deleted Photos From iPhone
Best Windows Recovery Options for Desktop Recovery
How Does A Data Recovery Software Work?


Leave a Reply