
Without a doubt, WindowsOS is the most used and popular operating system in the world. There are many reasons why Windows operating system is one of the best in the world and those can be the user friendliness, easily available, diversified captured areas, & constant updates, all-in-one Microsoft Store, in-built rich features, security checkpoints, & whatnot.
Now considering the fact that Windows offers top notch security features to its users, however, things can go haywire any time. Without any prior notification, your system can face malware or ransomware attack, drive crash, or system failure issues. And there can be many walls you build to keep the system safe, some times, they just don’t work at all. And this is when your system faces issues that aren’t repairable easily.
System Issues & Instant Plan of Action
There is no list of issues your system can face out of nowhere that can give you nightmares and probably cripple the system. There are many of them and you need to be on your toe to give them a good fight. Though sometimes resetting your Windows PC can solve those issues for you, you might lose your data in the process. So while trying to resolve the system crash or failure issues, you need to be aware about one thing that you don’t lose out on your precious data.
Data that you have been keeping on your system for so long and one breach can tweak everything up. So it’s highly recommended that you keep a successful & full backup of your precious data. Yeah!! Data backup that will make sure that even if you had to reinvent your system from the start at least your data will be saved. So in order to avoid any sudden & irreparable system issues, we must have a full Windows 10 system backup. And post creating Windows backup, you need to store the same on a separate device altogether, maybe an external hard drive.
How to Create Windows Files Backup to External Hard Drive
Since we are talking about the most commonly used PC operating system in the world, it’s quite evident that there would be many ways to create Windows backup.
Some would be in-built features and others would be the 3rd party tools that help you create data backup easily. So without further ado, let’s explore those ways that can help us create Windows backup in the easiest ways possible:
Backup Computer File to External Hard Drive (In-Built Features)
The Windows operating system is too vast that if you explore it thoroughly, you won’t have to go outside to find answers. Every possible problem your system can face has the solution inside the system only. All you need to do is, look for it thoroughly and you are all set to get your answer. For example create backup computer to external hard drive is possible with the Windows in-built features such as below:
1. Create Windows Backup with File History
One of the native methods that can help us create Windows backup easily is going through the File History method. In Windows 10, you need to navigate yourself to the path below & it will lead you to the methods to create Windows backup easily.
Please note that using the File History section, you will be able to create the successful backup of all your files to an altogether different memory device. It wouldn’t be a full Windows OS backup but the backup of all your files. So let’s start the backup process by connecting the external hard drive to the system:
1. Considering that you have successfully connected the external hard drive to the system, navigate yourself to the below path:
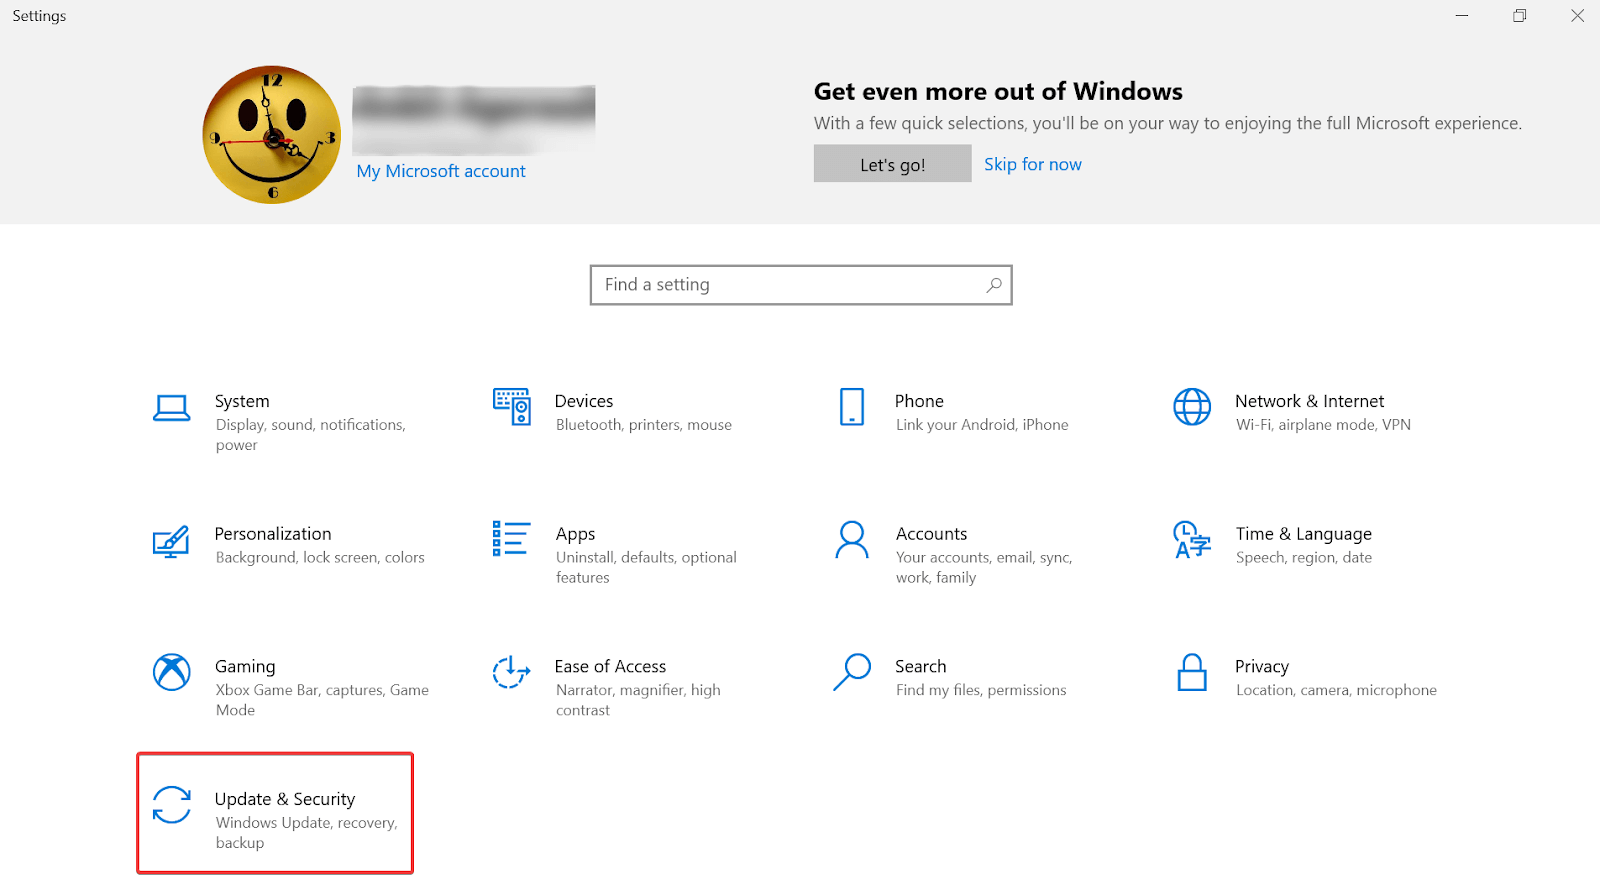
Settings (Windows + I) > Update & Security > Backup (tab selection)

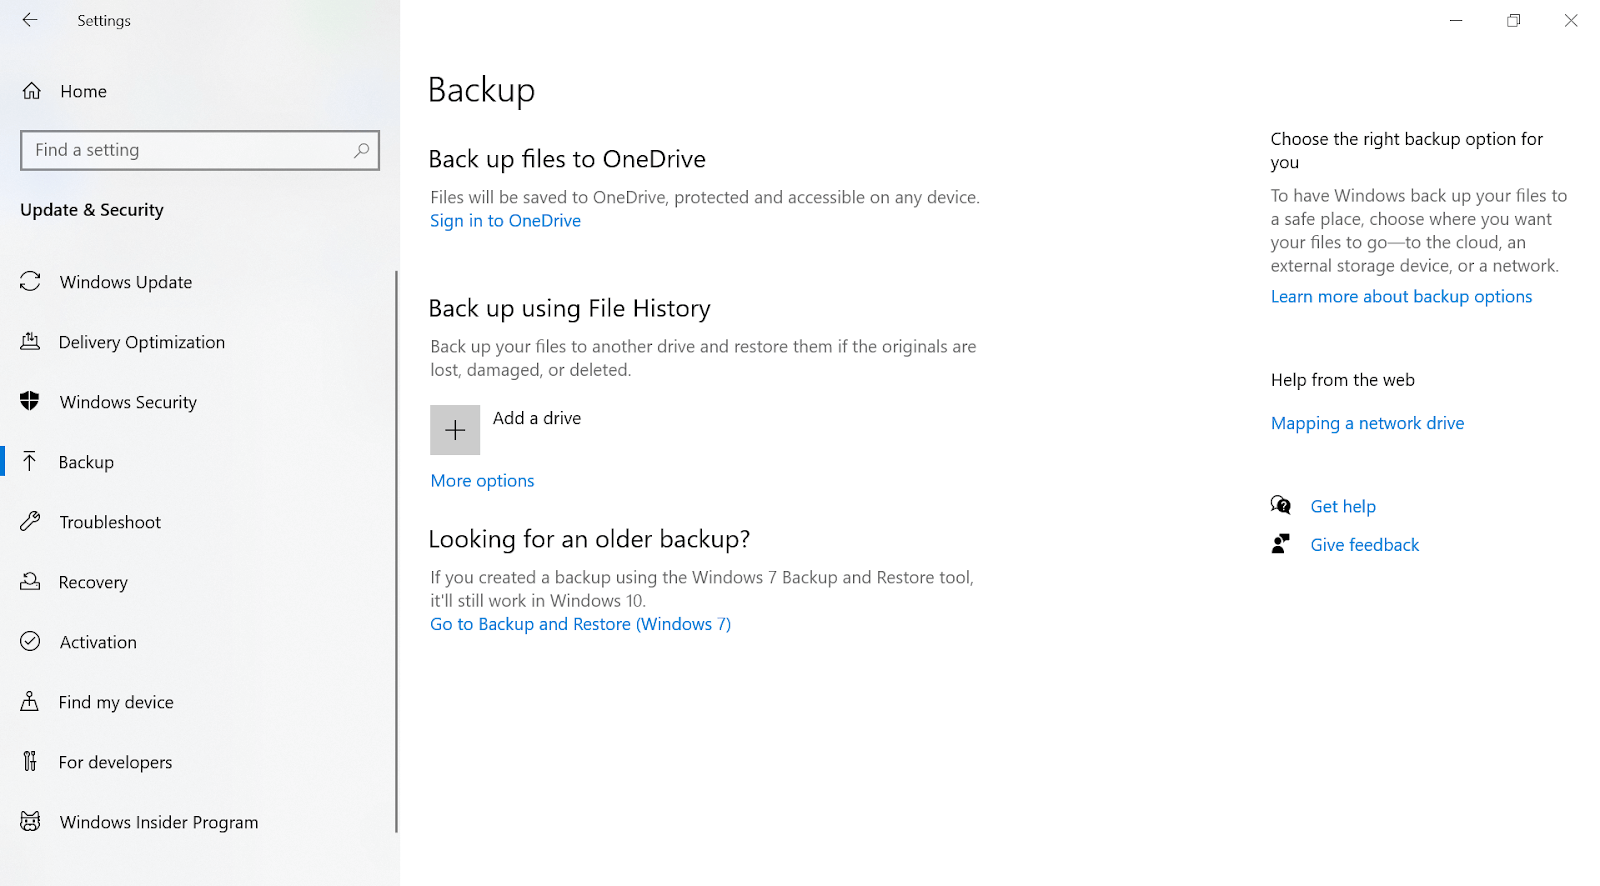
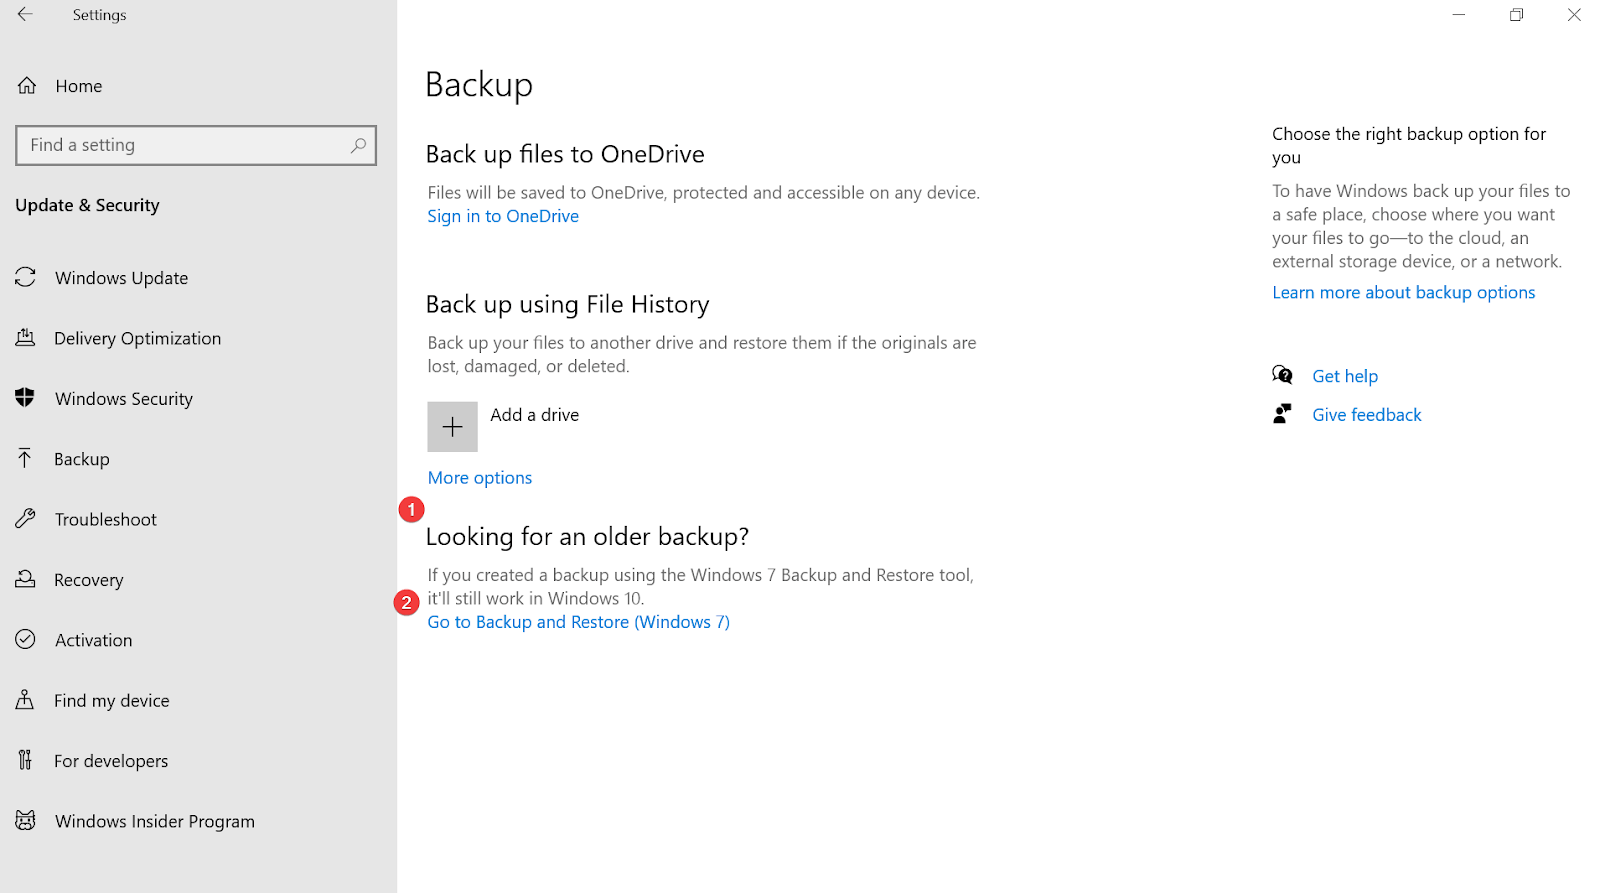
2. Once you reach the above destination, under the Back up using File History function, tap onto the Add a drive
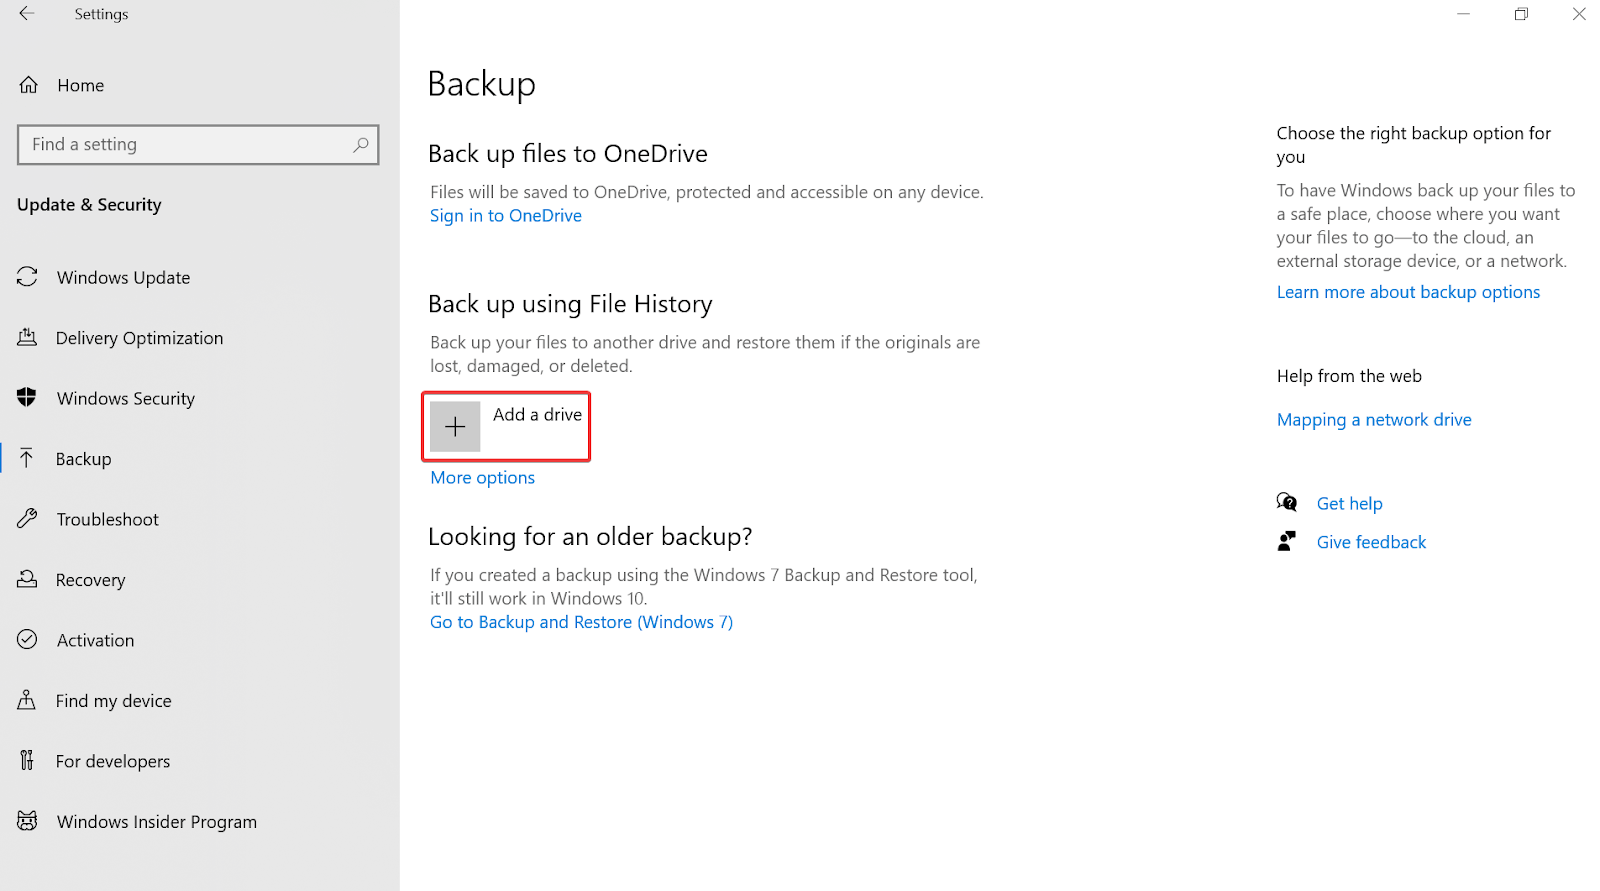
3. If you have successfully connected the external storage device, you will see the same drive here (under Add a Drive).
4. Select or tap on the removable hard drive and automatically your important files will start backing up onto the selected drive. Simple as that!!
5. While selecting the drive, you will also see a backup customization page where you can make changes according to your convenience.
Yeah. Following the above steps will help you create a successful backup of your system’s important files easier than ever.
Also Read: How Does A Data Recovery Software Work?
2. Create Windows Backup with Backup & Restore Option
After creating a successful backup of important files through the File History option, now is the time to create a complete Windows backup. Yeah!! With Backup & Restore, you can create the exact same copy of the operating system along with the hard drive. So in case your system faces any system failures or hardware issues, the Windows backup will be there to restore everything for you.
Please note the complete Windows 10 backup was introduced with Windows 7 & the same has been shifted to Windows 10 as well. The only difference is the path that leads you to the Backup & Restore feature to create Windows backup.
1. You need to start the process of creating Windows backup by making your way to the Windows 10 Settings page (Windows Key + I).
2. Follow the process by tapping into the Update & Security section under Settings & then Backup tab.
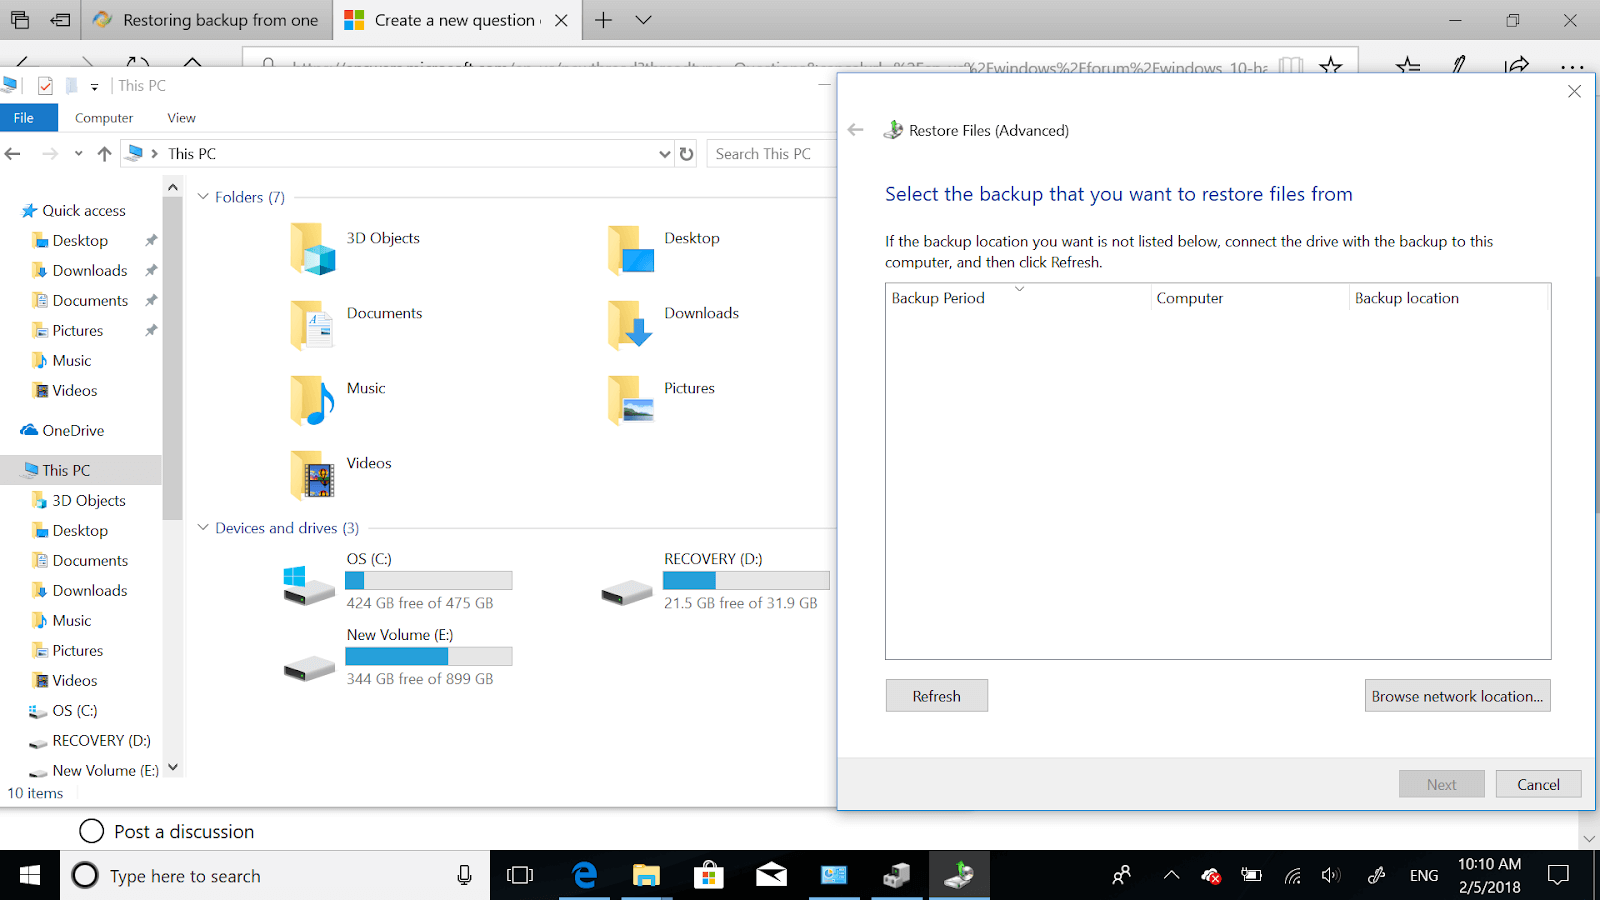
3. On the Backup tab, you need to look under the header Looking for an older backup?
4. Here, you will find an option Go to Backup and Restore (Windows 7) so tap on it as soon as you find it.
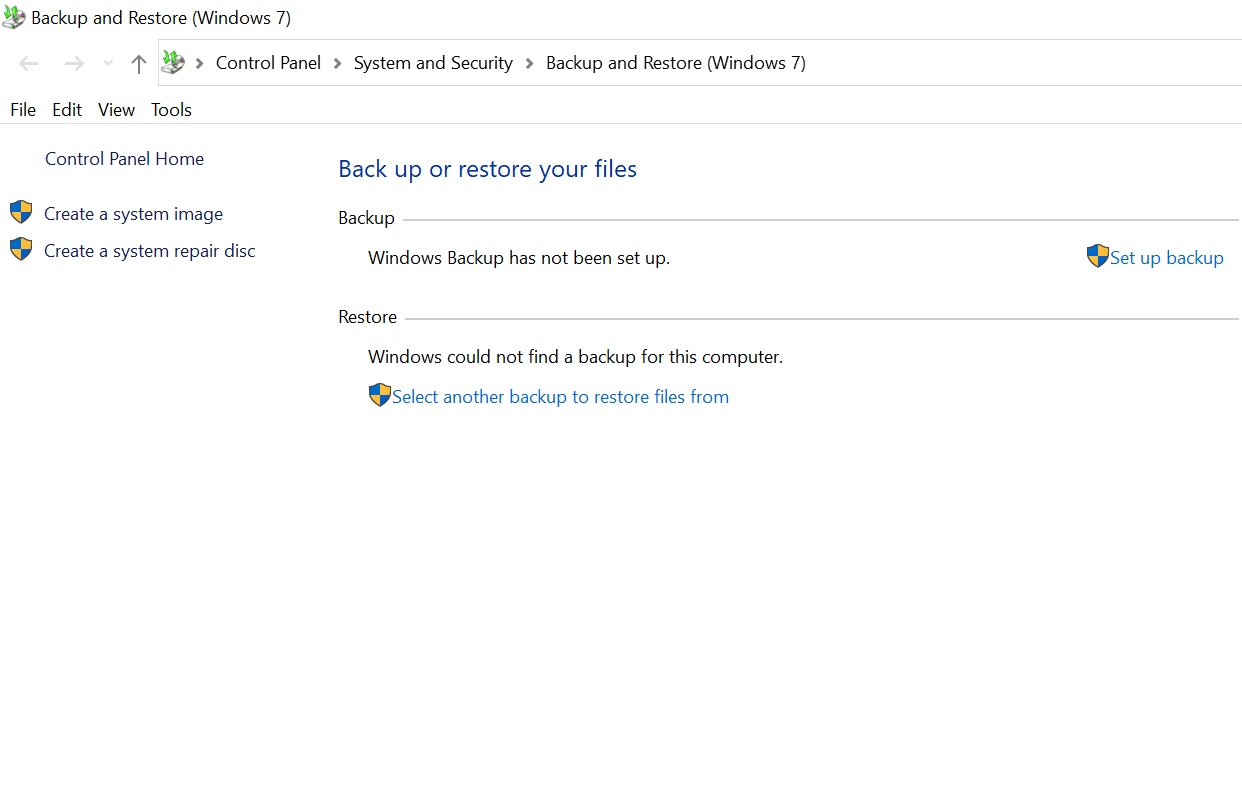
5. Once the Backup and Restore (Windows 7) page has opened, click onto the Create a system image option (top left side of the screen).
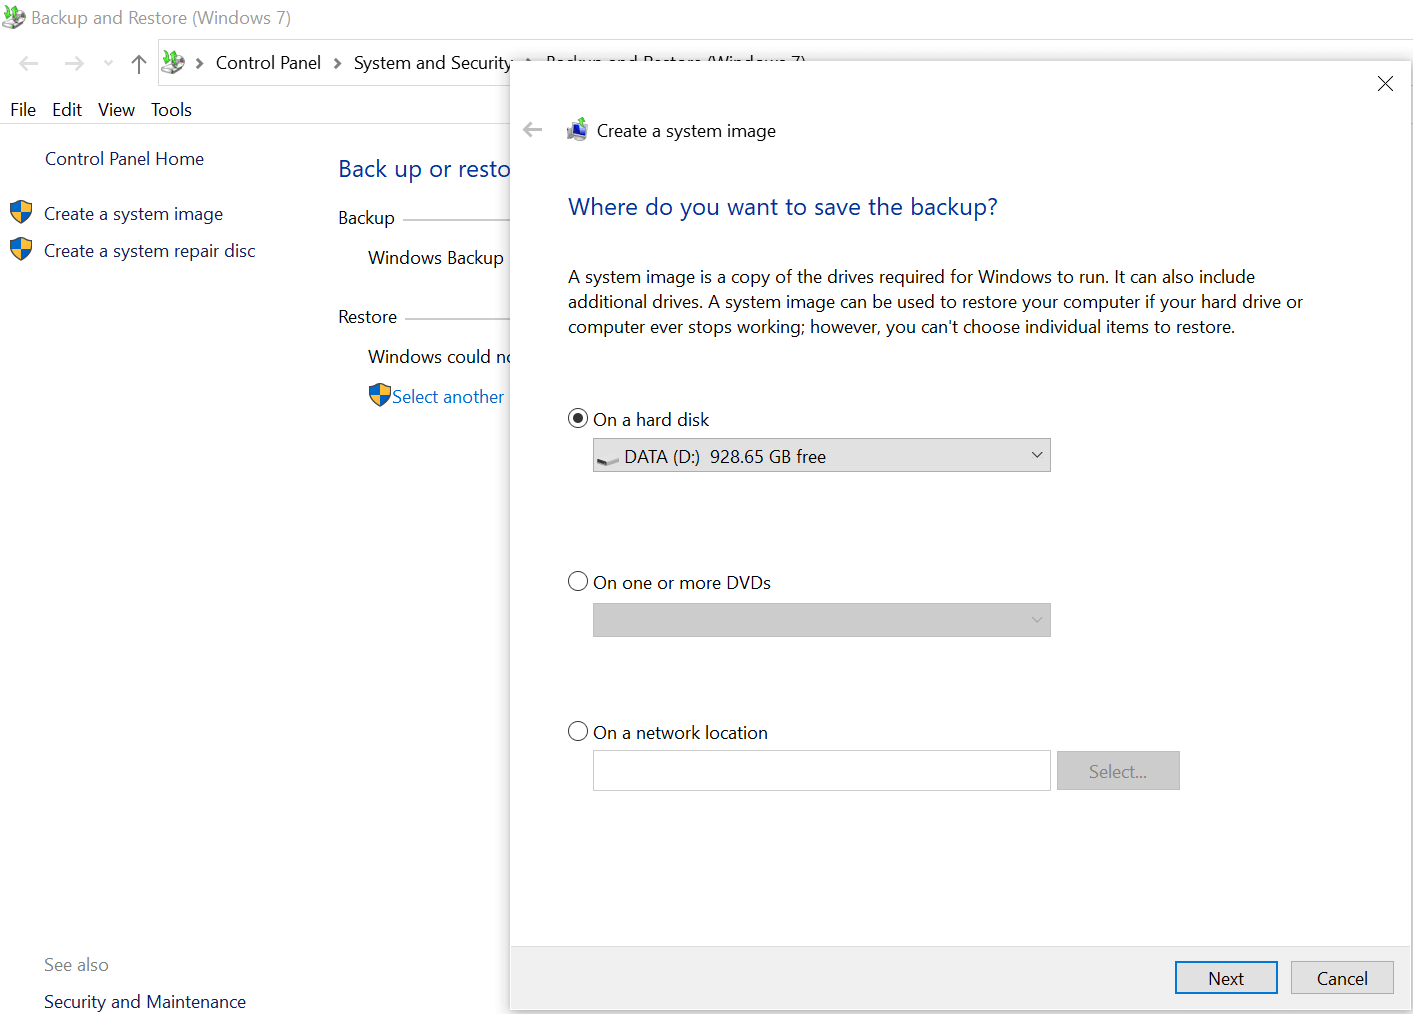
6. The new pop-up will give you details about the hard disk along with the memory size.
7. Select the drive you wish to go with (for backup) and tap on Next.
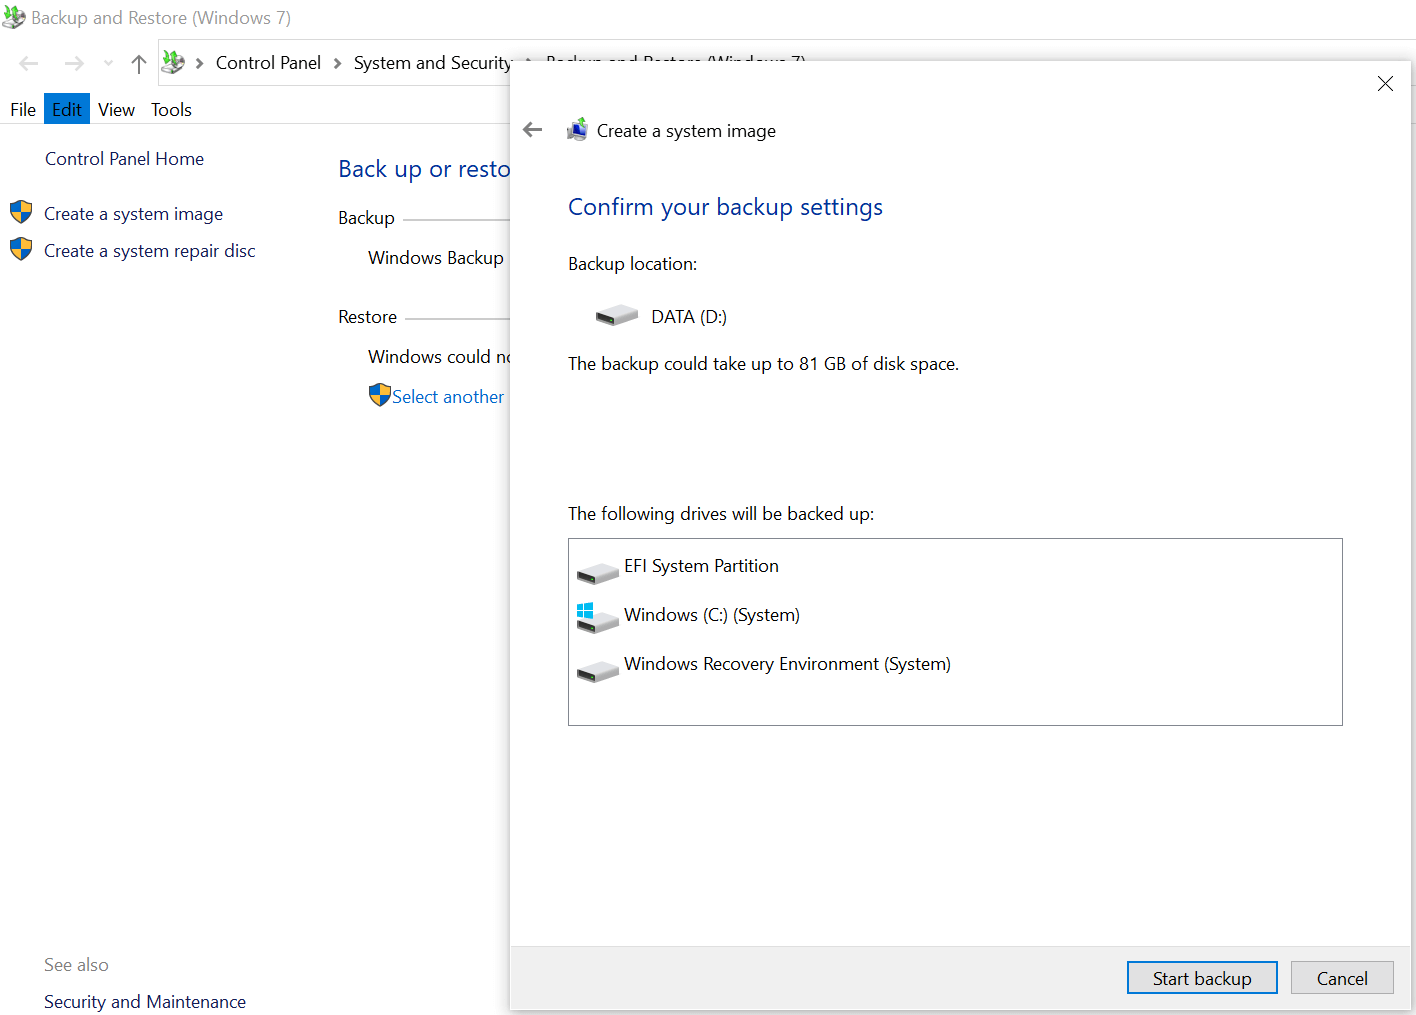
8. The following screen will be the confirmation page for backup including the drives that need to be backed up.
9. After going through every one of those settings, tap on Start backup & it will start backing up your whole data.
3. Create Windows Backup with Right Backup
Right Backup is one of those third party tools that is the perfect combination of reliability, effectiveness, and easy interface. Apart from those Windows in-built features that help you create Windows files backup successfully, opting for Right Backup tool is an ideal alternative. Right Backup has been designed with the same concept of saving your important system files amid system failure or crash issues.
Before accessing the Right Backup tool, please know that the tool won’t give you the exact copy or image of your Windows system. Like File History (in-built feature), Right Backup also helps you get the important files back up so that you don’t lose your data in unfortunate events.
Click Here to Download Right Backup


So without taking too much time, let’s use the Right backup tool to make the most of it.
1. Let’s start with navigating yourself to the Right Backup official website and download the tool on your system.
2. Post successful installation, launch the tool & you will get land onto the home screen.
Know that without upgrade, a user only gets 100MB data so if your to-be-backed up-data is more than that (it would be, for sure), go ahead with the upgrade.
3. Considering that the upgrade has been done successfully, below is the homescreen you get to see to start the Windows backup process.
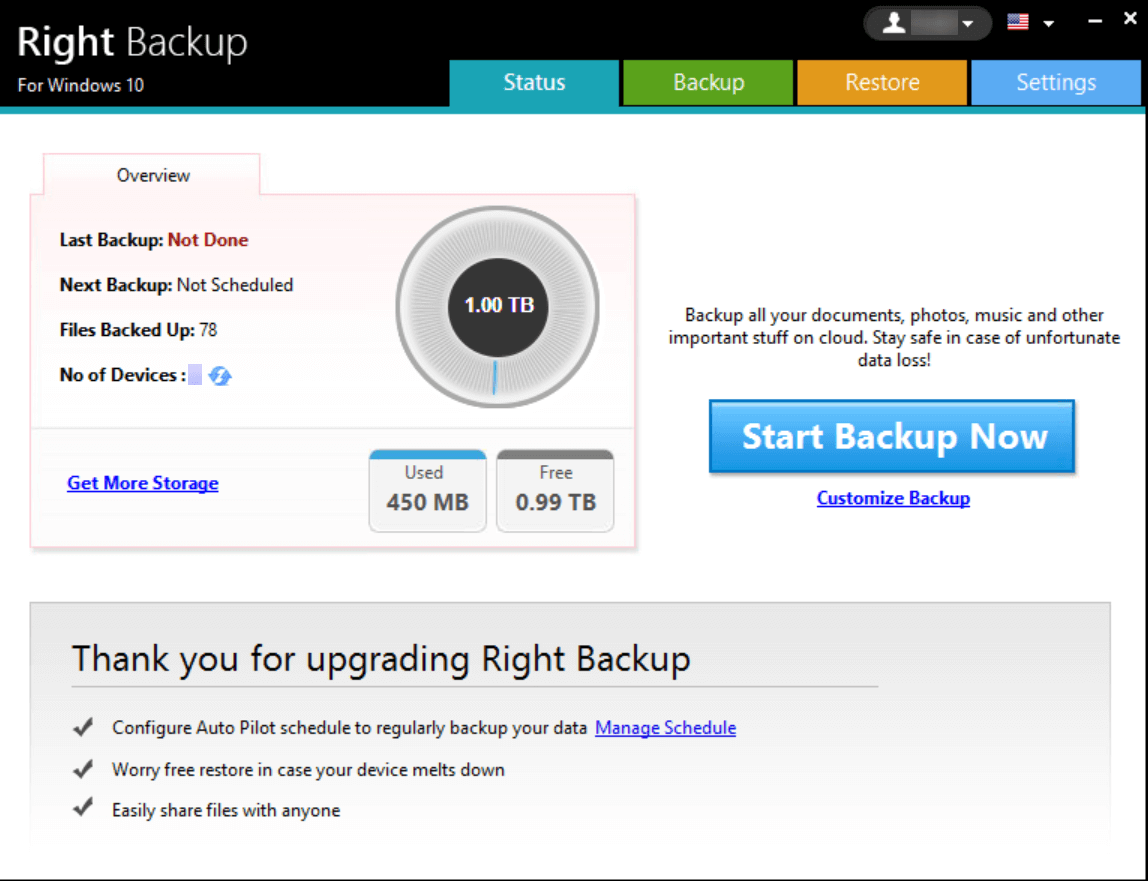
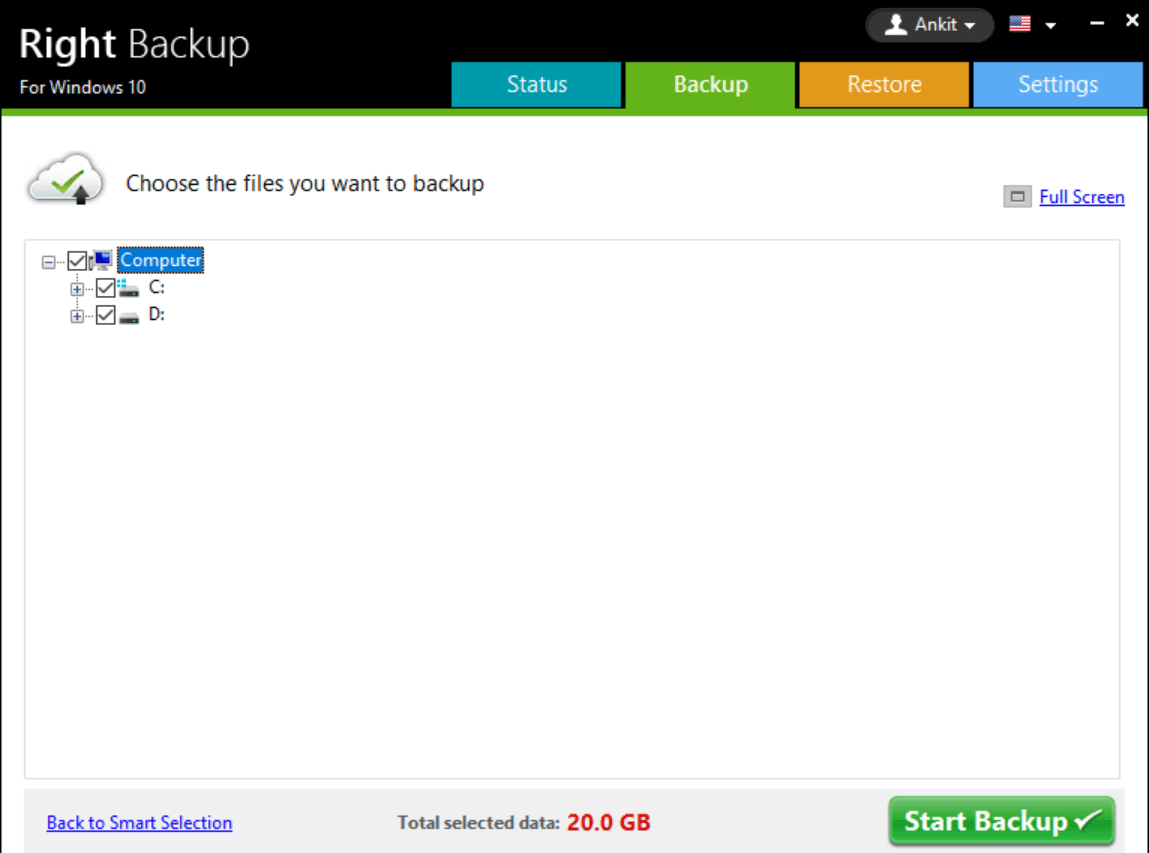
4. All you need to do is, tap on the Customized Backup if you wish to make changes to the to-be-backed up-data source. Or else, simply start the Windows files creating process by tapping on Start Backup Now.
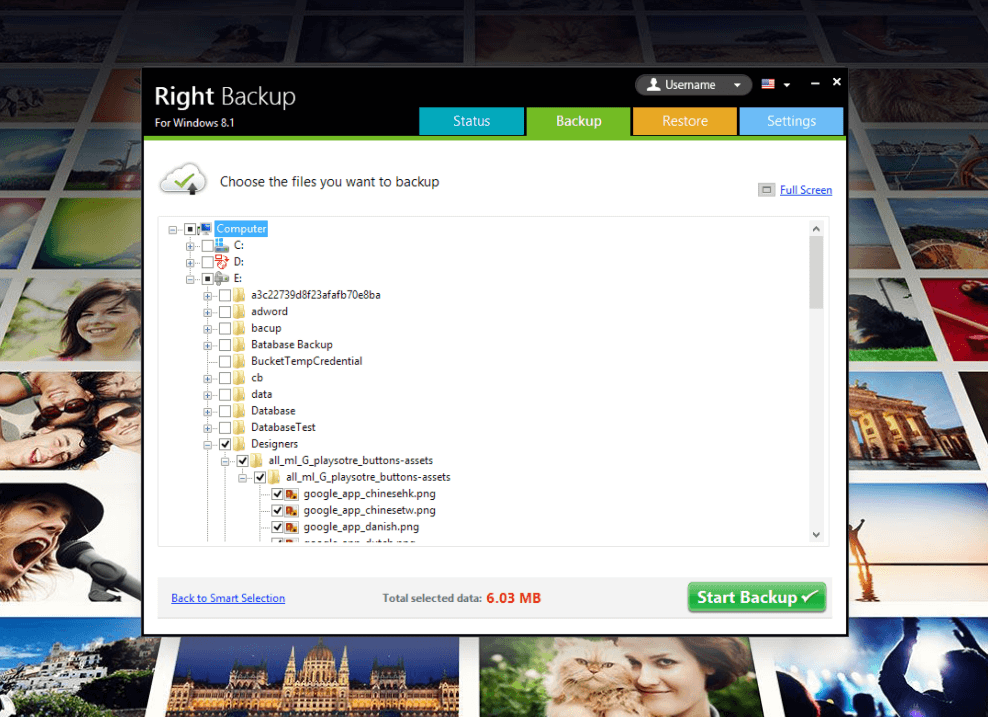
5. Yeah!! Tapping on the same will take you to the screen where the Right Backup tool will check the Total Selected Data to be scanned for backup.
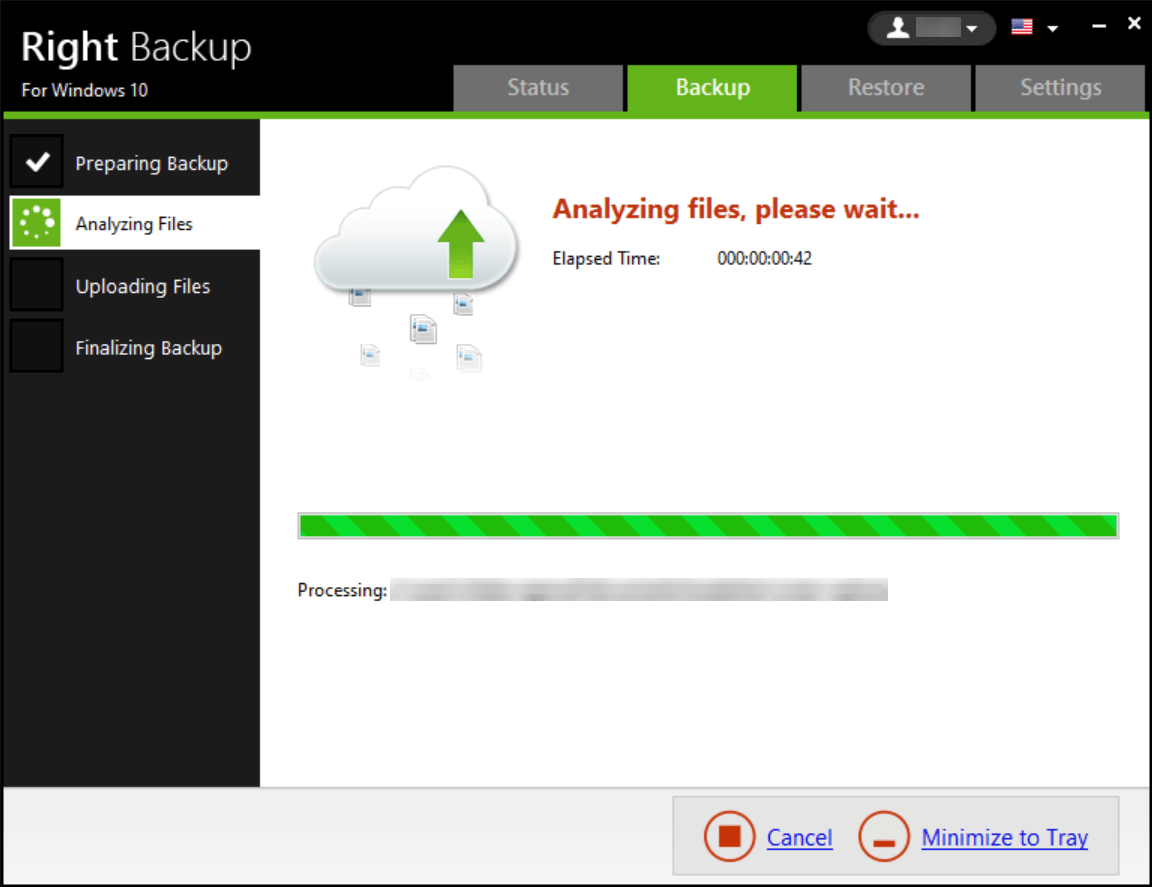
6. After analyzing the data size, you need to click on Start Backup and the backup process will start. It will go through different phases of preparing, analyzing, & then finalizing the backup.
7. Once the to-be-backed up-data has been backed up successfully, the process will get finished and you will receive a confirmation message on the screen.
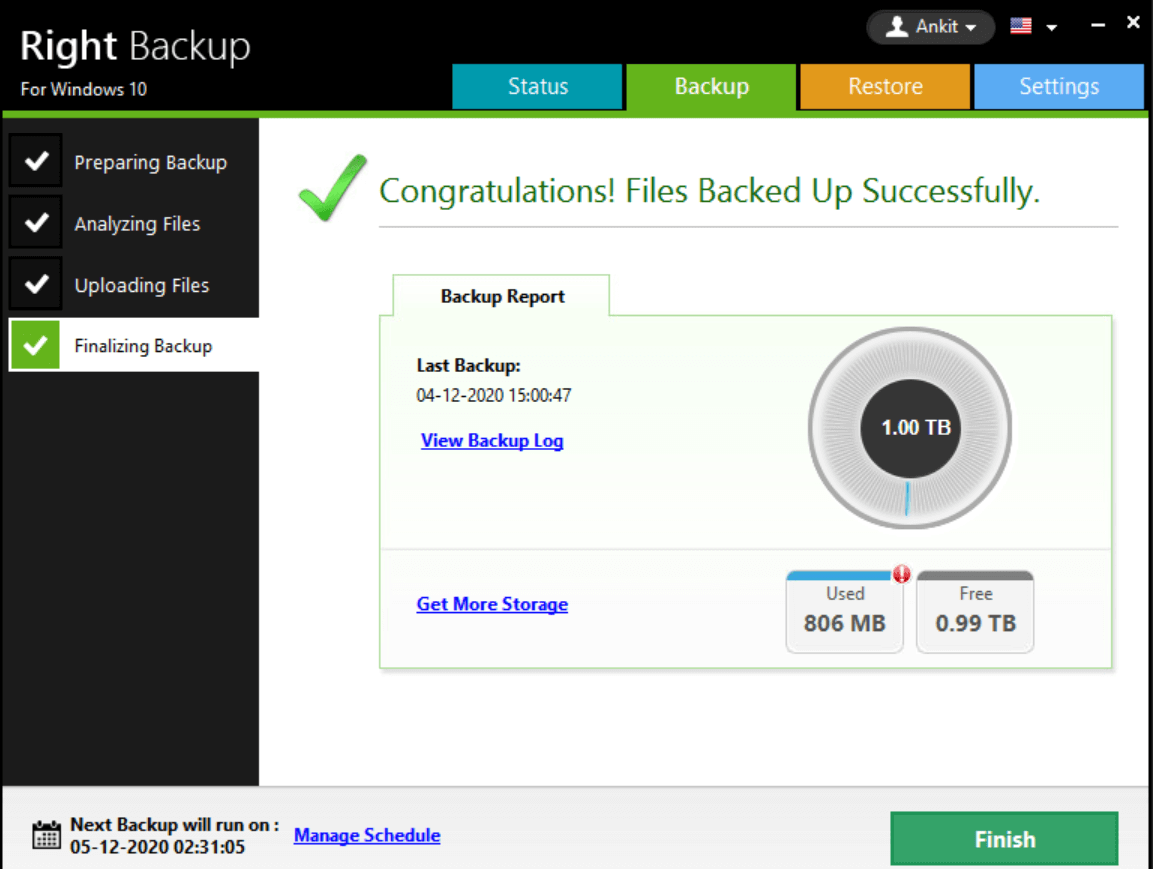
8. Along with successful completion of Windows files backup process, the screen will also give you details about the remaining storage (in this case, 0.99 TB). Also, you can look at the backup log by tapping on View Backup Log
9. On the left side of the screen (bottom corner), you will also see the details about next backup scheduling. If you are okay with the calendar, perfect but if you aren’t, tap on Manage Schedule and customize the calendar according to your schedule.
Please note Also, when you click on Settings (extreme top right corner of the screen), it will give you different tabs to explore. Here, under General Settings you can make changes from showing or hiding desktop notifications to Restore settings as well.
10. Now the process comes into the picture where you need to put the created backup onto an external hard drive. Yeah!! This was the whole purpose of creating the backup so that in case system crashes, at least the external drive would help you out.
11. So After backup process is finished, click on the Restore tab (3rd from the left on the top of the screen).
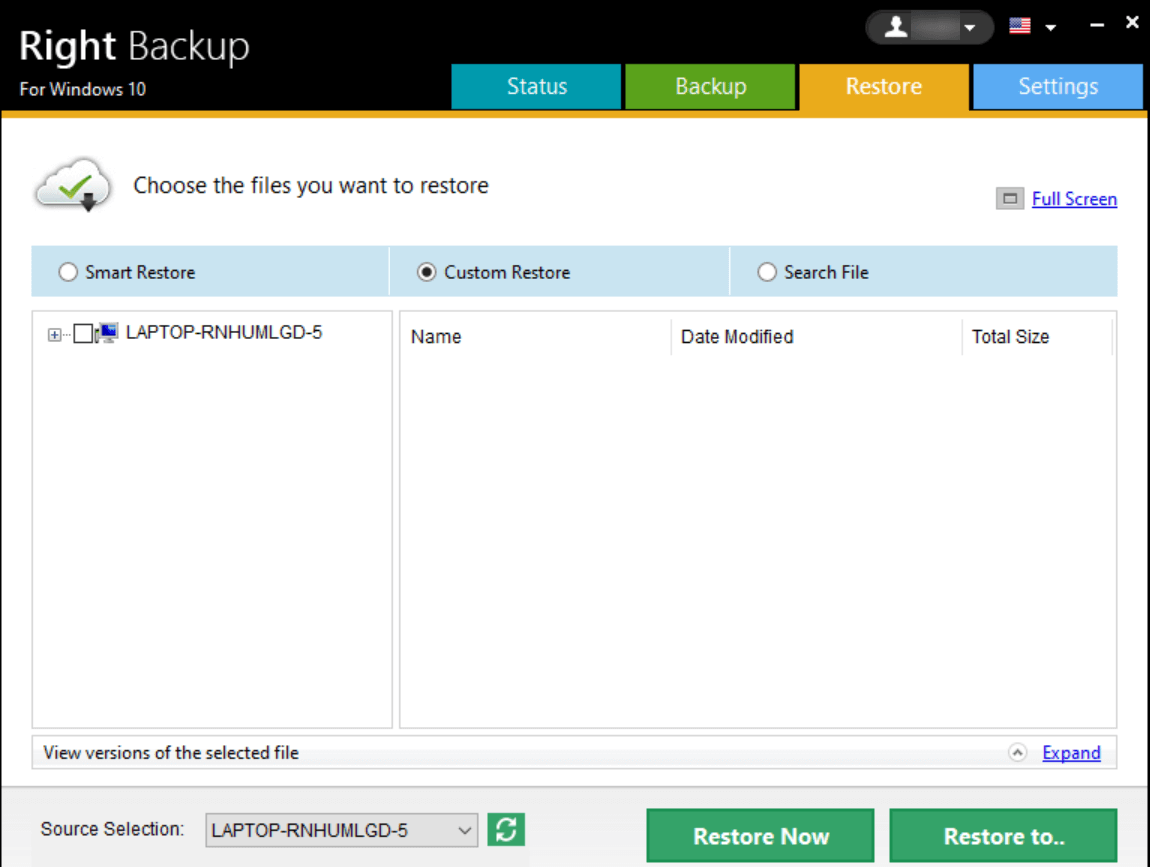
12. On the Custom Restore, choose the file that has been backed up by you and click on Restore to…
13. Post tapping on the option, it will ask for the location and that’s where you need to navigate the Right Backup tool to the external hard drive (that you connected to the system already).
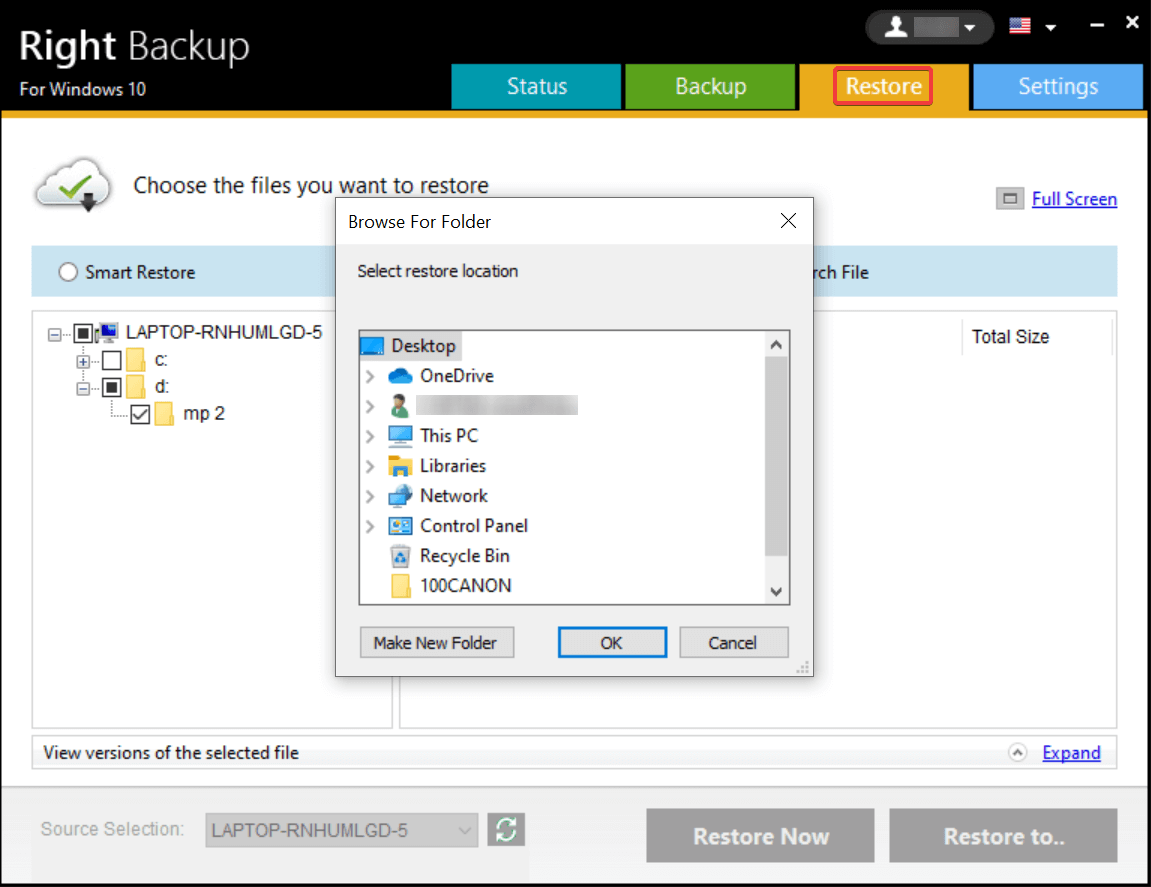
14. Provide the system location and it will create the successful backup of your backed up files onto the designated external drive easily.
Why Third Party Tools For Creating Windows Files Backup
Not that it’s always necessary to turn to third party tools, but it seems like they have more to offer apart from just creating the Windows files backup. Obviously both of the methods help you get what you are looking for, however, third party tools give you more control over the features. From managing the schedule to making enough changes to settings, everything is in the user’s control. So that’s one of the reasons why users try to shift their focus from in-built features to the third party tools like the Right Backup.
Wrapping Up
Creating Windows files backup is extremely important because you have no idea when your system can stop working, out of nowhere. The issues can occur due to online malware or spyware attacks and also, system crash or failure issues can give you nightmares. Any of these situations and the ultimate outcome would be not have access to the system as data loss. This is why, data backup (quite often) needs to be taken into consideration on a regular basis so that even if some sudden system failure occurs, your data is as secure as it must have been.
So start exploring the above mentioned in-built and third party ways to backup computer files to external hard drives.
Next You May like to Read:
How to Backup iPhone Photos to Google Photos
External Hard Drive Is Not Showing Up On Windows 10?
How To Backup Mac Using Time Machine


Sagar Kapoor
I have been taking backup by creating a Windows image. Is it okay? or am i missing on something?