I totally agree with you when you say that creating backup is very important & no one should think otherwise. Backup assures that even though you lost your data due to sudden accidents, you can get those beautiful moments back. & it includes those magnificent pictures to the high quality videos captured by yourself.

Now when it comes to backing up the photos, there are different ways to do so from cloud storage to third party tools. So out of those hundreds of options, you look for one that works according to you, has an easy interface, & is lightweight. Well, I have just the platform that can be considered as a one-stop-solution for you, Google Photos.
iOS Users; Lost Photos Collection; & Choosing Best Option
There would be millions & millions of users who lose their data everyday & that data includes precious photos or pictures captured by you. Because almost all of us work through cell phones so it’s quite evident that the lost data will include photos collection as well. Now, here we are talking about those iOS users who have lost their precious photos & trying to get those back.

Here, we will talk about creating iPhone photos backup via Google Photos that’s been considered as an absolutely free platform to save & share photos. Usually, iPhone users get iCloud storage of 5GB (FREE), however, for many of us this isn’t enough.
Thanks to those high resolution & better quality camera techniques. Buying more storage is another option you can opt for, however, it’s good to switch to an alternative that’s also reliable & less expensive (equal to none with unlimited storage space); Google Photos.
How to Backup iPhone Photos to Google Photos on iOS Device
Now that we have narrowed down the ways to backup iPhone photos through Google Photos, let’s check what Google Photos is all about.

Google Photos is one of the best services Google offers to its users to share & store unlimited photos. Yeah!! The storage limit is without any barring as well as the highest resolution for photos is 16 Megapixels. From an alternative, Google Photos becomes the necessity because of the ways it organizes your photos collection. From recognizing human faces to pet faces, Google Photos starts grouping photos together that have similarities (people, things, & places). Now, let’s check out the steps of how to backup iPhone photos through Google Photos as mentioned below:
A. Since we are talking about backing up iPhone photos, we will be accessing Google photos on iPhone. So the first step would be to download & install Google Photos from the App Store.

B. After the successful installation, launch Google Photos on your iPhone & login with your appropriate Google account (when prompted to).
C. Post successful login, tap on the burger menu (top left corner of the screen) & visit Settings (from the list of options).
D. Here you will see an option, “Backup & Sync” which would be disabled by default & it needs to be enabled.
E. Once you do so, you will see a few options have been enabled below including the Upload size you can use for photos. Here you need to choose High Quality upload size so that you can get unlimited storage. That’s it!!
Now the backup & sync will automatically start working for you as you have given the tool command to do so. Since you have selected the option of high quality while uploading, the photos & videos quality won’t give you a hard time.
Having said that, there are a few things that need to be taken into consideration before you create iPhone photos backup via Google Photos:

iPhone photos backup don’t work automatically every single time for unknown reasons. & that’s why you need to visit the Google Photos app on your iPhone & check if all of them have been uploaded (quite rare incidents). If not, then you will see the number of photos that aren’t uploaded still. You need to go to Photos Settings (tap on the username icon, top right side) to check how many photos are remaining for backup. You will see a processing icon along with number of photos so you have to follow a few manual steps to upload iPhone photos on Google Photos.
How to Backup iPhone Photos to Google Photos on Computer
Creating iPhone photos backup on your iOS device is easy and the same way, the same purpose can be fulfilled on a computer as well. There is no rocket science you need to learn to create iPhone photos backup. & let me tell you there are offline as well as online ways to create iPhone photos backup on your computer.
1. Create Offline Backup of iPhone Photos on Computer
A. You need to connect your iPhone with the computer either via third party photos transfer apps or using the USB cable (so that iPhone photos can be transferred).
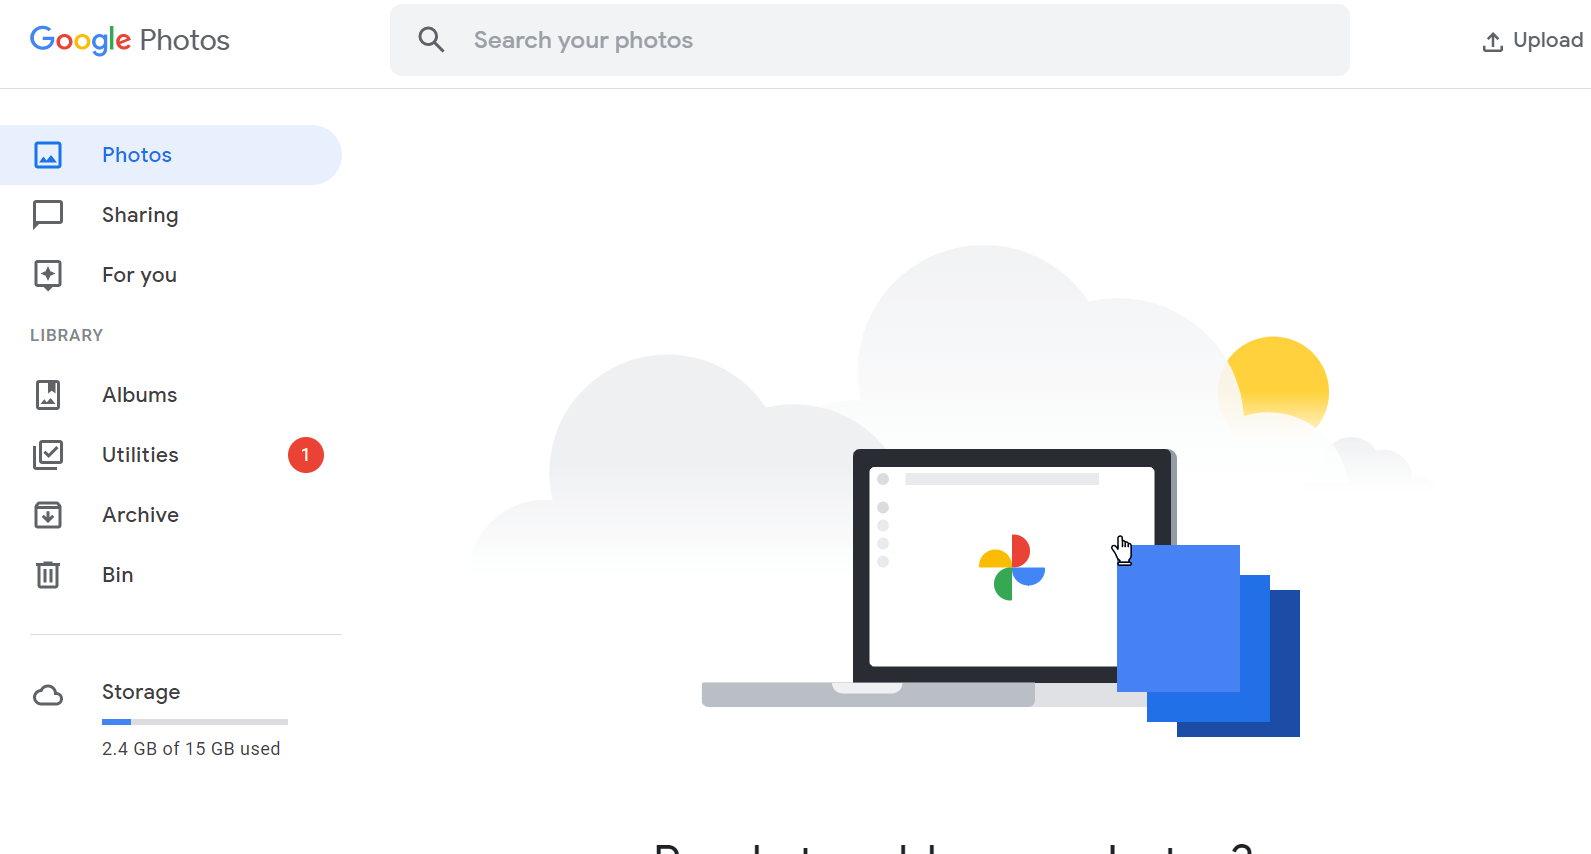
B. After doing so, get those images on your computer & visit Google Photos storage website.
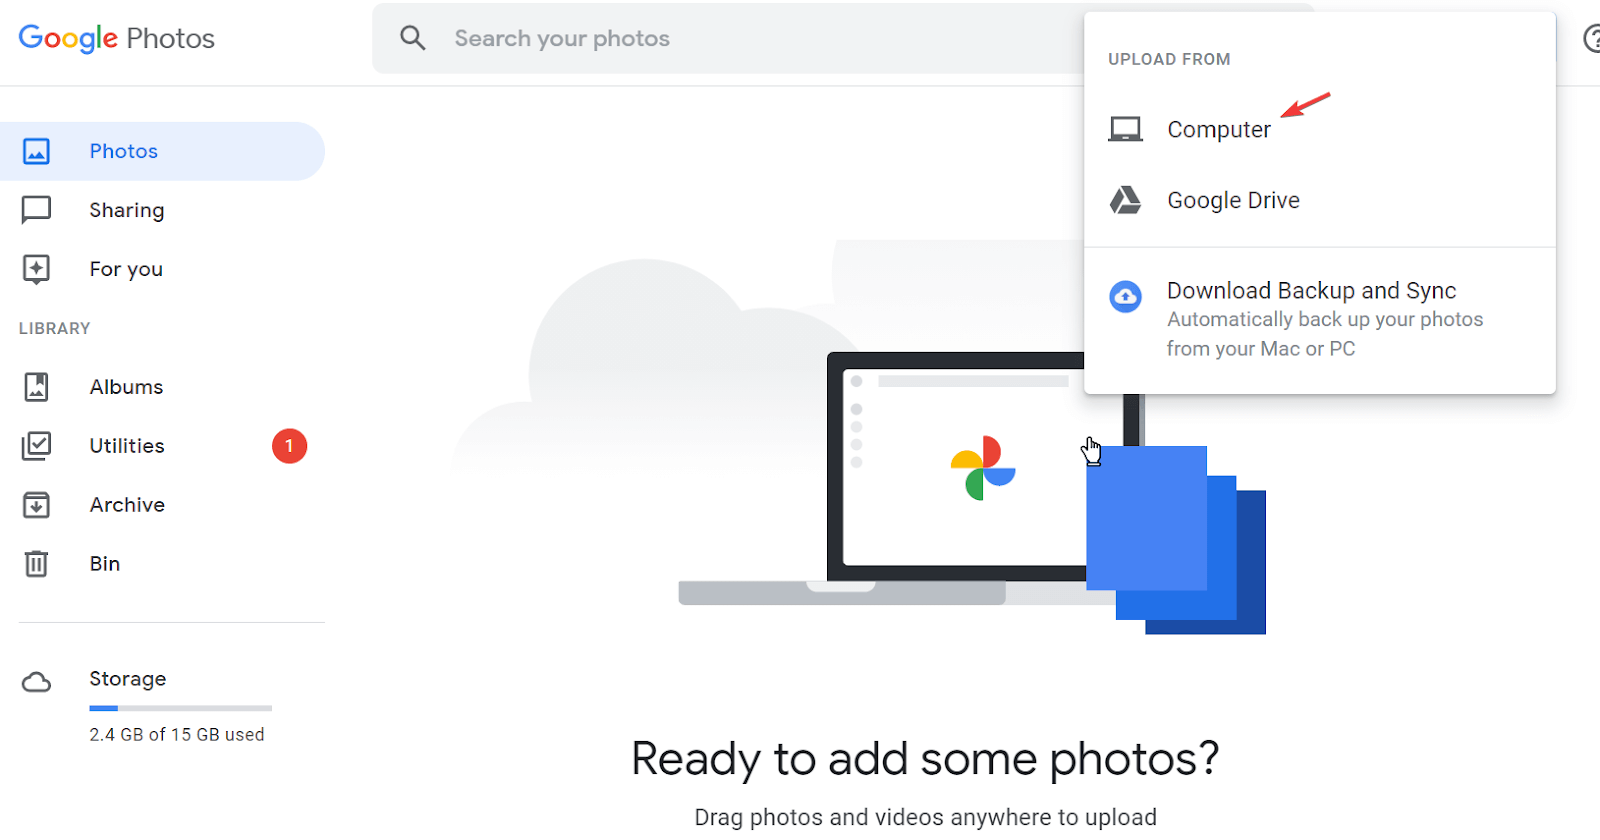
C. Now login to the Google Photos (if not already) & tap on Upload to bring iPhone photos to Google Photos.
D. After tapping on Upload, select Computer from the list of options & follow the process by selecting the proper location where photos are saved locally.
E. Once you have selected the photos that you wish to backup, let the upload process complete & within a few minutes all those photos will be backed up on Google Photos. Simple as that!!
Please note there is a high probability that your iOS devices might have some duplicate or identical photos in the whole photos collection. Now uploading as well as backing up identical photos will cover unnecessary space & that’s why you need to segregate the identical & unique ones. By doing so will upload & create backup of the photos that aren’t identical, neither on your device nor the system.
This is why we will be using one of the perfect tools from Systweak that lets you encounter duplicate images & remove those within seconds; Duplicate Photos Fixer Pro.
Click Here to Download Duplicate Photos Fixer Pro


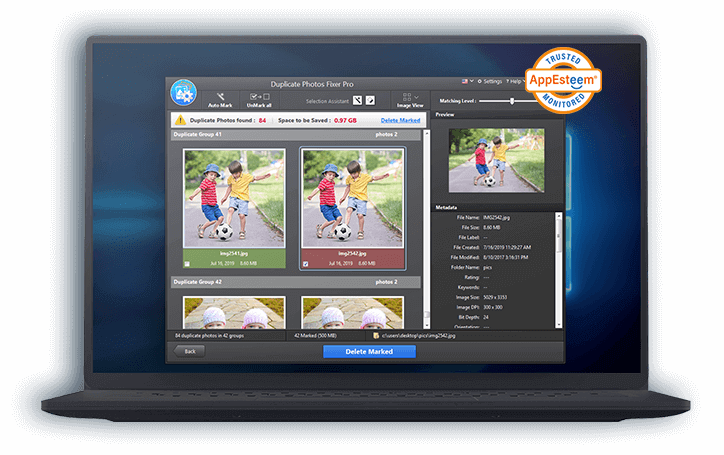
Duplicate Photos Fixer Pro is the ultimate solution to encounter those identical pictures in your iOS photos collection. From scanning your internal as well as external devices for duplicates to auto marking those to remove from the system, it’s a time saving process of duplicate deletion. & ultimately it will recover the unnecessary storage space that was occupied by identical. Additionally, Duplicate Photos Fixer Pro displays the results group wise that means it detects those duplicates & categorizes them in groups so you can keep the best & delete the rest.
Since we are talking about scanning the iPhone photos while transferring them on system, Duplicate Photos Fixer Pro is fully compatible with MacOS as well as Windows OS. So irrespective of the operating system you are using, start using this powerful tool to remove duplicates & upload the unique ones on Google Photos as below:
A. Visit the official website or respective App Store to download Duplicate Photos Fixer Pro on the system.
B. Follow the process by successful installation & then launch the tool to start the duplicate-removal process.

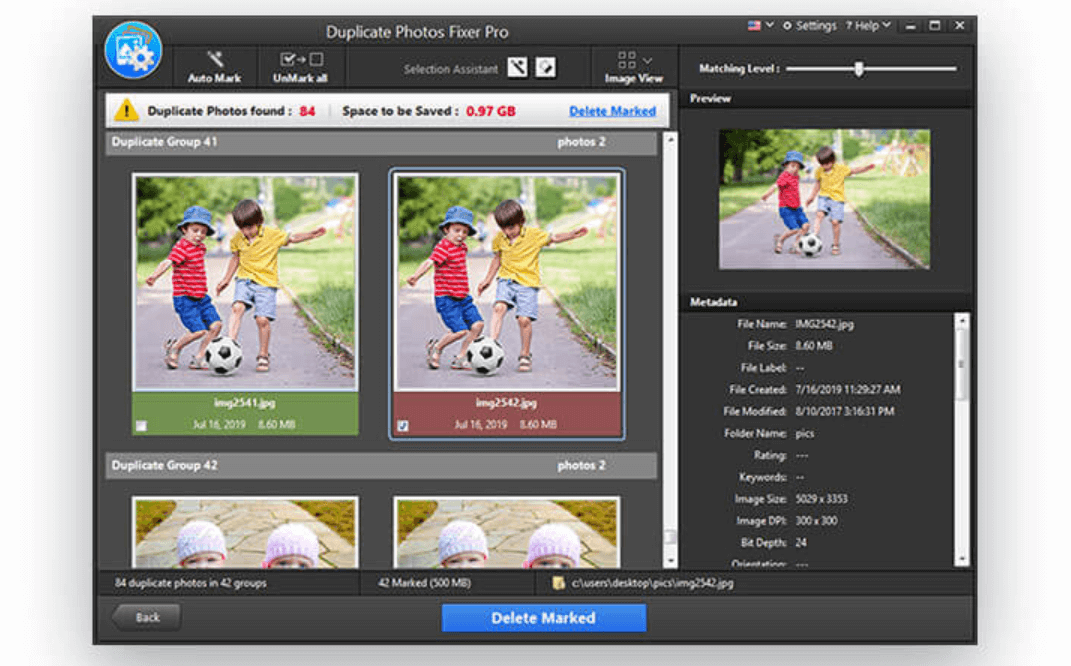
C. As you can see above, provide the tool a location where the iPhone photos have been stored (can be internal as well as external device).
D. After doing so, Duplicate Photos Fixer pro will start scanning the specific folder or files to find duplicate photos (comparison methods have been listed as shown in above screenshot, tweak them as you feel like to get results).
E. Once the scanning or comparison methods have been set, start the scanning & within a few seconds you will be presented with exact, similar, or lookalike photos on the screen (time varies depending on number of files).
F. Go through them by scrolling down & since the tool has the auto mark option enabled, tap on Delete Marked button & voila!! Goodbye to those duplicate files. Simple as that!!
2. Create Online Backup of iPhone Photos on Computer
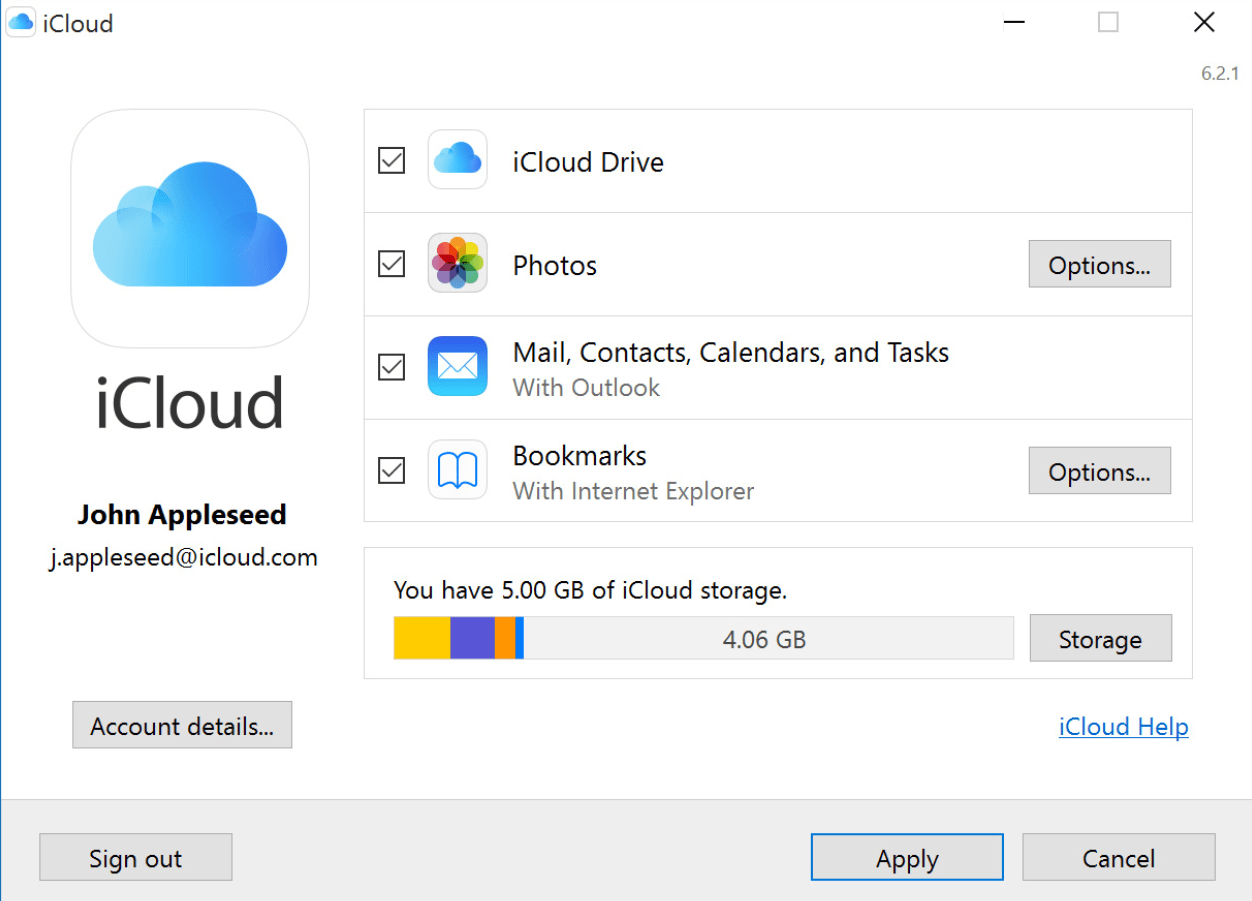
A. Since we are talking about creating an online backup of iPhone photos, first those pictures need to be downloaded on the system from iCloud.
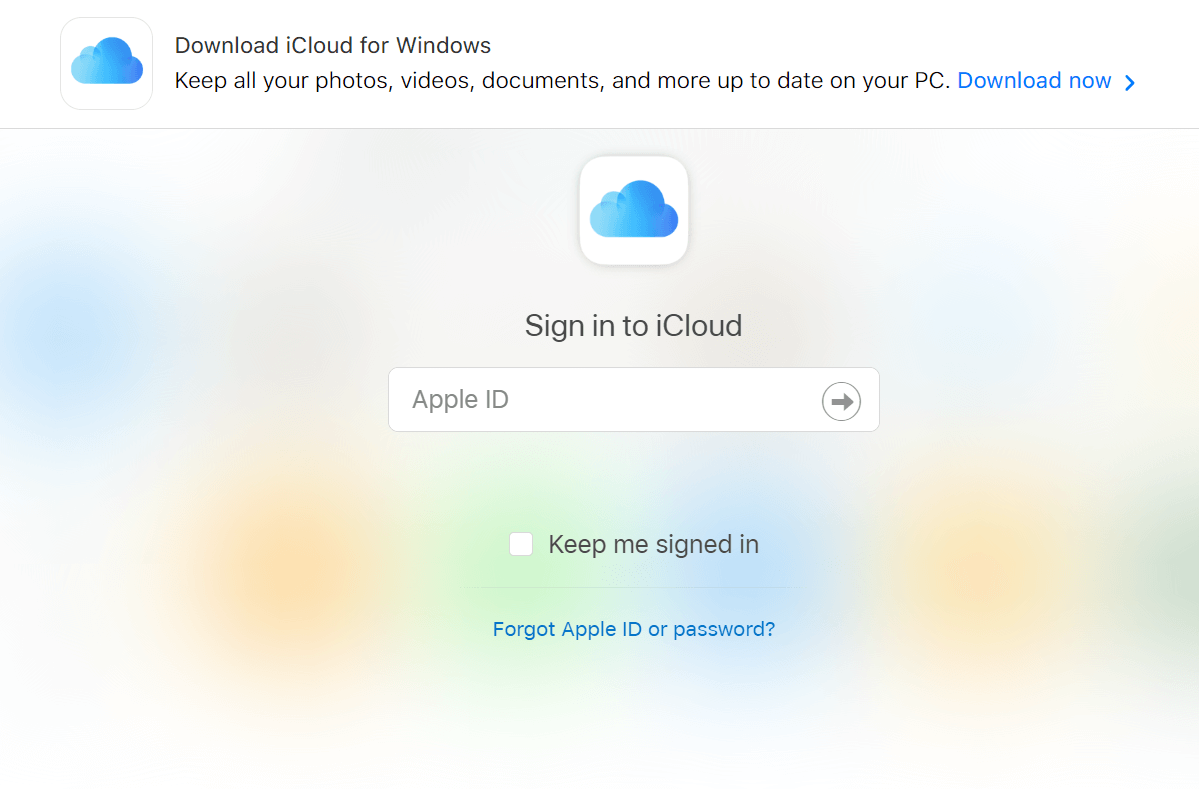
B. Sign in (if not already) & start choosing specific photos & videos from iCloud that you wish to create the backup of on Google Photos.
C. Post the selection, you need to tap on the Download button on the top right side of the iCould screen.
D. The downloaded file format will be ZIP or Archive that you will have to extract on your system.
E. After the successful extraction, visit the Google Photos website on your system, tap on the Upload button, & follow the steps accordingly. All your selected videos & iPhone photos have been uploaded on Google Photos successfully. Voila!!
Wrapping Up
From your documents to contacts & media files, everything needs to be backed up successfully because you don’t know when you can lose them. Many software (including inbuilt) offers real time backup of data, however, sometimes it’s better to check once in a while. Here we talked about how to backup iPhone photos to Google photos in the easiest ways possible including offline as well as online. Additionally. You have got a powerful tool to find the duplicates in iPhone photos collection & delete it in seconds, Duplicate Photos Fixer Pro.
So explore all the ways to create iPhone photos backup on Google Photos, however, remove the duplicates as they may take unnecessary space on the cloud.
Next Read
Why Is There A Need To Delete Duplicate Files
How Safe Is Deleting Duplicate Files In Windows 10?


Jackie
I didn't know iPhone photos could be backed to google photos. Thanks for this wonderful info!