Being a netizen, you probably know how important images are. Whether it is about consuming images in content or creating and uploading those images for a variety of purposes, we need images that are on-point.
What does that mean?
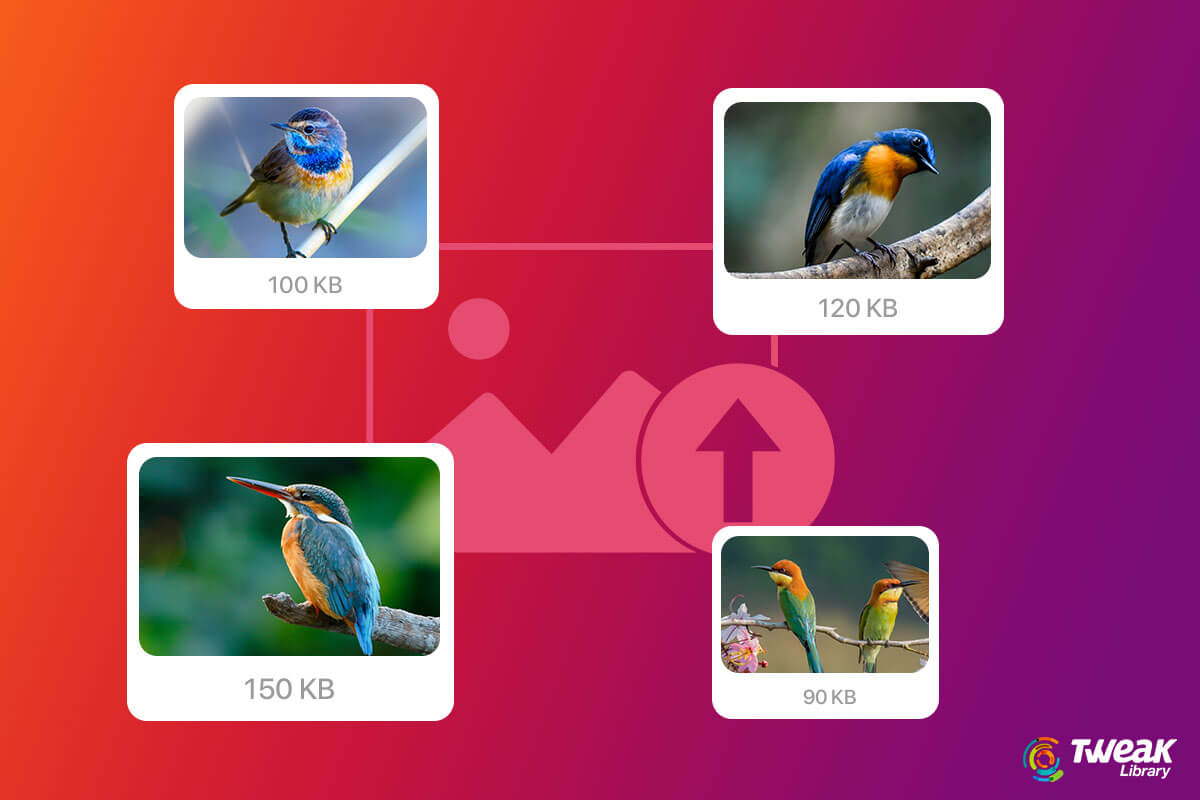
What that means is when putting out images on the web, they don’t just have to look good but they should be optimized in such a way that they can be processed quickly. For instance, the images should be resized for the web in such a manner that they can be uploaded on time, and on the user front they can be accessed quickly.
Benefits of Resizing Images for the Web:
Let’s put things into perspective and have a look at some instances where resizing images for the web is necessary and more so what are the benefits of resizing/ compressing images –
Aptly Compressed Images Increase SEO Rank
One of the most important reasons why you are so selective, creative, and careful with creating and curating images is because a good image is more likely to bring traffic to your website or blog, right?
But, what if we told you that if an image is heavy, your website loading speed is going to take a hit and as per experts 53% of mobile users tend to abandon a website if it takes more than 3 seconds to load. In more technical terms, the user who experiences this is more likely to bounce off.
So, if your images are aptly sized, your website, blog, or any component or any component on either of these will load fast if not at a rocket’s speed, and thereby based on user experience search engines are going to rank you better.
Higher Conversion Rates

Are you someone into selling products online? As per the latest survey, 70% of 750 consumers admitted that page speed influenced their buying decision. Isn’t that something we’ve already discussed? Yes, but here it’s not just the traffic you are gaining or losing with an image but a prospective buyer.
Consider A Couple More Examples Where You Have To Resize Images Before Putting Them out On The Web –
- You have to urgently fill in an online form for a competitive exam (or any important venture). You have everything you need – the details, the scanned images of all important documents, your photographs, etc. But, the online form demands these images to be of a particular size. In such scenarios, users have even gone through the turmoil of filling every single detail multiple times just because they didn’t compress or resize the images correctly.
- You love snapping magnificent photos of nature with your DSLR and even are adept at editing them. Your friends suggest that you create a blog and post these images there. But, since your images are very heavy (each image weighing several MBs) your website or blog loads slow.
How To Resize Images For Web Without Losing Quality?
Be mindful of where exactly your image needs to go on the web. You might also consider using the right file format as required. For example, for the most part, JPEG and PNG are apt for in-content images. But, you’d again want to cut down on the image size since the larger the image size, the slower the page speed. The best way is to employ a utility to resize images. For example, TinyPNG is one of the best online tools that uses smart lossy compression techniques to cut file size. And, trust us even after the pixels are cut down, you will hardly notice any significant change.
If you use WordPress to create and publish blogs, you could use several image plugins which even make your images adaptive because let’s face it, this is the era of responsive images i.e. your images need to be spot-on whether on a mobile device, desktop screen, laptop, tablet or any other device.
What if I use an Android? Can I still compress/ resize images? Sure you can, and here are some apps that you can use.
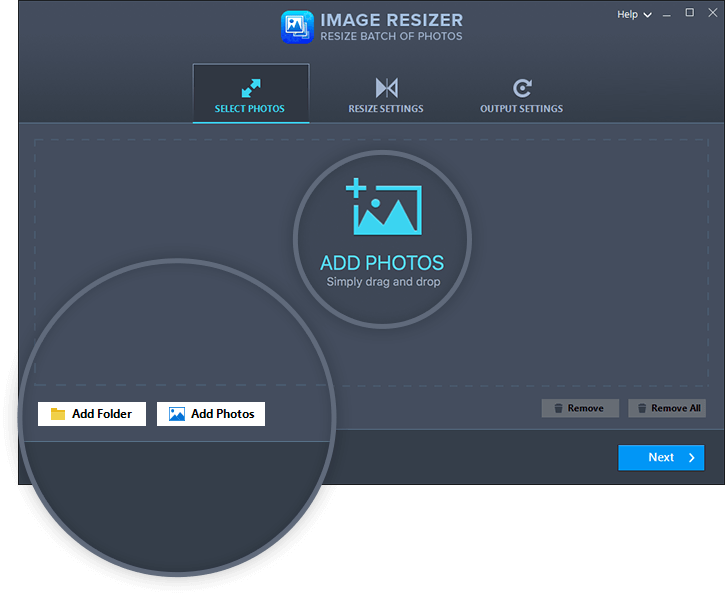
If you are a Windows or Mac user, Image Resizer is a great way to resize a single or even batches of photos quickly and efficiently. Here’s how you can resize images without losing quality using an image resizer. Let’s have a brief glimpse of how Image Resizer works. For this blog, we’ll take into account a Windows 11 OS, the steps are more or less the same on a macOS as well –
1. Download, run, and install Image Resizer.
Click Here to Download Image Resizer Tool


2. You can add a folder of images or simply drag and drop images into the interface
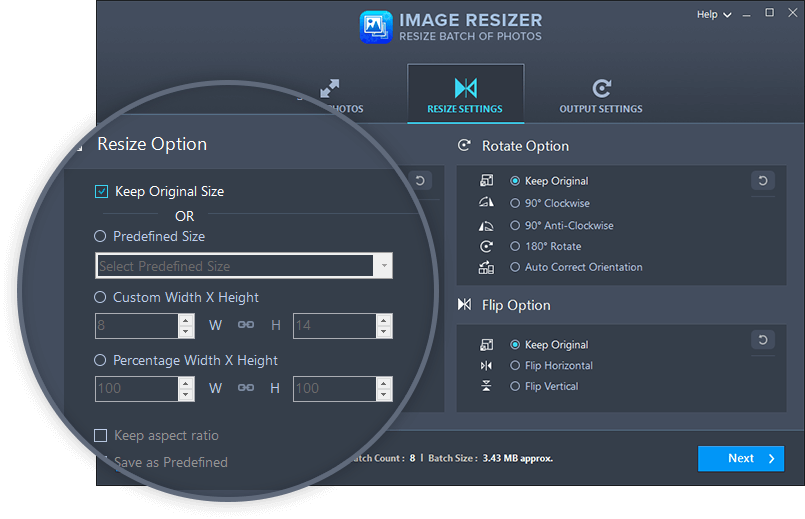
3. Choose a desired resize option
4. Select an Output Format and save it to the desired location
Wrapping Up
Now that you have an idea about why you should resize images on the web and how you can do that, do share your inputs in the comments section below. We’d also love to know your story where resizing images on the web-enhanced your productivity. For more such content, keep reading Tweak Library.


Leave a Reply