To be true, there isn’t only one particular reason anyone can narrow down when it comes to the slow external drive issue in Windows 10 PC. There can be as many reasons as you count that can trigger slow external drive issues & lead to major problems including poor PC performance. One of the clues to know is that the system isn’t running as smooth as it was before.

In order to bring back the same flawless process flow, this slow external hard disk issue needs to be resolved as soon as possible. From trying your best to repair & clean the external hard disk, every possible solution needs to be taken into consideration. Because you have no idea which solution may work & doing so will resolve the issue for you & fix slow external drive issues in Windows 10.
How to Fix Slow External Hard Drive in Windows 10 PC
Since our whole focus is to fix the slow external hard drive issue, the very first thing would be to narrow down every possible situation. Situations that can trigger the external hard disk issue & turn it into a nightmare for the user. When the user will start the guessing game, it will end up at the virus/Antivirus aspect if the system has any. Or the ultimate one where everything can be blamed on not updating the system with the latest available update versions.
Amid your guessing game, your system had a hit & has started working like a Snail (which wasn’t the case before). So this is where you need to step up & identify the probable issues to look for the possible solutions. Now in situations like the slow external hard drive, you need to remember if the same issue has happened before.
Obviously you will always find a solution to any problem but it’s good to know if the problem has occurred before then use the same method like before. But if the slow external hard drive issue hasn’t happened before on your PC, here are the possible steps you can take to identify the issue & repair it then & there only:
1. Disk Drive Defragmentation
One of the most common issues you system can face is the disk fragmentation that needs to be resolved as soon as you find out about it. Moreover, it’s necessary to keep using the defragmentation process on your PC once in a while to get rid of big issues. Fragmentation is all about the gaps you may find in either the memory module, media, or system files where those are broken up into pieces to fit on the drive. And since files are constantly being written, resized, altered, or deleted, disk fragmentation is a common occurrence you may face.
This is why you need to use the disk defragmentation process to fill in the gaps or get together the broken pieces as soon as possible. And for that, follow the below steps & start the defragmentation process for your system drive:
1. Let’s start with pressing the Windows sign command on your keyboard & launch Start function.
2. Follow the process by typing in either Defragment or Optimize on the Start screen.
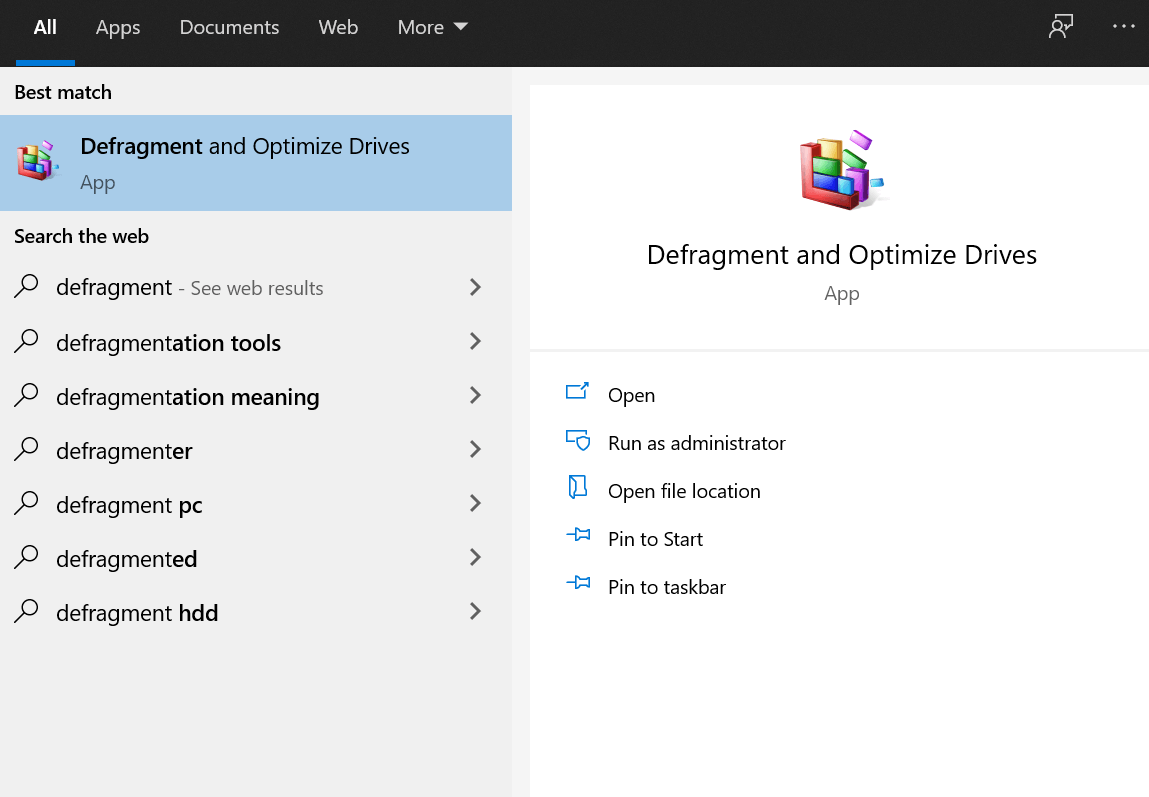
3. You will find Defragment and Optimize Drives & once it’s launched successfully, look for the Troublesome Drive (current status).
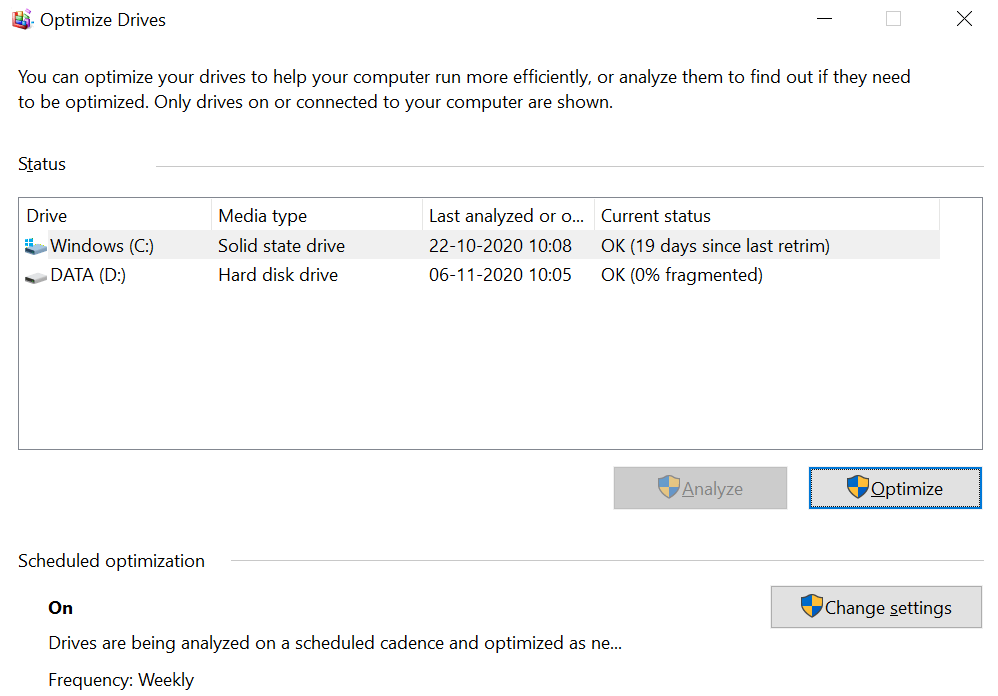
4. If both the drives (SSD & HDD) have either been defragmented recently or shows that they are 0% fragmented, your system doesn’t have disk fragmentation issues.
5. However, if the status isn’t as you thought, select the drive & tap on Analyze to look for fragmentation. Once the process gets completed, click on Optimize (if required) or simply close the Optimize Drives window.
2. Disk Scan Checking
Since it’s a machine, a teeny tiny issue can trigger issues that would be out-of-control-situations for a user. And since we hope that your system drives are defragmented already, if the system still has slow external hard drive issues, let’s look at the other way. The Check Disk tool helps you identify the problems with the hard drive (if any). Those problems can be categorized in many sectors but everything goes down to damaged sectors & eventually, data corruption. So let’s look at the ways to run Check Disk tool on your PC:
1. Go to Windows Explorer & right click on the drive you think is having issues or go through them one by one (as you wish).
2. After doing so, choose Properties & follow the process by tapping on Tools (tab) to look for the errors on the drive.
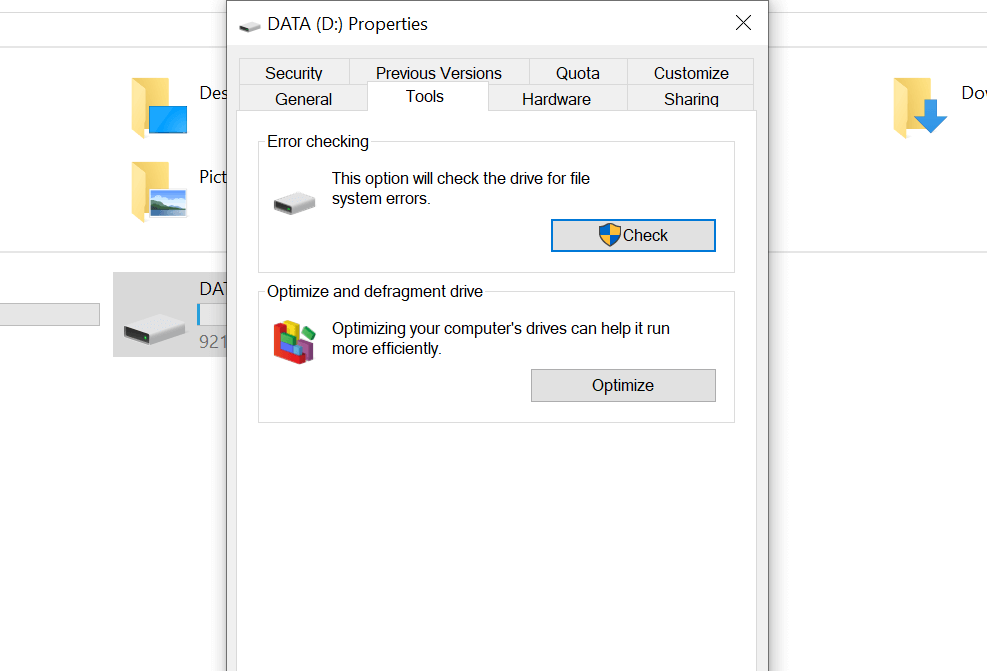
3. The top section of Error Checking will help you identify the errors (if the drive has any) by tapping on Check.
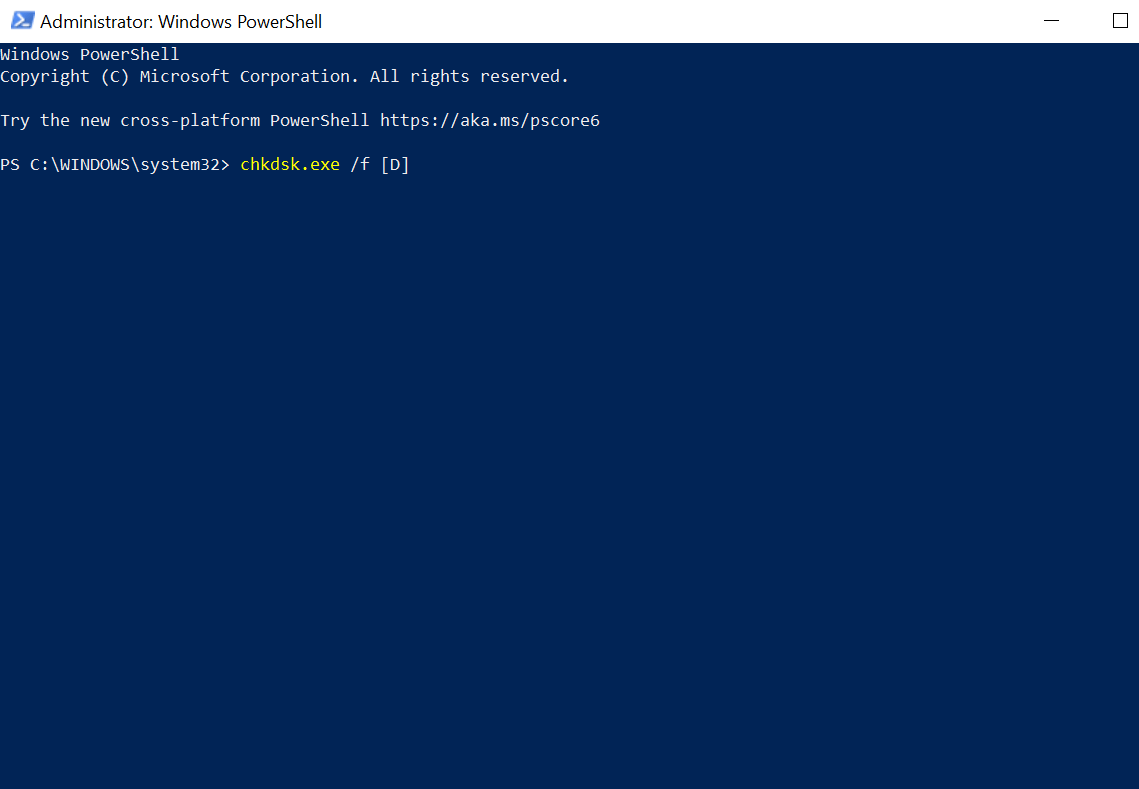
Another option to access the Check Disk tool for slow hard drive issues is giving your system command, “Windows Key & X”. Choose Windows Powershell (Admin) from the list & post the launch, type in the command “chkdsk.exe /f [DRIVE_LETTER]”.
(The drive letter section would be the drive that’s causing you issues so make sure you type in the Drive letter)
Please know that the Check Disk tool goes through the process of system rebooting so it’s ideal that you keep the running processes closed for time being.
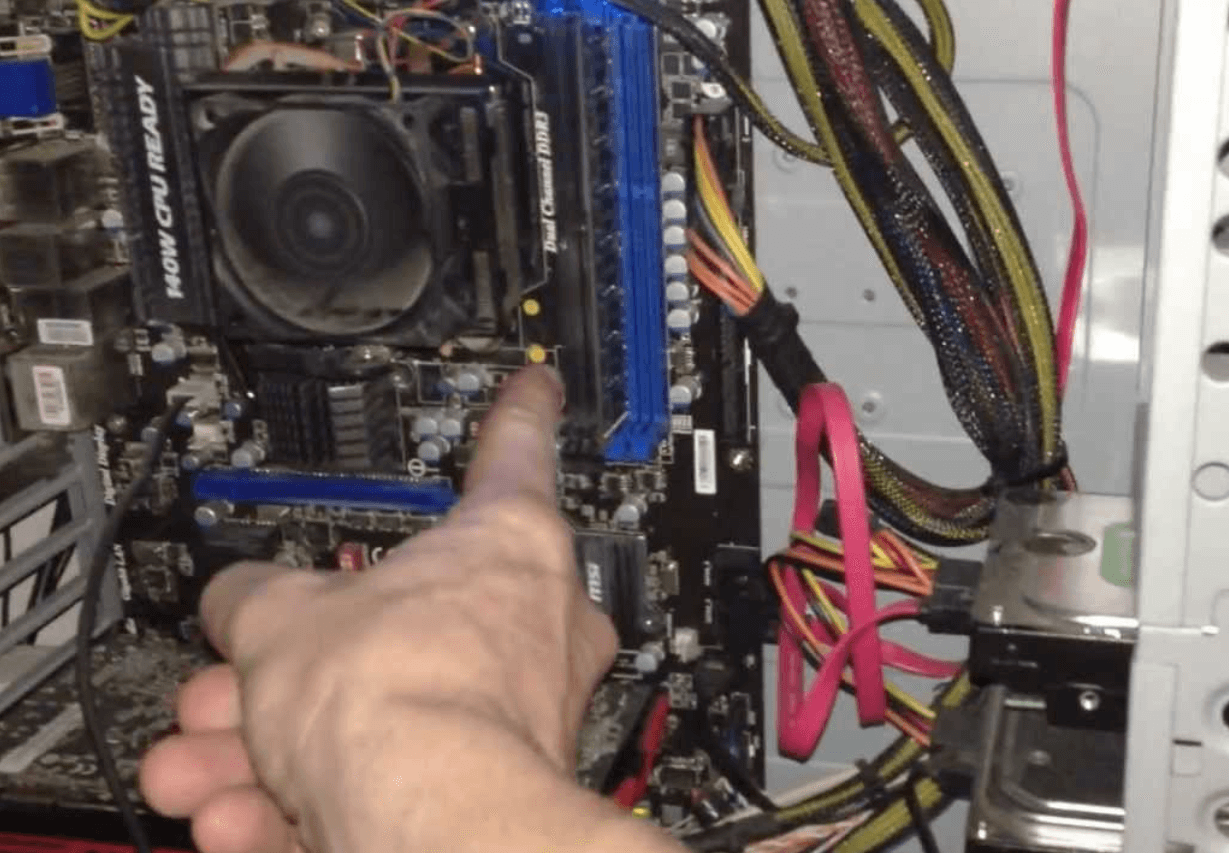
3. Check For Physical Damage (If Any)
Even after using the defragmentation & Check Disk process, your system doesn’t respond, you need to look for the physical damage (if any). The system always gives hints but we all aren’t as much familiar with the system (as a whole) so we might miss those. But there are possibilities your system hard drives are damaged so few of the hints can be:
- If the system slows down whenever you explore/browse the particular drive/disk.
- If the Check Disk tool process for looking for errors has failed abruptly.
- If whenever the disk spins, you hear rattling patterns.
Though we all know hard drives are being secured with too many walls, the hard drives itself are quite delicate. So even in the conditions when a drive has been screwed too tightly, can cause the physical damage problems. And if it’s been identified that your drive is physically damaged, all you can do is, look for the replacement right away.
Also Read: Ways To Fix Hard Drive Format Error On Windows 10
4. Check If Too Much Activities Lead to Slow External Drive Issue
In machines, (from computer to cell phone), if there are too many activities going on at the same times, they can slow down. Same problems can occur with your computer or laptop where you might be working on too many things or they are just functioning unnecessarily. This is what a user can identify & take proper action on time like while copying large amounts of data or playing a high quality game.
Too many activities must be related to your hard drive & that includes anything & everything that has a large amount of data (either copying in or copying out). And to identify if the system is slowing down things, use the below mentioned fix for slow external hard drive issue:
1. Give your system command “ctrl + shift + esc” & this will open up the Task Manager in front of you.
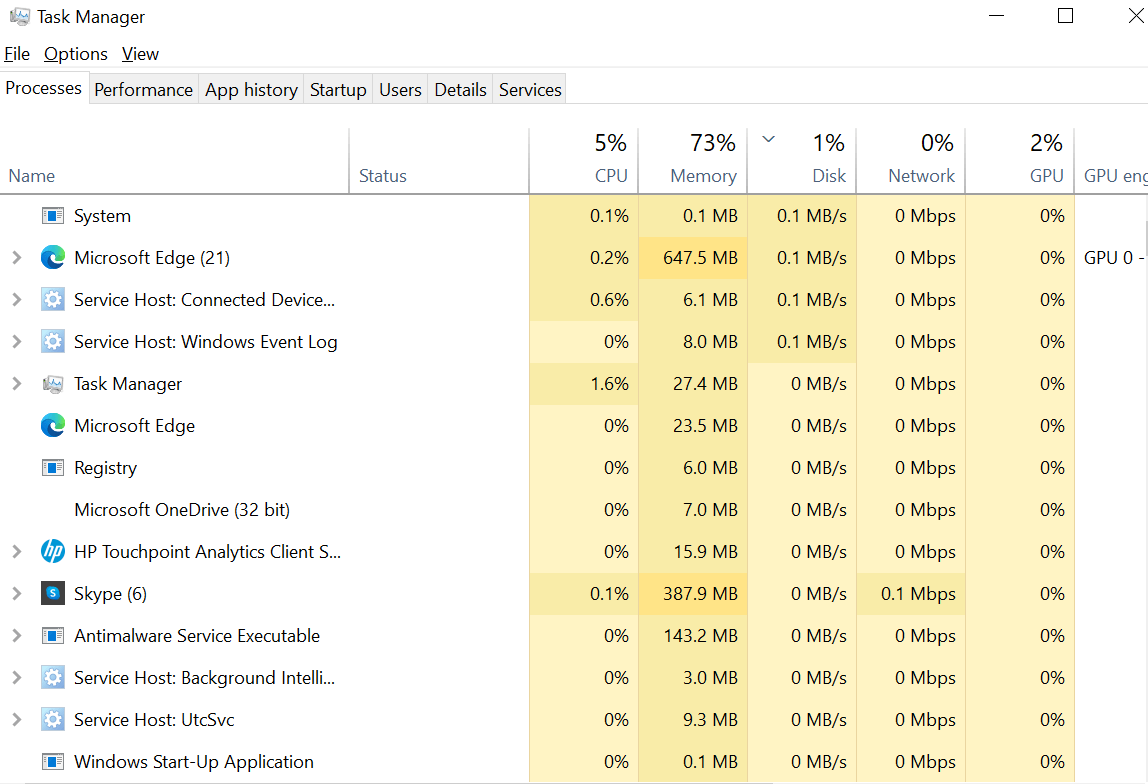
2. Post the launch, you need to tap on the DISK section under the Processes tab.
3. After tapping on Disk, if you see that Windows Explorer tops the list, then definitely the “copying data” is the issue your system is facing.
Including that, other reasons can be using video editing tools or playing a game on the USB drive. Since you can see everything on the Task Manager screen, tap on the same & select End Task option. Doing so will bring back the system in normal condition where everything on your system is working smoothly.
5. Check For Windows 10 Indexing For Slow External Drive
Windows 10 Indexing is an inbuilt feature you get with your PC that helps you look for the most common files on the system faster than ever. The search functionality to look for the files on Windows 10 system came into existence with Windows 7 edition.
Whenever you attach the hard disk drive to the system, it takes its own sweet time to display the contents because it’s indexing the drive for display. What you can do here is, disable the Windows 10 Indexing & this will speed up things. The outcome of doing so will decrease the finding-files-speed (like before) if you don’t know the name of the file. So in order to disable the Windows 10 indexing:
1. Start with giving your system command, Windows + R & type in services.msc.
2. Following process will launch Windows Search where you need to right click on the same & choose Stop from the list of menu.
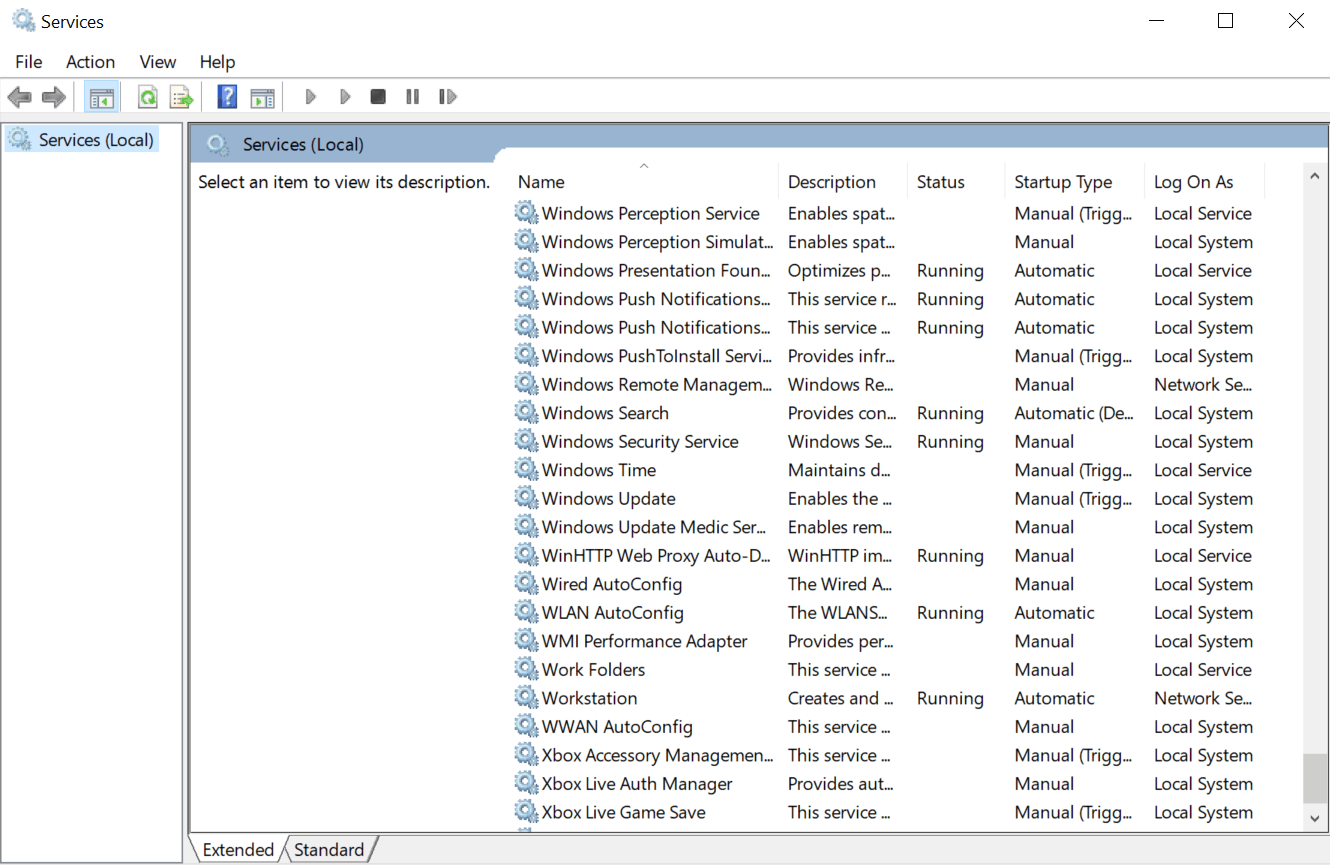
3. Once the Windows Search stops successfully, click on Startup Type (under Windows Search properties) & follow it by tapping on Disabled.

Following the above process may speed up things for you while working on the PC & maybe now you will be able to open the external drive as quickly as the system opens up the internal drives.
6. Check For The Viruses & Malicious Contents
This must be one of the most common conclusions every one of us can jump onto whenever there are issues with the system. Since we do not want to blame ourselves, putting it all onto the malicious contents seems easy. But what can a user do because even after using the best antivirus programs, if the system is slowing down, it’s just bad luck.
And what if the external drive files are the ones that are attached to the malicious contents which can lead to the system issue. In those cases, yeah, the external drives are the reason your system is slowing down.
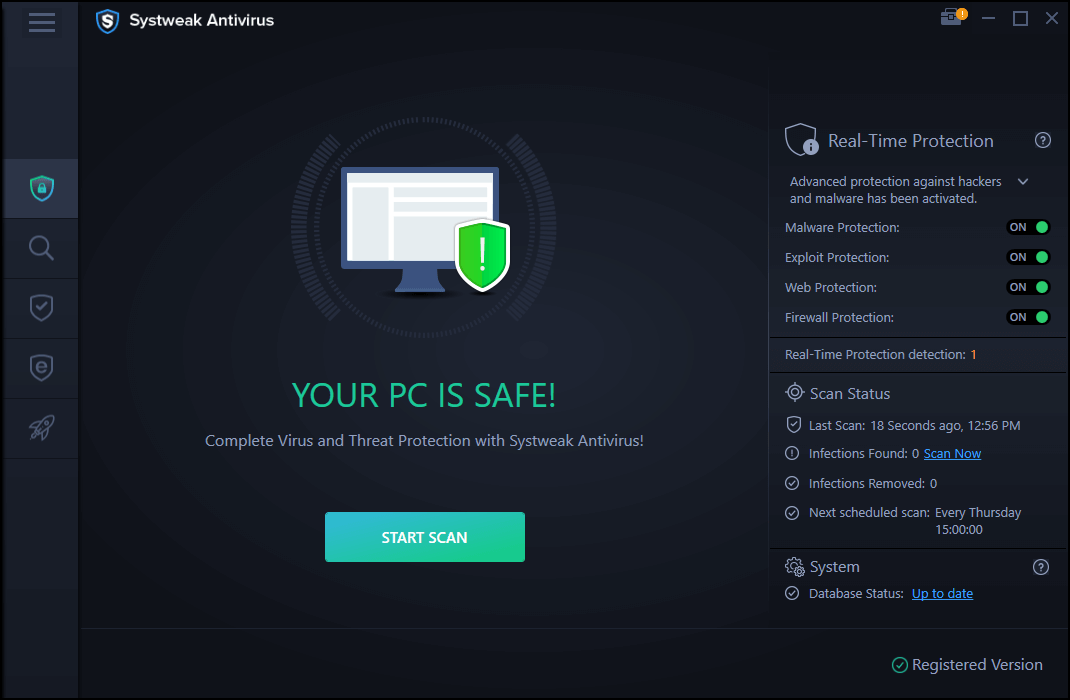
So in order to get rid of the situation, you need to launch Windows Explorer (Windows key + E) & right click on the drive, you think is having issues. From the list of many options, choose the Antivirus program or software that’s installed on your computer. If not, let’s look at literally the best in the business, Systweak Antivirus.
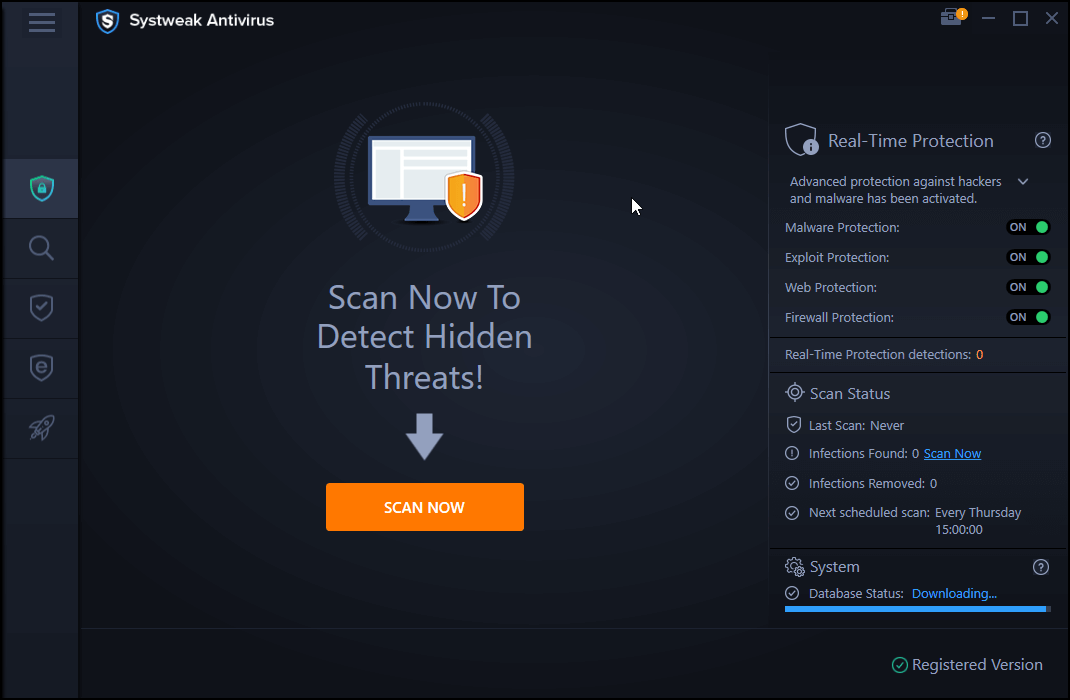
Marketed as the “Best Antivirus for Windows PC”, Systweak Antivirus helps you detect virus, malware, & ransomware threats & flush them out easily. From providing the exploit protection to the real-time protection, this antivirus software is all set to build a thick wall around your PC. And don’t get me started on cleaning the system as well as drives because it instantly detects the threat & takes appropriate action to keep the system security on top priority.
Download Systweak Antivirus

Wrapping Up
There can be many reasons why the slow external drive issue can occur on Windows 10 PC & that’s where you look for possible solutions. So in order to find the fixes, you need to identify the issue & this is when you will go through the above mentioned pointers.
From playing a high volume game from an external drive to the virus & malicious contents, everything can trigger the slow external drive issue.
Start exploring the best possible reasons that can lead to slow external drive issues & start fixing your computer & hard drives right away.
Next Read
External Hard Drive Is Not Showing Up On Windows 10?
Ways to Free Up Hard Drive Space on Windows 10


Forb
The methods helped, thanks