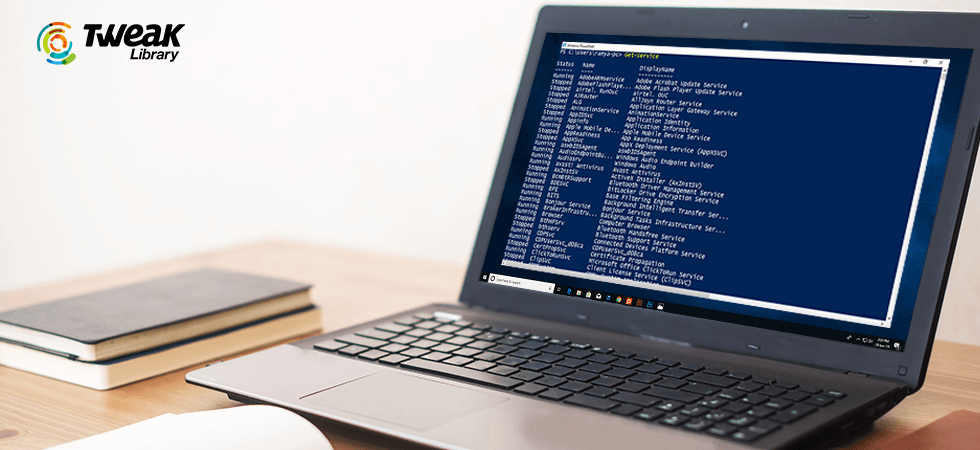
The Command Prompt of Windows 10 is quite intriguing. So much so that many users might be wanting to delve deep into it the beautiful world of commands. There’s yet another fantastic aspect that you might want to get your hands on, the Windows PowerShell Script. It is an object-oriented Scripting language that is specially designed for IT professionals. It helps them juggle with the administration of the Windows operating system.
Windows PowerShell Script has an interactive and extensive command-line shell with the help of which administrators can automate and control administration of Windows operating system.
PowerShell Script consists of commands that are called cmdlets. The cmdlets let you access data stores such as certificate and registry stores like file systems. Putting in simple words, using this very rich Scripting language, you can do almost any task that you do on Graphical User Interface (GUI)
What is the need for PowerShell Script when there is already a command prompt?
If you have just come across Windows PowerShell Script, you might be wondering that how is PowerShell Script any different from Command Prompt?
Though command prompt is quite similar, PowerShell has a more capable and efficient command-line interface which is abbreviated as CLI. Here is a comprehensive difference between command prompt and PowerShell Script.
In the blog that follows, you shall also see how you can create a PowerShell Script
How to create a PowerShell Script?
There are two ways using which you can create PowerShell Script
- You can write PowerShell Script using the notepad editor or
- You can use Integrated Scripting Environment or ISE to create PowerShell Scripts
1. To write PowerShell Script Using Notepad
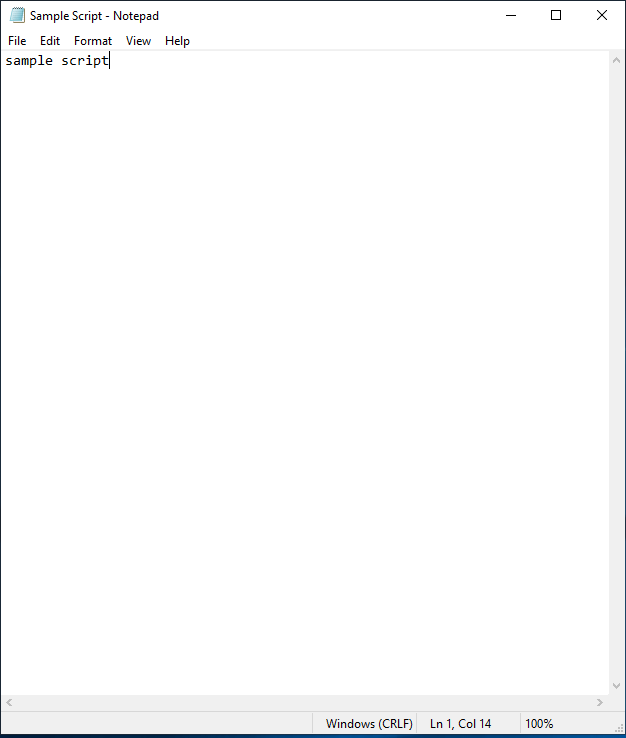
Step 1:
Go to search bar and type Notepad or right-click and choose:
new > text document
Step 2:
Once you opened the Notepad, type or paste your text (which is known as the Script). For e.g. Type, This is my first Script
Step 3:
Follow the path mentioned below –
File > Save As
In the File name suffix name with .ps1.
For e.g. sample_Script.ps1 and hit Save button
2. To Create Windows PowerShell Script Using Integrated Scripted Environment (ISE)
What is an ISE?
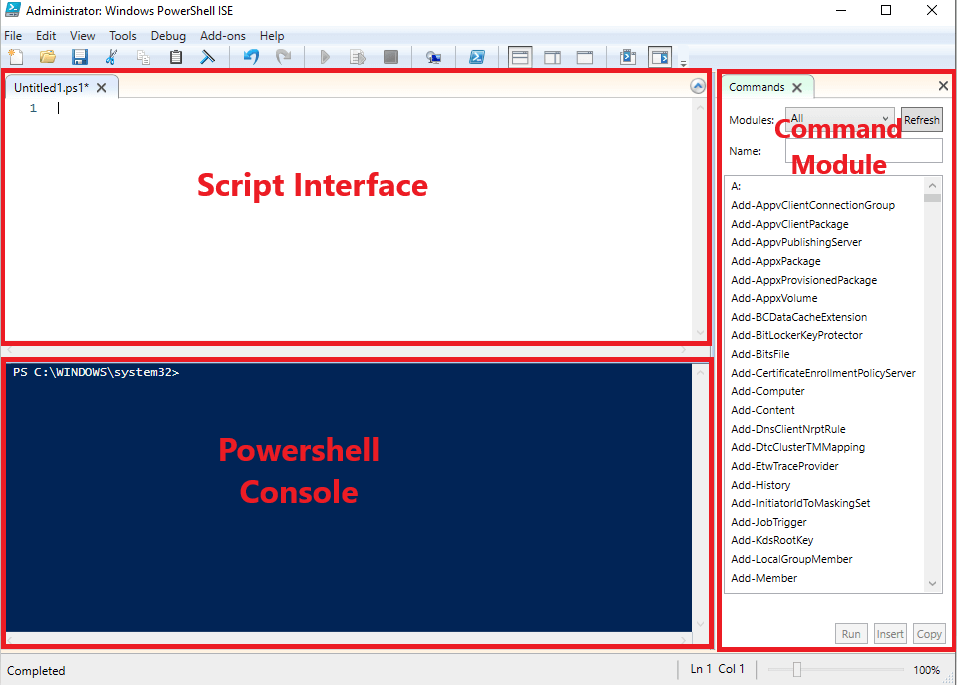
ISE short for integrated scripting environment is an editor where you will run, test and debug scripts. In simple terms, it is a console where you run commands. As shown in the figure above it consists of 3 parts namely –
- Script Interface
- PowerShell Console
- Command Module
Note: Once you write a PowerShell Script in a script interface, it gets executed in PowerShell Console once you press F5 button.
Step 1:
Go to search bar and type Windows Powershell
Step 2:
Now you will find Run as Administrator

Step 3:
Type a text in the window that opens. For e.g. This is my first PowerShell Script
Step 4:
Save the file with the suffix the file name with .ps1
Executing the Windows PowerShell Script
Now after you have created the file, it’s time to run that file. For this, you will first have to change the execution policy. What this will do is that it will allow Scripts to run. It is very crucial to note is that there are four execution policies namely (please write these as mentioned below) –
- RemoteSigned
Scripts created on the device are run. If you wish to run scripts on another device, these scripts would require a signature from a trusted publisher.
- Restricted
This command, as the name suggests will stop any script from being executed.
- AllSigned
This command permits all scripts to be executed on a condition that they are signed by a trusted publisher.
- Unrestricted
This command runs all the scripts without any restriction.
Let’s try and execute a sample Windows PowerShell Script. To do this –
Step 1:
In the search bar type PowerShell and then choose the Run as Administrator option
Step 2:
Type the below-mentioned command in the PowerShell Script editor:
Set-ExecutionPolicy RemoteSigned
Step 3:
Then type “A” and press enter
Step 4:
Type the following command in the Windows PowerShell Script editor and press enter
C:\Users\sarang.bhargava\Desktop\Sample Script.ps1
Cmdlet – An Overview
Once you have assigned the execution policy, you might as well want to try some useful PowerShell Script. Here are some of the important points with regards to cmdlets.
- Cmdlets are a combination of a verb and a noun separated by a hyphen (which is also the syntax). When you type verb and place a hyphen ‘-’ after that, you will get options for noun.
Syntax: “verb-noun”. E.g. Get-Certificate
- Some of the common types of Cmdlets are
-
- Start: Run a command
- Get: Get something out of a command
- Stop: To stop command from running
- Set: Use to define
- New: when you want to create something new
- Out: This is used to give an output
- There are 3 types of cmdlets
- System
- User
- Custom cmdlets
- Cmdlets outputs results as an array of objects
- Cmdlets are case-insensitive. Which means wither you write Set-Alias or set-alias, it is one in the same thing.
To Sum Up
The above-mentioned steps and concepts are though simple just give you a glimpse into Windows PowerShell Script and we hope that you might be all pumped up to climb up the ladder and learn some more advanced steps, isn’t it?
And, we regularly post interesting concepts pertaining to technology. For more such content, keep reading Tweak Library and don’t forget to subscribe to our YouTube channel.


Leave a Reply