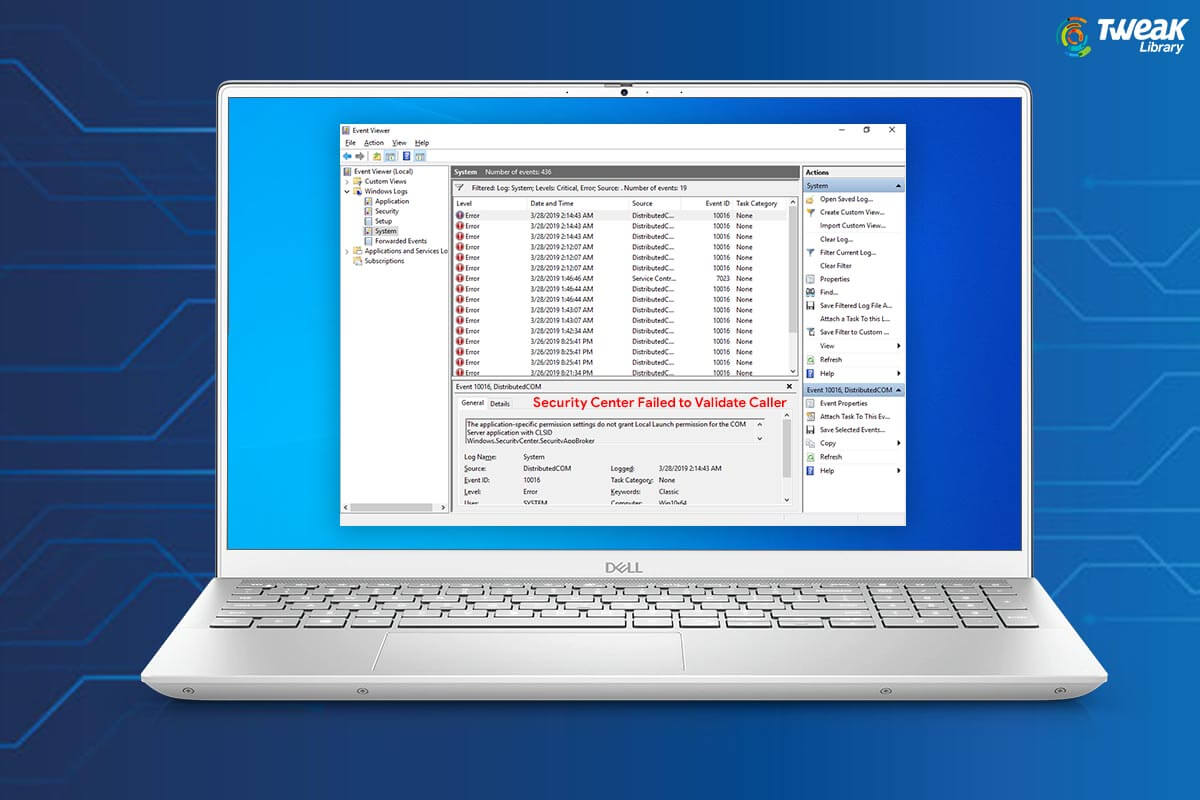
“Security Center Failed To Validate Caller with Error (DC040780)” occurs when there are corrupt files on your computer or when there is a conflict between your third-party security suite and Windows Defender Firewall.
While this conflict is the main cause of the error, the other causes that may lead to the issue include recently installed software whose sub-processes are conflicting with Windows’ security center. Also, outdated BIOS firmware may have led to this issue.
In this blog, we’ll address all such issues and have a look at ways you can fix the issue.
What To Do If You Get “Security Center Failed To Validate Caller (Error DC040780)
1. Uninstall A Recently Downloaded Software
If you have started encountering the issue soon after installing a particular software, you should promptly uninstall that application and then check if the issue persists. You can either uninstall the software manually using the steps mentioned below or you can even take the help of a third-party uninstaller that will not only help you uninstall the application but even facilitate removing its remaining files.
- In the Windows search bar, type Control Panel
- Type the following path in the address bar –
Control Panel\Programs\Programs and Features
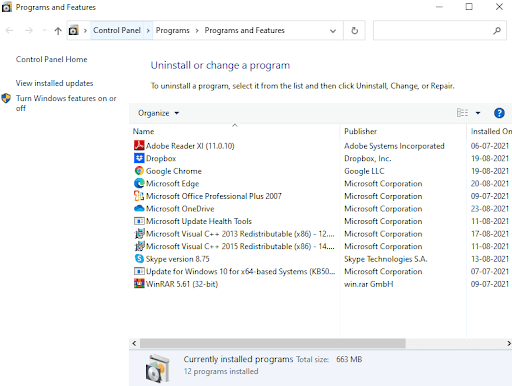
- From the list of programs, click on the recently installed program
- As soon as you will select the program, an Uninstall option will appear on the top, click on it
As reported by many users, this step does resolve the issue. However, if it doesn’t you can try the other fixes mentioned in this blog.
2. Disable Windows Defender Firewall
The error “Security center failed to validate caller” occurs in Windows 10, if it doesn’t perceive your chosen Antivirus as a genuine option for Windows Defender. In this case, a conflict might arise between both the security suites which may further lead to conflicts between Kernel processes. One way to resolve the issue is to disable the Windows Defender and Firewall. Though make sure that the Antivirus that you are using is of good repute and it shouldn’t allow the entry of malware.
Here are the steps to disable Windows Defender Firewall –
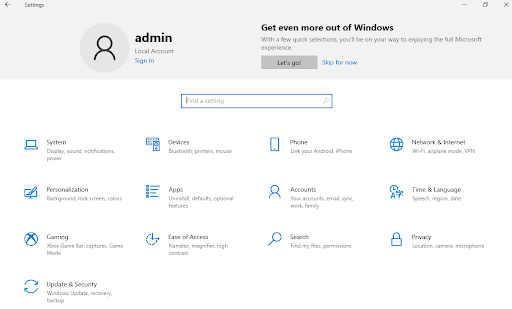
- Press Windows + I to open Settings

- Click on Update & Security
- Click on Windows Security
- From the right-hand side click on Firewall & network protection
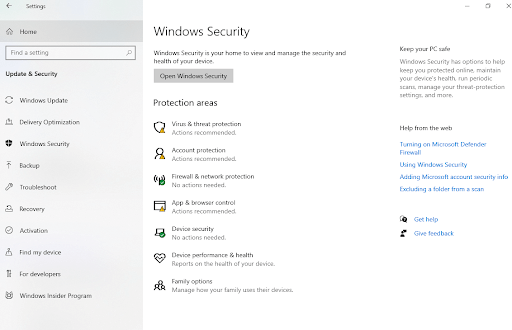
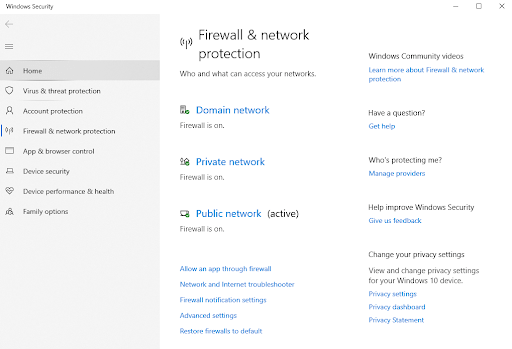
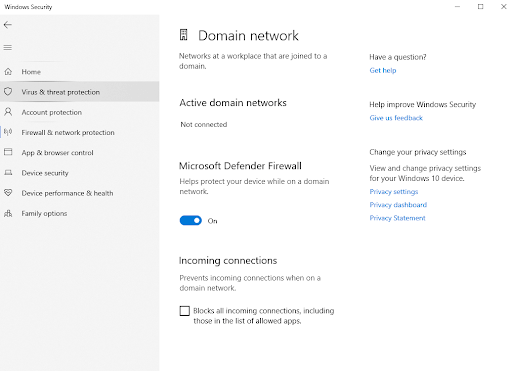
- Click on each of Domain, Private, and Public networks and toggle the switch under Microsoft Defender Firewall to Off
3. Have A Robust Antivirus In Place
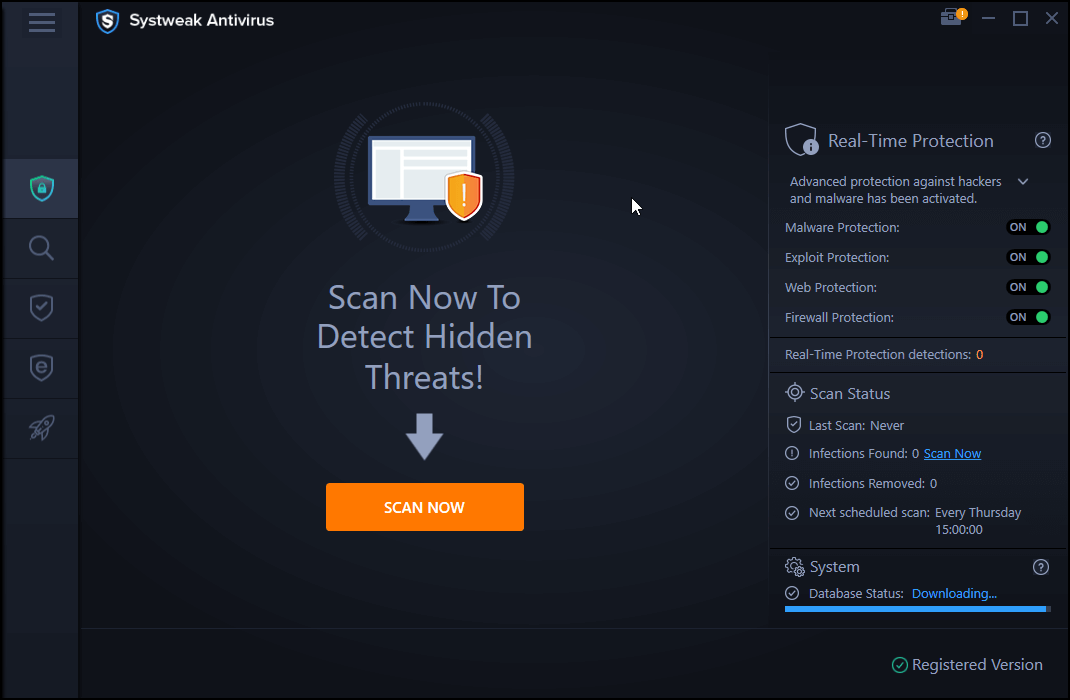
As we mentioned above, when even thinking of disabling Windows Firewall and Defender, make sure that you substitute it with a robust Antivirus. Here is a list of some of the best Antivirus programs for Windows 10. Systweak Antivirus, for instance, is one of the best Antivirus programs. It keeps your PC protected against all kinds of malicious threats and that too in real-time. You can check out the full review of Systweak Antivirus here. Meanwhile, you can have a look at its features and a brief overview of how it works to protect your computer.
Systweak Antivirus – Features At A Glance
- Light-weight antivirus that doesn’t consume much of your system’s resources
- Real-time protection against malicious threats
- Quick, deep, and custom scan methods help prevent malicious threats at all levels
- Systweak Antivirus promptly protects your PC threats that may exploit vulnerabilities
- Browser protection
- Detects and cleans malicious startup items
- You can schedule scans. This means you won’t have to conduct scans manually
Price: US$ 39.95 for 1 device/ 1-Year Subscription
Supported Windows OS Versions: Windows 10/8.1/8/7 SP1+
Click Here to Download Systweak Antivirus

How Systweak Antivirus Works:
- Download, install and run Systweak Antivirus from the link mentioned above
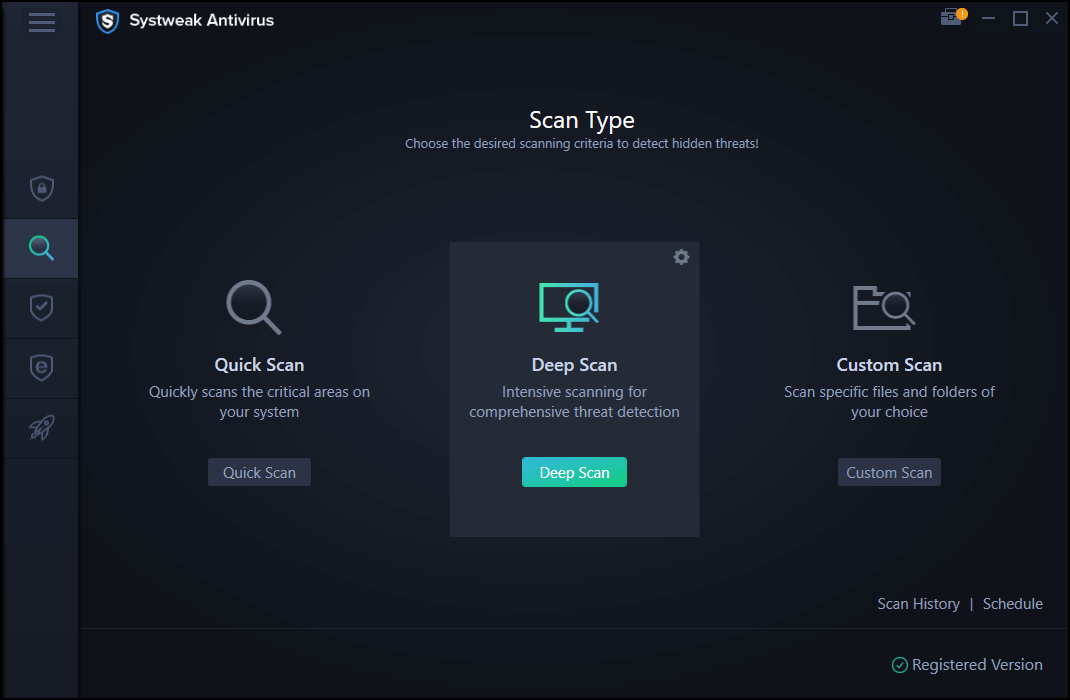
- Once Systweak Antivirus is installed, click on the magnifying glass icon
- Choose from Quick, Deep, and Custom scans depending on where and to what level you wish to look for viruses.
- Systweak Antivirus will now scan your computer for any malicious threats, it will find them and even remove them before they extend to the files on your computer.
4. Troubleshoot The Issue In A Clean Boot State
As we have mentioned before an event viewer stating the “ security center failed to validate caller” may appear when your existing third-party antivirus is interfering with the normal functionality of your operating system. Apart from that, you might also not be able to get hold of the actual problem when running Windows normally. In which case, you can troubleshoot your Windows 10 in a clean boot state. Here is how to enter the clean boot state and resolve the issue –
- Press Windows + R and open the Run dialog box
- Type MSConfig and press the Enter key
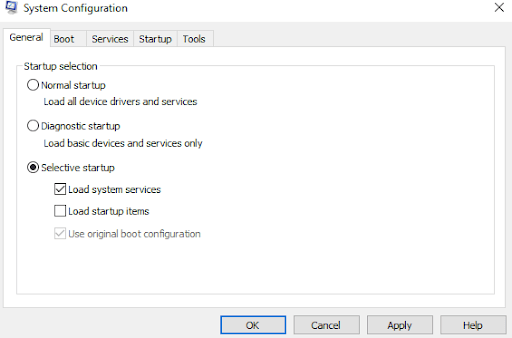
- Click on the General By default, the General tab will be opened
- Click on the Select Startup radio button. Also, uncheck the Load startup items checkbox as well
- Only Load system services and Use original boot configuration should be checked
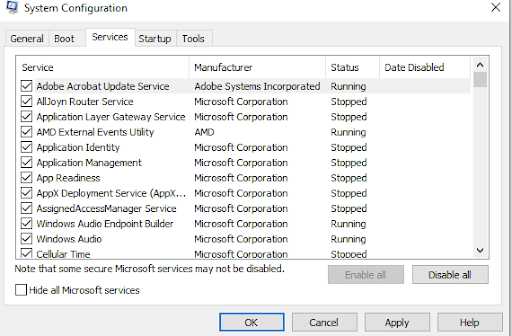
- Under Services, select hide All Microsoft Services checkbox and click on Disable all
- Click on Apply and then OK
Now, check if you have been able to resolve the issue.
5. Update BIOS
Many users who had desktops of specific models and had reportedly faced “Security center failed to validate caller” were able to resolve the issue by updating their BIOS. Soon after they updated the BIOS, they were able to stop event viewers that came up with the error.
Now, updating your BIOS firmware should be your last resort as if the steps are done wrongly, this can further lead to stability issues. If you are unaware of how it’s done, you can check out our detailed post on how to update BIOS in Windows 10.
Wrapping Up
We highly recommend that along with Windows own Windows Defender and Firewall, you also install a good Antivirus because that will help you intensify your computer’s security and privacy to the maximum. Do let us know in the comments section if you were able to resolve the issue. We’d also like to know which of the above fixes was helpful. For more such content, keep reading Tweak Library.


Leave a Reply