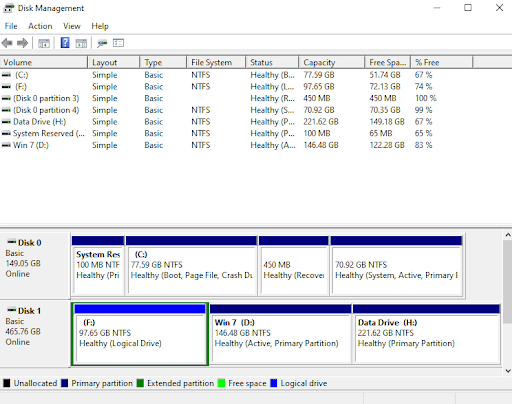
Has it ever happened that your Windows hard drive did not show you the right capacity? It could be any drive – the internal drives located locally on your computer or one of the external drives that you have connected to your computer such as an external hard disk, SD card, USB flash drive, etc. Let’s illustrate this problem with the help of an incident –
The (H:) Drive on my computer showed 500 GB and I had only moved files that couldn’t have taken any more than 100 GB of space but now I see a red mark and the free space that it’s showing is 10 GB. I have opened the drive and I am convinced that the storage space shown is wrong. I am confused as to what is to be done next?
First and foremost – Under such a circumstance, we recommend that you first take a backup of your data. So, even if you have to format the drive or change the file system, you can leverage a backup of data that you already have. Now, let’s get down to the resolving part –
Best Ways To Solve Hard Drive Showing Wrong Capacity on Windows 10
The steps listed below can even help you if an external hard drive is showing the wrong capacity.
Reformat The Hard Drive
In case your Windows hard drive is showing the wrong capacity and you are not even able to format it then here is what you can do. Windows gives you the functionality to format the hard drive using the Command Prompt.
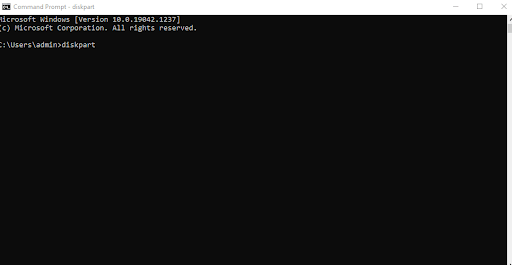
- In the Windows search bar type cmd and then choose Run as administrator from the right-hand side
- When the Command Prompt opens, first, type the diskpart command

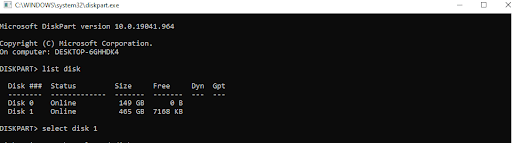
- Next, type list disk which will give your details of all the disks on your system
- After that type select disk n. Here you will be specifying the number of the hard drive. For example, if you want to choose the first disk type select disk 1
- In the next line, type clean. This command will clean or delete all partitions on the disk you have selected
- Once you have cleaned your chosen disk, type the create partition primary What this command will do is that it will create a primary partition on the disk you have chosen
As an alternative to step no 6, you can use the command format fs-ntfs quick. This command will replace NTFS with exFAT or FAT32 as per your choice. You are telling DiskPart to format the drive with a file system. So be very cautious with this step.
Also Read: The Correct Way To Format An External Hard Drive On Windows 10
– Convert Your Hard Drive From MBR To GBT
Sometimes if your Windows hard drive is showing the wrong capacity, you could try changing it from MBR to GPT. Your current disk storage may have surpassed the maximum storage size of MBR. Again, this conversion is something that you can do with the help of DiskPart in the Command Prompt. But, then you may have to delete all existing partitions.
But What if I Don’t Want To Lose Partitions and Preserve Data?
You can instead take the help of a third-party tool that will help you convert MBR to GPT while keeping partitions intact and thereby preserving your data. One such tool is EaseUS Partition Master. To convert MBR to GPT without losing partitions or data, here is how you can use EaseUS Partition Master.
- Download, install and run EaseUS Partition Master
- Right-click on the disk that you want to convert to GPT
- Select Convert to GPT
- Under Pending Operations select Operation 1
- Click on the Apply button and the conversion will start processing
Now check if your Windows 10 hard drive is showing the correct capacity or not.
– Update The Drive’s Drivers
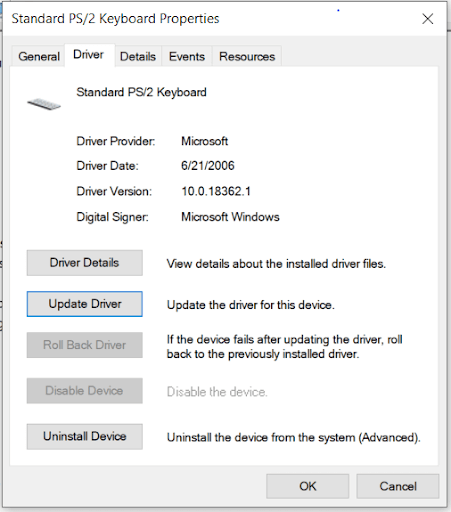
Presuming that an external hard drive is showing the wrong capacity on your system, there are high chances that its driver is out of date. And, if that’s the case, the external hard drive may start to malfunction. In that case, you can update the faulty external hard drive driver. A simple way to do that is to use a driver updater utility. However, if you want other ways to update device drivers manually, you can check out this post.
– Initialize The Hard Drive
Before we move any further, as a prerequisite we would recommend that you create a backup of the data of the drive that your want to initialize. Even generally, you should make it a habit to backup the data on your computer once in a while. You must be wondering how can initializing the hard drive help me if in case my hard drive is not showing full capacity? That’s because MBR errors and GPT header can lead to disk size errors and in such instances, initializing hard drive can be a way to resolve the issue. To do that –
- Press Windows + R and type msc and press enter
- Now choose the hard drive or even SSD that you wish to initialize
- Right-click on it and select Initialize Disk. Additionally, if the disk appears Offline, you have to right-click on it and then select Online
- Select the disk that you want to initialize and click on OK. Here you can even select the style whether you want MBR or GPT as your hard disk’s partition style
– Analyze Your Hard Disks
Another thing that you can do if your hard drive is showing the wrong capacity on Windows, is to check exactly how much space is being consumed by files and folders residing inside that hard disk. Now, you might ask or rather reinstate that that’s exactly the issue I am unable to figure out why is the hard disk showing the wrong space? What we are going to help you out with is exactly how much space is being taken by files and folders on your computer. Needn’t dive into This PC, click inside, and then spend several hours checking each file and folder. Instead, you can use a tool like Disk Analyzer Pro that comprehensively and easily scan your hard drives and further sorts all your files and folders into categories. It shows you the exact storage space in the form of graphics with the help of which you can get hang of a hard disk’s storage space in few glances –
Let’s run the utility and then check how it can help you. So first download Disk Analyzer Pro and run the utility.
Click Here to Download Disk Analyzer Pro


Complete review on Disk Analyzer Pro
1. Select a drive that you want to scan. Here we will select a drive that is showing the wrong capacity
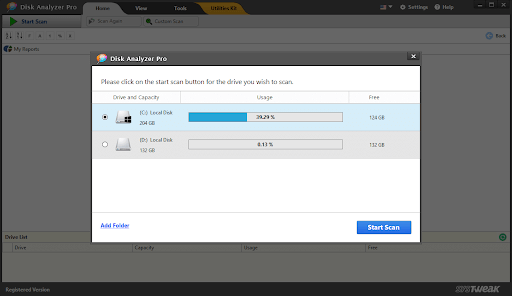
2. Hit the Start Scan button at the bottom right corner of the screen
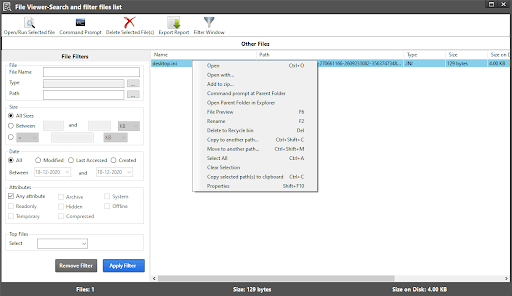
3. As you can see from the screenshot below, all the various files and folders in your drive will be neatly sorted. You will be able to see what percentage is consumed by what kind of files

4. You can furthermore click on each of these categories and view the files underneath. Plus you can even perform several functions such as renaming files, delete them, move to another path, and many other things
Wrapping Up:
If your external or internal hard drive is showing the wrong capacity, you can take the help of the fixes mentioned above. And, if the blog helped you get out of the situation, do let us know in the comments section below. For more such updates, keep reading Tweak Library


Leave a Reply