


Summary
This article covers why the hypervisor error BSOD hits Windows 11, tied to the stop code 0x00020001, and seven fixes ranging from disabling conflicting virtualization platforms and checking BIOS settings to updating drivers, repairing system files, uninstalling a recent update, and resetting the hypervisor launch type.
Your PC crashes to a blue screen, shows HYPERVISOR ERROR, and restarts before you can read anything past the stop code. It happens mid-task, sometimes while you’re running a virtual machine and sometimes with no VM in sight, and it comes back no matter how many times you restart.
A bsod hypervisor error points to a conflict in how your system manages virtualization, and while the stop code itself doesn’t say what triggered it, the fix usually comes down to a short list of causes: conflicting virtualization software, a BIOS setting, an outdated driver, or a recent update. Here’s how to work through a hypervisor error Windows 11 fix, in order.
What Causes the Hypervisor Error on Windows 11
This BSOD carries the bug check value 0x00020001, which means the hypervisor itself hit a fatal error, not a specific app or file. Commonly, an error occurs when using two different virtualization environments (i.e., one on top of another) such as Hyper-V enabled alongside VMware Workstation or VirtualBox installed.
Less commonly but still frequently, the cause will be either an outdated or misconfigured BIOS/UEFI firmware, an incorrect configuration of memory integrity and core isolation conflicting with older drivers, corrupt files within the virtualization stack, outdated drivers for your network adapters or chipsets and sometimes a specific Windows update that shipped with a bug.
If the crash occurred immediately after you installed another vm tool then try fix 1. If the crash happened right after an update was applied by Windows update, go directly to fix 6. If nothing changed recently, work through the list from the top.
Fix 1: Stop Running Two Virtualization Platforms at Once
Hyper-V and third-party hypervisors like VMware or VirtualBox can both try to manage your CPU’s virtualization extensions at the same time, and that conflict is a leading cause of this error.
The solution for resolving the above conflict is as follows:
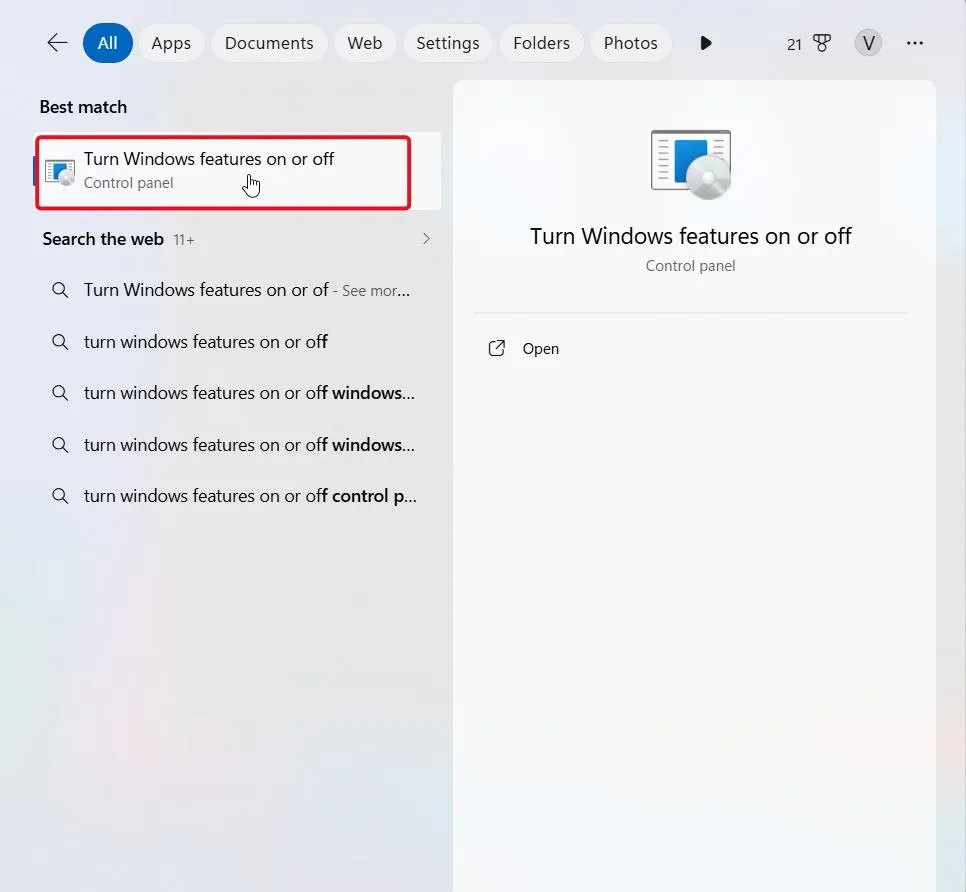
- Press the Windows key and type “Turn Windows features on or off”, then open it.
- Clear the checkboxes next to Hyper-V and Windows Hypervisor Platform if you also use VMware or VirtualBox.
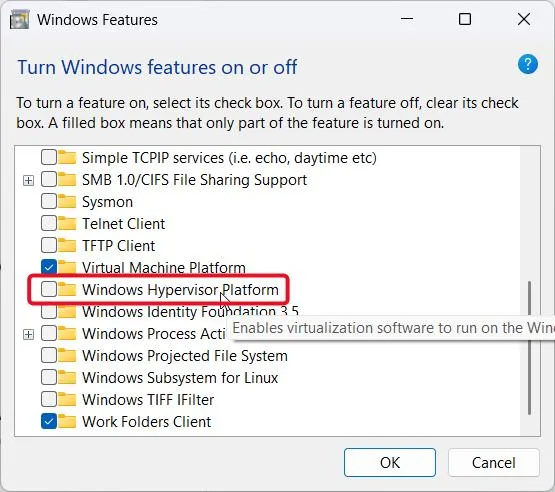
- Select “OK” to close the dialog box and restart your pc.
If you need Hyper-V for something specific, disable the other virtualization software instead, as there should be no multiple platforms controlling virtualization on the same machine.
Fix 2: Check Virtualization Support in BIOS
- Restart your PC and press the key for BIOS/UEFI setup shown on the boot screen (commonly Del, F2, or Esc).
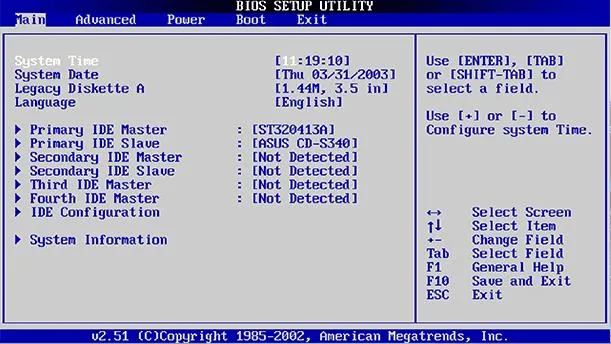
- Go to the Advanced tab and look for Intel Virtualization Technology (VT-x) or, on AMD systems, SVM Mode.
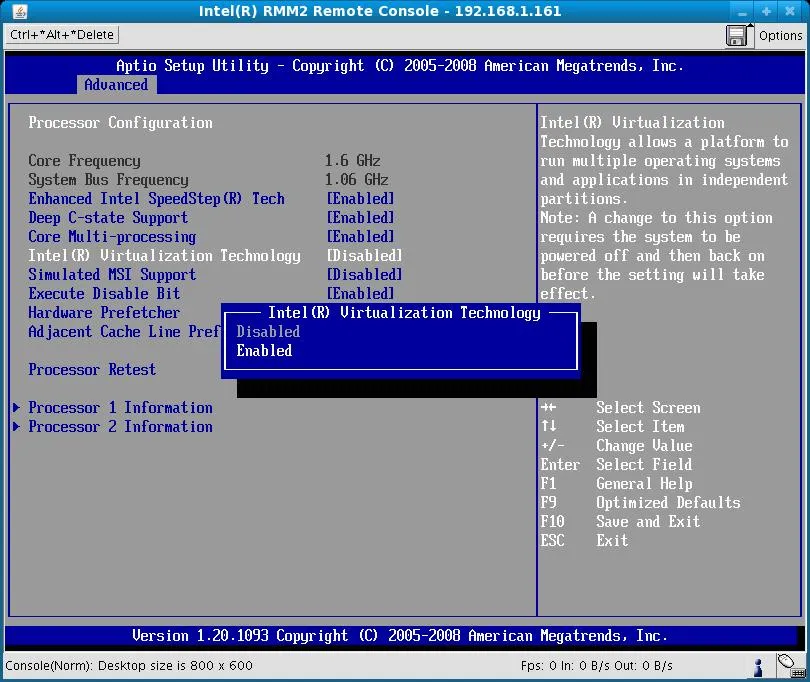
- Make sure it’s enabled, then save changes and exit.
An unsupported or misconfigured virtualization setting here is one of the more common reasons Windows 11 throws this specific BSOD, since Windows 11 leans on virtualization-based security even outside of running VMs.
Fix 3: Turn Off Core Isolation and Memory Integrity
Core Isolation protects core windows processes using virtualization. It may also interfere with older or third party drivers.
- Go to settings > privacy and security > windows security.
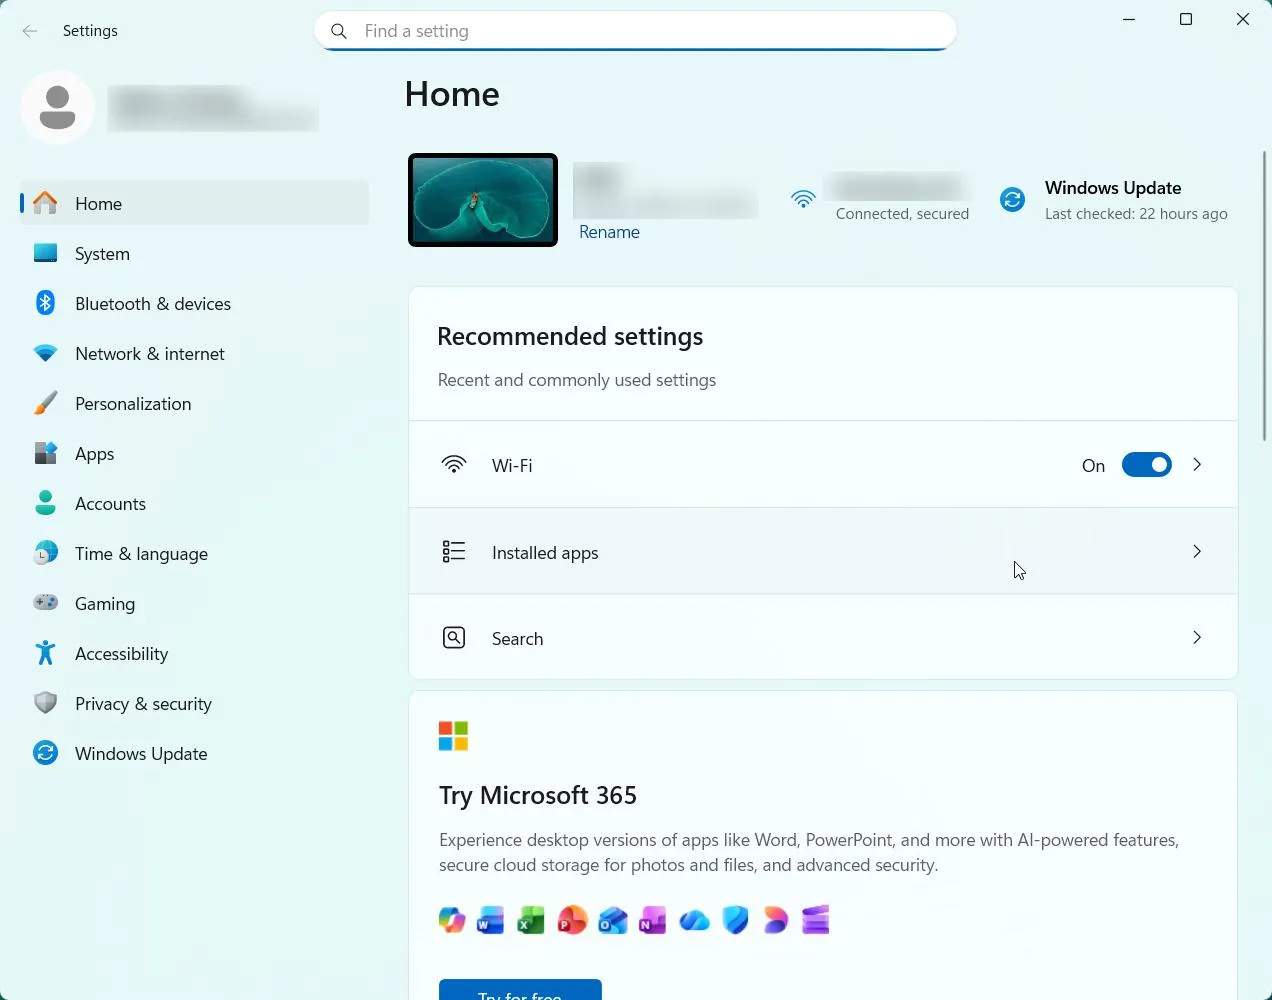
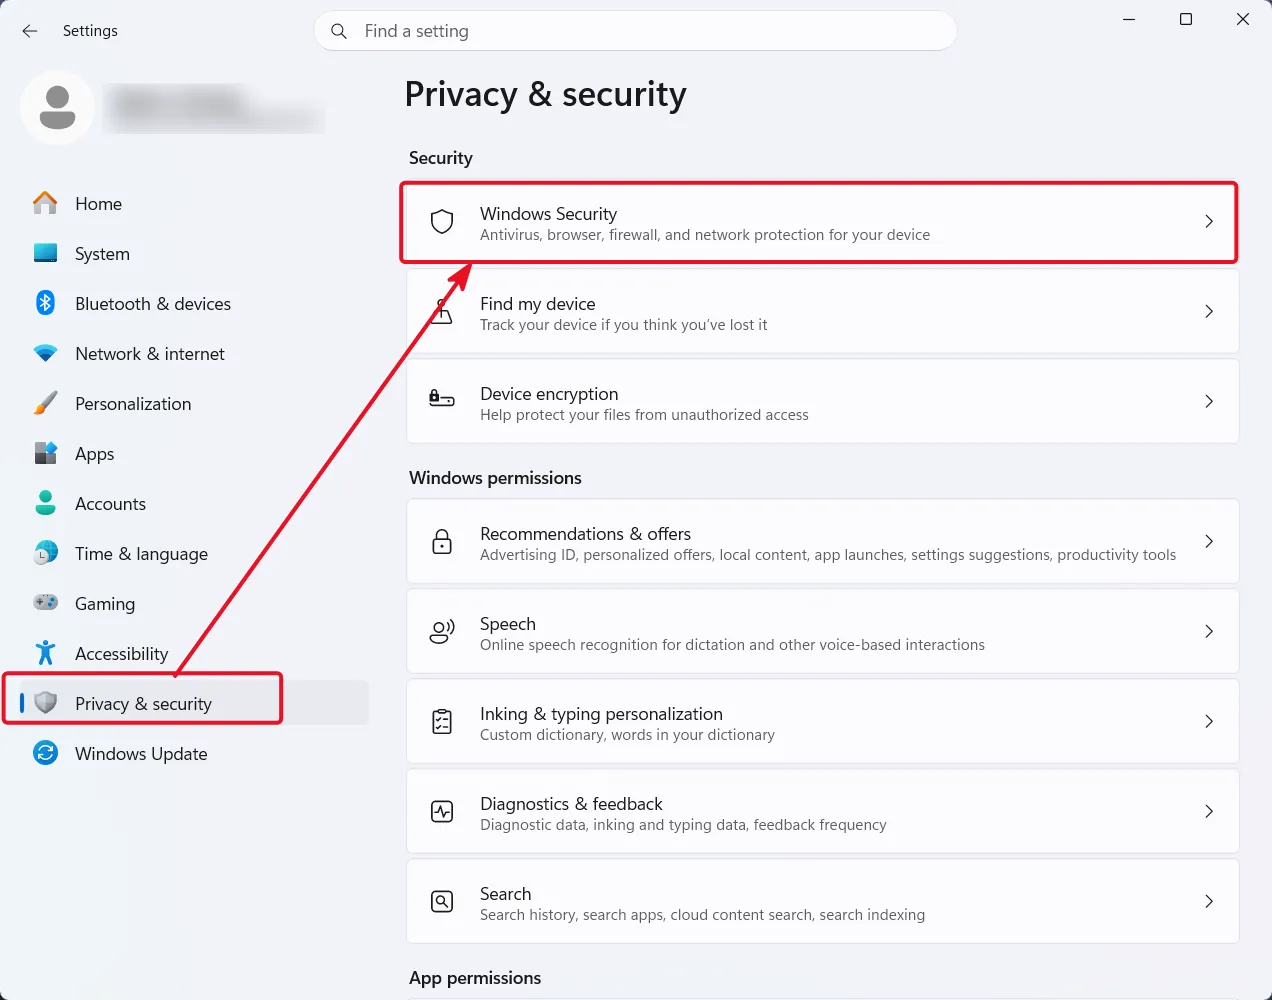
- Click device security and then “core isolation details”.
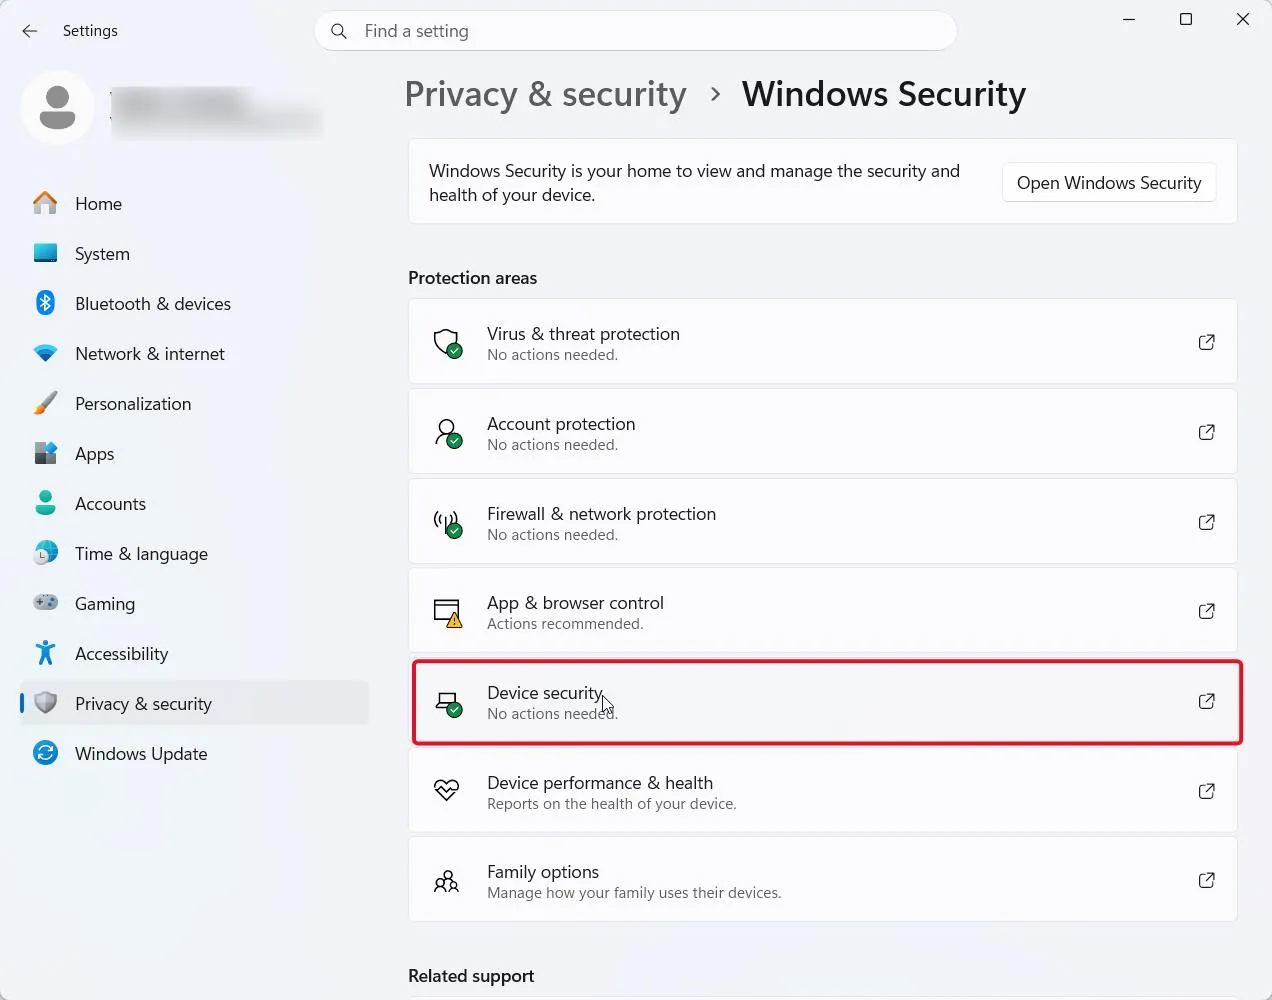
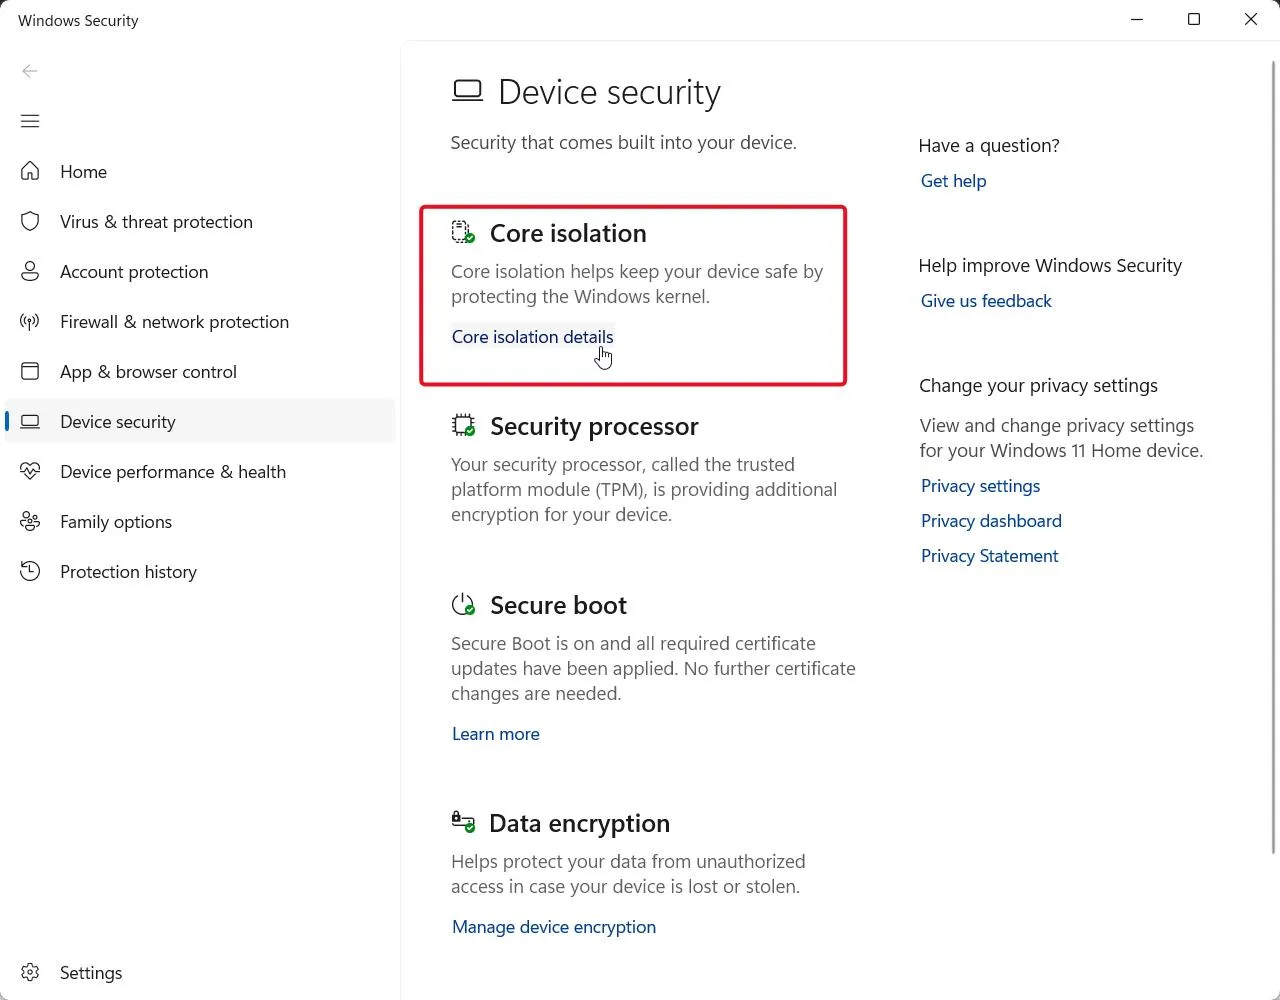
- Disable memory integrity and restart your computer.
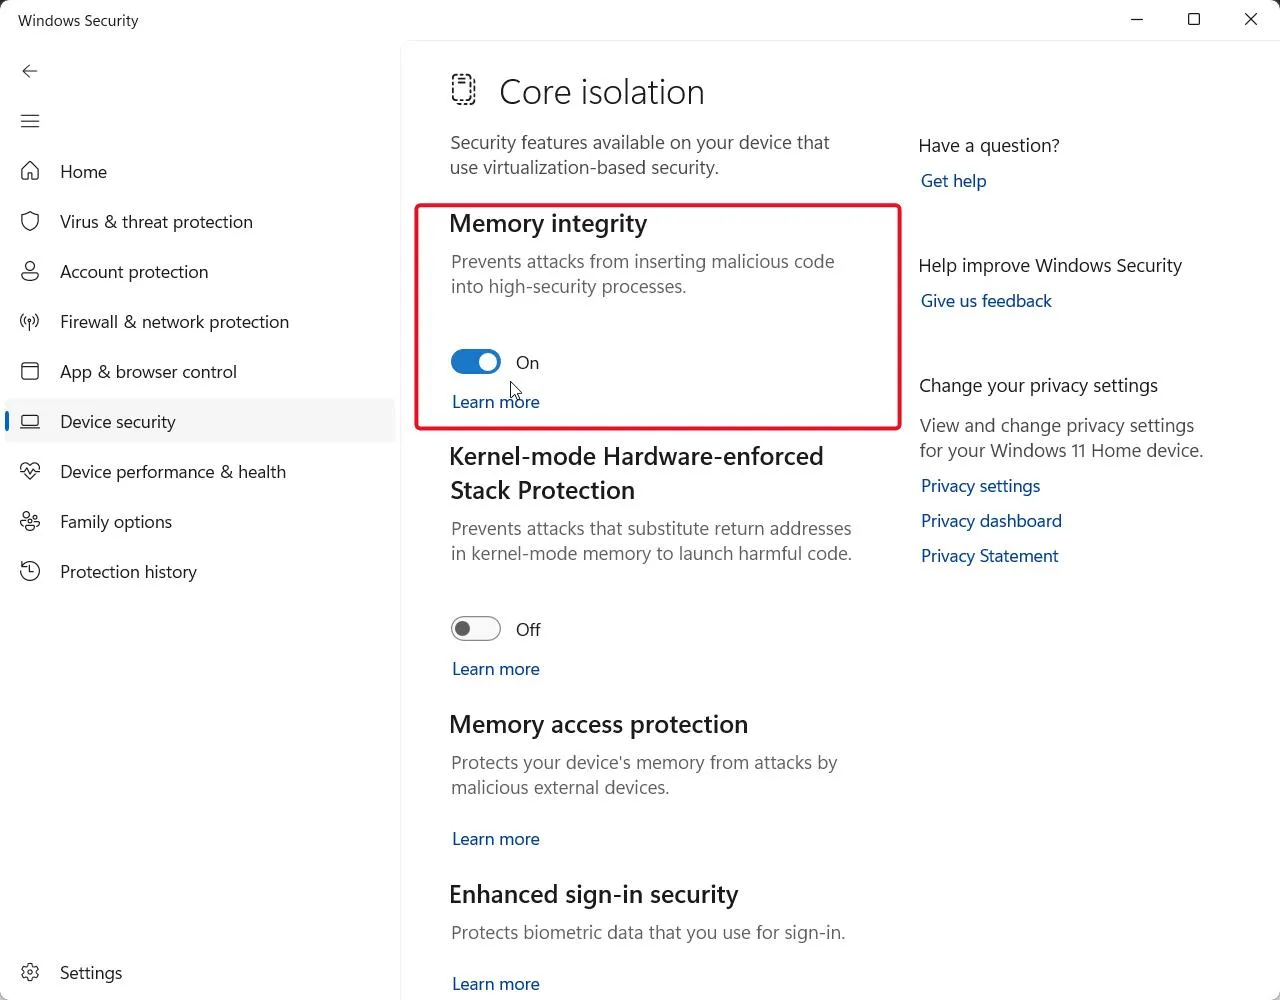
If you do not experience any further crashes after disabling memory integrity, there is likely an issue with one of the drivers that you are running, and they have not been updated to be compatible with memory integrity. Check with the driver’s manufacturer for an update before leaving this feature off long term, since it’s a real security layer worth having back on once the conflict is resolved.
Fix 4: Update Your Drivers
Outdated drivers, especially for your network adapter, chipset, or anything tied to virtualization, are a frequent contributor to this crash.
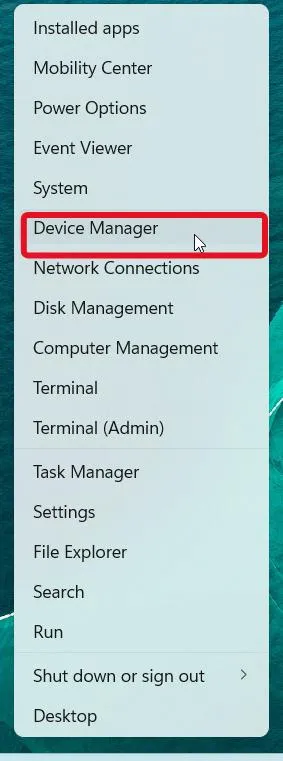
- Open Device Manager by right clicking the start button.
- Expand Network Adapters, Processors, and System Devices one at a time.
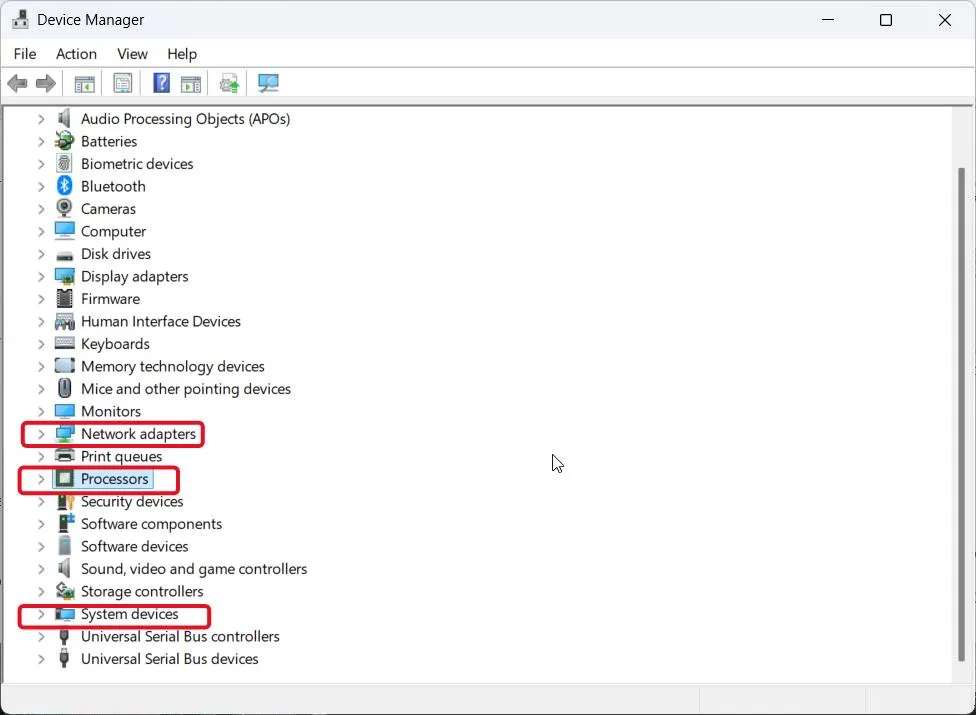
- Right-click each entry and select Update driver and select “Search Automatically for Drivers.
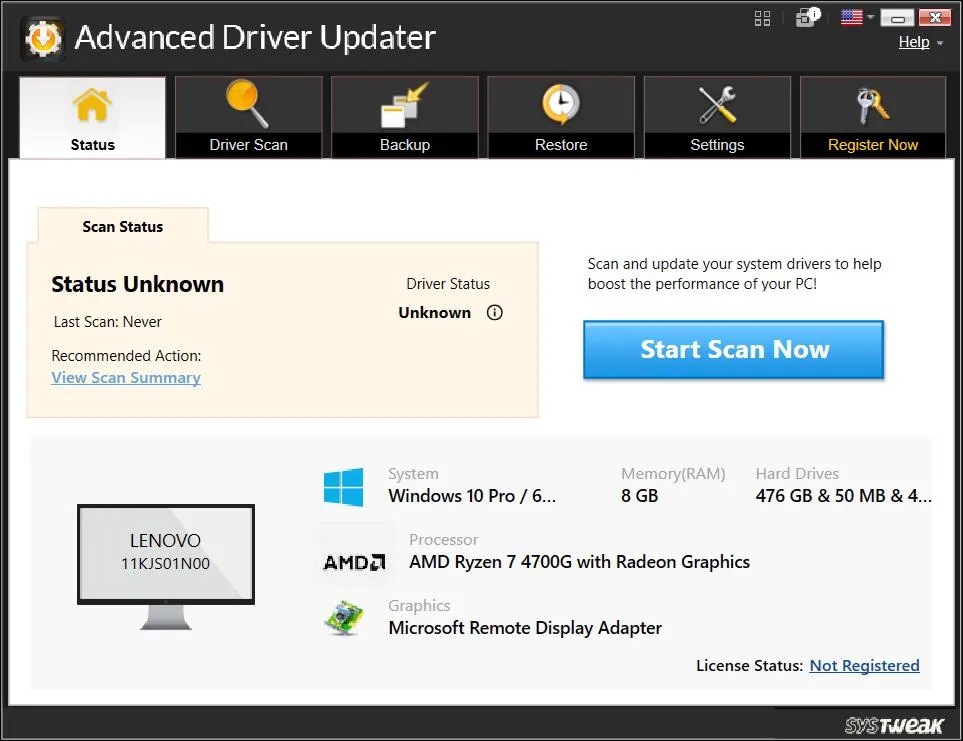
If a newer version of the device drivers is not available through Windows’ built-in Device Manager, then you could try Advanced Driver Updater from Systweak. Begin by opening the application, clicking on Start Scan Now to run the scan. Once completed, click on the “Update Now” button next to any identified device driver flagged as needing an update, or choose Update All if there are multiple flagged at one time. Reboot your computer after all the updates have finished; verify whether or not the Hypervisor Error has returned.

Fix 5: Repair System Files
Corrupted files in the virtualization stack can trigger this crash even when your settings are correct. Open a command prompt as an administrator and run the following commands.
sfc/scannow
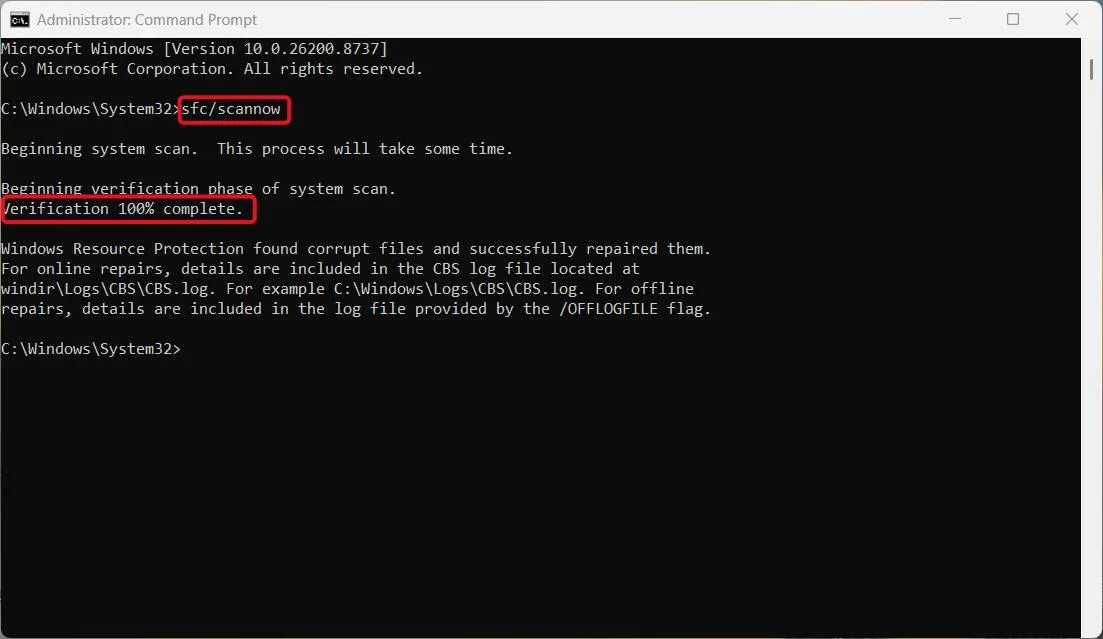
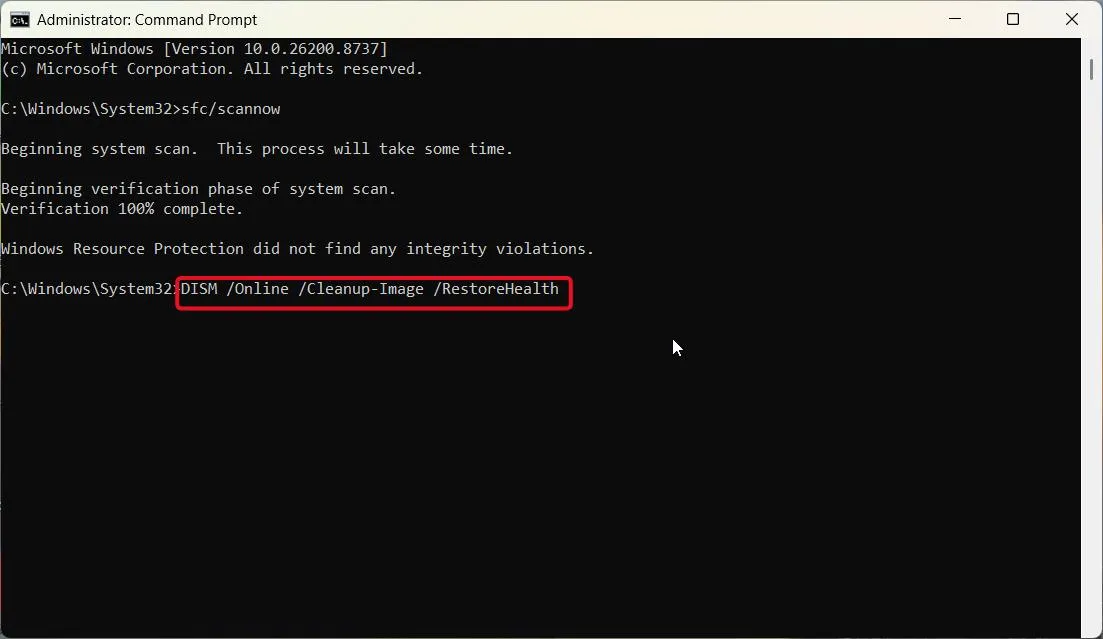
Once that finishes, run: dism/online/cleanup-Image/restorehealth.
Then run chkdsk C: /f /r
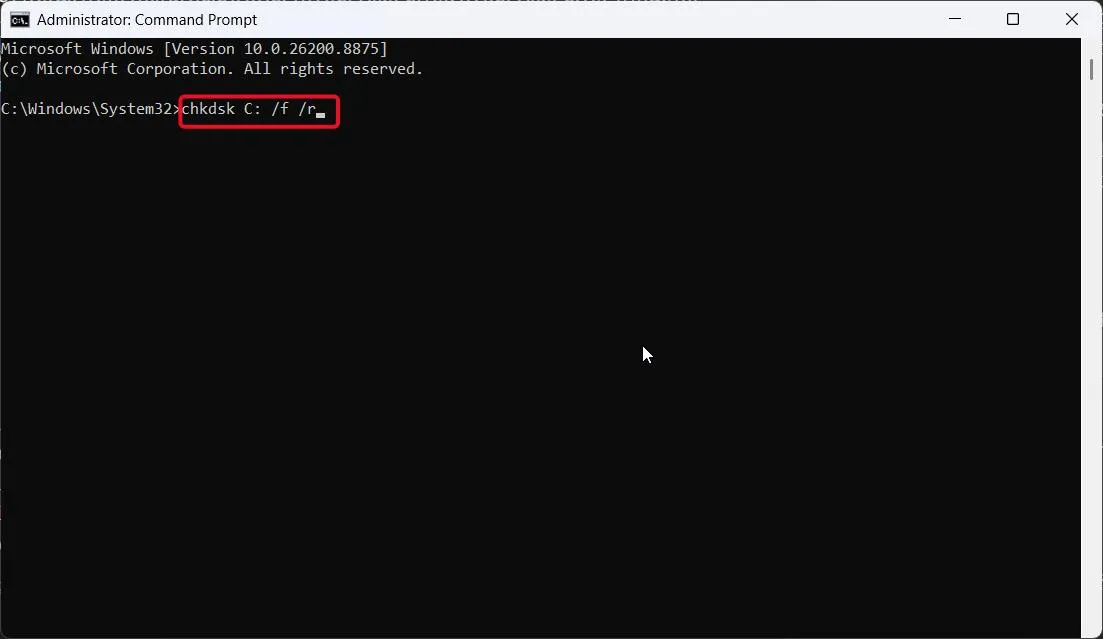
This last command will need a restart to complete, since it scans the drive Windows is running on.
Fix 6: Uninstall a Recent Windows Update
If the crashes started right after a Windows update, that update is a reasonable first suspect.
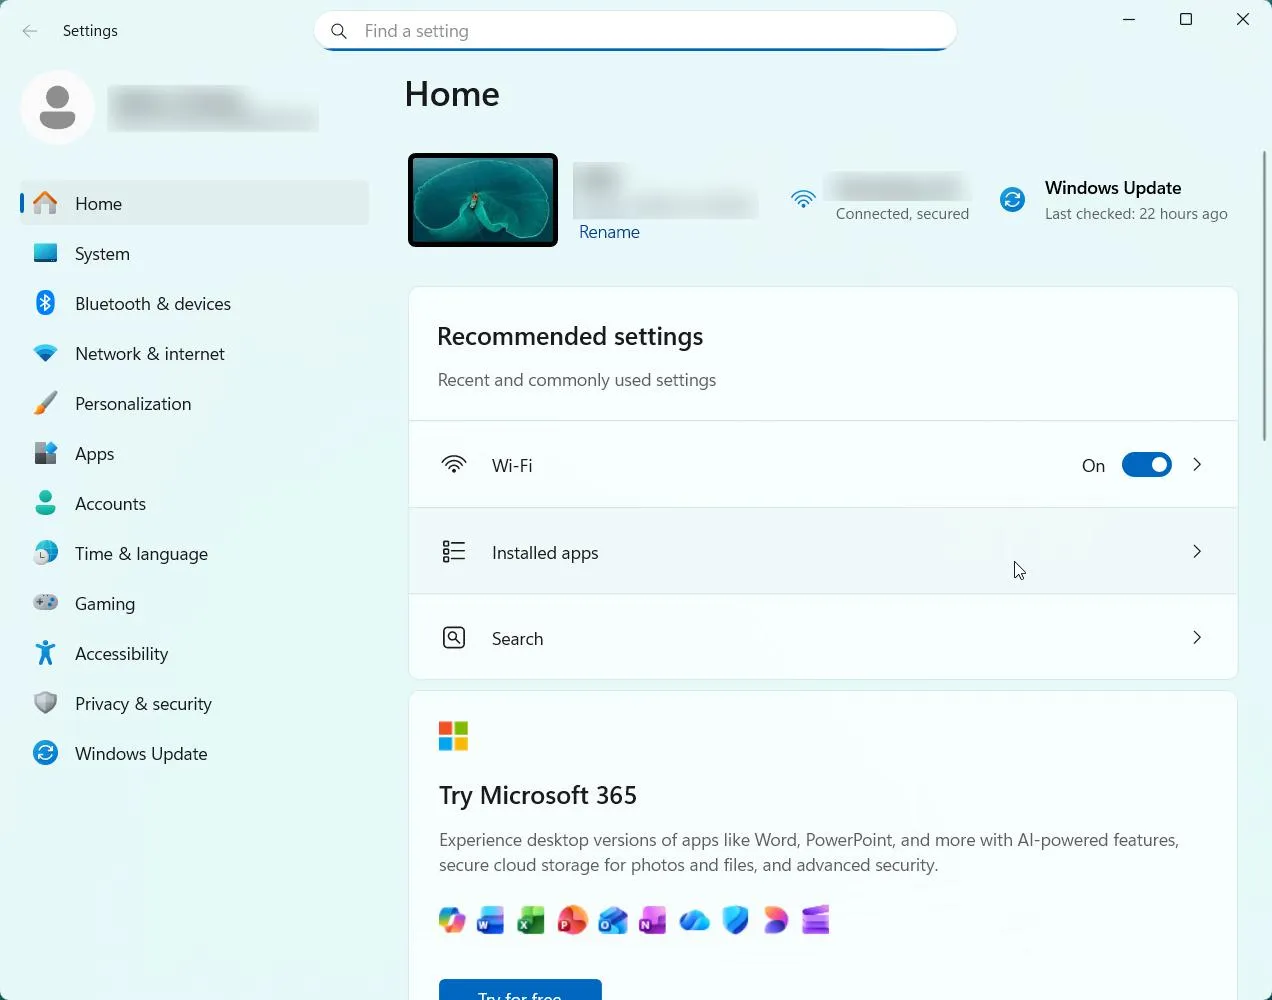
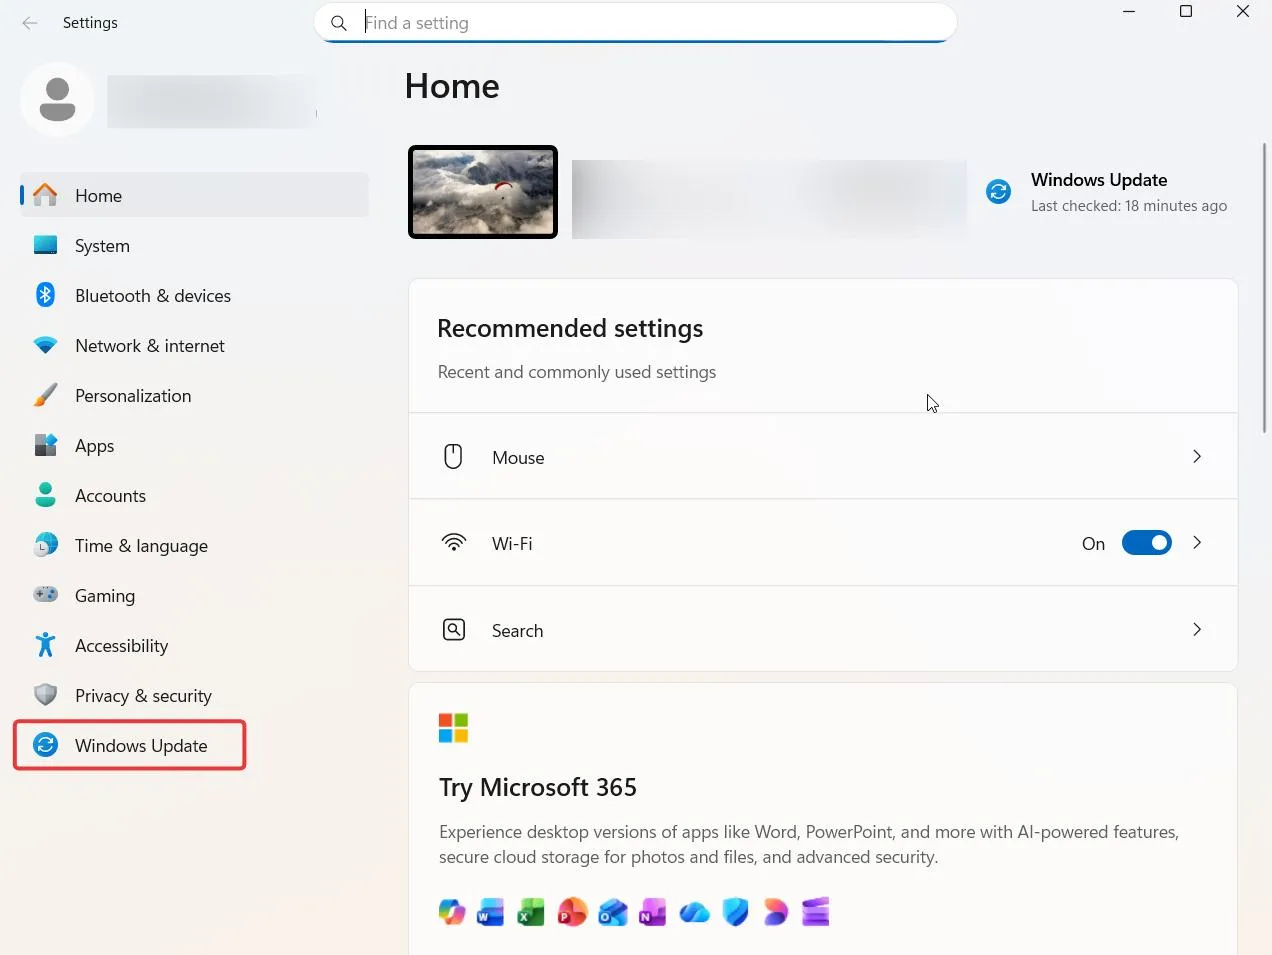
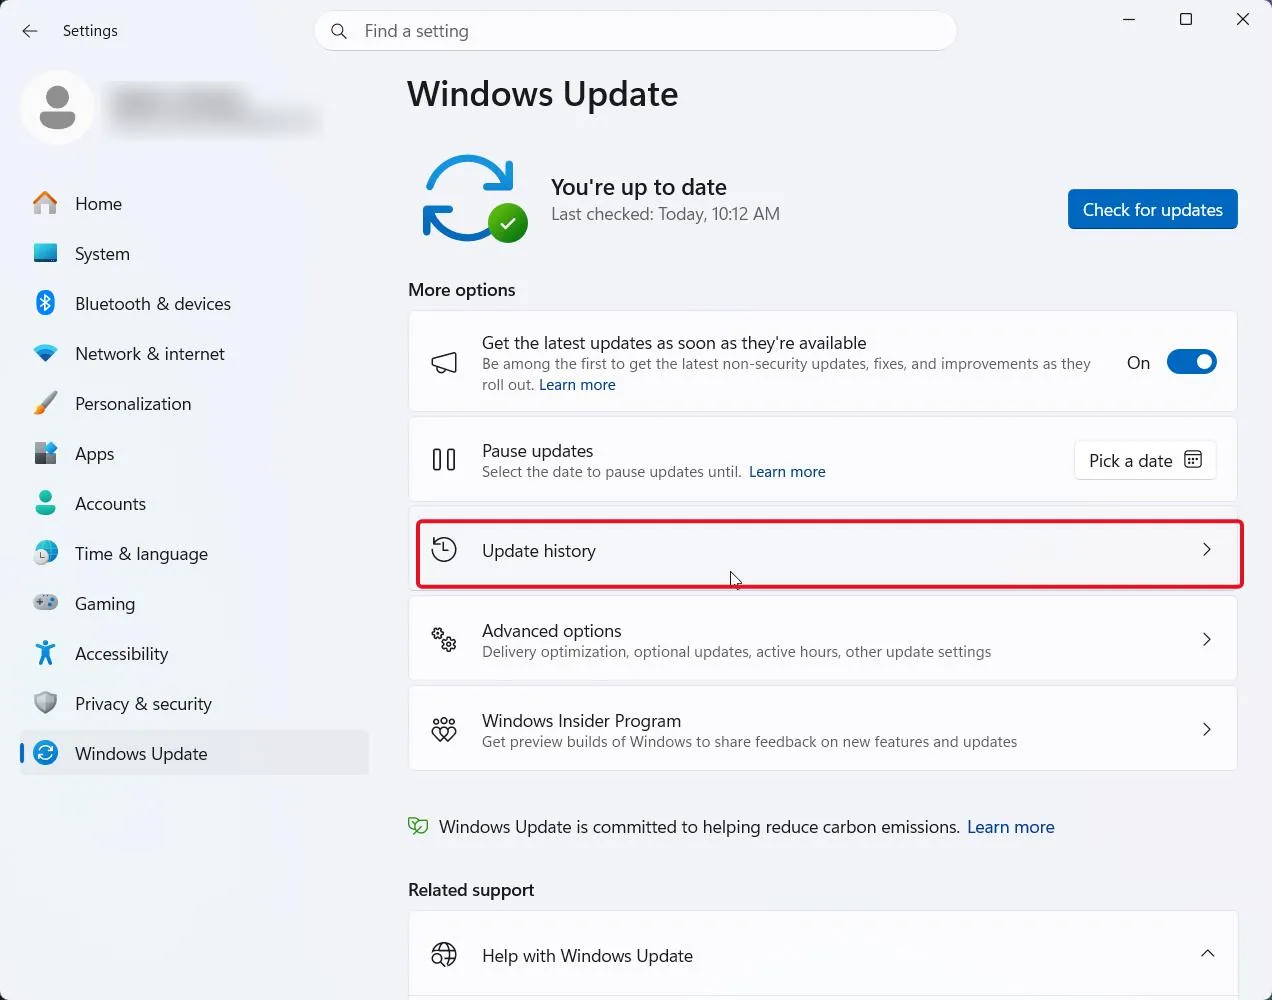
- Go to Settings > Windows Update > Update history
- Click Uninstall updates.
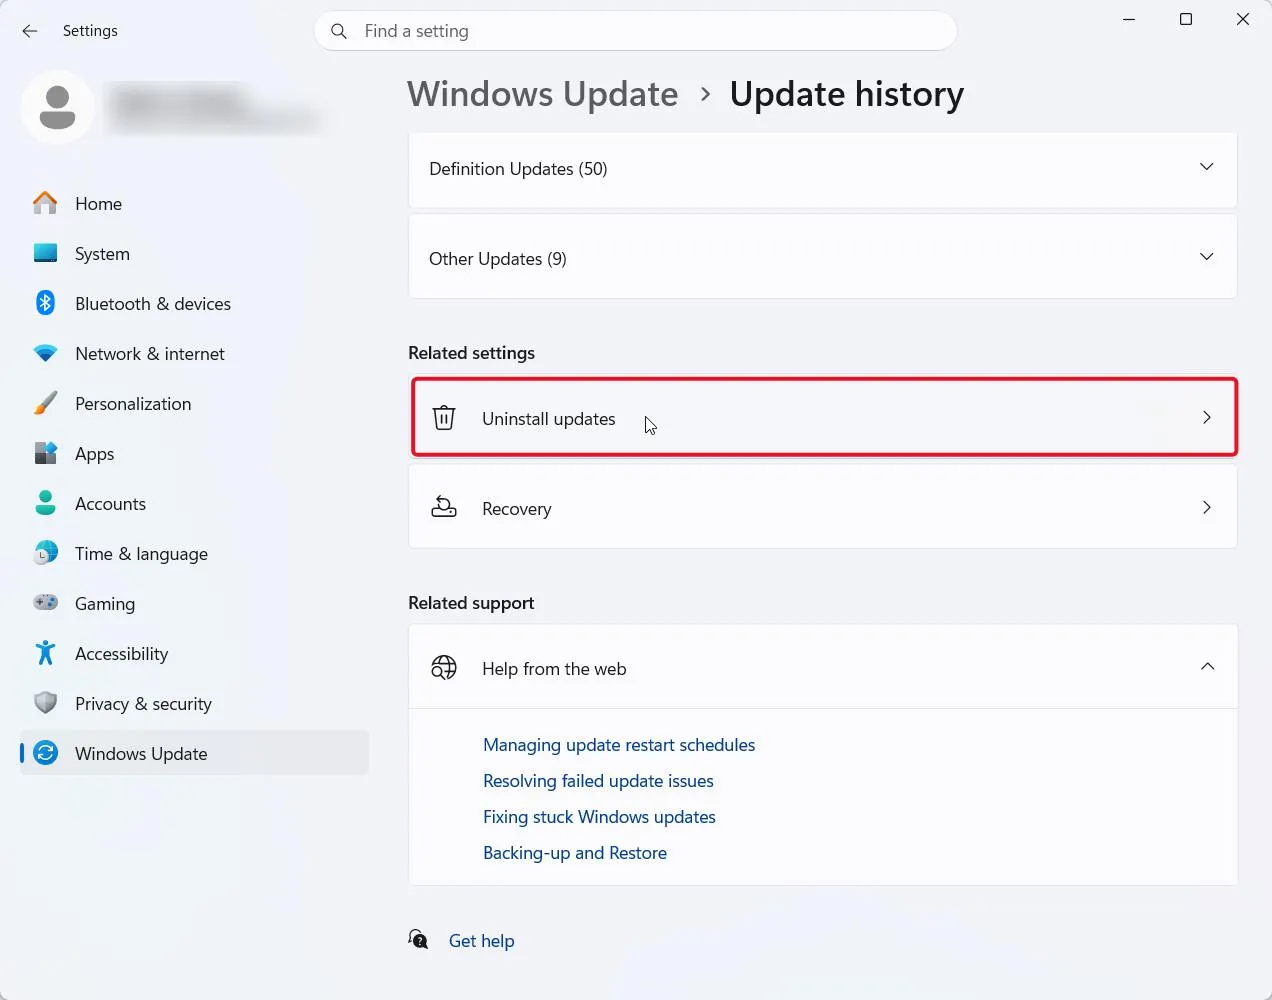
- Find the most recent update and click Uninstall next to it.
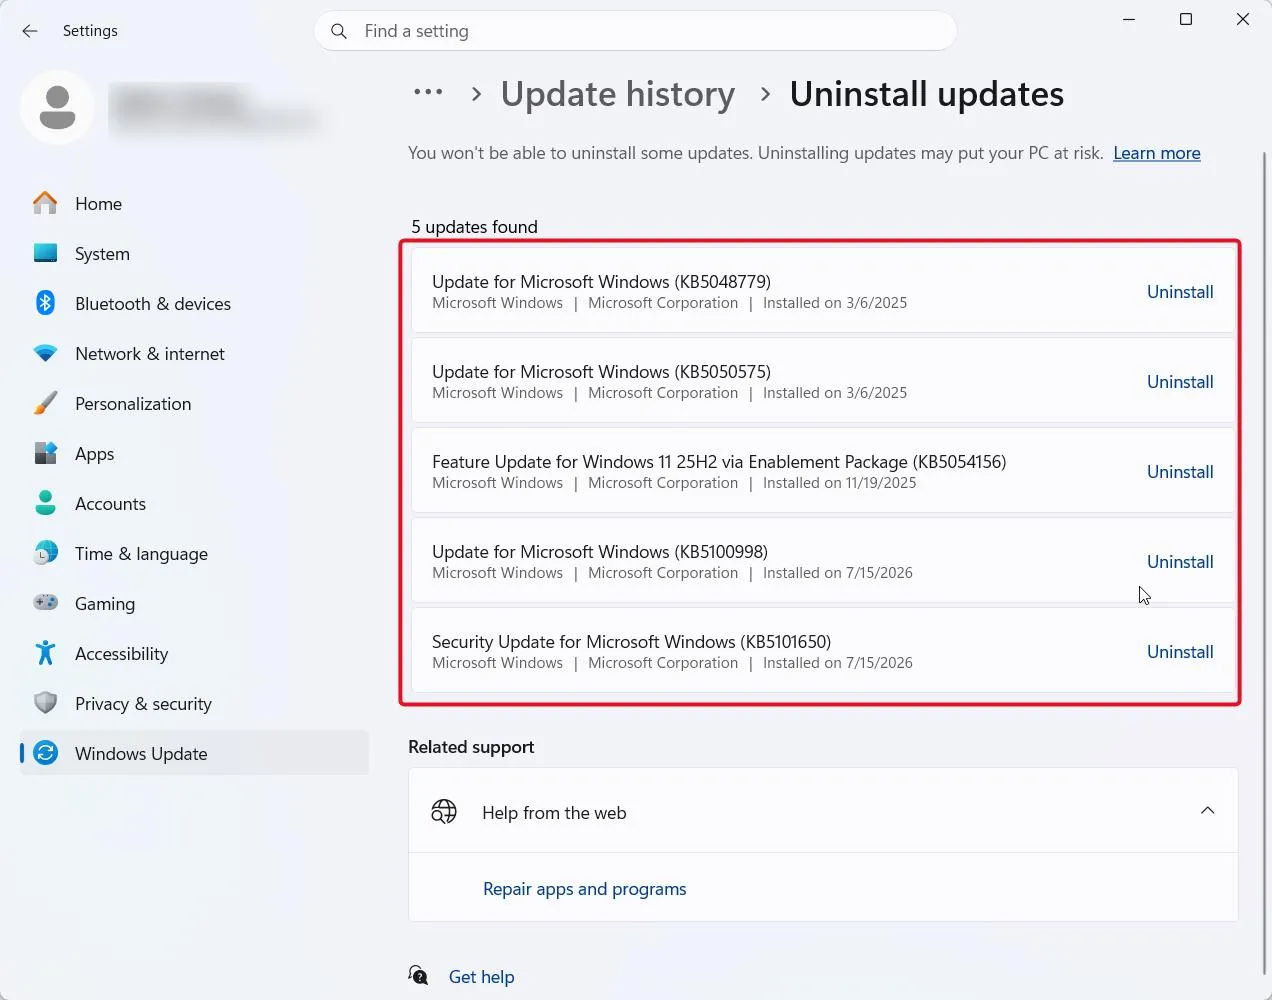
For a short period of time thereafter, Windows will temporarily prevent itself from installing that particular update again.
Fix 7: Reset the Hypervisor Launch Type
If Hyper-V itself is misconfigured r, resetting its launch setting can clear the error.
- Open command prompt as an administrator.
- Type “bcdedit /set hypervisorlaunchtype auto” and press Enter.
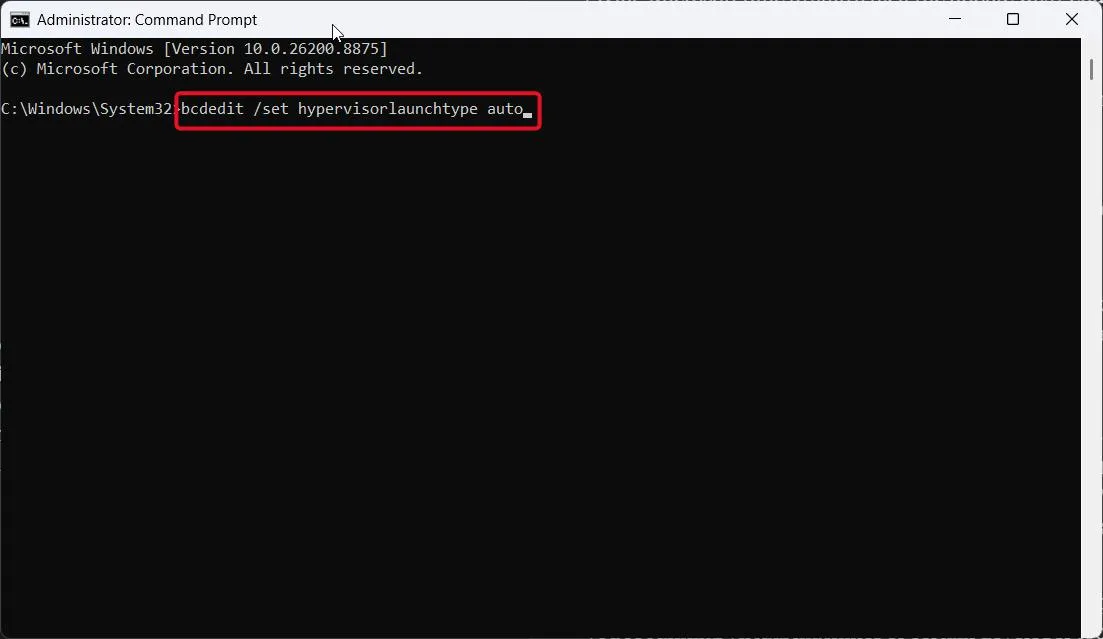
- Restart your computer.
If you don’t use Hyper-V or any other vm software at all, replace “auto” with “off” in that same command. That will disabe the hypervisor from launching at boot time entirely.
Frequently Asked Questions
The bottom line
A Hypervisor error on Windows 11 is usually due to some type of virtualization conflict. It could be because there are 2 hypervisors running at the same time. Also, a Bios setting can cause this issue as well. Or Core Isolation may be causing problems with your older drivers.
So first try fix 1 if you run any kind of VM (virtual machine) software. And then continue working down the list if the crashes continue. If the crashes occur after all your updates for your bios and your drivers, then it is likely that you need to have your hardware evaluated instead of adjusting your software.



Leave a Reply