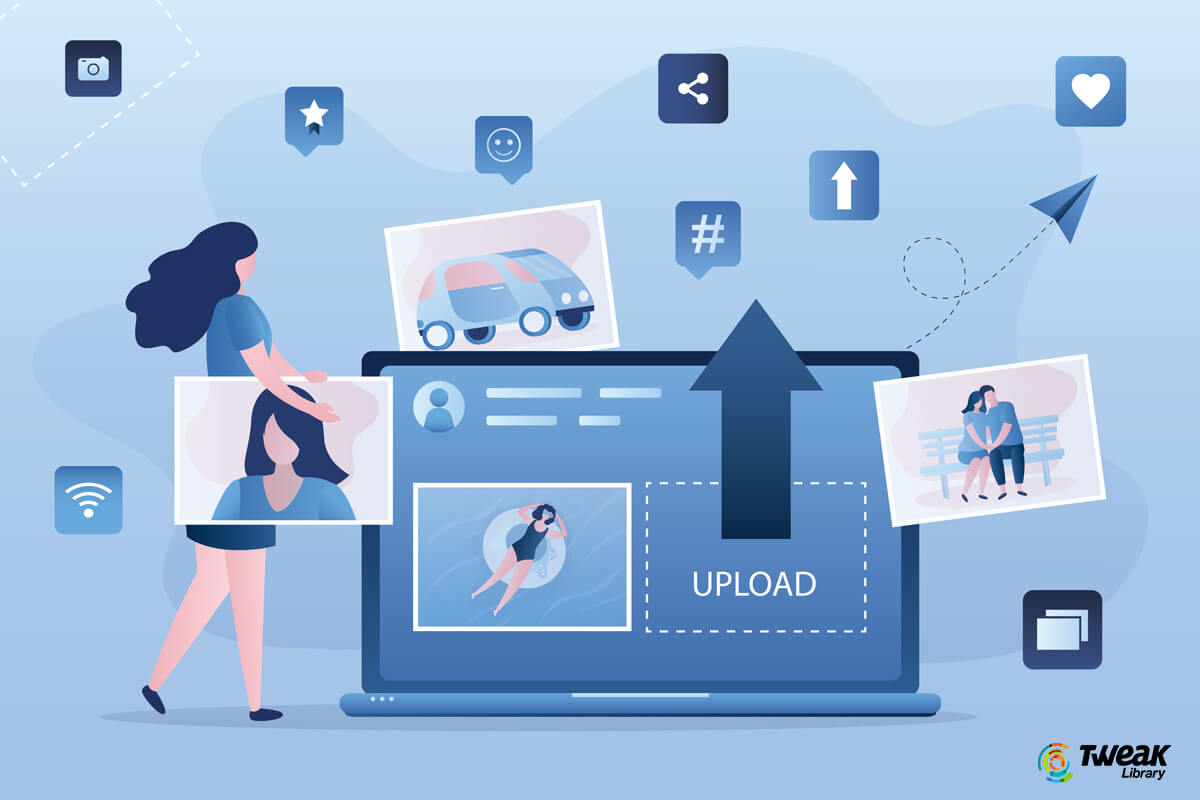
How easy it has become to click and upload photos online. But, this ease of clicking images has also opened doorways for cyber miscreants who are just waiting for you to make a wrong move so that they can misuse your photos. So, before you hit that upload button and send your photos to the world wide web, make sure that you check your photos on the following grounds.
Things To Be Careful Of When Posting Photos Online
You might have clicked photos of yourself and your peers flaunting the fashion that’s in on Instagram, or you might have snapped a photo of yourself in formal attire so that you could look the right for your dream job role. Your job shouldn’t end with clicking and uploading photos. You must incorporate certain checks before your photos travel the web.
1. Make Sure Your Photos Don’t Reveal More Than They Should
With high-end cameras being embedded into even the most budget-friendly smartphones, anyone and everyone can zoom into your photos.
Knowing the fact that photos already reveal a lot about you, if they reveal more than they should, it could be a danger for you. And, here’s what we are talking about – it could be that you were snapped with crucial documents in hand. Or, maybe you were snapped doing something that you probably won’t appreciate being seen afterward.
First, whenever you are at a place where you know you are going to be snapped, be mindful of your surroundings and the objects that you are carrying.
Also Read: Best Photo Exif Editor Tools For Mac
2. Remove EXIF Data Before Uploading Photos
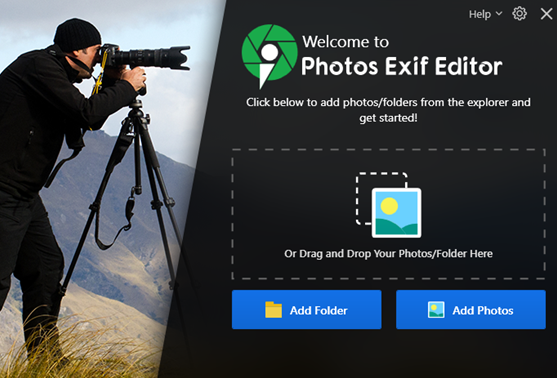
EXIF data can reveal a lot about your clicked photos such as equipment, camera settings, location, and many other things. Now, if you have a particular style of photography or if you use specific equipment whose details you might want to hide, you should consider stripping your metadata off before you upload your photos on social media or anywhere online. Some of the great tools such as Photos Exif Editor can help you with removing the EXIF metadata.
- You can easily view or edit EXIF/ IPTC/ XMP data
- Remove photo metadata with ease
- Photos Exif Editor supports all kinds of image formats
- Perform edits on a batch of photos
- Save presets to speed up your work
How To Remove Exif Metadata Using Photos Exif Editor?
Click Here to Download Photos Exif Editor


1. Download, install and run Photos Exif Editor
2. Add the photos whose metadata you want to remove
3. From the right-hand side click on the Choose Editing Option dropdown
4. Select Clean Metadata Info
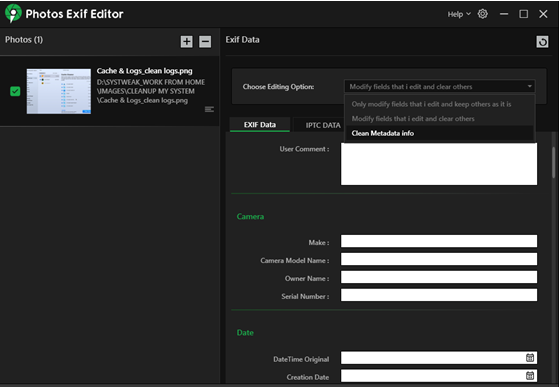
5. Select the Metadata info you want to clean, then click on Start Process

3. Take Permissions of Those Who Are In The Photo
You should always take permission from a person or people you are snapping for several reasons.
It could be that by clicking an image of a person you might intrude on his or her personal space, or it could be that the person is shy in front of the camera, or maybe that person is not in a comfortable position to be clicked.
Secondly, when clicking a photo of a group, immaterial of the occasion, you can politely inform everyone that the photos will be uploaded on social media. You should do this not only as a matter of courtesy but even as a matter of everyone’s security. What this would do is that no one will be caught off guard. Secondly, if someone would want to opt out of the photograph, he or she would be able to do that beforehand.
Also Read: How To Edit & Remove Photo EXIF Data in Mac
4. Don’t Make The Mistake Of Making All Photos Public
Make sure you are in complete control of which of your photos you want to keep private and which photos you want to keep public.
Not all photos are meant to be seen by everyone. It could be that there are some moments that you would want to limit to your friends only or there could be some photos that you would only want to share with your approved followers only.
Let’s take the example of Facebook. Here’s how you can make your Facebook photos private.
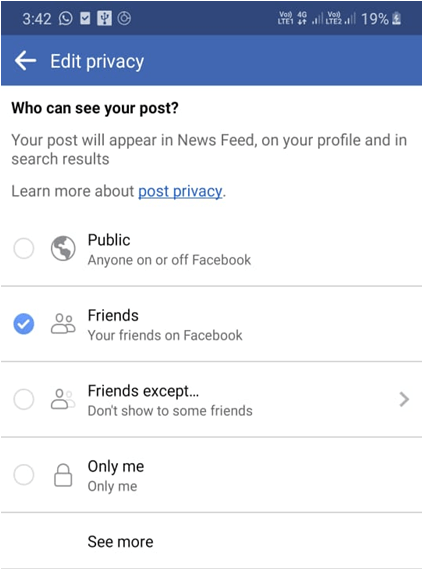
1. Log in into your Facebook account
2. Tap on the Profile icon
3. Scroll down and click on Photos
4. Click on the Albums tab
5. Click on the three horizontal dots at the top right corner of the screen
6. Click on Edit
7. Now, click on Friends and choose who can see your post. For instance, you can click on the Only me option
5. Avoid Geo-Tagging Your Photos
You are at this cool pizza joint or the hippest cafe’ in your town and have snapped a selfie of yours with few friends around. You are all set to upload the image on social media and the next thing that you have done is added your location.
Wait! Before you add your location and hit the upload button – from a cybersecurity point of view, adding the current location on your image can be dangerous, especially, if someone is chasing you for ulterior motives.
What we recommend is not to at least geo-tag photos while you are at the location. You can though tag the location after your visit (when you are not currently here are the location).
Wrapping Up
Your online privacy is of utmost importance. Therefore, whenever uploading photos on social media or anywhere online, you should always spare few simple checks so that you are out of harm’s way. For more such content, keep reading Tweak Library.
Related Topics


Leave a Reply