The updates released by Windows are important both from the standpoint of features and security patches that are released. Yet there are times when these Windows updates might come across as annoying and unneeded. So, what are the times when you would want to stop automatic updates on your Windows 11 PC? Wait! Reread the last line – automatic updates on Windows 11 PC. Now read this –
I recently purchased a new laptop with pre-installed Windows 11 and ever since then I get Windows updates now and then. Every time an update arrives, I have to restart my PC to finish up with the update which disrupts my ongoing workflow. If it’s something that is annoying you as well, do let us know in the comment section below.
Sometimes (although not a common thing), Windows updates –
- Roll out bugs that mar a user’s experience
- Cause compatibility issues in terms of apps and drivers
- And worse, cause several different kinds of BSODs
So, what is it that I can do to stop automatic updates on my Windows 11 PC?
Also Read: How To Delete Windows Update Files To Save Storage Space
Why Does Windows Require A Restart After Installing Updates
When you are idle or when you are not working on your PC, you won’t mind a quick restart and in this day and age of SSDs, laptops, and desktops can restart at lightning-fast speeds? However, if you are on an intense task, splitting away a few seconds too can annoy you. As a reason, you may want to shop automatic updates on your Windows 11 PC. But, ever given a thought why do your Windows need to restart for an update to install.
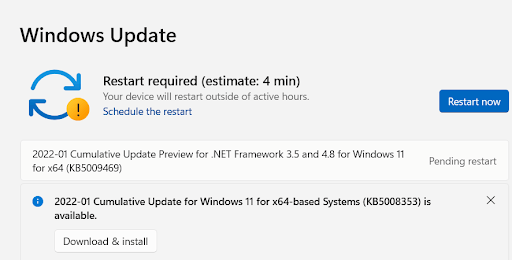
- When installing an update, Windows asks to restart because it can’t modify system files while they are already in use. This implies that they can only be changed when they are not in use.
- In case a software update brings along improvements and security patches to other parts of the code of the operating system, your Windows would need to shut down everything. It would do that only if you restart your computer.
Also Read: How to Upgrade Windows 10 to Windows 11
Ways You Can Stop or Disable Automatic Updates on Windows 11
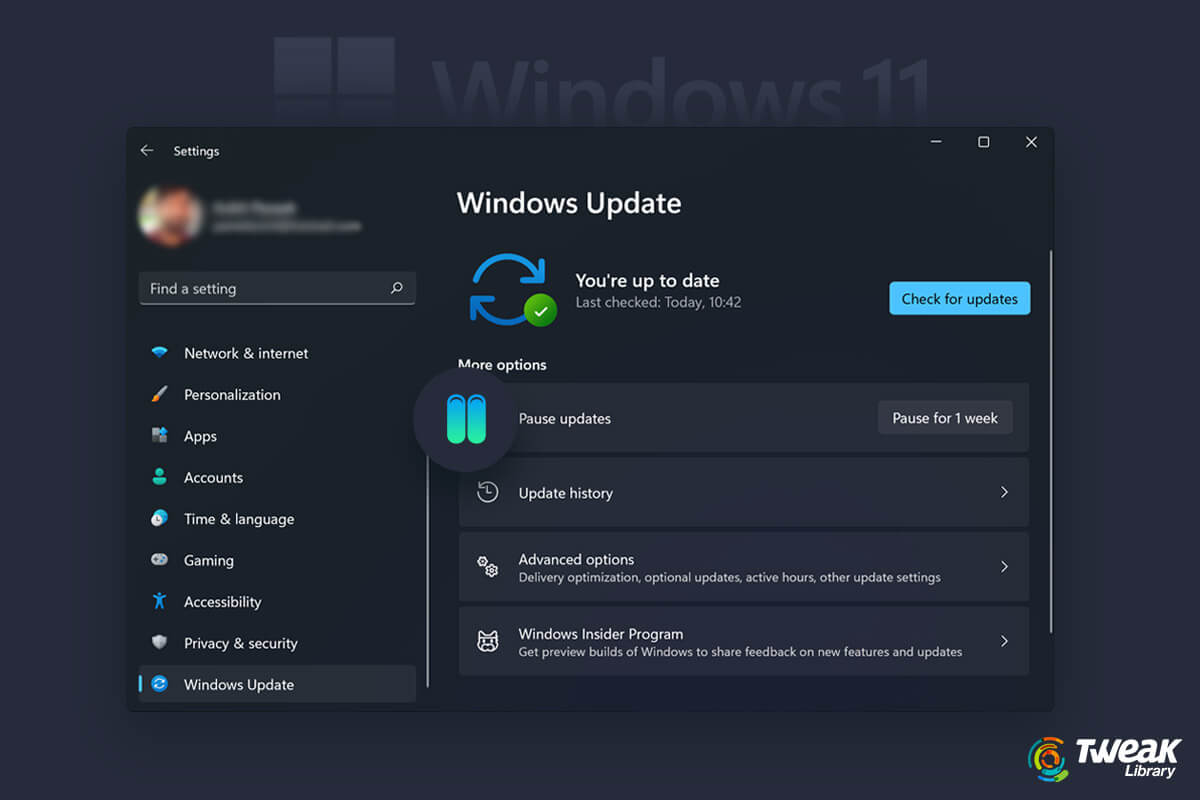
– Pause Updates Using Settings
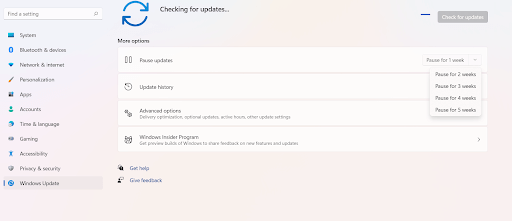
To avoid a specific update, you needn’t disable Windows updates completely. Instead, to stop automatic updates on Windows 11, you can pause them for a while. You can pause updates for a maximum period of 5 weeks. To disable updates on Windows 11, follow these steps –
- Press Windows + I and open Settings

- Click on Windows Update from the left-hand pane
- Click on the dropdown next to Pause updates and select the time duration for which you wish to pause the updates
– Disable Automatic Updates In Windows 11 With The Help Of Registry Editor
Before heading to the registry to stop automatic updates in Windows, we recommend that you take a full backup of your data and your registry because wrong edits can leave your operating system inoperable.
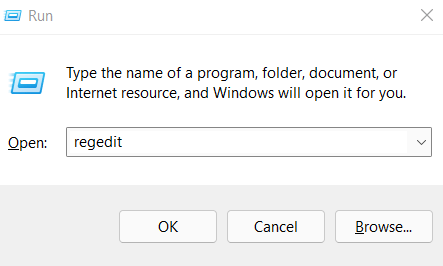
- Open the Run dialog box by pressing Windows + R key combination
- When the dialog box pops up, type Regedit
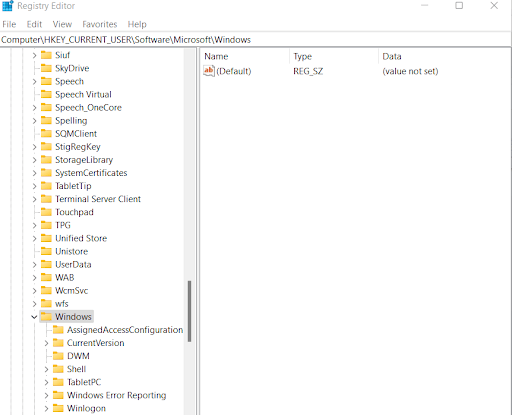
- In the Registry Editor, navigate to the below-mentioned path –
HKEY_LOCAL_MACHINE\SOFTWARE\Policies\Microsoft\Windows
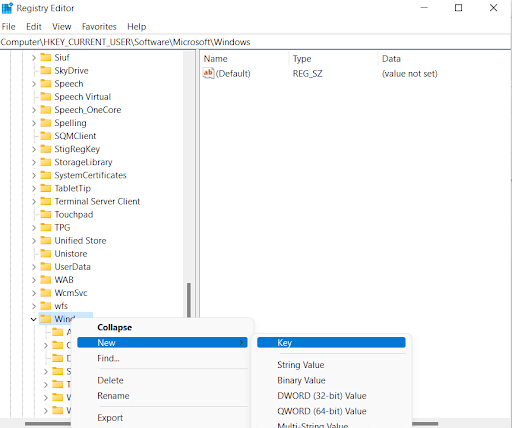
- Right-click on the Windows folder > click on New > click on Key
- Rename this key as Windows Update and hit the Enter key
- Again right-click on the newly created Windows Update key > click on New > click on Key
- Rename it as AU
- Right-click on AU > click on New > click on DWORD (32-bit) Value
- Rename the newly formed key as NoAutoUpdate and press Enter
- Double-click on the NoAutoUpdate key and change the value from 0 to 1
- Click on OK
- Restart your computer
Once you have performed the aforementioned steps, automatic updates will be disabled on your Windows 11 PC. Although, you can always go to the Windows Update section in Settings and fetch updates.
What if I Want To Reverse The Change?
If you don’t want to permanently disable the updates on your Windows 11 PC, you can reverse the changes by deleting the WindowsUpdate key (refer to steps 4 and 5 above, right-click on WindowsUpdate key and click on Delete). Once you have done that, restart your computer once again.
Also Read: Best Registry Cleaners for Windows
– Disable Automatic Updates In Windows 11 Using Update Services
One way to stop automatic updates in Windows 11 is to disable the update service in services. You can always come to this section and restart the services. So, here are the steps in which you can stop or disable automatic updates in Windows 11 –
- Open the Run dialog box by pressing Windows + R key combination
- Type msc and press Enter
- Scroll down till you find Windows Update
- Double-click on it
- Under Startup Type dropdown, click on Disabled
– Use Local Group Policy Editor
With the help of this option, you can permanently stop automatic updates In Windows 11. Here we are going to talk about two ways to do just that –
(i) How To Disable Automatic Updates Completely
- Open the Run dialog box
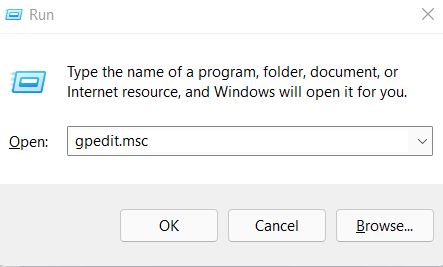
- Type msc and press Enter
- Navigate to the below-mentioned path –
Computer Configuration > Administrative Templates > Windows Components > Windows Update > Manage end user experience
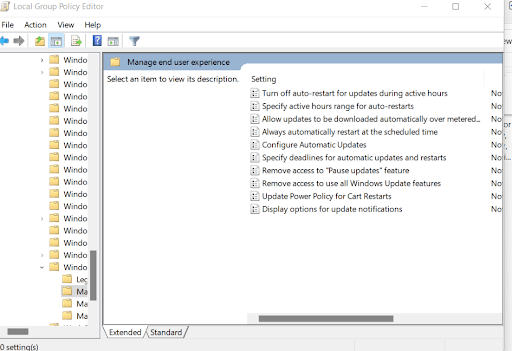
- From the right-hand side, double-click on Configure Automatic Updates
- When the Configuration Automatic Updates window appears, click on the Disabled radio button
- Click on Apply and then OK
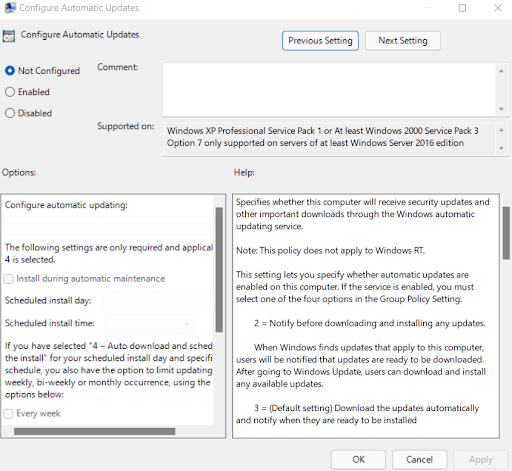
Want to reverse the change? Instead of clicking on the Disabled radio button, press the Enabled radio button once again.
(ii) Change Settings
Follow steps 1 to 4 above. Now, under Options click on 2 — Notify for download and auto-install. Now instead of downloading automatically, you will be able to see the Install button. You can click this button and download Windows 11 updates and patches manually.
Wrapping Up
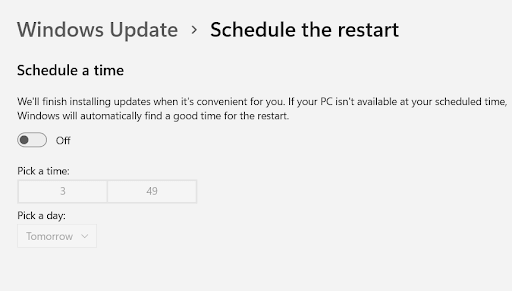
Last but not the least, you do not have to immediately surrender to a restart. In place of that, you can always schedule a restart. By doing that the restart would happen at the time and day, you select.
Give us a thumbs up if you found these ways of stopping automatic updates on Windows 11 helpful? Also, share it with other Windows users and for more such content keep reading Tweak Library.


Leave a Reply