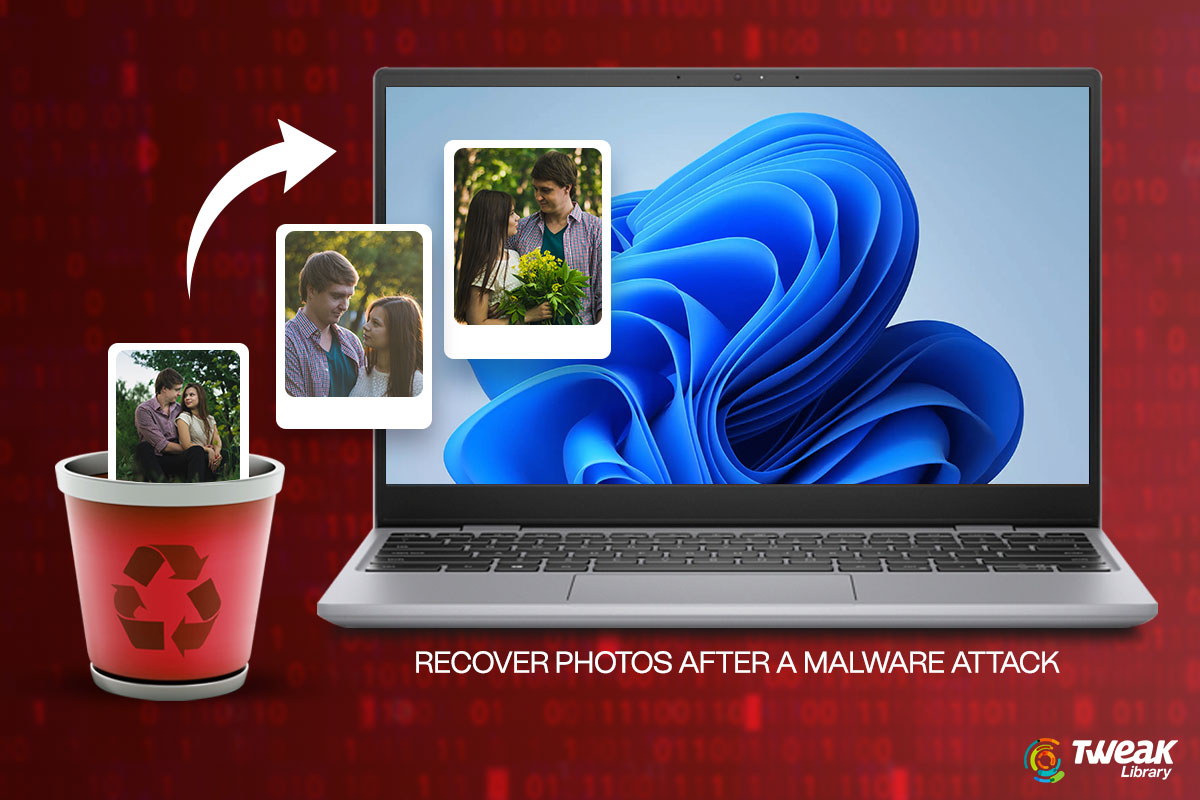
No one wants to become a victim of malware. But what if you have already become one, and lost your precious photos, don’t worry! We’ll show you how to restore lost images using a third-party tool.
What Is The Definition Of Malware?
Malware is one of the biggest threats meant to harm or exploit a device. Cybercriminals typically utilize it to extract data and gain money. Using an updated antivirus, such as Systweak Antivirus, is one of the best methods to remain safe from malware & dangers. Malware includes spyware, ransomware, viruses, and other unwanted software that get into your device.
Using Systweak Photos Recovery- You Can Recover Deleted Photos from an Infected Drive
Systweak’s Photos Recovery is an excellent application for recovering lost data, photos, and music files from hard disk clusters and sectors. In reality, when you delete a photo from your computer, it goes to the Recycle Bin or Trash and you can restore your files from there. However, if you have deleted your files permanently or deleted them from Recycle Bin as well, then ordinary methods can’t help you. There is still a chance to recover photos and for that, you need a third-party recovery tool and that’s when Systweak Photo Recovery can help.
To retrieve deleted photos, this recovery tool uses advanced algorithms and boosts your chances of retrieving lost images.
The following steps will show you how to utilize the Photos Recovery tool:
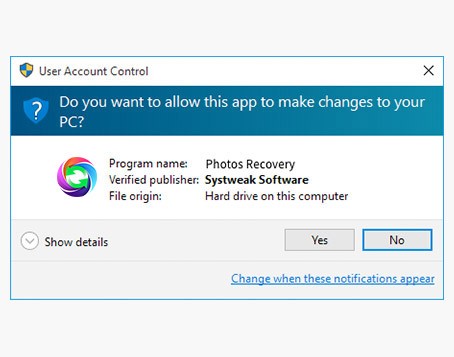
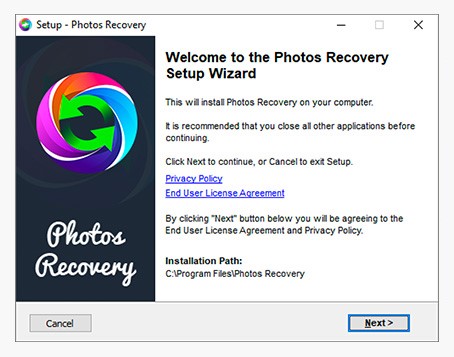
Step 1: Download and Install Photos Recovery tool by clicking the button below:


Review on Photo Recovery Software
Complete all the steps of installation by following the on-screen instructions.
Step 2: Open the picture recovery tool and choose the disk to scan. Select one of the two scanning modes before pressing the START SCAN button. Systweak Photos Recovery provides Quick Scan & Deep Scan options for recovering media files. A rapid Scan is a useful tool for performing a quick scan. Deep Scan, on the other hand, is recommended for in-depth scanning.
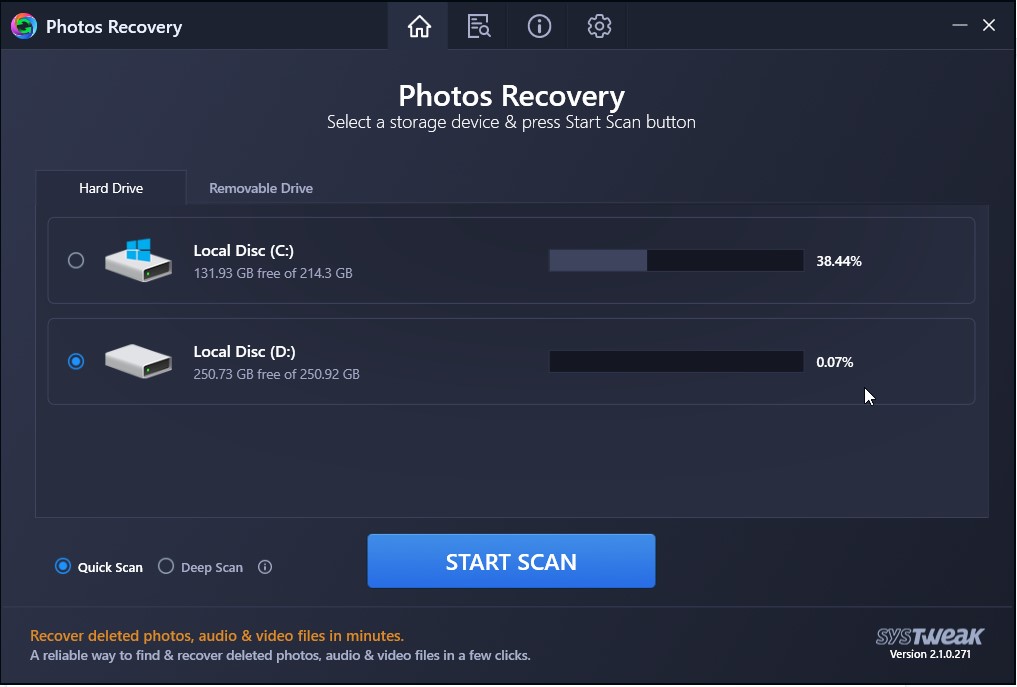
Note: Select the Removable Drive option to scan an SD card or other associated storage device.
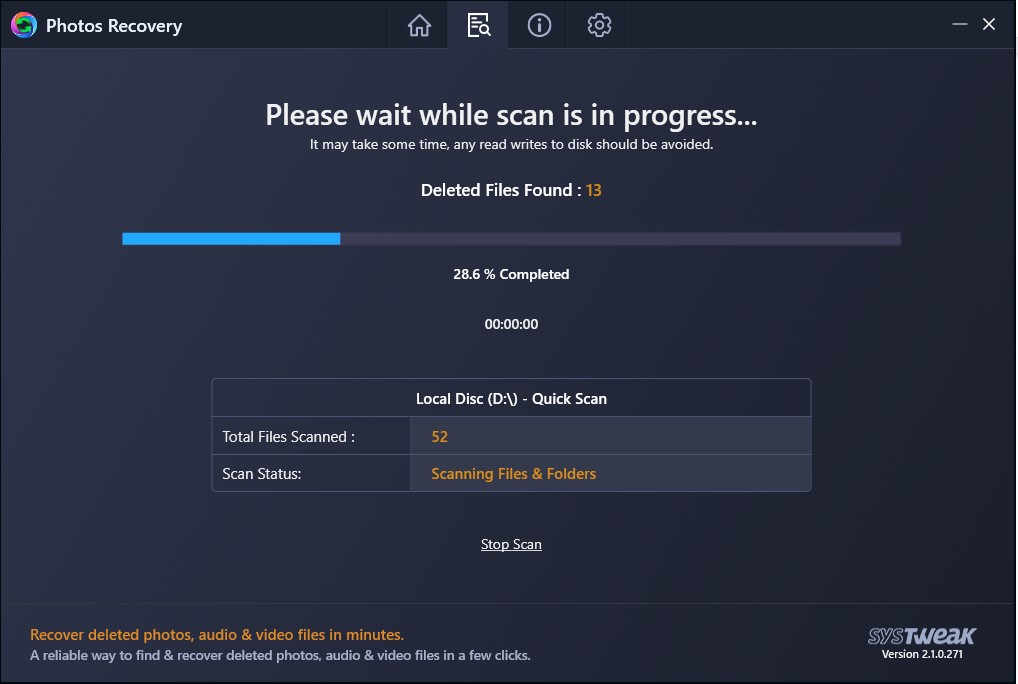
Step 3: Scanning the computer can take time, depending on the size of your storage drive and the amount of deleted data.
So, sit back and wait for the scan to complete.
Note: If no deleted files are identified during Quick Scan, Photos Recovery will ask for permission to proceed to Deep Scan. We suggest that you select YES.
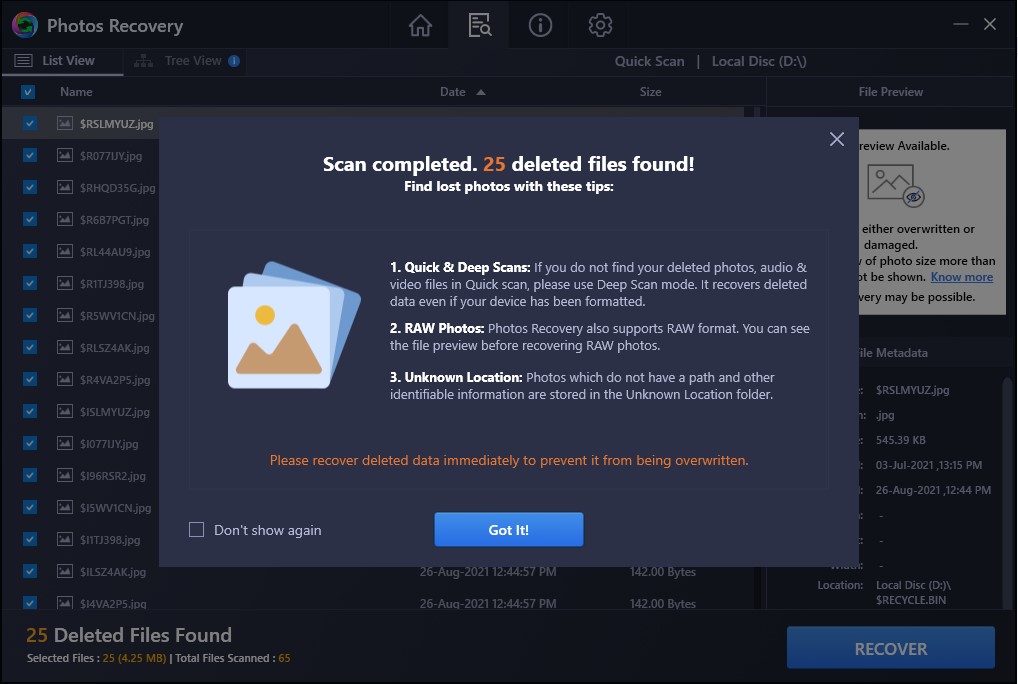
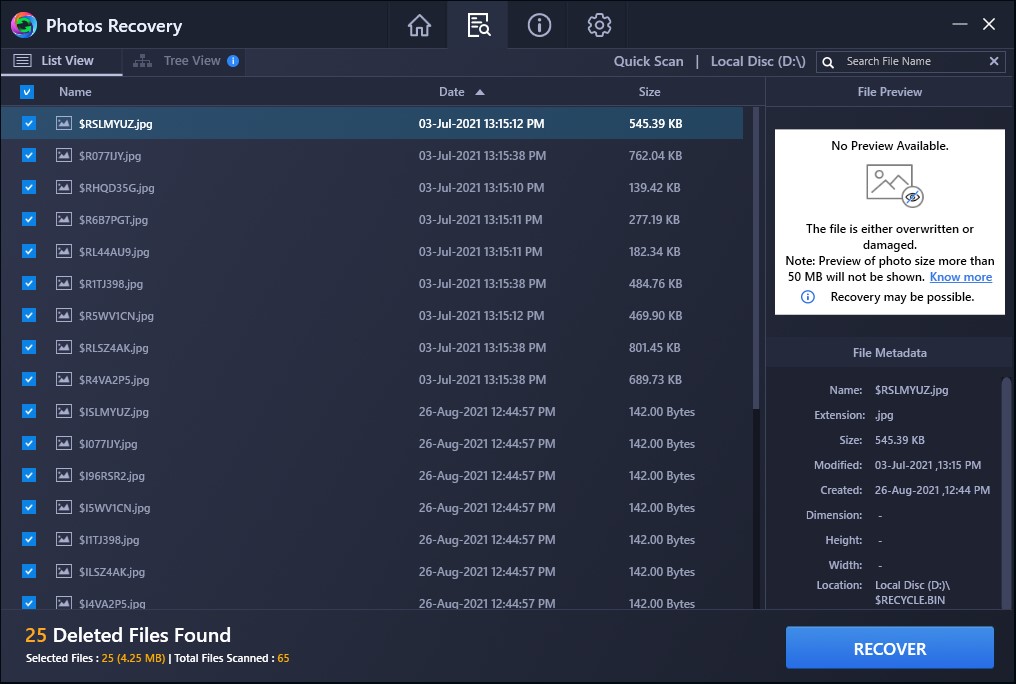
Step 4: Now list of photographs and videos that can be recovered will be provided. You go through the search results and choose which media files to restore.
Step 5: Once you’ve chosen the photographs or videos you want to recover, click the RECOVER option and pick an alternative place to store the data.
Note: Save your recovered data on a different drive from the source as saying on the same drive might increase the chance of data loss.
Step 6: Let the recovery process run its course. When you’re finished, you’ll get a success message. Check the recovered data by going to the location where you saved the photographs.
This is how Systweak Photos Recovery will help you reclaim your priceless memories.
Conclusion:
This is by far the simplest, as well as the most dependable and effective, way of retrieving lost photos. After you’ve accidentally erased your video, audio, or image files, it’s best to avoid read/write actions since old files might be overwritten by new data, making recovery more difficult. You might recover lost information, images, and audio recordings from your hard drive with the Systweak’s Photos Recovery for Windows.


Leave a Reply