Have you ever encountered an issue where a hard drive went missing in Windows 10. This is what we are talking about, the drives in our PC (both external and internal) are listed in the File Explorer (in the This PC) section. Many users have noticed a drive (C:, D:, E: or F:) missing which can be a very frustrating issue and can leave you jittery.
What Causes Hard Drive To Go Missing In Windows 10
- You have accidentally removed or deleted the volume
- A recent Windows 10 update can be the reason why an internal hard drive disappeared from Windows 10
- Corrupt system files can also lead to hard drive disappearing from Windows 10
Here’s the Fixes of Hard Drive Missing in Windows 10
1. Rescan Disks
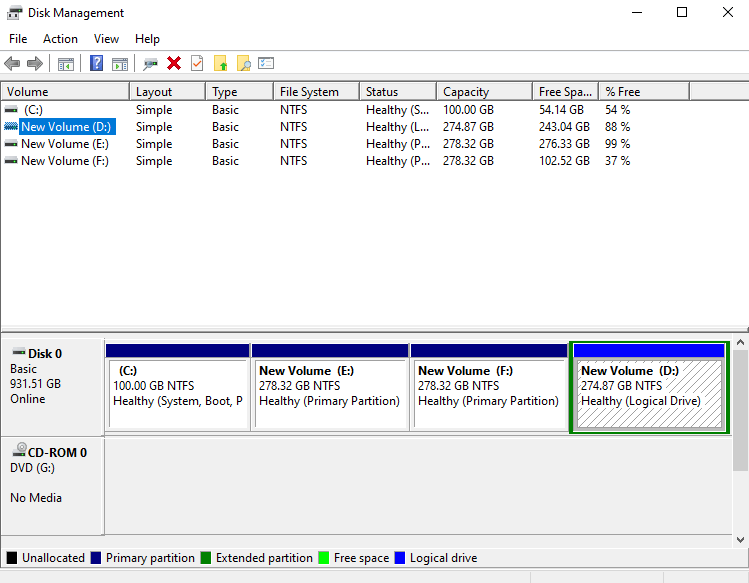
If an internal hard drive has disappeared from Windows 10, you can rescan the missing hard drive using the disk management functionality. Here are the steps which can help you do just that –
1. In the Windows search bar type disk management and click on Open
2. From the top select Action
3. Now, select Rescan Disks option. Your computer will again scan the device for all connected drives
2. Update Disk Driver
One of the reasons why the local disk D drive or any other drive is missing on your Windows 10 PC could be that your disk drive driver might have become incompatible. Instead of manually updating the driver, here is an easy way to update your disk drive driver.
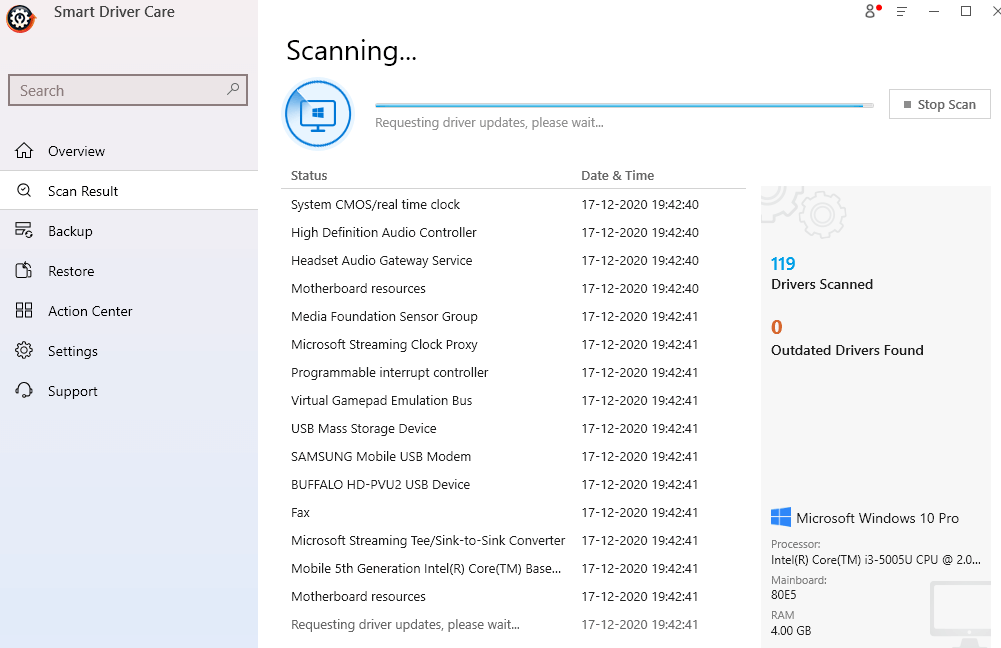
You can install a driver updater software like Smart Driver Care which scans for incompatible, corrupt, and outdated drivers and lets you update them.
1. Download and install Smart Driver Care

2. When the UAC occurs, click on Yes.
3. When the Smart Driver Care dashboard opens, click on Scan Drivers. In case you have already conducted a scan before, click on Rescan and let the scanning finish.
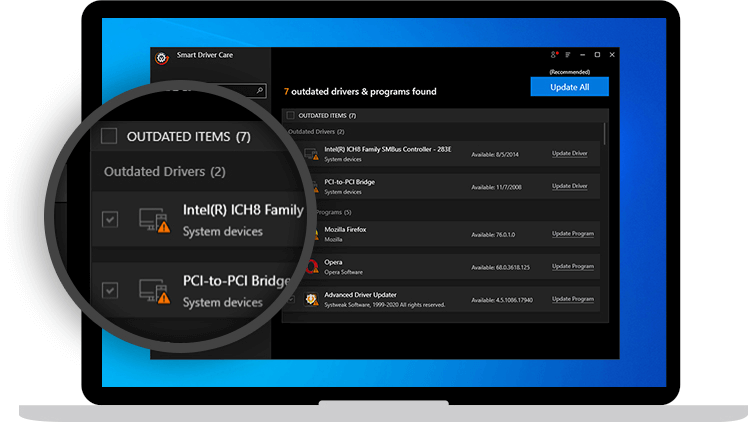
4. From the list of items you can select the outdated disk driver by deselecting all the other items in the list from the top left-hand side and then, just selecting the outdated disk driver.
5. Then click on Update Driver
6. Wait for the process to complete
Note: With the trial version you can update 2 drivers in a day. For updating all drivers, you will have to sign up for the premium version
|
Smart Driver Care – Notable Features |
|---|
Price: US $ 39.95 Windows Version: Windows 10/8.1/8/7 Click Here to Download Smart Driver Care |
3. Perform A System Store

In case you observe that your computer’s D drive is missing and despite all the measures you are just not able to get it back, you can try restoring your system to a point when the D drive was available. This step can happen only if you have configured a restore point on your computer for which you can refer to this blog.
Now, if you have a restore point already configured, to select a restore point follow the steps mentioned below –
1. In the Windows search bar type system restore
2. From the right-hand side click on open
3. When the System Properties window opens click on System Restore
4. Click on Next
5. Select a restore point and click on Next
4. Reset Drive Letter
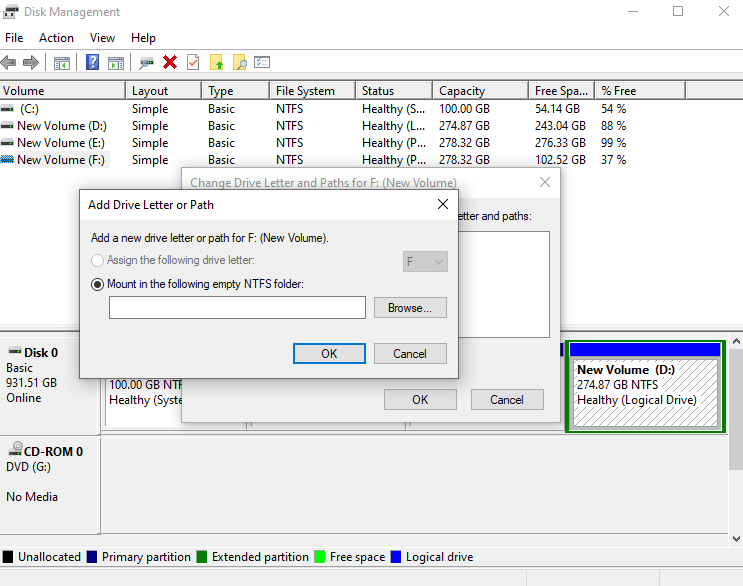
Resetting drive letter can be helpful if the hard drive has gone missing from the file manager but you can see it Disk Management. It is quite possible that since the drive is missing a letter, it is therefore not visible in the file manager. So, to change the drive letter, here are the steps.
1. Open run dialog box by pressing Windows + R
2. Type diskmgmt.msc and then click on OK
3. Locate the missing drive, right-click on it and select Change Drive Letter and Paths
4. Click on Add
5. Checkmark Assign the following drive letter and select a drive letter from the dropdown
6. Exit the window, open your file explorer, and check if you can now see the missing drive once again
5. Run The Troubleshooter
When nothing else seems to work, you can always fall back on the hardware and device troubleshooter present in Windows 10. The troubleshooter will look for any issues caused by a recently installed device or hardware and lets you know how you can fix it. Here are the steps to run the hardware and device troubleshooter –
1. Fire up Settings by pressing Windows + I
2. Click on Update & Security
3. Click on Troubleshoot
4. From the right-hand side click on Run the troubleshooter under Hardware and Devices
5. Windows will then find any potential issues and tell exactly what needs to be done
Wrapping Up
We know how scary it can be when you have saved a lot of data in a drive and one day you find that the hard drive has gone missing in Windows 10. We earnestly hope that the above ways and methods will help you find the missing hard drive. If the blog has helped to give it a thumbs up and let us know in the comments section which of the following methods helped you solve the issue.
Recommended Readings:
Is There A Way To See What Is Taking Up Space On My Hard Drive?
Ways To Fix Hard Drive Format Error On Windows 10
How to Create Windows Files Backup to External Hard Drive


Sagar Kapoor
I had to call a technician for the same issue a few days ago.. I wish I had come across this article. It would have helped greatly.
Sarang Bhargava
Hi Sagar I can truly relate. For many troubleshooting errors, all it would take is a glance at one of our blogs. So bookmark this page and share it with your pals who might be in the same place as you.