Bought a new printer? Looking to connect a printer to your Windows 11 computer? If yes, you are in the right place. In this blog, we will see how we can add a printer in Windows 11. There are two ways to add a printer in Windows 11 viz:- Automatically and Manually. You can try your hands on any of the methods to install a printer on your computer.
First, we will see the method to add the printer automatically, then we will explain the manual method.
Also Read: How To Set Default Printer In Windows 10
Step by step procedure to add printer automatically in Windows 11:-
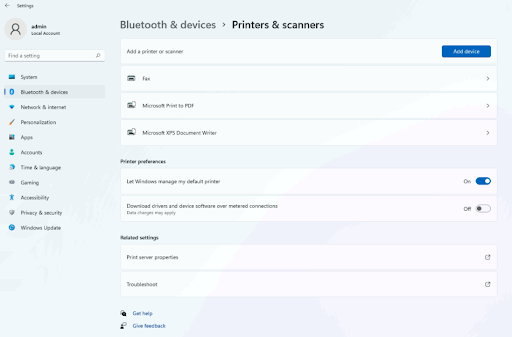
- Right-click the Start button and select Settings
- Select Bluetooth & devices

- Select Printers & scanners
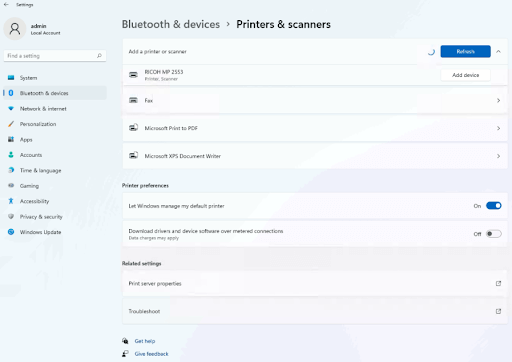
- Click on Add device and wait till Windows search for the printer connected.
- Click on Add Device when the printer is located

Also Read: How To Fix Windows Cannot Connect to the Printer Issue
Step by step procedure to add the printer manually in Windows 11:-
- Right-click the Start button and select Settings
- Select Bluetooth & devices
- Select Printers & scanners


- Click on Add device
- As we are manually adding a wired printer, therefore, we have to choose the option Add a local printer or network printer with manual settings and click next
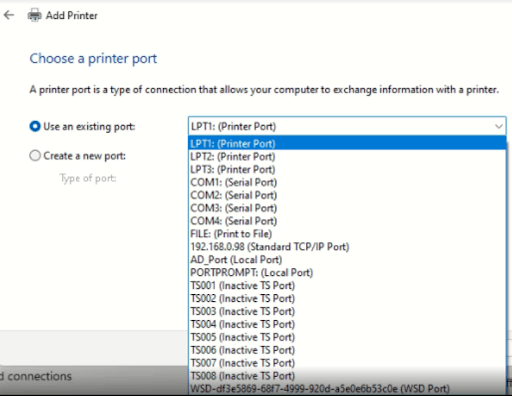
- Select the port the printer is attached to like USB, LTP, COM
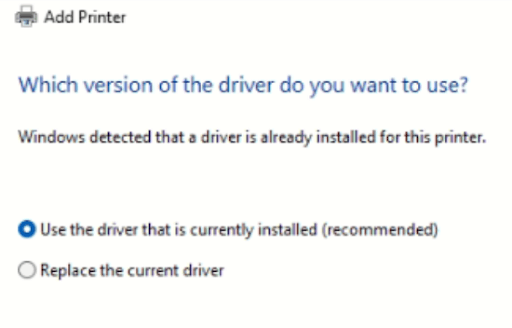
- Now select the printer driver from Have Disk if it is installed on a computer or click on Windows Update to look for the driver.
- When the Window update result is displayed, select the manufacturer and model and click on Next
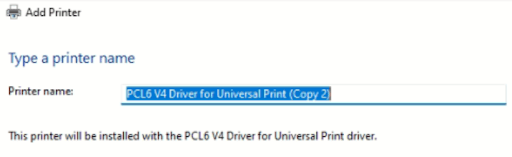
- Name the printer and click Next and wait till the printer is installed.
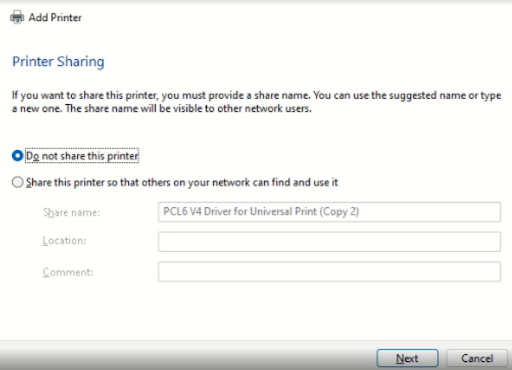
- Once the printer is installed, then choose Do not share this printer and select Next.

Note:- If you want to share the printer, then fill in the details to share the printer.
Writer’s Tip:
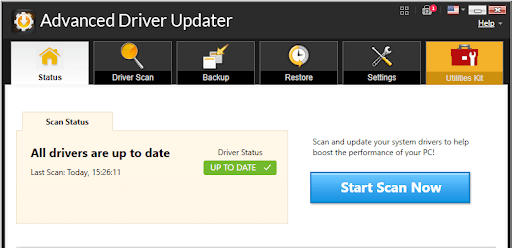
Updated drivers in Windows boosts performance but sometimes we fail to update drivers or some drivers get corrupt. To resolve this issue, we recommend you to use Advanced Driver Updater. This is an amazing tool that scans computers and figures out all the corrupt and outdated drivers. From its vast base of drivers, it automatically updates all the drivers leaving no sign of ambiguity in performance.
To keep all the drivers up to date, we recommend you to use Advanced Driver Updater which helps in enhancing computer performance.
Download Advanced Driver Updater

Read the complete review of the Advanced Driver updater
Conclusion:-
In Windows 11 to add a printer, users can choose two options. Automatically and manually. If the printer is Bluetooth enabled, then it will be installed automatically and if the printer is attached via USB, then the manual method needs to be followed. Adding a printer in Windows 11 is quite easy and for anyone who does not know how to add a printer in Windows 11, then this guide will help them to install it.


Leave a Reply