Introduction
One of the most distinctive features of the iPhone is that they are designed to be secure – with powerful, integrated security measures and features. One such feature is the ability to protect the user’s data and privacy by disabling the iPhone after too many failed passcode attempts.
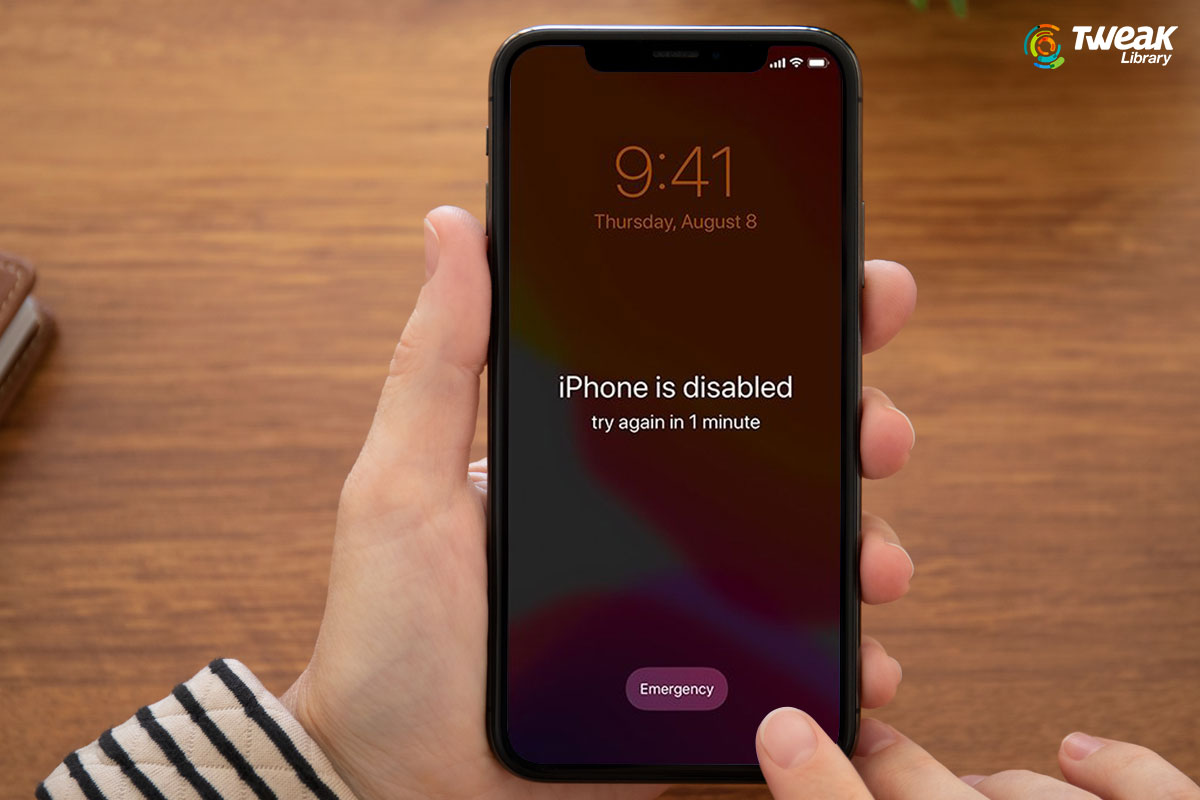
Although this is a very convenient feature if someone else gets their hands on your phone. However, it can be very frustrating if you have trouble remembering your passcode or have entered it incorrectly too many times. If this happens, you may see a message saying that your iPhone has been disabled.
If you’ve ever found yourself locked out of an iPhone, you’re not alone! In the article below, we’ll explain exactly why your iPhone is disabled and what you can do to fix the issue.
Fix The iPhone Is Disabled Error
Part 1: Why is your iPhone Disabled?
Your iPhone will be disabled automatically if you enter the wrong passcode too many times in a row. This scenario can also happen when your phone is in your pocket or bag, or if your child has been playing with your phone.
This built-in security measure is used to prevent unauthorized access to your data and privacy, ensuring that only you have access to your iPhone.
Below we have outlined how many times you can enter an incorrect passcode before your iPhone becomes disabled, as well as how long you will have to wait until you can try again.
- 1-5 incorrect attempts: Nothing will happen
- 6th failed attempt: iPhone will be disabled for 1 minute
- 7th failed attempt: iPhone will be disabled for 5 minutes
- 8th failed attempt: iPhone will be disabled for 15 minutes
- 10th failed attempt: iPhone will be disabled for 1 hour
- 10+ incorrect attempts: iPhone will be locked permanently
Part 2: Restore Your iPhone Using Recovery Mode
One way to regain access to your device is by putting it into Recovery Mode which that will completely remove the device’s passcode and restore it to factory settings.
However, before you proceed, make sure to have a recent backup of your data so you can restore it later. If you don’t have a backup, you won’t be able to save any of your data or settings and will have to start from scratch.
The following are the step-by-step instructions to restore your iPhone using Recovery Mode:
Step 1: To begin, connect your iPhone with a USB cable to your computer, which has the iTunes or Finder installed.
Step 2: The next step is to put your iPhone into recovery mode. This procedure varies depending on the model of your iPhone.
Here’s how you can get into Recovery Mode, depending on the model of your iPhone:
- iPhone 8 or Newer: Press & release the Volume Up button and then similarly the Volume Down button right after that. Afterward, hold down the Side button until the Recovery Mode appears on the
- iPhone 7 or 7 Plus: Press & hold down the Side button and the Volume Down button for a few seconds until the Recovery Mode appears on the Then release them.
- iPhone 6s and Older: Press & hold both the Home button and the Side button together until the Recovery Mode appears on the screen, and then release them.
Step 3: Once your iPhone is in recovery mode, iTunes notices and asks if you want to restore or update your device. When you choose the “Restore” option, you’ll be able to set up your phone with a recent backup and begin using it again.
Part 3: How to Fix a Disabled iPhone with 4uKey
Although restoring your iPhone using Recovery Mode is a surefire way to fix the issue, sometimes connecting the disabled iPhone to iTunes won’t help at all.
If you’re also having trouble connecting your iPhone to iTunes in a disabled state, you can use the Tenorshare 4uKey iPhone unlocker to remove your passcode and get access to your device again. You’ll be able to fix your disabled iPhone without causing any damage to its firmware, and without having to use iTunes.
This tool is intended to be a one-stop-shop for fixing all your Apple issues, whether the problem is malware, an iPhone stuck in recovery loop, resetting your Apple ID password, or bypassing the MDM screen.
Here are some of the 4uKey features that you may enjoy:
- Unlock the locked screen without a passcode
- All iPhone models & iOS versions are supported
- Super easy to use – no tech knowledge required
- Doesn’t require iTunes or an iCloud account to work
- Helps you erase iPhone without passcode permanently
- Removes all types of passcodes, as well as Face ID & Touch ID
Here are some steps to help you fix a disabled iPhone with 4uKey without iTunes:
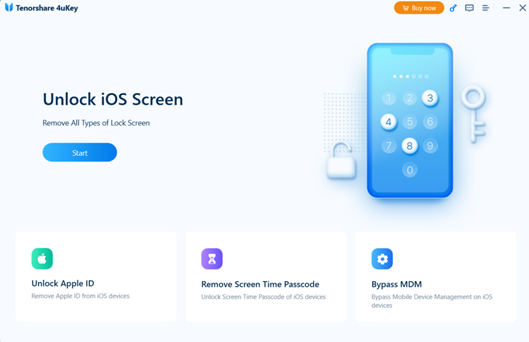
Step 1: Download and install the 4uKey program from the official Tenorshare website onto your Mac or PC, then, click “Start”.
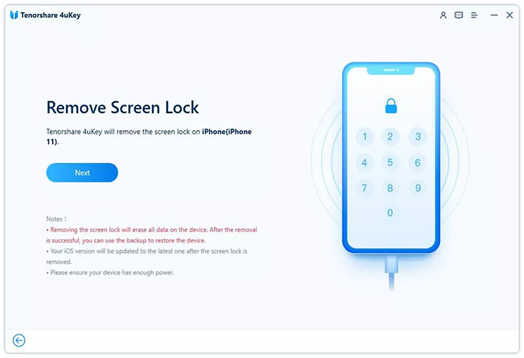
Step 2: Connect your iPhone to the computer with a USB cable. Then, click “Next” to remove your device passcode.
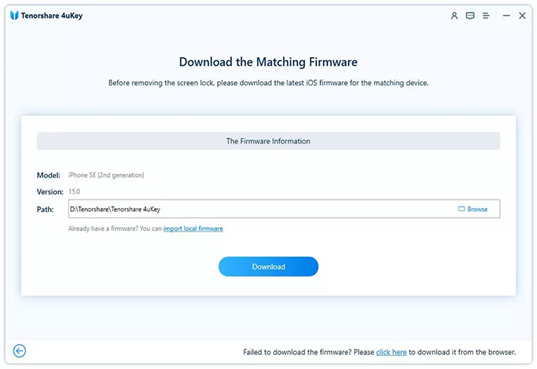
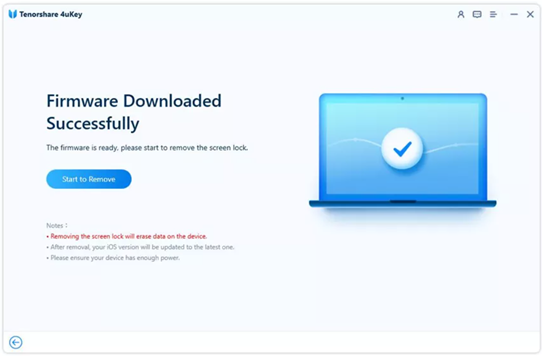
Step 3: You will be asked to download the latest iOS firmware; choose a save path. Next, click “Download” to proceed.
Step 4: Finally, click “Start to Remove” to begin removing the iPhone passcode.
Part 4: Restore Your iPhone with iTunes
Apart from the above-mentioned method of restoring your iPhone using recovery mode, you can also use iTunes to fix the disabled iPhone problem. However, this solution only works if you’ve previously synced your device with iTunes.
The steps to restore your iPhone with iTunes are pretty easy to follow, and are as follows:
Step 1: Connect your iPhone to the computer you normally sync it with by making sure you have the most recent version of iTunes installed.
Step 2: After clicking “Sync” to back up your device, click the “Restore iPhone” button when you’re prompted to. Then on the iOS Setup Assistant, select “Restore from iTunes Backup” to restore your data using a backup in iTunes.
Part 5: Restore Your iPhone through iCloud
Just in case you need one last alternative, you can use the iCloud platform to unlock a Disabled iPhone. However, doing so will erase all of your data and it will only work if you previously activated Find My iPhone and if the disabled device has an internet connection.
Below are the steps you need to follow to restore your iPhone through iCloud:
Step 1: Go to iCloud’s website using your favorite browser, and sign in using your Apple ID and password.
Step 2: From the main screen, select the “Find iPhone” tab and then “All Devices.” Select your disabled iPhone from the list.
Step 3: To erase your iPhone, click Erase iPhone and then Confirm Erase when prompted.
Final Words
Now you know how to fix The iPhone Is Disabled Error if you ever need to. There are several ways to do this, including the methods explained above. Whether you want to use the iTunes, iCloud, or 4uKey method, you should be able to get your device up and running again in no time.
Just remember to always keep a backup of your data just in case something like this happens, as it’s always better to be safe than sorry.

Leave a Reply