YouTube is a well-known video-streaming network that requires no introduction. People are spending an excessive amount of time on YouTube each day.
500 hours of footage are uploaded to YouTube every minute. YouTube videos are watched for over 1 billion hours per day, which is more than Netflix and Facebook combined.

So you’re not alone if you want to screen record a YouTube video so you can watch or listen to it later.
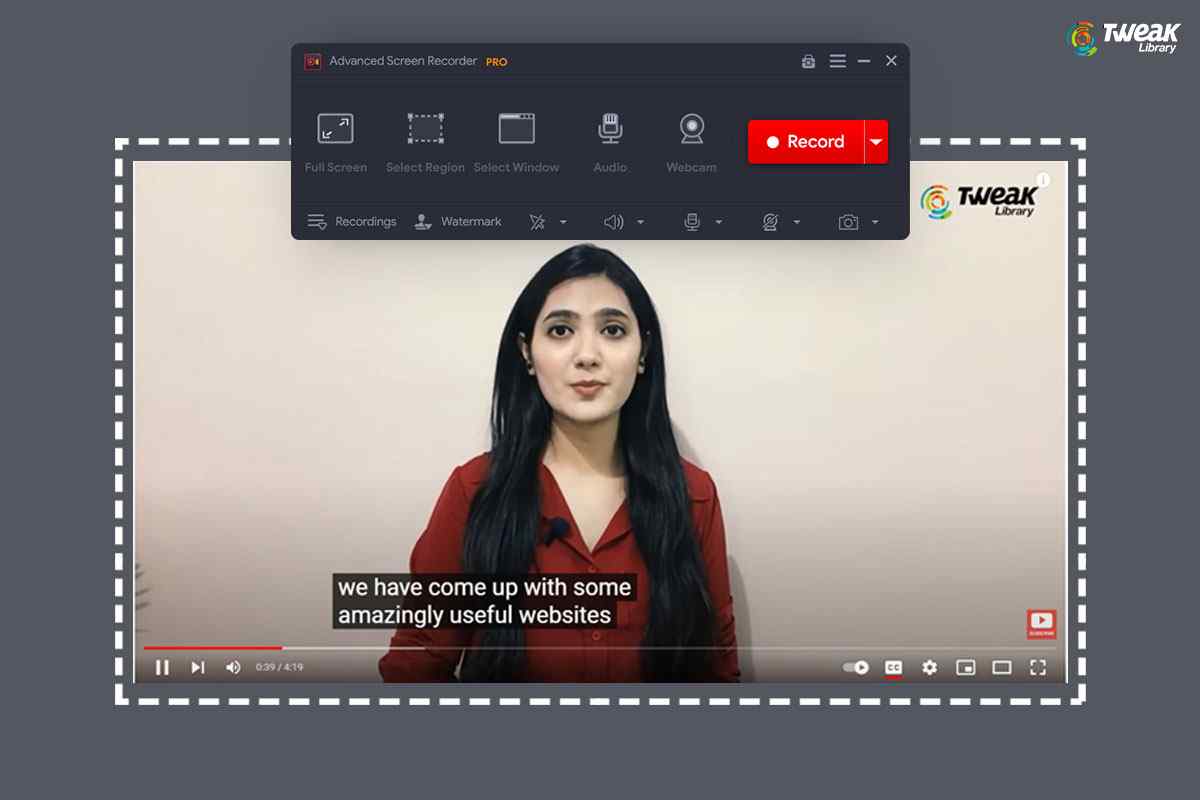
We’ll go through how to screen record a video on YouTube with audio in this post. You’ll be able to watch your YouTube videos even if you don’t have an internet connection. This is very necessary in today’s world when the education system has gone online and students want to revise the content by streaming the video again. Here the major role of Advanced Screen Recorder steps in by which you can record the YouTube video.
However, *You may be in breach of your agreement if you record and/or share Streaming Video from any service. Before using this service, please review the terms of your agreement. Therefore do not record any YouTube video for privacy purposes.
Also Read:- YouTube Screenshots – 2 Ways to Take Screenshots From YouTube Video
Let’s look at how to use Advanced Screen Recorder, the finest screen recorder, to record YouTube videos.
On Windows, how can I record a YouTube video with sound?
Tweaking Technologies’ Advanced Screen Recorder screen capture and screen recording utility are required to screen record with audio.
You don’t need to change any system settings to get started. To begin recording YouTube videos with sound, simply follow the step-by-step instructions provided below:
Advanced Screen Recorder – The Best Screen Recorder Tool – System Requirements
- 4 GB RAM or More Memory
- Windows 11, 10, 8.1, 8, 7, PC compatibility
- Display: 1280×768 pixels or above
- Hard Disk Space: A minimum of 2 GB of free space is required, as well as an SSD for optimal performance.
- Intel Core i3 or higher processor
Advanced Screen Recorder has a Number of Advantages
- Multiple screen capture & video recording modes are available, including- Full Screen
- Window that scrolls
- Capture Specific Area
- The window that is currently active
- Supports watermark-free screen and video capture.
- Screenshots may be edited using the built-in picture editor.
- Screengrabs may be uploaded to Google Drive, OneDrive, and Dropbox.
- Hotkeys make it simple to record or capture the screen.
- Screen capturing software that isn’t overly heavy.
- Allows you to record audio from Zoom calls, YouTube videos, and other sources.
How to Record YouTube Videos with Sound Using Advanced Screen Recorder, the Best Screen Recorder?
Advanced Screen Recorder may be used to screen record & capture screenshots by anybody, from beginners to expert users. Follow these steps to begin recording videos from YouTube, Zoom, or other sources:
Get Advanced Screen Recorder, screen capture & video recording program, and install it.

How to use the trial version of Advanced Screen Recorder?
1. Download and install Advanced Screen Recorder.
2. Once installed, you will get a desktop icon like the one in the screenshot below. Double click on it to launch Advanced Screen Recorder.

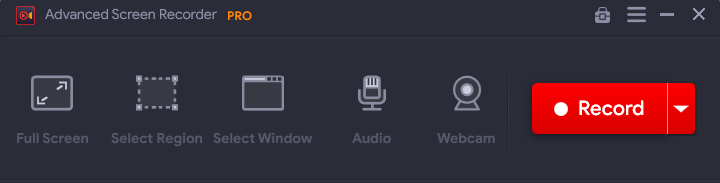
3. You will now get the screen as shown below
4. Before you click the Record button to start recording, you can select the area that you want to record.
Full Screen-will record the full screen for you
Select Region-It will record a particular selected area by you on the screen
Select Window-It will split the screen into two halves, and you can select from the two
Webcam-It will record the webcam video
5. Once that is done, click the Record button.

This way you can record the screen using the trial version of Advanced Screen Recorder.
Once you have exhausted all the 3 attempts, you will get a prompt stating that your trial is expired. After which the recorded screen will have a watermark and a limit of 10 minutes.
This means, even after the 3 trial attempts expire you can still record the screen, but with a time limit of 10 minutes of screen recording with a watermark.
PRO Version – Advanced Screen Recorder
How to upgrade to the PRO version
If you wish to upgrade to PRO, you will have to purchase the product.
To purchase the product, click the Upgrade Now tab. You will now be redirected to the purchase page. From here, you can purchase the tool and use the key to activate it.
How to Activate Advanced Screen Recorder
If you have already purchased the Advanced Screen Recorder, follow these steps:
1. Click the key icon next to Upgrade Now.
2. Next copy-paste the key, you received on the email address provided at the time of purchase.
3. Click Upgrade Now.
4. Advanced Screen Recorder will now convert into Pro version and the product will look as shown in the screenshot below:

Once upgraded to PRO, you will be able to use all the features of Advanced Screen Recorder.
How to start screen recording
You have to select from any one of the four options viz:
- Full Screen– capture the full screen for you
- Select Region-record a particular selected area by you on the screen
- Select Window-split the screen into two halves, and you can select from the two
- Webcam– record the webcam video
Note:- Repeat all the steps simultaneously, if you record the screen through the Select region, Select Window, Webcam.
After selecting your preference now click on Record. As soon as the recording starts, you can record the screen without any time limit.
To start with, the first option you will get will be Full-screen recording. In this, you will record the whole screen without leaving any part of the screen.
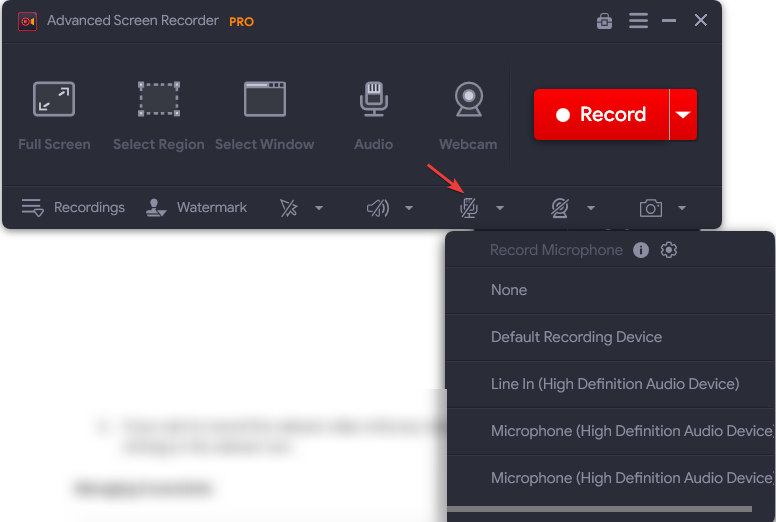
- If you want to record the screen with audio, then put the mic tab on the Default recording device; else you can select none to put background music off.
You can do it by selecting the preference from the mic tab.
- Once the content that needs to be recorded is done, you can stop the recording by clicking on the red square button. As soon as you stop recording it will be saved in recordings.

Screen Recording is Now Easier Than Ever
Many times it happens that you want to take a screenshot of a particular frame while the recording is on. Now with the help of Advanced Screen Recorder, you can take a screenshot of any particular frame by clicking on the camera button and it will be saved in screenshots under the recordings tab.
![]()
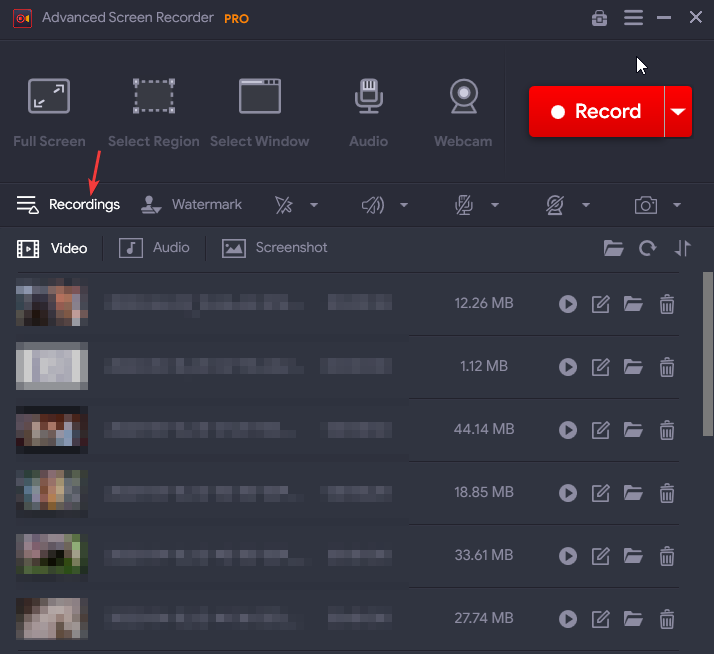
Easy access to Recorded Content
Once the recording is over, you will find the recorded video under the recordings tab.

After navigating to the recordings tab, you will find all the recorded videos saved here. You can play any video of your choice by clicking on the Play button.
![]()
After clicking on the play button, a pop-up will appear, asking you to select a player of your choice to play the video. Select the player of your choice, and you will be able to see the video.
You can also see recorded content in C drive by following the path:-
All the recorded videos will be in Documents folders under Advanced Screen Recorder.
![]()
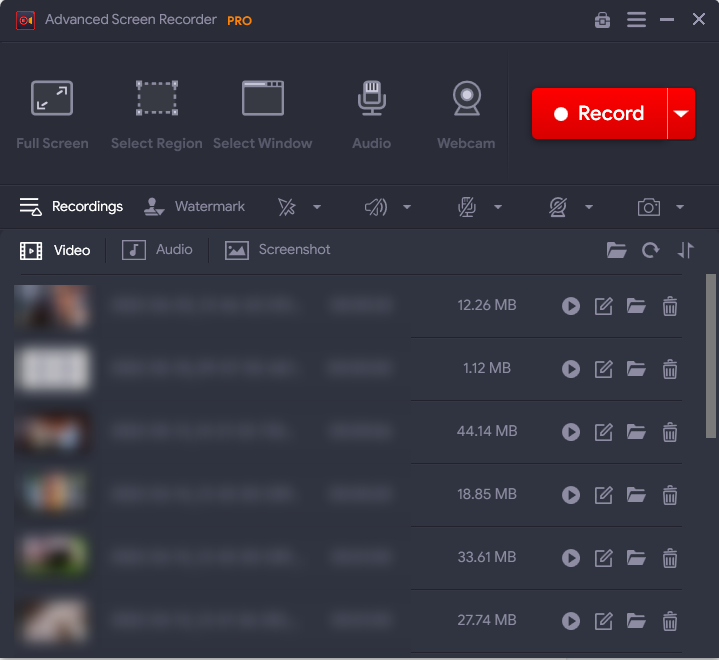
Note:- To go to the video recording location, click the folder next to the recording video thumbnail under Recording.
![]()
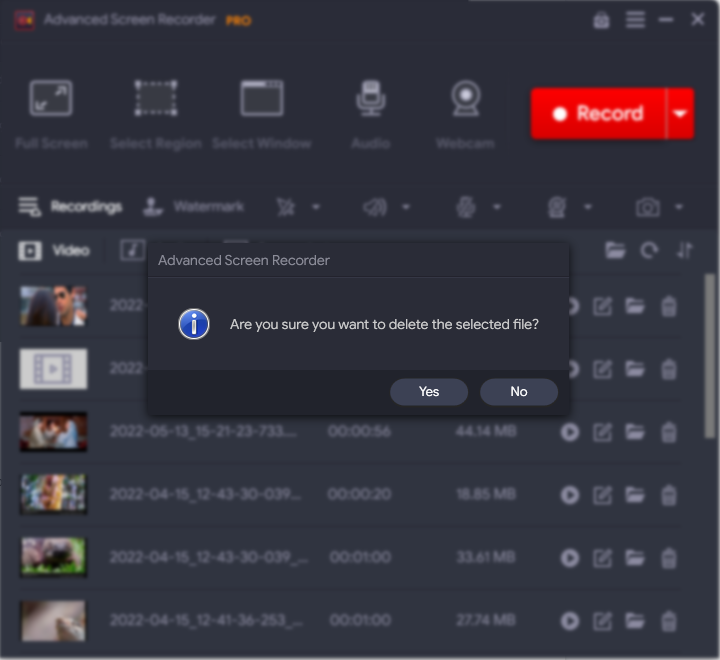
How to Delete the Recording?
While recording, it might happen that you have recorded some incorrect information or any you have recorded full-screen instead of a region. In this case, if you wish to delete any video, then please click on the bin sign, and you get a prompt seeking your permission to delete the video. Click on Yes, and the video will be deleted.
Stored Audio Recordings
In the audio tab, you will be able to see the list of all the recordings which are in the audio format only.
Stored Screenshots
One of the great features of Advanced Screen Recorder is users can take screenshots of any particular frame while recording. It is available under the screenshots tab where all the screenshots will be available. You can view them, save them, share them via any platform, or delete them if not appropriate.
Managing Preferences
If you wish to change settings according to your needs, you can do it through the quick settings tab. You can select the storage location, and you can change the format of the video (MP4, FLV, AVI), frame and size of the video, Video quality, etc., as per your requirement.

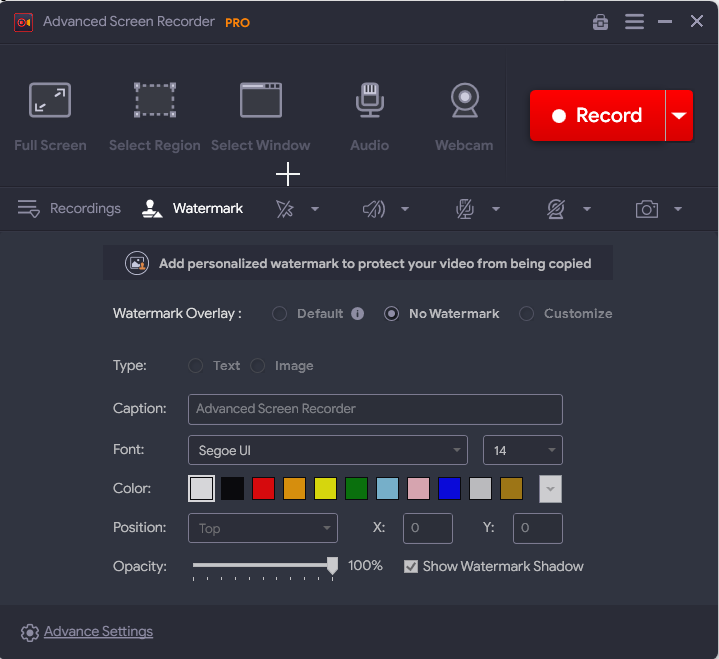
Customizing Watermark
One of the greatest features of the tool is the ability to add a watermark to your videos. This feature gives credibility to your videos and stops piracy. You can customize your Adding a watermark gives authenticity to your videos and prevents them from being copied.
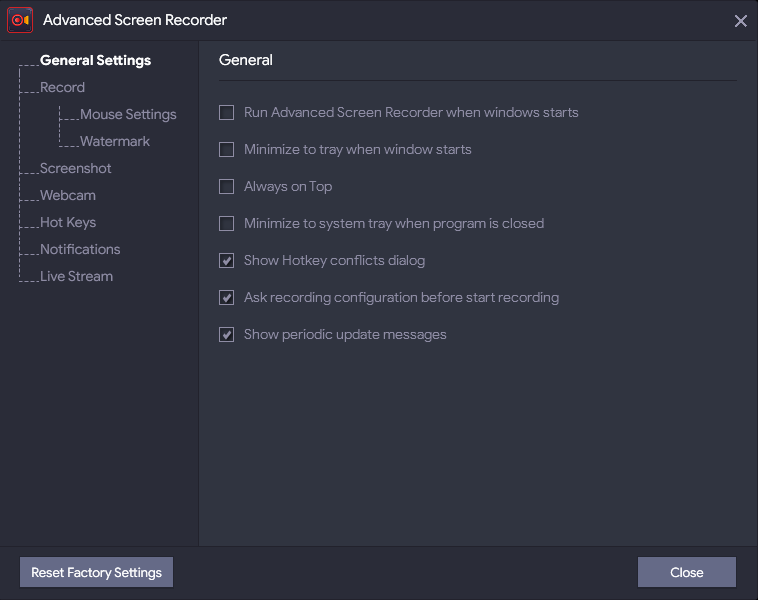
Under the advanced settings tab, you can customize some settings as per your needs for operations like Recording, Mouse settings, Screenshot, Webcam. You can also assign Hotkey to perform any particular action.
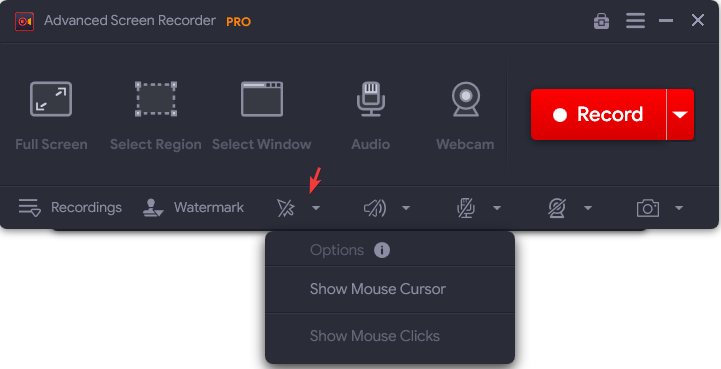
Enabling cursor movement in recording
Another notable feature for education or presentation purposes is the recording of the movement of the mouse cursor or just the cursor click.
This feature is great if you want to present a recorded video stating some points which the audience should see on a big screen with the help of a cursor.
How to record audio while screen recording
1. To record the system audio, you can select the preferences.
2. If you want to record anything, you can do it by making a preference under the mic tab.
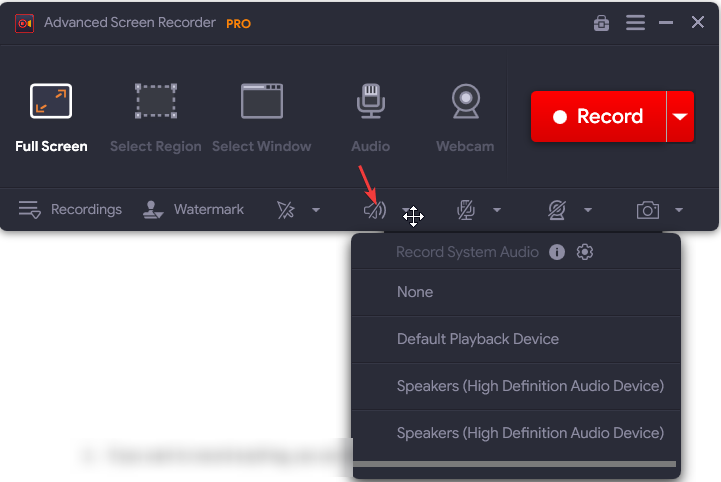
3. If you want to record the webcam video while any meeting is in progress, you can do it by clicking on the webcam icon.
![]()
Managing Screenshots
![]()
To simply take a screenshot of the single window, region, full screen, you need to click on the camera icon, and your screenshot will be captured in the screenshots section under recordings.
Conclusion:-
When it comes to screen recording or screenshot capture, Advanced Screen Recorder is a simple tool to use the tool. You can utilize this tool whenever you want, without having to think about it. Advanced Screen Recorder contains every option you could want. Additionally, this application does not add a watermark to the screen capture or video, making it easy to distribute, use in presentations, and more.
Advanced Screen Recorder Image Editor also allows you to add annotations to screen captures, highlight details, blur crucial information, & many things more.


Leave a Reply