
FaceTime is one of the most secure & end-to-end-encrypted video call service platforms that lets you search for people via email address & phone numbers. A lot of us want to capture the precious moments on the video calls that we want to keep with us later in the call as well. But, how do we do it? How do we do it on FaceTime?
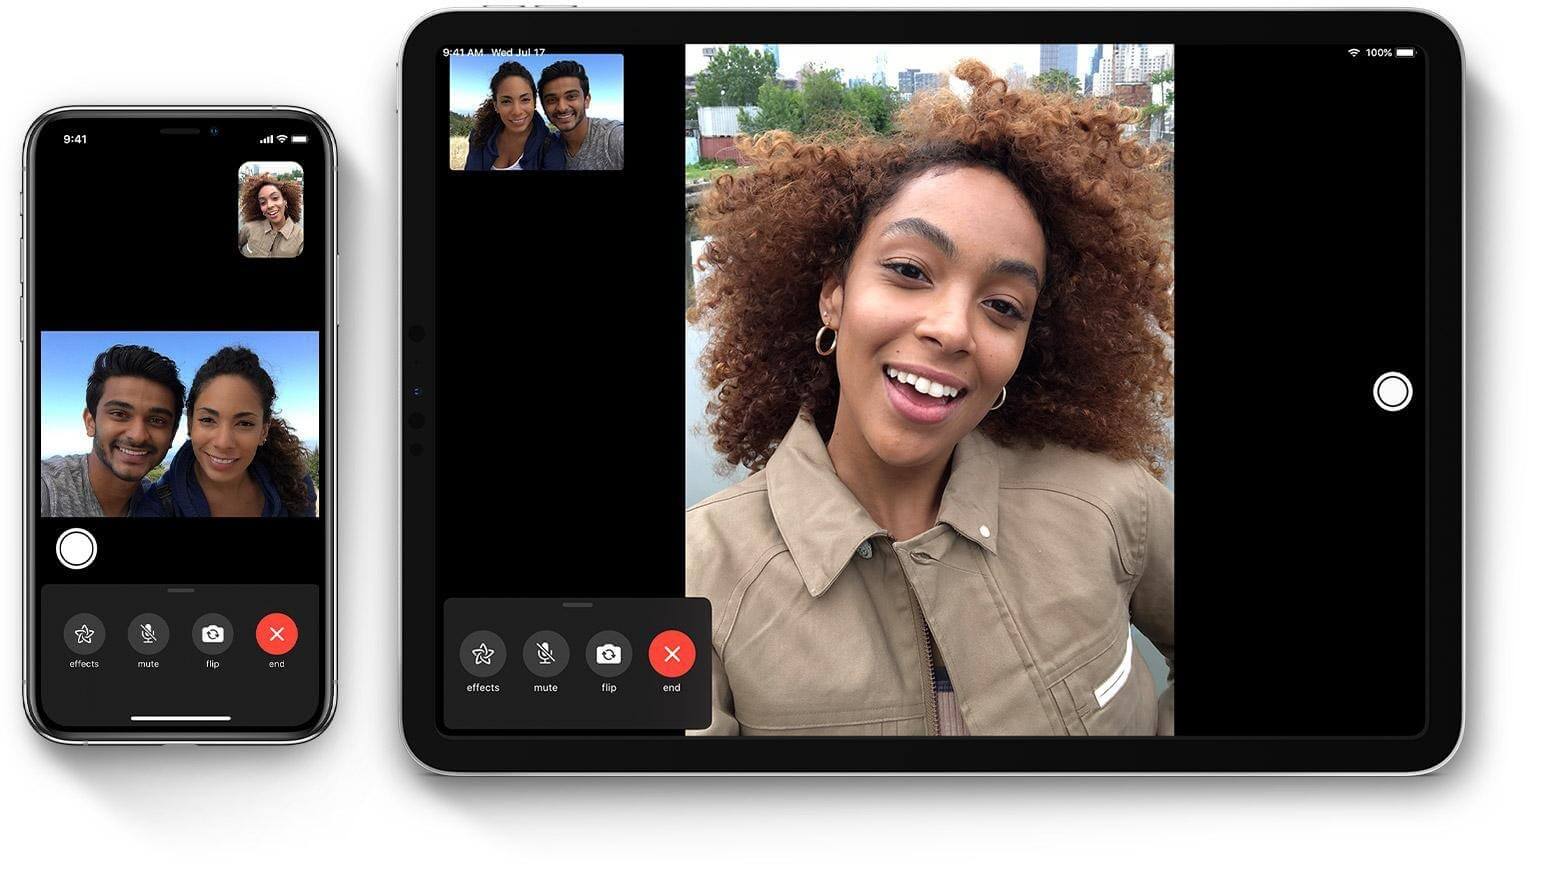
Sometimes, not personal but professional, people want to record an interview for business purposes on FaceTime, To iOS & Mac users, FaceTime has continuously been providing the voice & video call service. So let’s check out the ways to screen record FaceTime with sound on iPhone, iOS. & Mac:
Screen Record FaceTime With Audio On iPhone
Yeah. It is possible. Screen recording FaceTime with sound on iPhone is possible without any third party support. The Screen Recorder in your iPhone is enough to record the screen on FaceTime call. Just follow the below steps & get your video recording with audio:
- Go to Settings on your iPhone
- Find Control Centre (scroll down), tap on it & enable the switch for “Access Within Apps”
- Click on “Customize Controls”; look out for Screen Recording feature; tap on + (plus) sign. This will add the recording feature to the Control Centre (Swipe Up feature on home screen)
- Come out of Settings & start a FaceTime video call to any of your contacts.
- The moment you listen to the ringing sound, open the Control Centre (swipe up) & tap on the Screen Recorder icon (top right bottom).
- The feature will start recording the video call, however the catch is, it will be a call without any audio/sound.
- In order to screen record FaceTime with audio, all you need to do is, long press on Screen Recorder. This will show the options with a sign (microphone) which would be off at that time.
- You need to click on the microphone switch & the moment, it gets colored or says Microphone On”; you are all set.
- Go to the Screen Recorder & tap on the icon to start recording. The countdown will start & you can start with your FaceTime call.
Know that everything on your screen gets recorded along with the FaceTime call. So try to disable any notification or alerts that you get to see accidentally on the display.
Also Read: How To Change Your Zoom Background?
Screen Record FaceTime With Audio on iPad
Screen recording FaceTime with sound on iPad is quite the same process as we follow on iPhone (iOS). Maybe one or the other option can differ. However, the whole gist will be the same.

Be it an iPad or iPhone, almost every option on both the platforms are quite accessible if you’re familiar with any one of them.
Also Read: Easy Steps To Cast Zoom Meetings to TV
Screen Record FaceTime With Audio on Your Mac
In order to screen record FaceTime with sound on Mac, all you need to do is, use QuickTime app. Let’s check the steps to record FaceTime call on Mac:
- Open the QuickTime app on your Mac; click on File & then New Screen Recording. After this, the screen recording window will pop up.
- Tap on the Down Arrow & switch on the ‘internal microphone”. This will help you record your own voice.
- Start your FaceTime call with your preferred contact & come back to the screen recorder (QuickTime app) for recording.
- Start your call recording with audio & the moment it’s ended, go to File & then Save the recording.

In case you want to screen record FaceTime with audio on Mac, the best third party option is RecordAnyVid.
Wrapping Up
In order to keep the precious moments of video calls saved, we start using the screen recording FaceTime on iOS & macOS. FaceTime anyways is one of the most secure & encrypted apps that lets you search people to make video calls with email addresses as well as phone numbers.
Don’t forget to use the above features on your platforms if the same have been working out best for you.
Next Read: How To Screen Record Zoom Meetings With Audio


Leave a Reply