
Imagine you are at your office, playing a battlefield game online in an incognito mode and suddenly you see your manager approaching you? You don’t want your manager to see that, right? You try and close the incognito window but… you can’t! Your windows 10 mouse lag has stopped you from performing the action. Oh well, now you are caught in serious trouble.
Have you ever wondered why in Windows 10 mouse lags? Just like our computer, the hardware devices attached to it could also sometimes start behaving awkwardly.
Don’t Worry Folks, we are here to help you by revealing some effective fixes to halt mouse stuttering.
But wait, we have an instantaneous solution to get rid of mouse lags on Windows 10 is the Smart Driver Care tool which will automatically update the outdated drivers for you.
Let’s get started!
Ways To Fix Mouse Lag On Windows 10:
Use Smart Driver Care
Before performing the manual method, try to resolve the windows 10 mouse lag issue with Smart Driver Care software (Recommended) that will identify the outdated drivers and later update them to make your system run smoothly and efficiently. Below are the steps to start the procedure:
Download Smart Driver Care

- Download and Install this smart tool.
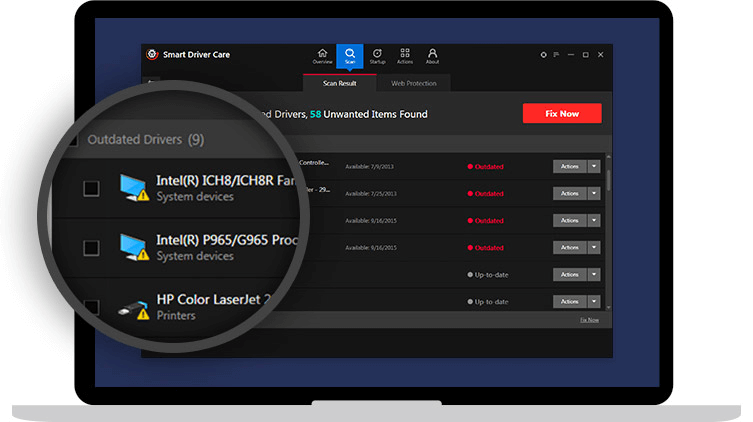
- Launch the tool. Smart driver Care will start scanning the outdated drivers.
- Now, you will get the list of outdated drivers.
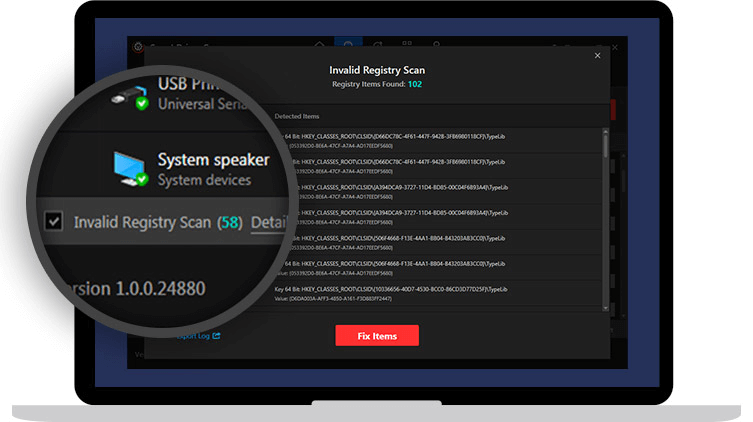
- Along with that, you will also get the list of invalid registries on Windows 10.
- You will get an option to update outdated drivers. Once all the drivers are updated. You can start checking the mouse whether it is working or not.
Fix 1- Reinstall The Mouse Driver
Before reinstalling the mouse driver, try using your mouse with another system to check whether it’s working or not. If it works, then there is a fault in the mouse driver. Find the step to start the procedure to fix windows 10 mouse lag:
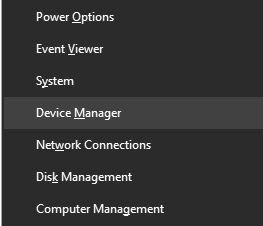
- Press Window Key and X, simultaneously. Find Device Manager from the list and hit enter.
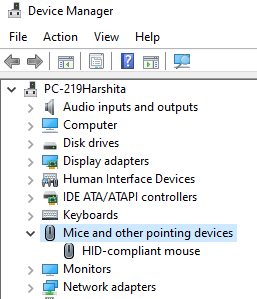
- A new box will appear with devices information, search Mice and other pointing devices. Expand the option by left arrow key.
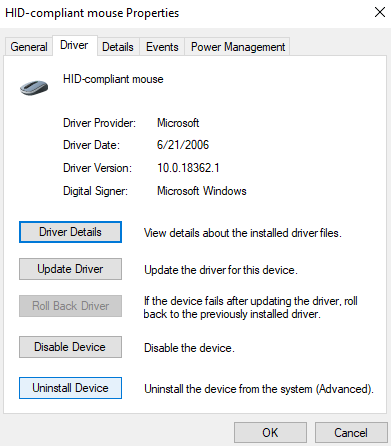
- After, select the mouse name and then double click on it. A new dialogue box od mouse properties will appear, select the Driver tab next to General. At the end of the box, there is a tab of Uninstall Device.
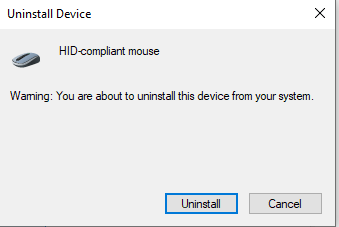
- After clicking on Uninstall Device tab, a new pop-up box of confirmation will appear. Press enter to complete the process.
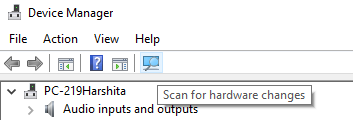
- After uninstalling, scan for hardware changes located next to the Action Pane.
- After the process, restart your computer and check the mouse whether it is working or not. If the issue still continues, jump to the next Fix.
Fix 2- Disable Scroll Inactive Windows Feature
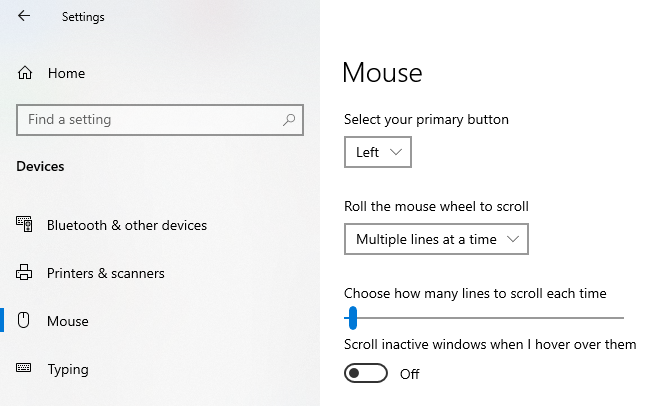
- Start this procedure by searching Settings in the search bar and then Devices > Mouse & Touchpad.

- Find Mouse in the left panel in the Device Windows. Locate the Scroll Inactive Windows and enable/disable it. As shown in the below image.
Check if the mouse starts working or not. Scroll to the next Fix, if the issue persists.
Fix 3- RollBack Mouse Driver
If you are encountering Mouse lag on windows 10, then rolling back mouse driver may solve your issue. Follow the steps below.
- Open Device Manager, as shown in the previous procedure.
- Follow all the steps as shown in Fix 1 which includes clicking on Mice and other pointing devices.
- A new box will appear which includes uninstalling, updating and disabling the device.
- There is also an option of Roll Back Device. Click on the tab and your device will roll back to the previously installed driver.
Check your mouse whether it’s working or not.
Fix 4- Change Power management Options
There are chances when you encounter mouse freezes windows 10. This may happen because of Power Management settings. Find the step to resolve this issue as follows.
- Open Device Manager pressing Window Key & X, simultaneously.
- Find the last option of Universal Serial Bus Controllers, Click on it and you will find the series of USBs.
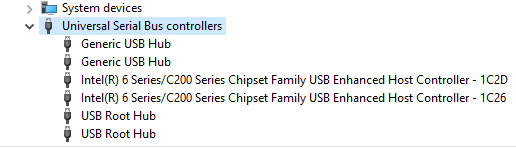
- Select the first USB Root Hub and double click on it. A new dialogue box will appear with USB’s properties, find the Power Management tab next to Events.
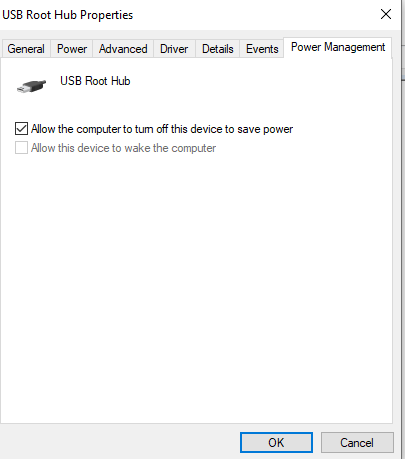
- Uncheck the option which says to Allow the computer to turn off this device to save power.
Restart your computer and check your mouse whether it’s working or not. If your mouse still is not working. Proceed with the next step.
There may be chances when mouse lags in Windows 10 by disabling the Cortana feature.
You can also disable Realtek audio card because there may be a chance when this card starts interfering in the functionality of the mouse.
Moreover, you can also encounter the mouse stuttering issue because of mouse frequency. If you are using wireless mice, then there is a high chance of Windows 10 mouse lag happens due to changes in frequency.
Make sure to adjust the range from 500 to 250Hz for better mouse performance.
Final Word
We understand it is really annoying when a mouse doesn’t respond properly. As it decreases your productivity and increases working hours and you have to perform all the procedures by shortcuts which are meant to be executed by the mouse.
To overcome this issue, we have listed the best possible fix which will surely help you to fix Mouse Lag In Windows 10.
If you like this article, upvote and share with other technophiles who are searching for effective methods to mouse stuttering. Don’t forget to comment on the below comment section. Yes! Subscribe to Tweaks Library’s newsletter.


Leave a Reply