Threat actors are building complicated and way more dangerous threats (malicious codes) than they did before. Many of these malicious codes are well capable of altering the core process of your operating system. These threats even lock horns with security systems and there have been instances where they were even able to sabotage them.
In that regard, Microsoft has empowered Windows 10 and 11 systems with a feature called Core isolation. What this feature is and what it actually does will form the rest of the post. But, before you go ahead and enable this feature let’s first have a look at a few prerequisites.
| Who are These Prerequisites For? |
|---|
| If you have been catering to the latest updates rolled out by Microsoft or have the latest Windows 10 machines, you shouldn’t face any issues. Also, if you have a computer or desktop that has already been loaded with Windows 11, you won’t have to face any issues when enabling the Core isolation feature.
However, the problem lies with operating systems on older – For instance, the 32 bit operating systems or the ones that have stopped receiving updates regularly or completely from Microsoft, especially those that cater to drivers. Such devices may find it hard to enable the Core isolation feature and more so the Memory integrity. Trying To Enable The Feature On An Incompatible Device? You might be able to see the option but if you try and enable the feature, it will list all incompatible drivers, probably check for any discrepancies, and then grey the feature. As for outdated drivers, we have a superb solution that we have mentioned towards the end of this post. 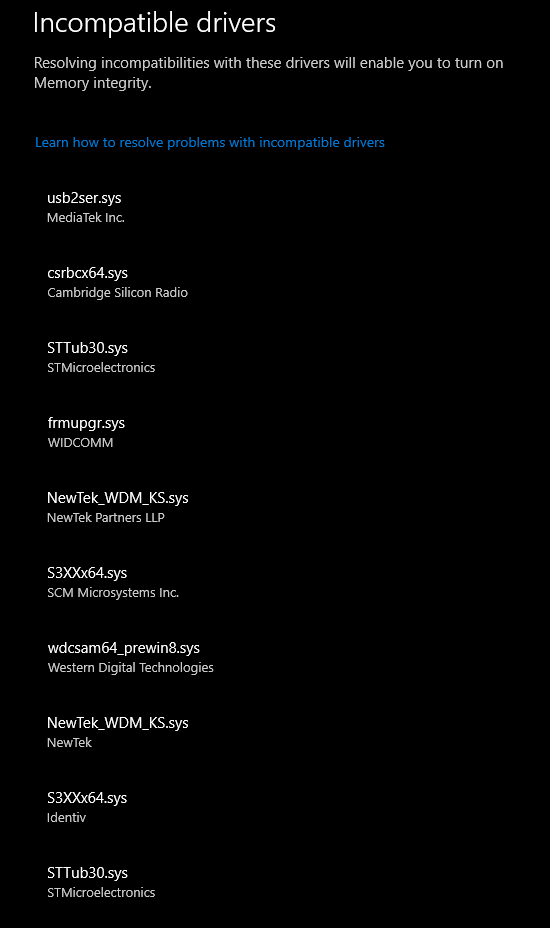 As per Microsoft, for your Windows 10 device to meet standard hardware security requirements, your device should have –
|
How to Enable Core Isolation In Windows 10/11:
List of Contents
What is Core Isolation In Windows 10 and 11?
Core Isolation can be considered as an additional layer of protection. It is an important security feature of Windows that safeguards the core Windows processes from malicious software. It does that by isolating these core processes in a virtualized environment and isolating them in memory.
More specifically, it uses hardware virtualization features with the help of which it creates a secure area of system memory. This area remains isolated from the rest of your operating system. Here it becomes safe and easy for Windows to execute system processors. It is this secure and safe area where Windows also runs the security software as well. All important operating system processes are protected and nothing that’s running outside this secure area can tamper them.
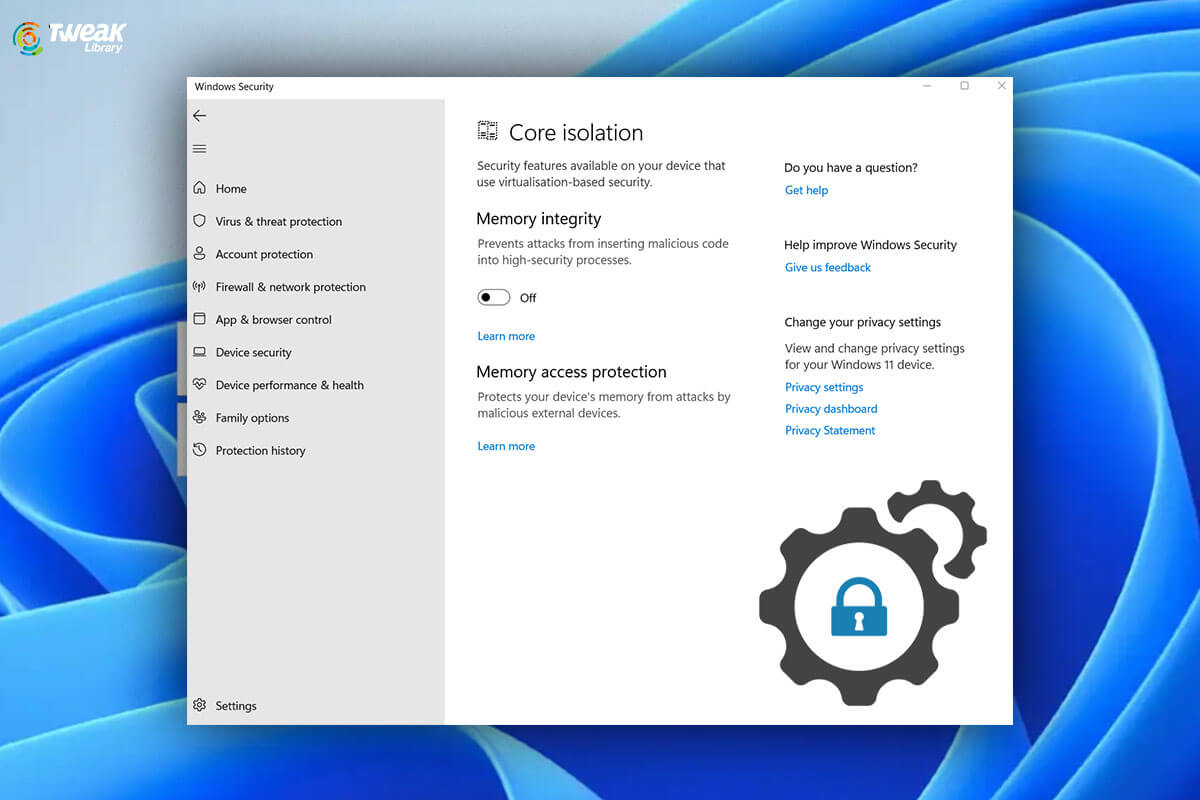
Device security > Core isolation
What is Memory Integrity?
When you visit the Core isolation feature, you also meet the Memory integrity submenu. It is also known as Hypervisor-protected Code Integrity (HVCI).
In an event of a malicious attack, the high-security processes are the first that a malicious code attacks. When you enable this setting any impending malicious code will not be able to access any high-security processes. Now, how does that happen? The feature makes it hard for any malicious software to hijack your computer using any low-level drivers. A low-level driver could possibly mean a driver that’s outdated or incompatible.
Let’s dive a little deeper and it’s interesting too –
Any malicious program that intends to execute a possibly dangerous piece of code will have to pass this code through memory integrity and get it verified. And, unless the memory integrity finds the code safe, it won’t verify it. As complicated and large as the process might look, it is way more quickly.
In this day and age, where malicious attackers are compiling code that can easily ‘sabotage’ unprotected security systems, memory integrity certainly acts as a layer that’s not easy to be broken into.
How To Turn On/ Off Core Isolation In Windows 10 and 11
To enable the Core isolation in Windows 11, you can either take a short route or a slighter longer route.
Short Route –
1. In Windows search, type core isolation
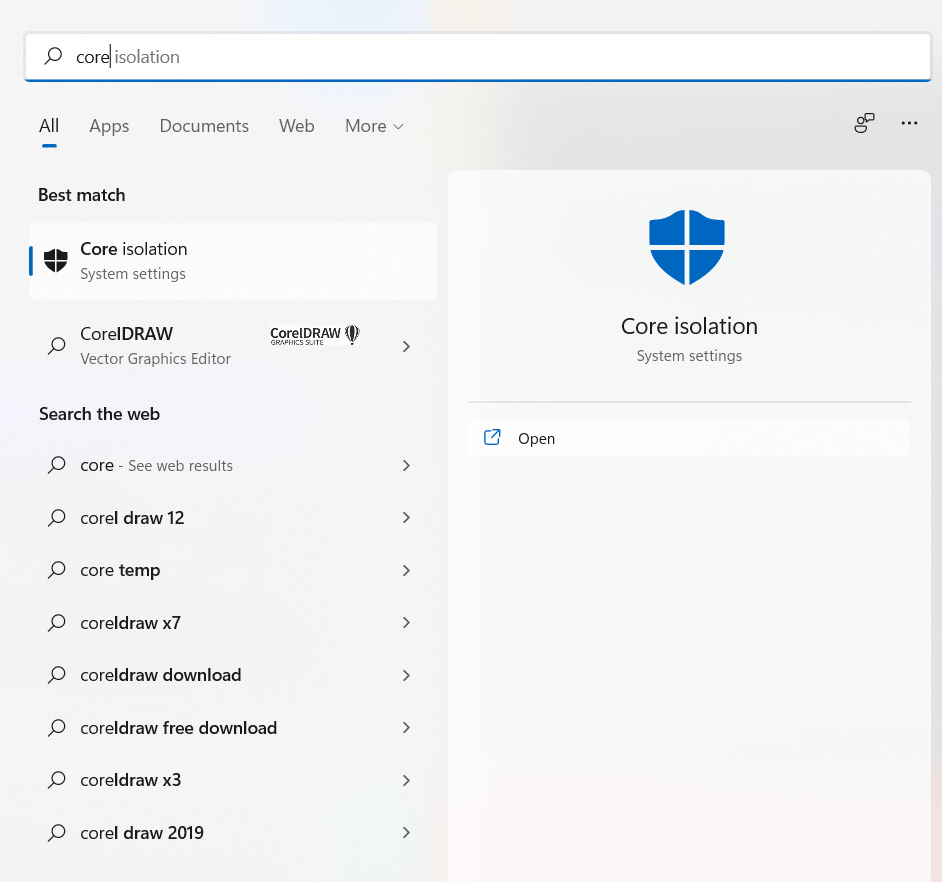
2. From the right-hand side, click on Open
3. Click on the toggle switch under Memory Integrity to turn it on
4. You will now be prompted to restart your computer
Longer Route
1. Click on Start
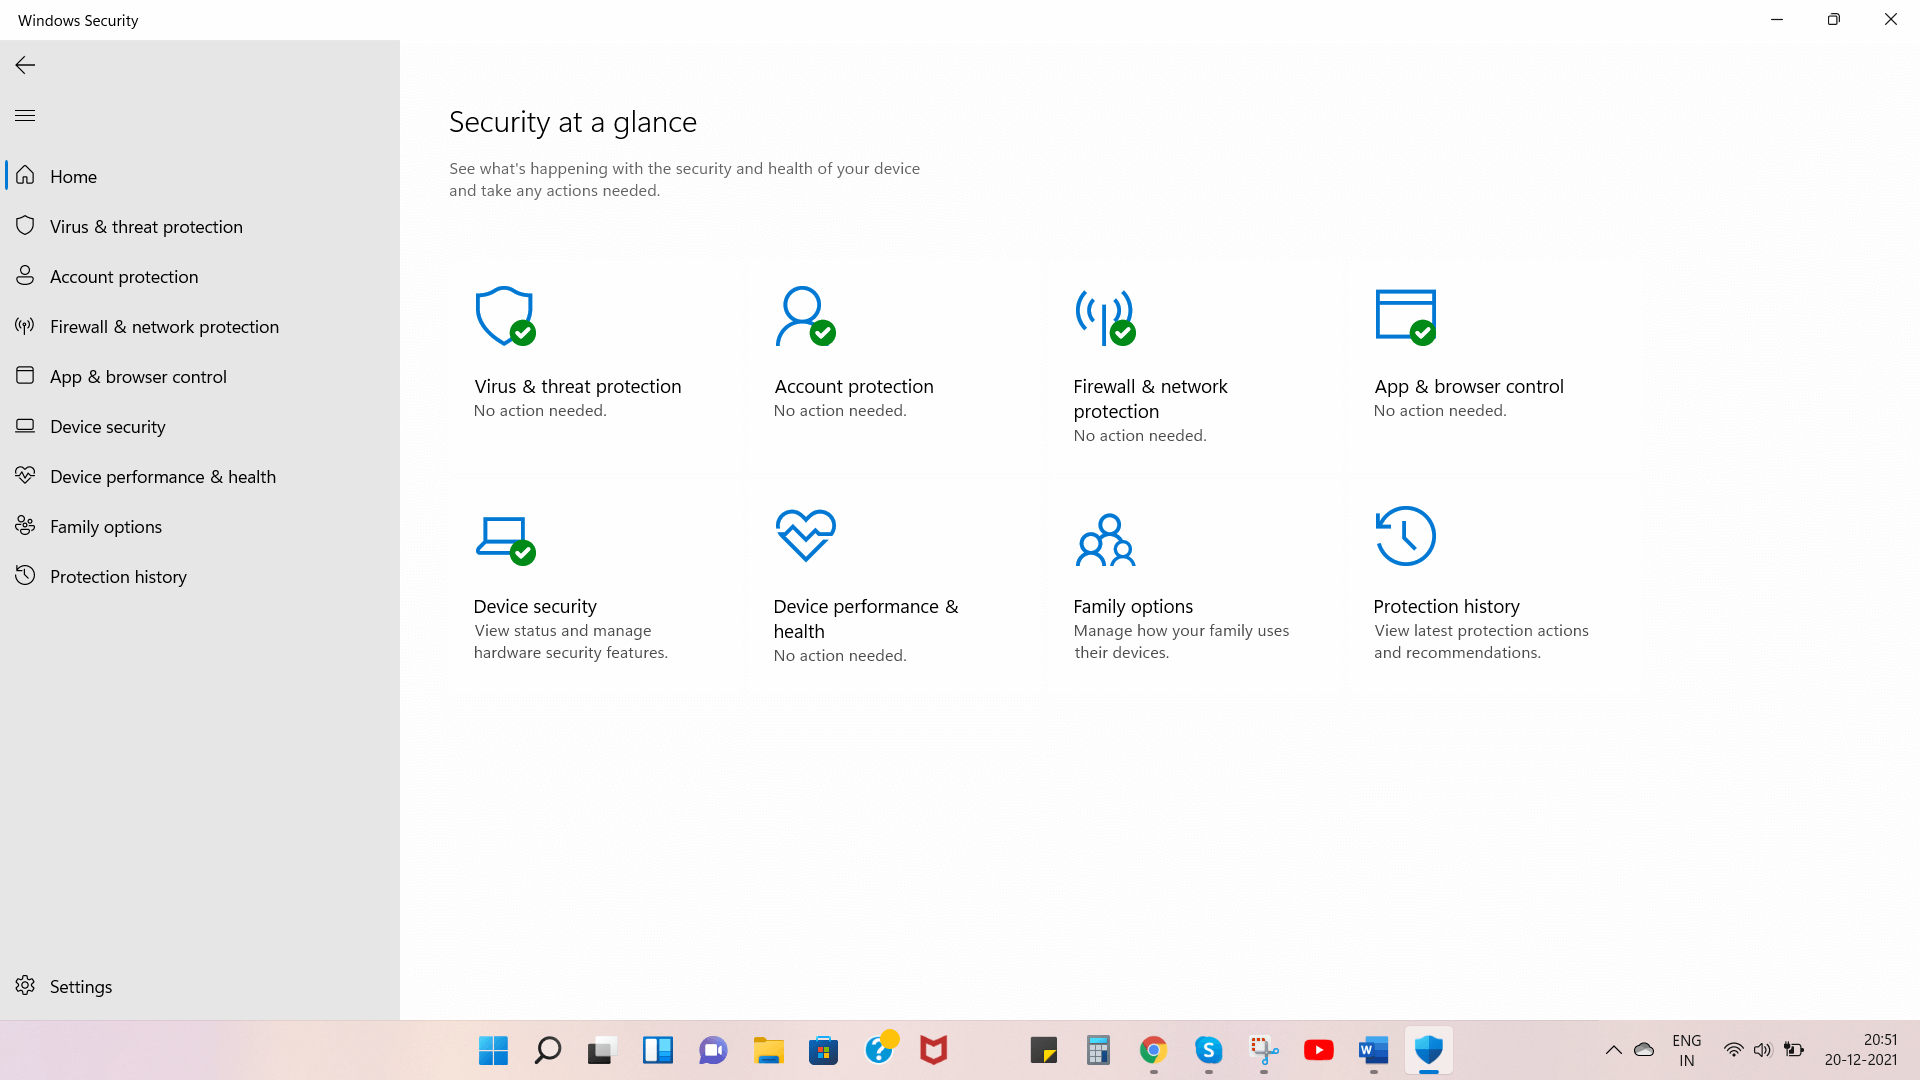
2. Type windows security
3. Click on Open from the right-hand side
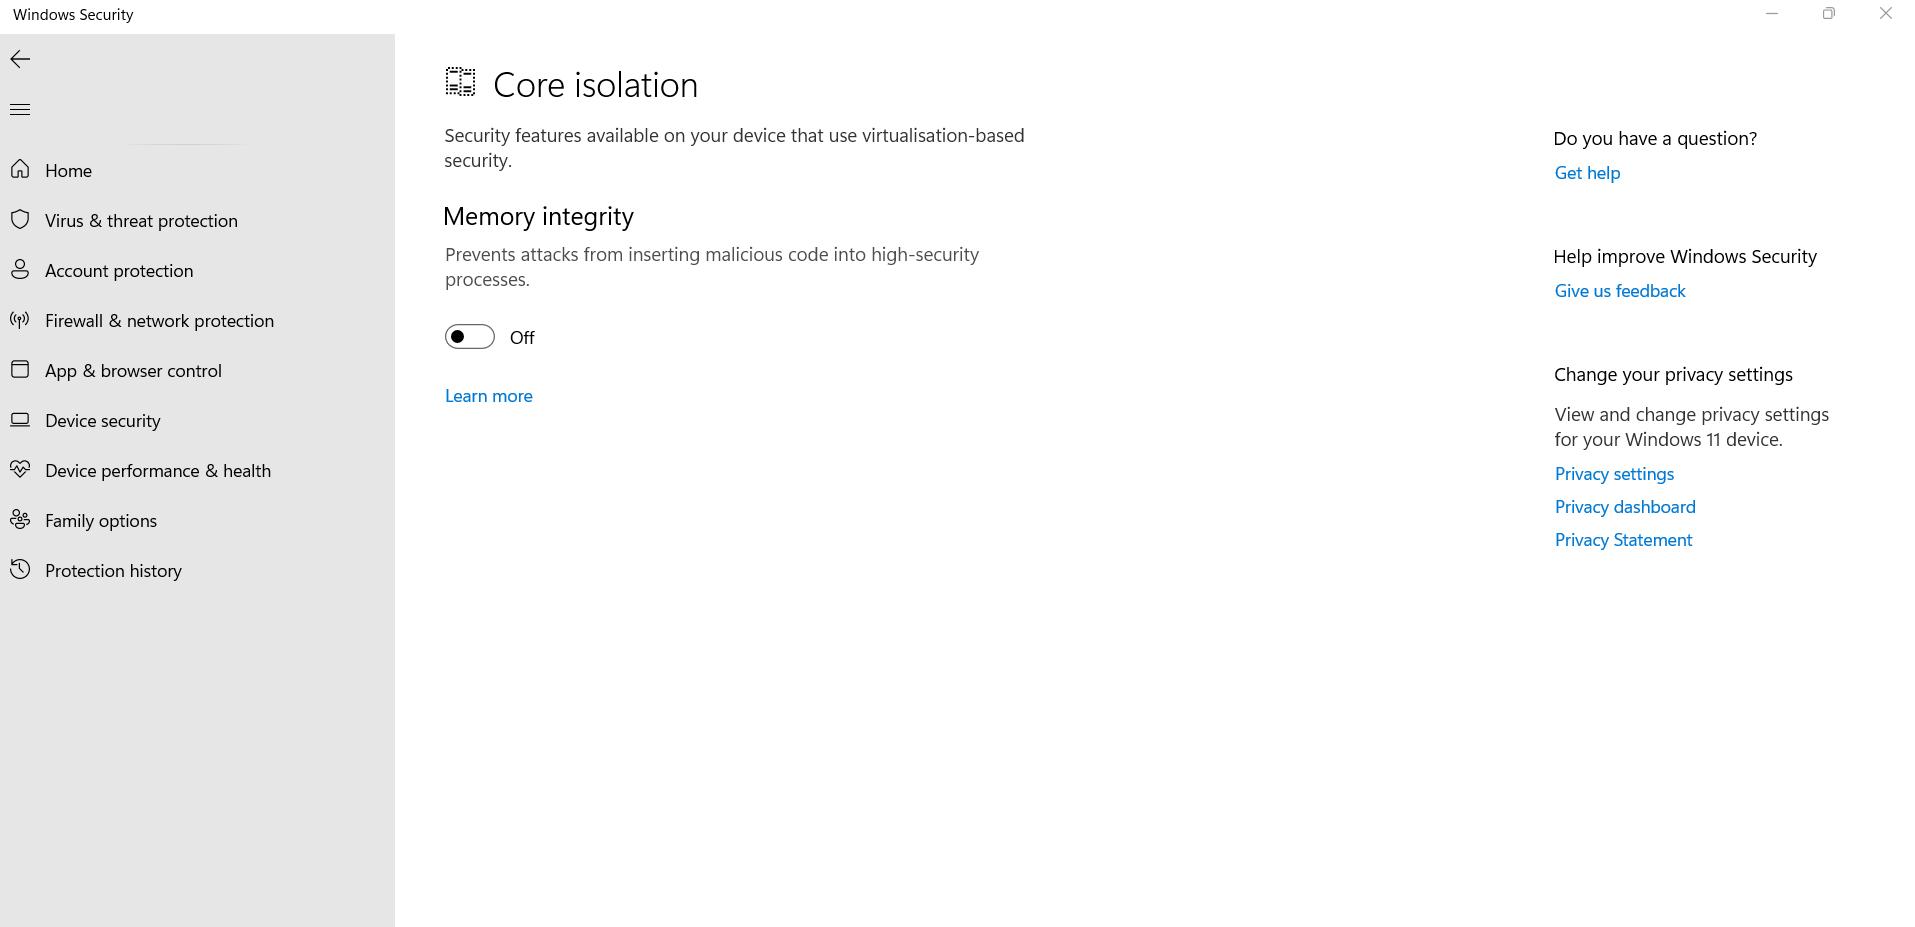
4. When the Windows Security opens, click on Device security from the left-hand side
5. From the right-hand side click on Core isolation details under Core isolation
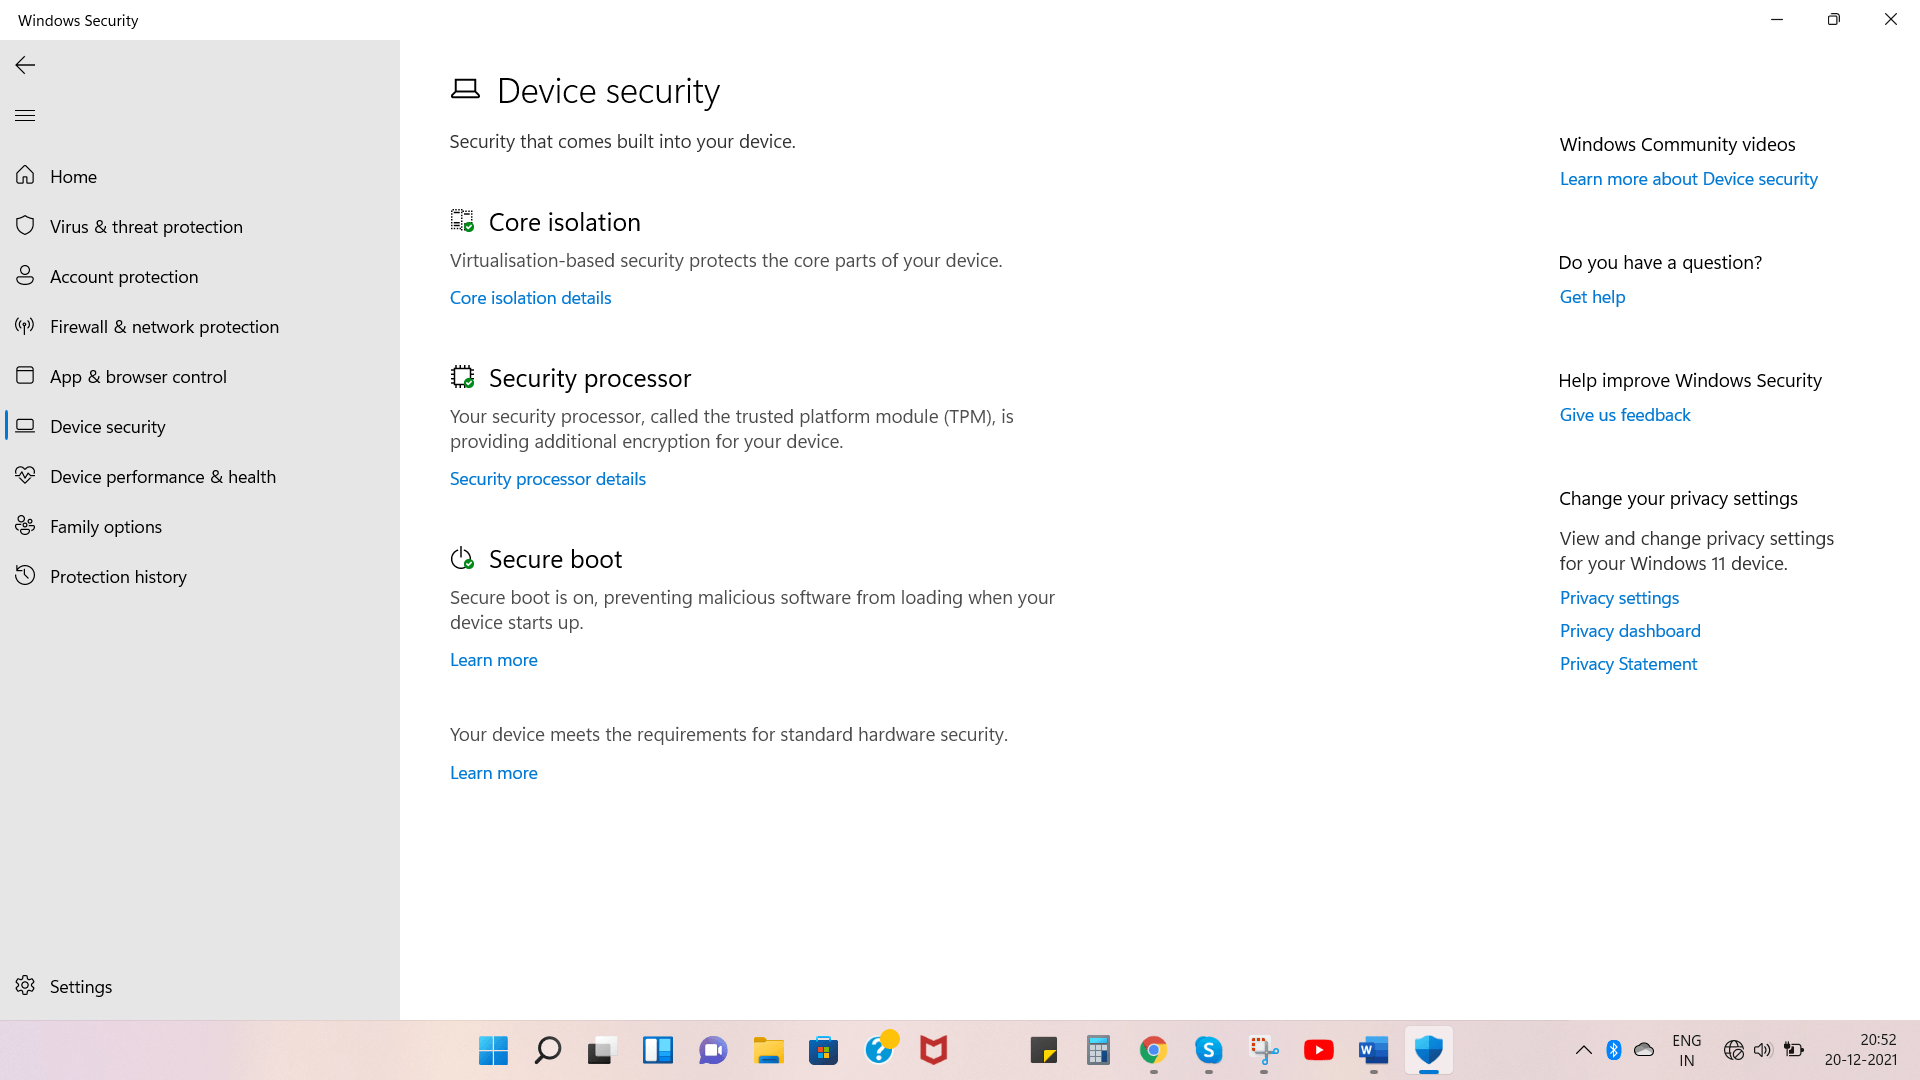
6. Click on the toggle switch under Memory Integrity to turn it on
7. You will now be prompted to restart your computer
Important Information Regarding Incompatible Drivers
After you have enabled memory integrity, if you try to install a device with an incompatible driver, you may see the message as in the screenshot below.
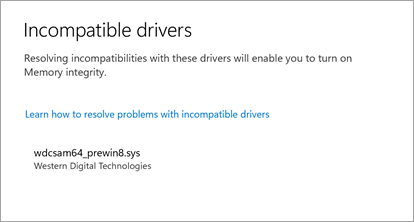
So, how do you tackle this problem?
You can either check on the manufacturer’s website if they have an updated driver or wait till the time that device has a compatible driver available. Here’s an even easier way to tackle this issue. You can use a specialist driver updater tool to replace incompatible or corrupted with an updated driver. Advanced Driver Updater is one such utility. Its database consists of thousands of drivers and when it comes to updating drivers, Advanced Driver Updater is one of the most popular choices amongst users.
How To Use Advanced Driver Updater?
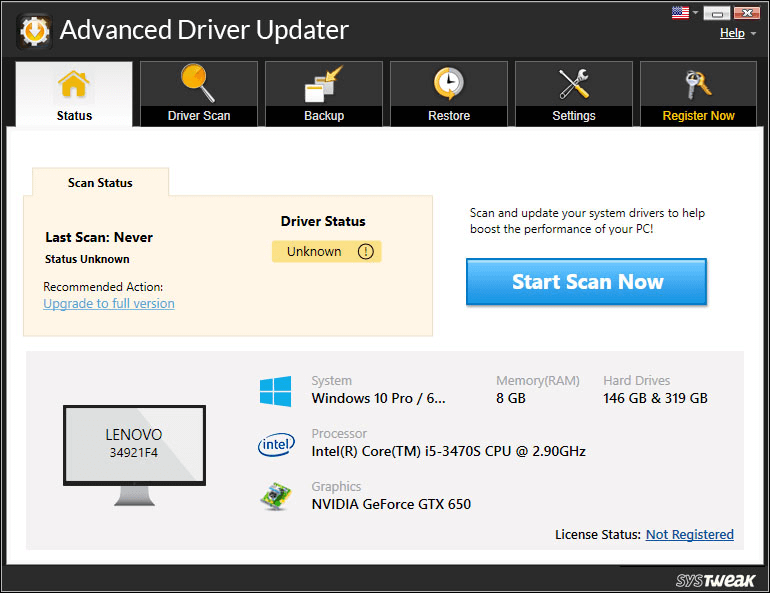
1. Download, install and run Advanced Driver Updater

2. Click on the Start Scan Now button which is when Advanced Driver Updater will scan your computer for outdated or corrupted drivers and prompt you if there are updates available
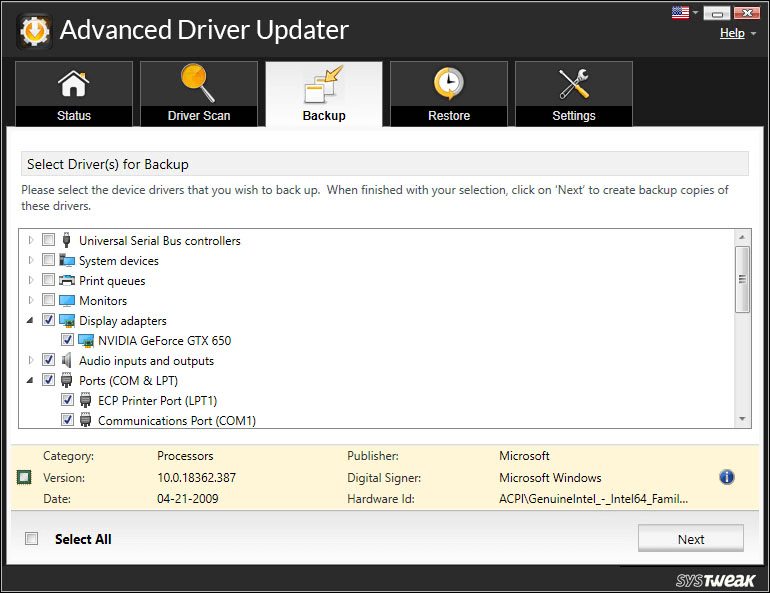
3. We’d highly recommend that you create a backup of drivers before clicking on the Update Driver. This will prove to be helpful if anything goes wrong after the driver is updated and you can roll it back to a previous version
4. To update a driver, click on the Update Driver option next to the name of the driver
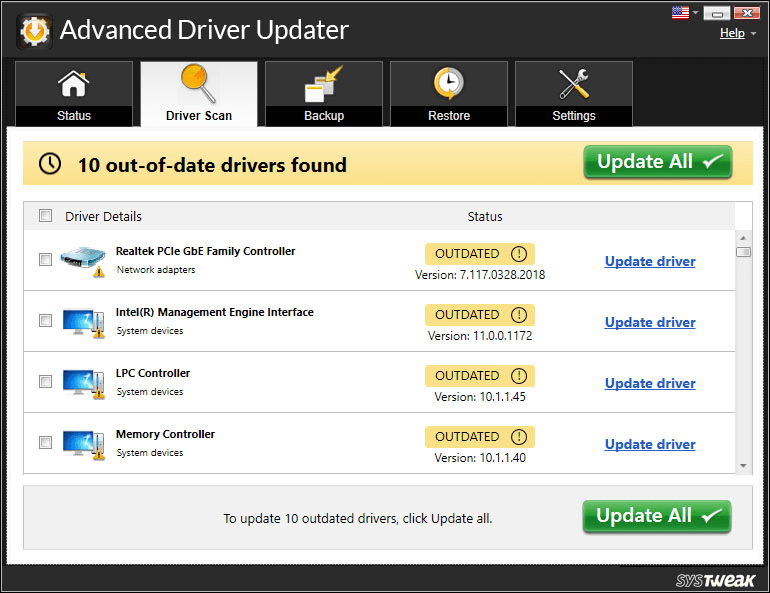
5. Wait for the update to take place
Are There Any Repercussions If You Enable Core Isolation In Windows 11?
When enabled the Core isolation might cause issues with virtual machines (e.g. Virtualbox VMWare) or certain apps. This would happen because Memory integrity takes the help of your system’s virtualization hardware. Apart from that, it is more or less a boon that keeps your operating system and its crucial processes prevented from even the most advanced malicious threats.


Leave a Reply