
How many times the latest update hasn’t worked out for you? Did things go haywire with the current update for the hardware device & you just want things to go back they were before? Either the update didn’t solve the problem your device was facing or actually it initiated a new problem that wasn’t there before. Is there a way to roll back the latest updated drivers?
Though there are denials that many users don’t want to go back, they don’t need anything that can haywire things on PC/laptop. & if you look at the stats, many times users do want to go back to the way things were with the system (that means, using the previous driver update). Having said that, updating drivers is an essential part of the system to keep it functioning smoothly. But what if the latest update made things worse for your system?
Also Read: Best Free Driver Updater Software For Windows
Windows 10 Roll Back Driver Feature
When the latest driver update plays with you & switches the whole experience from smooth running to an annoying and long-running one, opt for the Roll Back Driver feature. Most of the time, Roll Back Driver is being used to bring back the previous version of the driver you were using before as it was less tweaky for the system. Since Roll Back Driver is one of the best ways to get your driver’s previous version back, it’s essential to find out the ways to use this helpful function in Windows 10 PC. Let’s start the process of using the Roll Back Driver feature on your Windows 10 PC in order to get the last updated version (before current one) without any hassle:
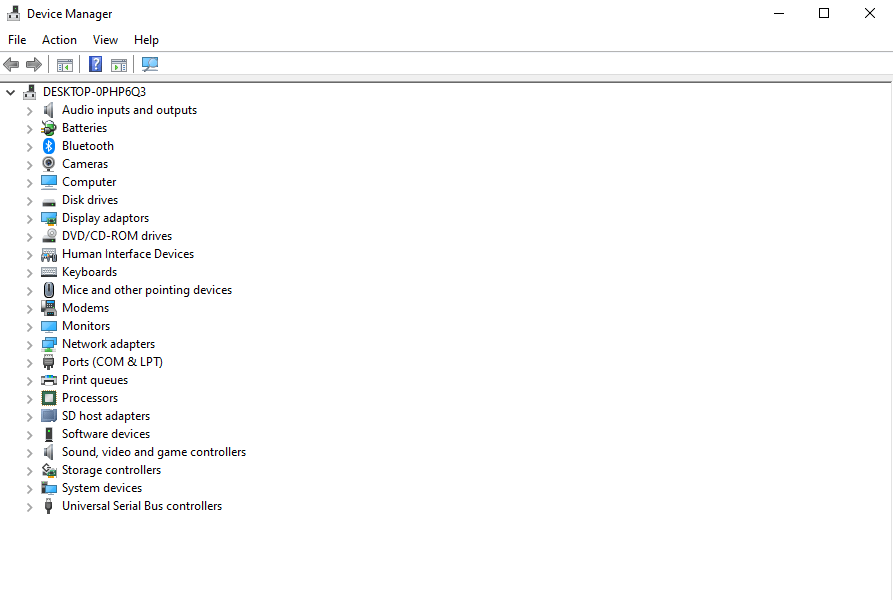
- The very first step in order to use Roll Back Driver is, launching the Device Manager on your system (either visit Control Panel to open Device Manager or simply use the Windows command & type in, Device Manager)

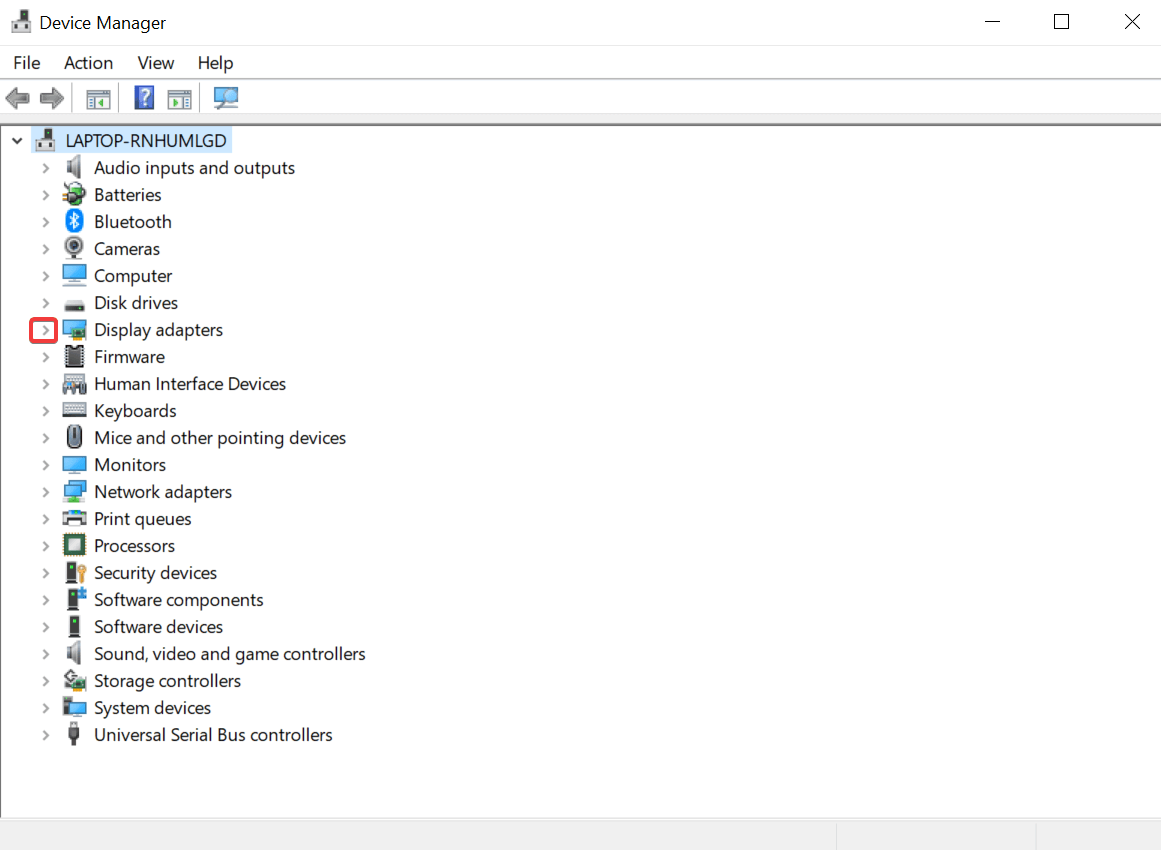
- Once launched, you need to look for the particular device that you wish to roll back the driver for (from the list of already installed drivers on your device).
- After narrowing down the particular driver in Device Manager, click on the Arrow sign (to the left side of the driver list)
- Once tapped, open up the driver listing under the specific driver & right click on the same.
- Out of the options you will get, choose Properties & follow the process by tapping on Driver tab (out of the 5 tabs you see in front of you)
- Here, when you go through the new pop-up prompt, you will see the feature, Roll Back Driver (if the device fails after updating the driver, roll back to the previously installed driver).
- Once you have found the Roll Back Driver feature, tap on the button that can bring back the previous driver version.
- After tapping on the feature, an auto prompt will appear asking, “Are you sure you would like to roll back to the previously installed driver software?” If you are sure to do so, please tap on YES. (Additionally, the Roll Back Driver feature can ask you to provide the reason to roll back from the list).
- Once you have tapped on YES & completed the roll-back-the-driver process, the Roll Back Driver will become disabled. (this is how you will know that the previous driver version has been restored).
- After the successful driver restoration, the auto pop-up will display the confirmation dialogue box as “Your hardware settings have changed. You must restart your computer for these changes to take effect. Do you want to restart your computer now?“
(Sometimes, you might not see the above message on your display so either close the Control Panel window or simply press Windows Key + D to reach the desktop).
- Following your instructions, the system will restart & within no time, you will be using the previous version of driver on your system (that was working smoothly for you).
Important Note: The Roll Back Driver on Windows 10 is extremely helpful to get the previous installed version back. Having said that, the feature works for every driver apart from the ones that are not managed by Device Manager.
Additionally, you can roll back only the last installed version of the driver that’s giving you a hard time. Because Windows only keeps one copy of the drivers installed on the system as it cannot keep archives of all the versions that’ve been installed from the initial stage.
So before using the Roll Back Driver feature, keep the above points in mind so that you won’t get lost in the way.
Wrapping Up
There isn’t anything wrong to go back to the driver version that was working best for you (compared to the currently installed version). With updates, comes bug fixes & improvements, however, a few times, they don’t work out best for you. That’s fine!! Because that is why Microsoft gives you the Roll Back Driver feature to bring back the last installed version back. All you need to do is, open the Device Manager via Control Panel & start rolling back the drivers that aren’t in favor of your system.
Next Read
How and Why to Completely Uninstall/ Remove Drivers in Windows 10
How to Reinstall Audio Drivers in Windows 10


Gajendra singh
Thanks for sharing this guide. Was looking for it