In this world of technology, everybody is depending on gadgets to learn or earn. Kids these days are using computers on a routine basis and parents are more concerned about their safety and browsing habits. We being adults and mature may make a lot of mistakes while computing then how can we stay assured that our kids will not make mistakes over the net.
Microsoft has come up with solutions to such concerns and created Microsoft Family Accounts where you can add or remove child members for Microsoft and keep a close eye on their daily activities. Here in this article, you will explore more benefits of Microsoft Family Account and tips on how you can set up and manage such accounts.
What is Microsoft Family Account?
A Microsoft Family Account allows users to stay connected and keep children safe while using a child account to browse the internet on Windows, Android or other devices with this account.
This is an inbuilt account that will give you access to your child’s daily activity, set up parental control, allow or deny software installation access, receive daily reports of your child’s activity and keep an eye on your child’s activity in your absence.
You can set up screen time access, manage privacy settings for all user accounts setup purchasing and spending limits and choose which websites they can browse or what they are allowed to see on the computer. It filters the content as per your settings and suggests what is appropriate for them.
Setup a Microsoft Family Account
Setting up a Microsoft Family Account is easy! If you already have a Microsoft you can use it to create a Microsoft Family Account or you can create a new one starting from scratch.
Step 1. Open any browser on your computer and go to family.microsoft.com.
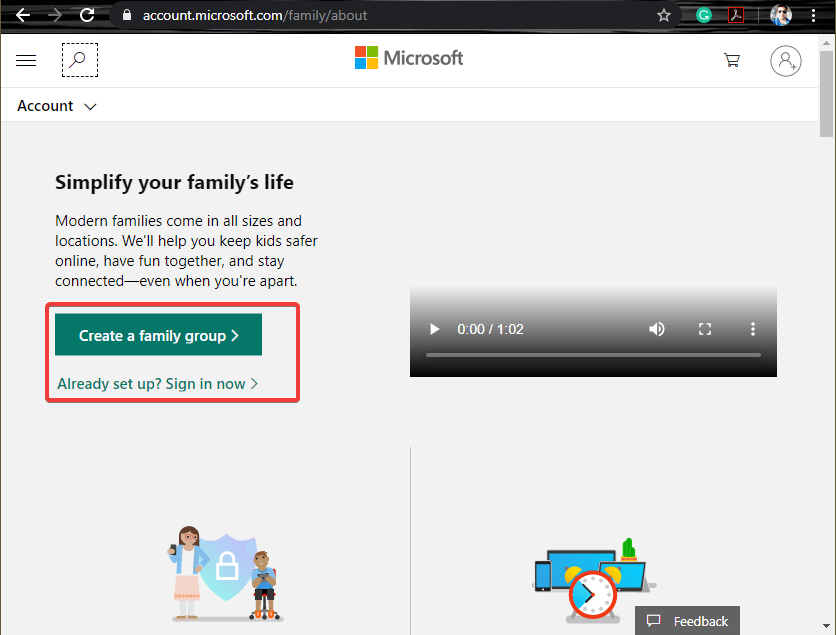
Step 2. On the next screen, you will get an option to either ‘Create a Family Group’ or login to your family account if you already have one.
Step 3. Once you click on ‘Create a Family Group’, it will ask you to either ‘Sign In’ with a Microsoft Account or if you don’t have a Microsoft Account, you can click on ‘Create One’ link.
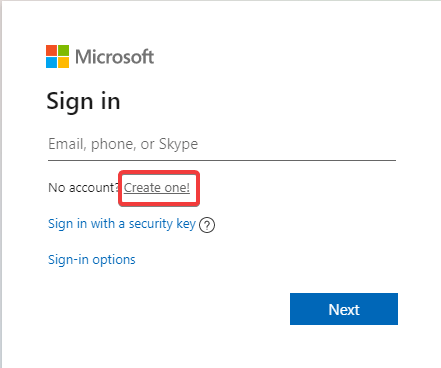
Step 4. Once you click on ‘Create One’, it will ask you to choose an Email address. It can be followed by outlook.com or hotmail.com. For example, [email protected]. You can also use a Phone Number to create a new account.
Step 5. It will ask you to set up a strong password for the account. A strong password comprises upper-case letters, lower-case letters, special symbols and numbers. (Passwords must have at least 8 characters).
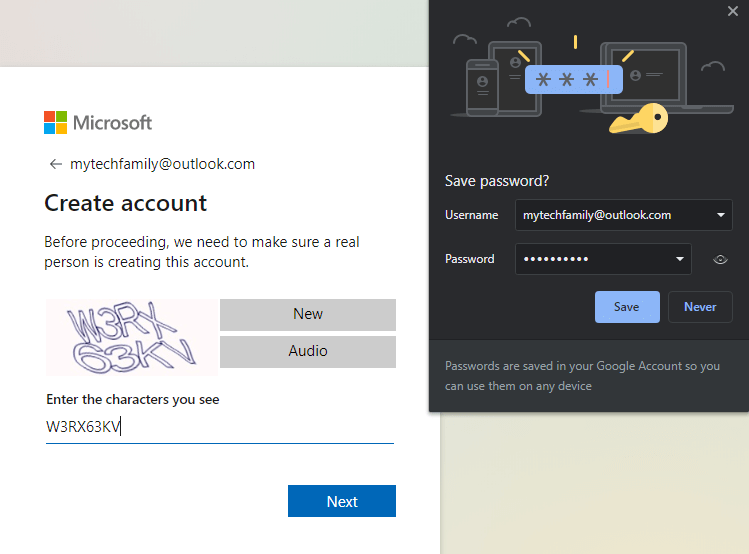
Step 6. Once it will accept the password, it will show you a CAPTCHA to confirm submission. The browser will also offer you to save the ID and password. You can save it if it’s a trusted machine.
Step 7. On the next screen, it will ask you to enter credentials like your first and last name.
Step 8. On the next screen, it will confirm if you are a ‘Member’ or an ‘Organizer’. (Organizers can change kids’ settings and keep an eye on their online activity and location to help them enjoy a safer online experience. All family members can take advantage of shared digital purchases, like Microsoft 365 Family.) It is advisable to first create an Organizer account and then create required Member accounts so that you can add them under your master account.
Step 9. Once you enter the email created and choose the account as ‘Organizer’, it will finish the process and offer to add a child account.
Add a Child Member Account
Step 1. Open any browser on your computer and go to family.microsoft.com.
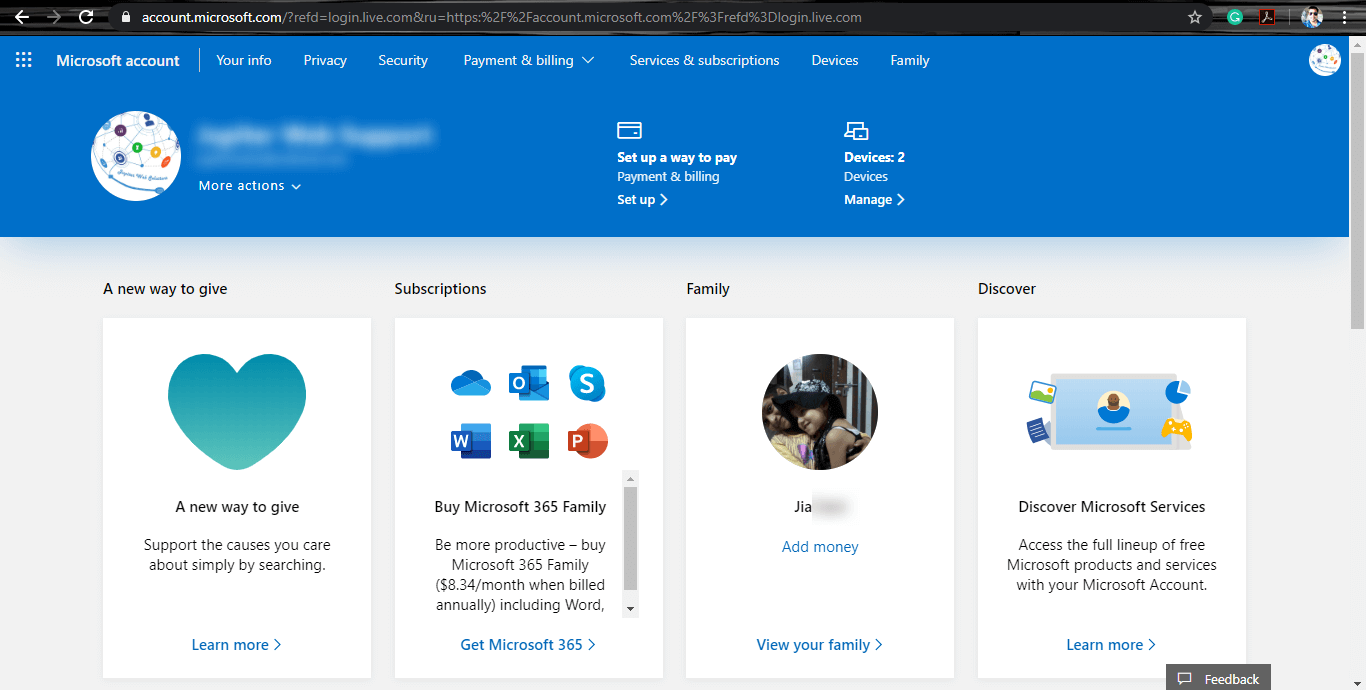
Step 2. On the next screen, you will get the option to either ‘Create a Family Group’ or login to your family account if you already have one. Login to your account and click on the ‘Family’ link on the top of the page to reach the dashboard.
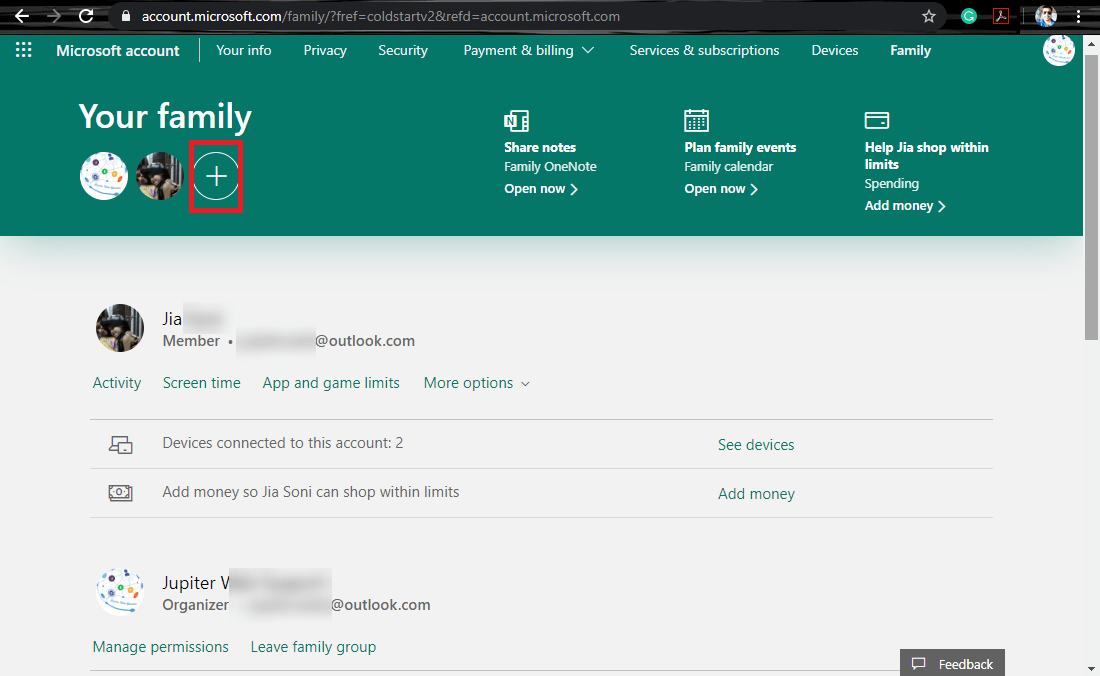
Step 3. Once you reach the dashboard, it will show you current members and a Plus sign (+) to add a new member.
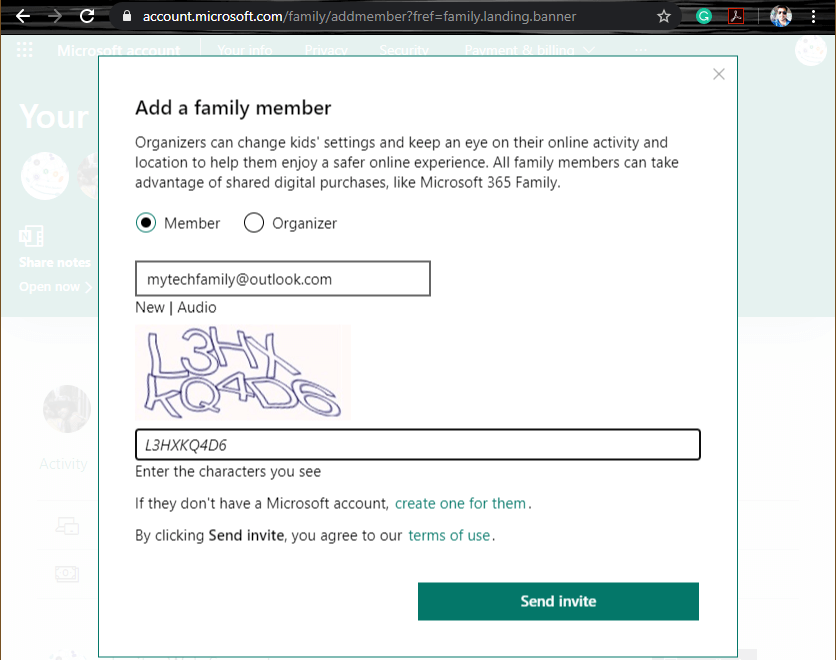
Step 4. In the next window, you need to select ‘Member’ and enter the email address of the member account. Fill in the CAPTCHA and click on the ‘Send Invite’ button.
Step 5. A notification will be sent to the member account to join the family.
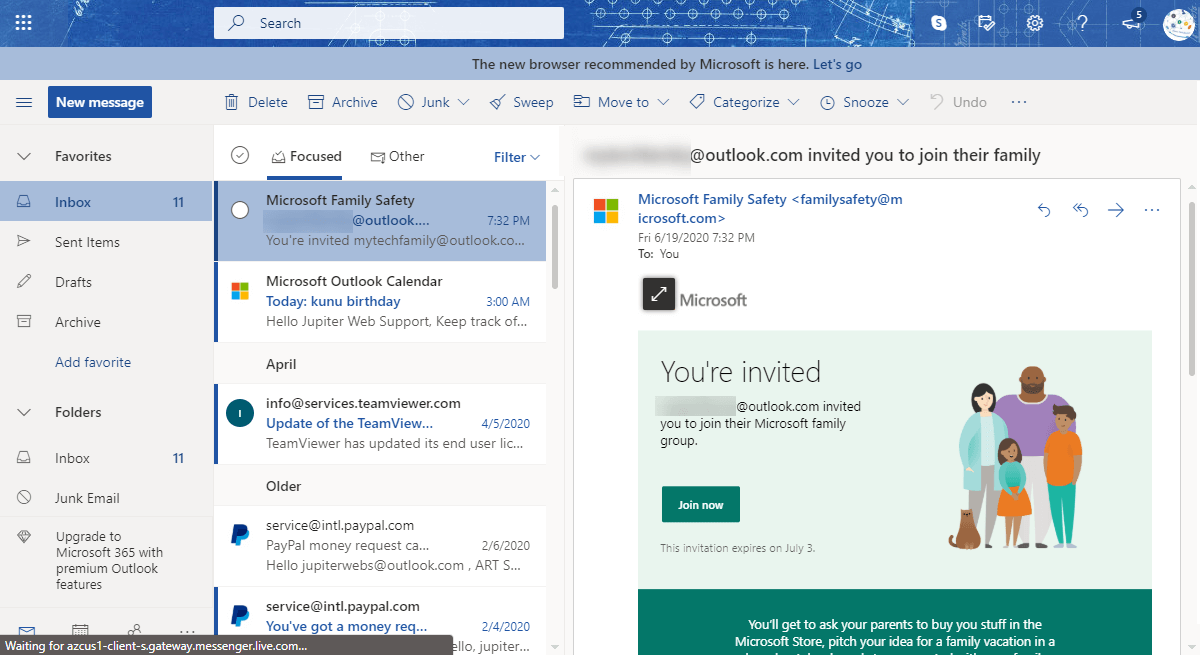
Step 6. Open a new browser page and log in using the member account and reach the inbox.
Step 7. Click on the email invitation and then click on the ‘Join Now’ button in the mail body.

Step 8. Another page will open giving you the option to ‘Join the Family’. Click on the button and you are all done.
You can add multiple child accounts under a parent account and keep a close eye on all the account’s activities. You can also regulate parental control and set up restrictions, add devices, set up payments and billing, manage Cloud storage and other security settings. For more help on Microsoft Family Group, you may follow this link.
Summing Up
Microsoft Family Group is one of the most secure ways of computing and you can contribute to the safety of your child’s computing experience. Microsoft Family Account allows you to add or remove Child Members for Microsoft. It gives you the power to set the parental control, privacy settings, allow or deny software installation access, receive daily reports of your child’s activity and keep an eye on your child’s activity in your absence. Stay safe and keep it secured!
Next Read:
How To Use Microsoft New Office App On Android And iOS
Family Safety App From Microsoft for Android & iOS


Leave a Reply