Does your Windows 11 PC randomly restart? Well! You have stumbled upon the right post because here we are going to talk about some of the best ways you can completely resolve the issue. But before we delve into the solutions, here’s a little something that might invoke your interest –
There is no denying the fact that Windows 11 is gaining popularity amongst users but that doesn’t hide the fact that it has become more aggressive with rolling out updates now and then. And, at what cost? Many users have reported that their PC randomly restarts without their consent. It further causes a lot of distraction in day-to-day tasks. You wouldn’t like it if your Windows 11 keeps restarting randomly especially when you are trying to focus on an important office task, right?
This kind of reminds us of Something that has happened in the past –
A few years back, Microsoft had to pay a California travel agent, an amount of US$ 10,000. What for? The user claimed that after repeatedly ignoring unauthorized upgrades from Windows 7 to Windows 10, her system became almost unusable. She was forced to restore her files and faced frequent crashes. The machine didn’t recognize her external hard drive and for a simple log-on and she had to go through a multi-step workaround. Something that took a heavy toll on her business. Worst! Microsoft support technicians couldn’t resolve the issue for her and hence Microsoft ended up paying US$ 10000 to the user.
Is Microsoft walking on the same path with its upgrades and restarts? Is Microsoft being indiscreet with the way it is aggressively rolling out updates? Do let us know in the comments section below.
Presuming you want a solution to random PC restarts, let’s get straight into it, shall we?
Ways To Fix Windows 11 Restarting Randomly
Disable Fast Startup
While the Fast startup feature is meant to reduce the boot time, it is reportedly creating compatibility issues for Windows 11 users and hence, Windows 11 users are facing random restarts. One way is to disable the feature.
1. In the Windows search bar start by typing Control
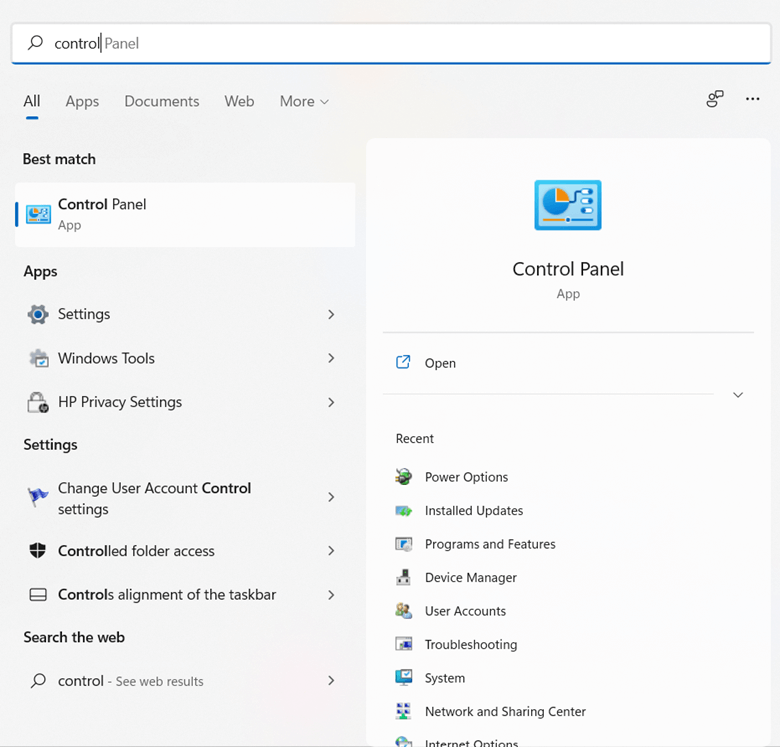
2. From the right-hand side, click on Open which will open the Control Panel
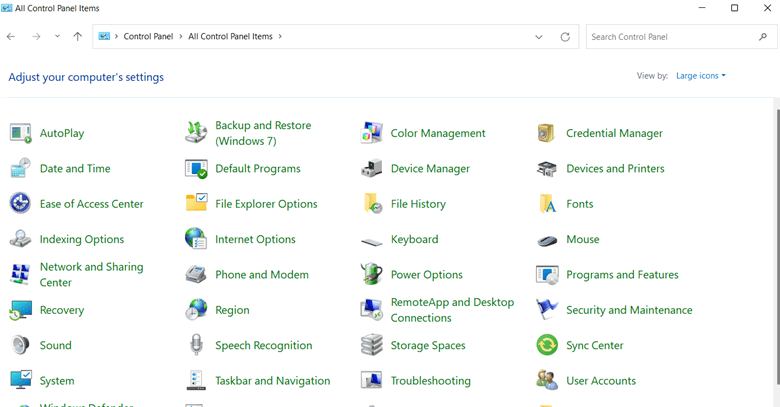
3. Click on View by dropdown that you can see just under the Search and select Large icons
4. Now, click on Power Options
5. From the left-hand side, click on Choose what the power button does
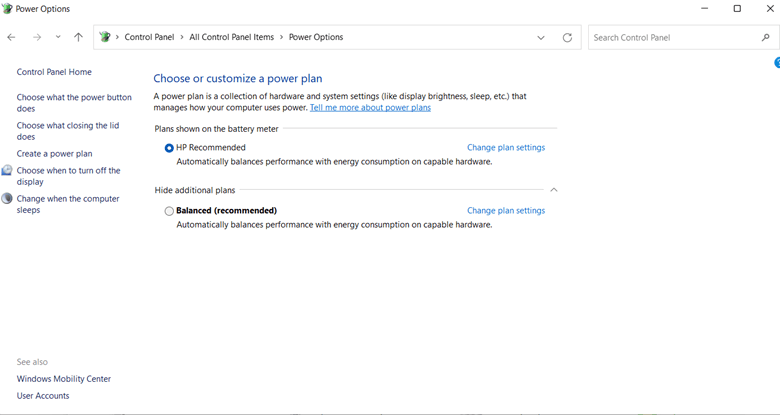
6. Click on Change settings that are currently unavailable. Here you need to note that to do this you should be the administrator of your computer
7. Under Shutdown settings, uncheck the Turn on fast startup (recommended) option

Once you have done that, track if your Windows 11 laptop or PC is still restarting or not.
Check if Your System Is Overheating
Consider this example- You have installed Windows 11 on an older PC with older hardware and on top of that, you are playing a graphic intensive game or running an application that has a repute of investing your computer’s resources. Now, as a result of this, your CPU temperature has gone beyond the 70-75 degree mark.
It could be that your Windows 11 computer is just trying to shield a hardware component from overheating because of which it might have forced your PC to restart. You can refer to this post and look at some of the best ways you can overcome CPU overheating issues. Don’t want to take the manual route? You can instead employ some of the best overclocking software for CPU, GPU, and RAM.
Run SFC and CHKDSK Scan
Corrupted system files or hard drives per se might account for random PC restarts on your Windows 11. To resolve such issues, you can run SFC and CHKDSK command respectively using your command prompt –
1. In the Windows search bar, type Command

2. Select Run as administrator from the right-hand side
3. When the Command Prompt window opens, type sfc /scannow and press Enter
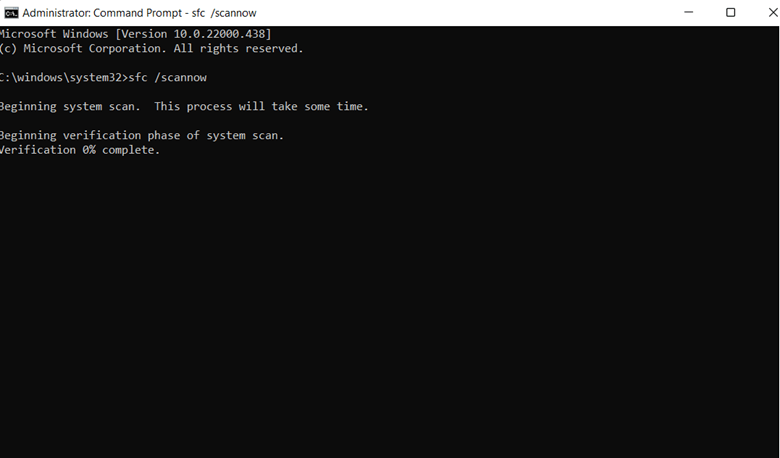
The tool will now scan your computer for any corruption and try to fix it.
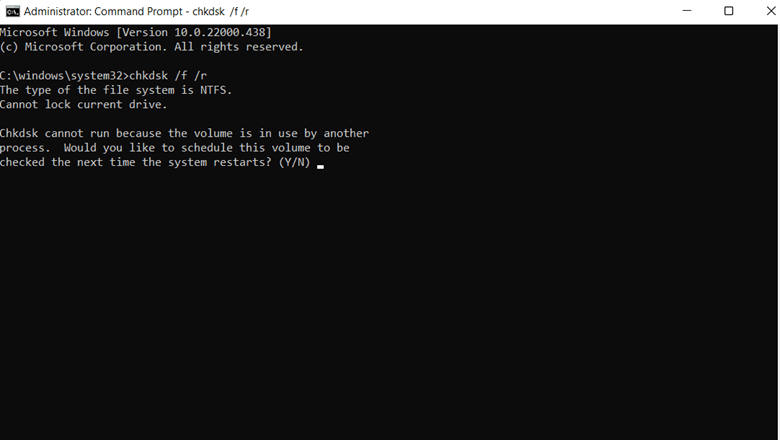
Next, while keeping the Command Prompt window opened, type chkdsk /f /r and press Enter, and then press Y to let PC conduct a check as soon as your system restarts.
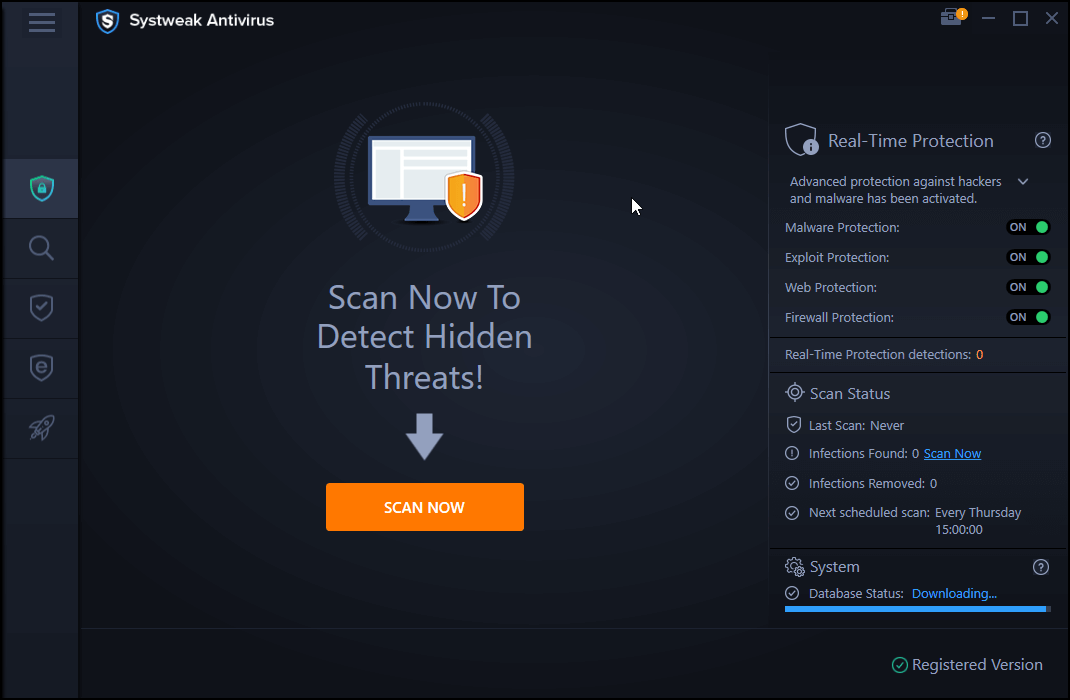
Scan for Malware
An impending malware can be a probable reason why your Windows 11 PC is restarting randomly. And, trust us it won’t hurt, scanning your computer for such malicious impending dangers. Antivirus can help track and remove any such vicious threats before they make their way into your computer and then permanently damage all the data that there is inside. You could either use Windows Defender or choose from some of the best Antivirus software for Windows.
Uninstall Any Recently Installed Apps
As we mentioned above, it is quite likely that your current Windows 11 hardware is not cut for high-end, resource-intensive applications. So, one of the ways you can prevent your Windows 11 computer from randomly restarting is to uninstall any recent applications. Any by uninstalling we mean that the application should be uninstalled completely and after uninstallation, there shouldn’t be any remnants. To uninstall an application –
1. Head to the Control Panel by following the steps we have already mentioned above
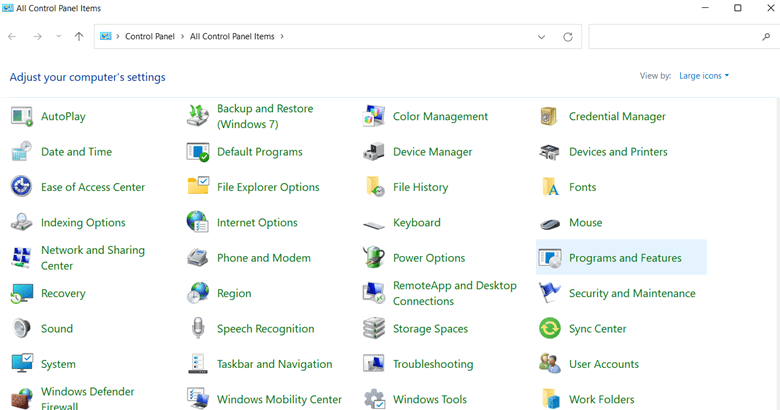
2. Click on Programs and Features
3. From the list, select the program that you want to uninstall
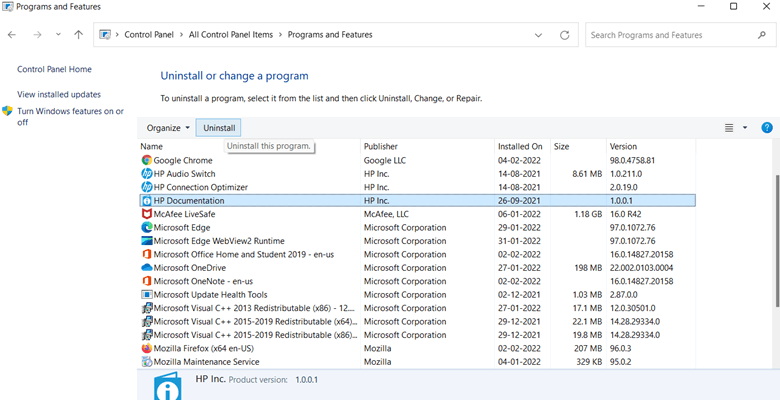
4. From the top click on the Uninstall option
To further ensure that the uninstalled software leaves behind no remains, you can take the help of third-party software to uninstall programs. One such software is Advanced PC Cleanup. It has a dedicated module for uninstalling apps.
Here’s how you can use Advanced PC Cleanup To Uninstall Apps
1. Download, run and install Advanced PC Cleanup

2. From the left-hand pane head to the Manager section and then click on Uninstall Apps
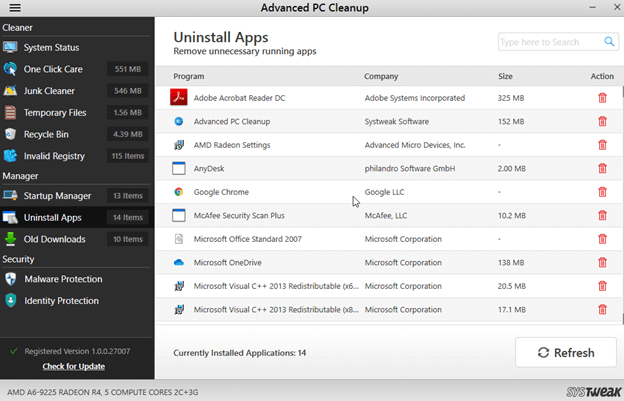
3. From the right-hand side click on the bin icon next to the application
To know more about Advanced PC Cleanup, you can check out its complete review. After the application has been uninstalled in totality, there are high chances that your Windows 11 PC will stop restarting randomly.
Disable Automatic Restart
In case your PC randomly restarts, check if you have created an auto-restart task. If you have, your Windows 11 PC will restart at the scheduled time. Here are the steps for the same –
1. Press Windows + I and open Settings
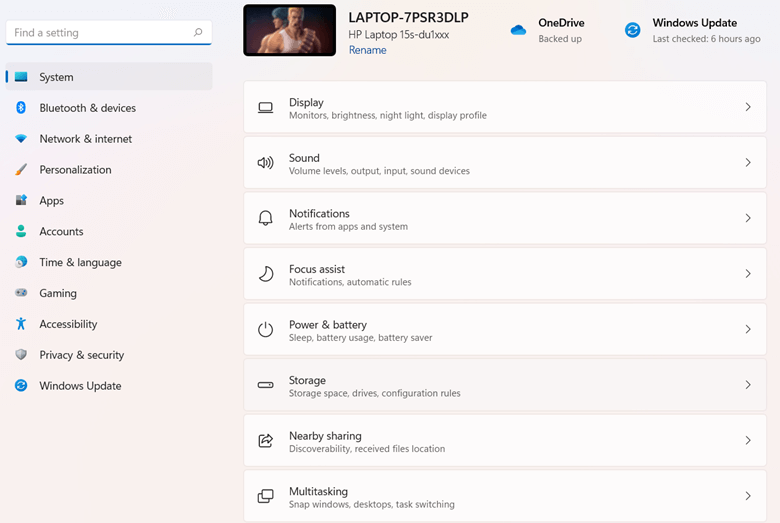
2. Click on System
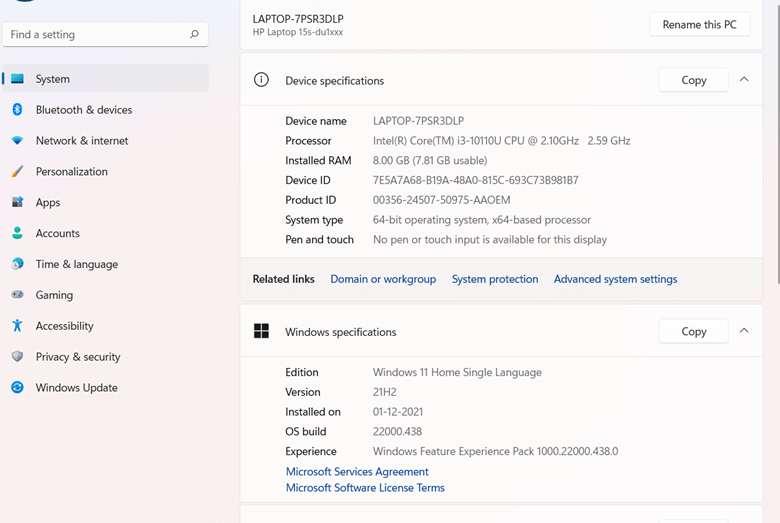
3. On the right-hand side scroll down and click on About
4. Next, click on the hyperlinked Advanced system settings
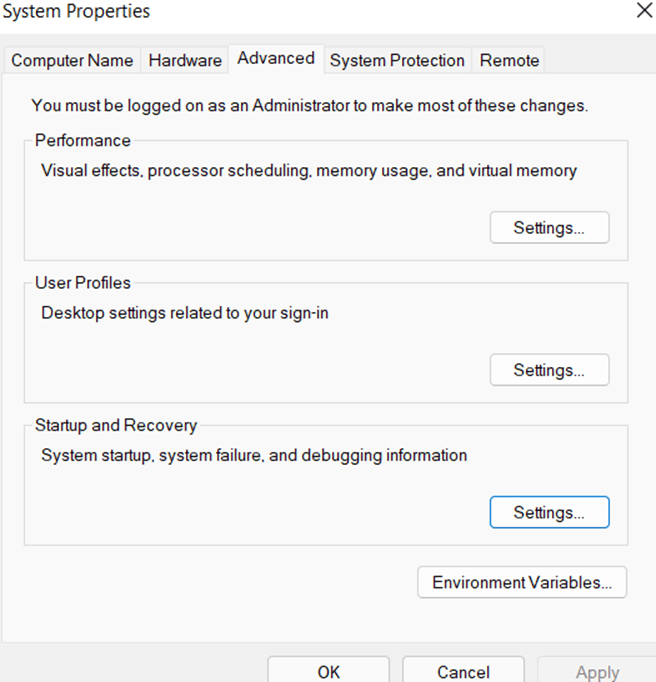
5. When the System Properties window opens click on the Advanced tab and then from Startup and Recovery section click on Settings
6. Under System failure, uncheck the checkbox that says Automatically restart
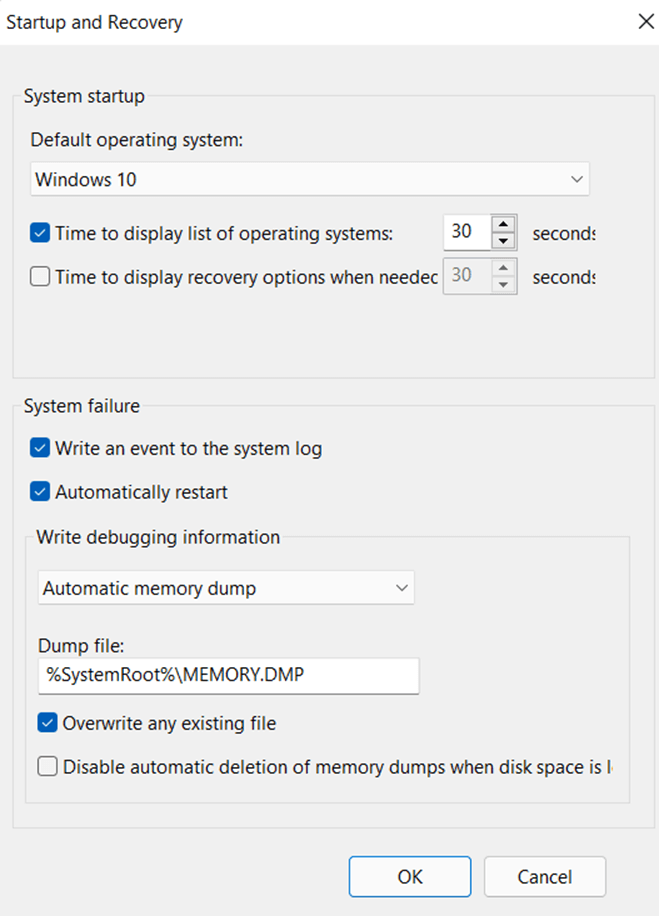
7. Click on OK
8. Restart your computer from the changes to the surface
Now check if your Windows 11 computer is still restarting randomly or not. If it does, then here are some more ways to deal with the issue.
Update Your Graphics Card Driver
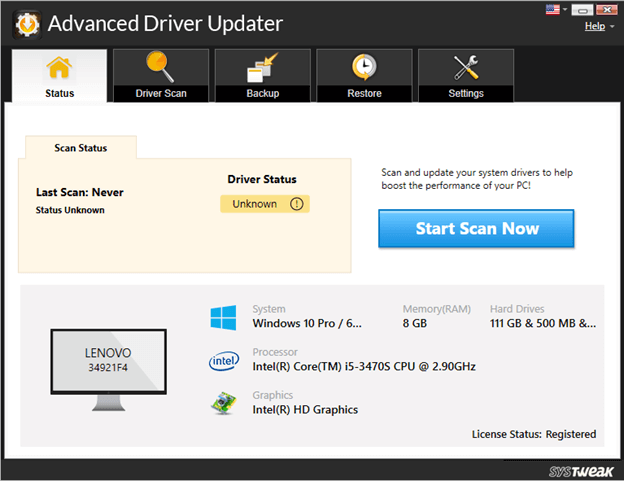
Whether it is a corrupted or outdated graphic card driver, errors are bound to occur, “PC randomly restarting” being one of them. This issue may be even more evident if you are running an application or game that’s graphics-intensive or where there is heavy video rendering. While we have already covered some of the best ways to quickly update drivers in Windows 11, you can go ahead and use a driver updater tool that’ll minimize your risk of erroneously stumbling upon corrupt drivers again. Advanced Driver Updater, for instance, is one of the best and most trusted driver updating software. You can read this review to find out what it is capable of. To give you a sneak peek, here is how you can use Advanced Driver Updater –
1. Download, run and install Advanced Driver Updater
2. Click on the Start Scan Now button
3. From the list of drivers look for your graphic card driver
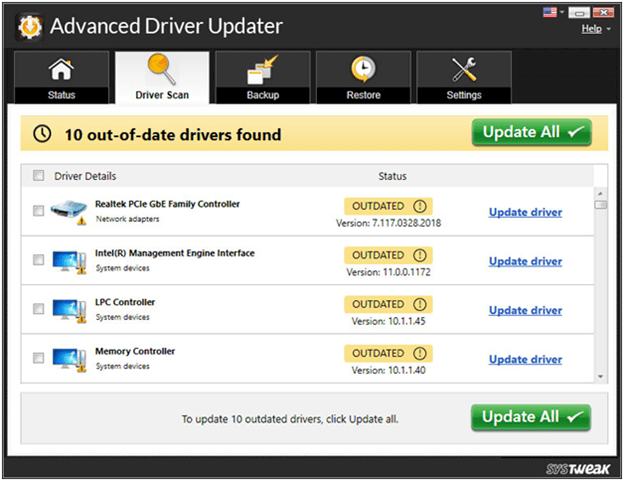
4. Click on the checkbox next to the outdated driver’s name and then click on the Update driver button next to the driver name
5. Even better – you can perform a driver backup of your existing graphics card driver and in case the update is not as it should have been, you can roll back the update, right from the interface i hassle-freely.
Uninstall A Recent Update
While Windows updates are most useful from the standpoint of features and security, there have been incidents in the past where an update brought about incompatibility issues and glitches.
So, if you have started to experience random restarts on your Windows 11 PC after you had updated it to a specific version, you can uninstall that update provided you know exactly what update it was and if uninstalling the update is within your reach. You can always check the update history to know the recent update that you have fetched.
For uninstalling the update, follow the steps mentioned below –
1. Open Settings by pressing Windows + I key combination
2. Click on Windows Update from the left-hand side

3. Click on Update history
4. Scroll down and under Related settings click on Uninstall updates

Alternatively, you can even head to the Control Panel using the steps we have mentioned above and then navigate to the path mentioned in the screenshot below –

Modify Registry
Talking of Windows updates, you can make certain tweaks in the Windows 11 registry to fix random PC restarts caused by Windows updates. But, here is a caveat, first take a backup of your existing registry and data because one small error can make your system inoperable and data inaccessible. Now, let’s get down to the steps –
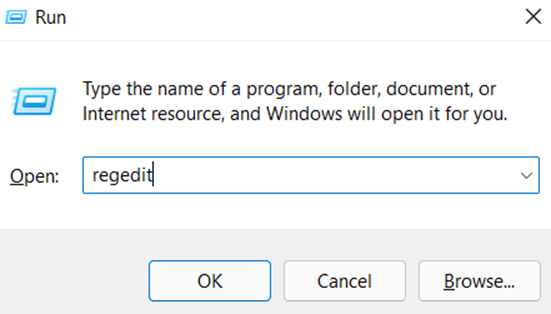
1. Open the Run dialog box by pressing the Windows + R key combination
2. When the dialog box pops up, type regedit and press enter
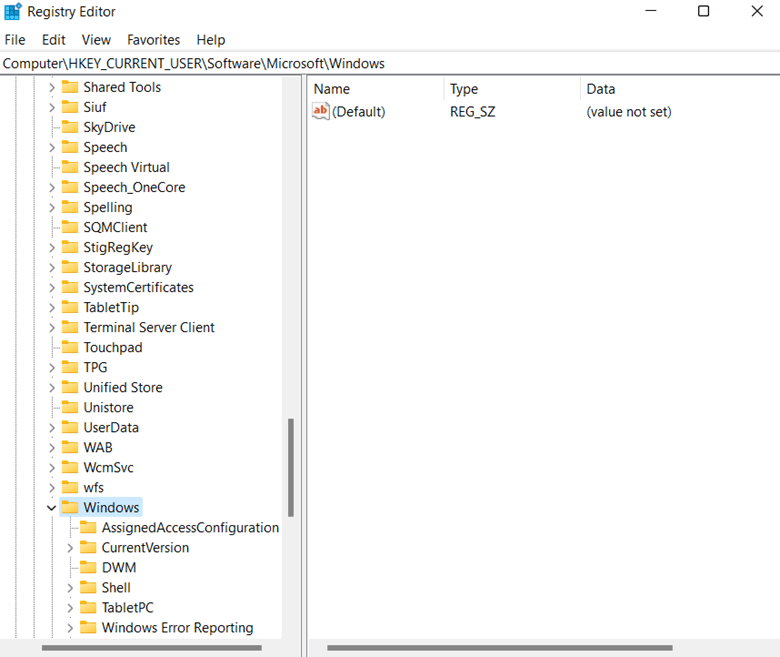
3. Grant permission when UAC occurs and in the Registry Editor navigate to the following path –
Computer\HKEY_LOCAL_MACHINE\SOFTWARE\Microsoft\Windows
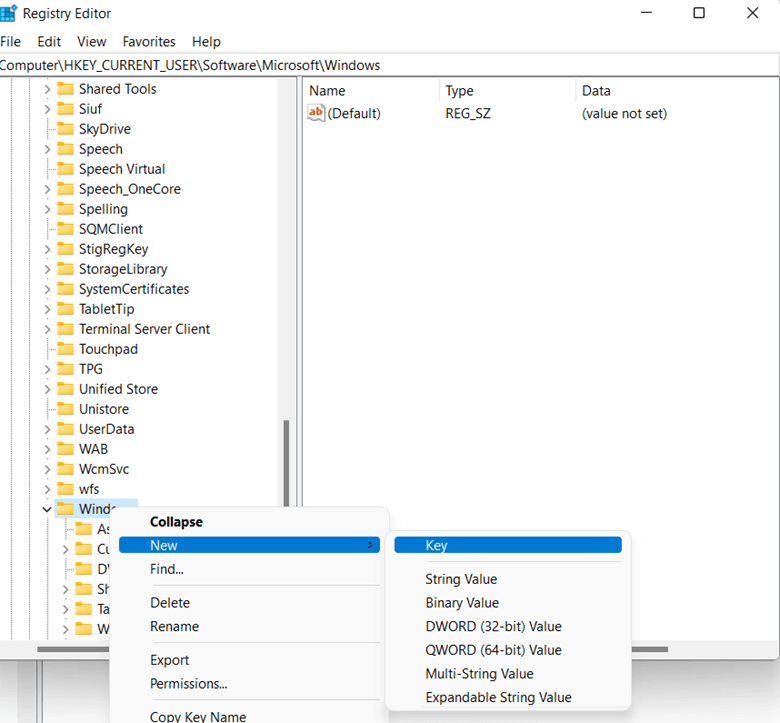
4. Once on the Windows folder, right-click on it, click on New and then further click on Key and name it as Windows Update
5. Again right-click on this newly created key, hover over New and select Key and name it as AU
6. Click on it and shift focus to the right-hand side. Here right-click on space and from the context menu, select DWORD (32-bit Value)
7. Give it the name NoAutoRebootWithLoggedOnUserq
8. Right-click on it, select Modify and enter 1 in the Value data field. Press OK
Finally, restart your computer and hopefully, you would have resolved the issue.
Did We Resolve Your Issue
We hope we have been able to deliver methods with the help of which you have been able to stop your PC from randomly restarting. And, we’d be even more grateful if you could tell us in the comments which of the above methods helped you fix the issue. This way you and I can help more people who are facing similar issues.


Leave a Reply