Be it 64 GB or 128 GB, your device won’t take much time to get filled up & seems so less compared to the external drives. And shockingly, most of the memory percentage is being covered by the Photos category & many of them are, Live photos. This is when you start thinking about creating space by transferring them to some other place.

Yeah!! Transferring anywhere that can be easily accessed & you can retrieve the photos whenever you want. One of those options can be using iCloud library that’s been dedicated to Photos only. Also, you can transfer the photos to external storage devices as well; thanks to the diversity tech has brought in the name of convenience.
Also Read: How to Password Protect Photos on iPhone
Transfer Photos From iPhone to External Device
Obviously it’s damn annoying to know that you are constantly getting the message about being unable to click a photo because of space issues on the iPhone. & that’s when you need the Transferring photos from your iPhone to external devices isn’t as complicated as it sounds. The only thing we would need to remember is using the right method to complete the transfer. So let’s try & implement the simplest & never-failing-process to transfer your photos from iPhone to external device:
- Let’s start with connecting your hard drive to the Mac (you need to be assured that the connected device is showing up in the Finder’s sidebar).
- The next step would be to connect your iPhone/iPad (whichever device you are using) to your Mac with the help of the lightning cable you used.
- Now you need to launch Image Capture using Command + Space command (considered as one of the most important features on Mac, yet very few people know about it).
- Once the feature has been launched successfully, you will find your iOS device on the left side of the screen.
- Click on your device & this step will start displaying all the photos that are in your iPhone, on the Image Capture screen.
- Now comes your efforts to select the images you want to transfer to an external device (you can give your system command, Ctrl + A or individually select the pics to be transferred).
- Please know that the default settings on Image Capture will put the photos automatically in the Pictures folder. So, you will need to tap on drop down & click Others.
- Now choose the folder from the external hard drive where you want to import the selected pictures.
- Click on the Import function to finish the process & let the transfer process complete (the time will vary on the number of pictures you are trying to import).
- The above process will make sure that your photos have been imported to the external hard drive. You can now delete the pictures from your iPhone so that you can start clicking more.
Also Read: Use Photos Recovery Tool & Never Lose Your Precious Photos
Best Alternate Option to Transfer Photos from iPhone to External Device
In case you don’t want to use the underrated applications from your Mac, you can always shift to the third party or outside apps. Since there are thousands of developers, you have got solutions for almost every problem you may face.
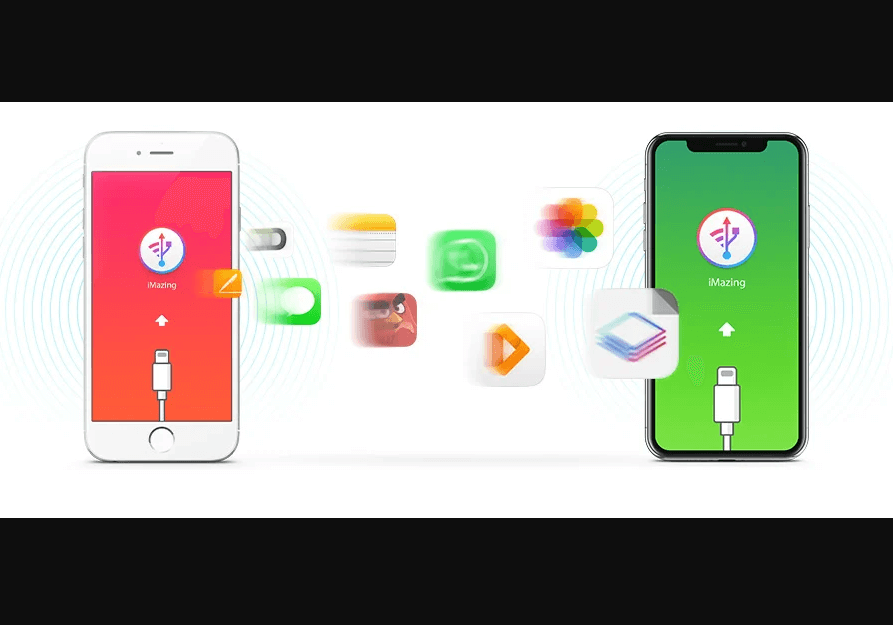
So here is the alternate solution (iMazing) you can use to transfer iOS device captured photos to the external device via Mac.

iMazing lets you transfer the pictures from your iPhone to external drives without any help from either iCloud, iTunes, or Finder (masOS Catalina). A trusted software to manage your iPhone and save the music, messages, files, and data on your device.
Wrapping Up
Transferring photos from your iPhone to the external device is not a big deal, however. There are the right tools that would require your attention. From the inbuilt tools to the third party tools, you can use the solutions that are perfect for the problem you are facing. iCloud Photos & Image Capture are the inbuilt tools that won’t require external support & that’s why they are more popular.
& you can use different tools like iMazing to keep the process going so that you won’t face issues while transferring photos.
Next Read
Best Ways To Copyright Your Photos


Swarnakshi Sharma
Didn't know about this. Thanks for sharing. Very helpful article.