Want to free up disk space after updating to Windows 11? You are not alone. One of the reasons why this shortage in storage space might have occurred could be because of some temporary files and previous installation files. While the files that we are going to talk about in this post are safe to delete, we would still like you to consider the following points –
- Ensure that the update from Windows 10 to Windows 11 has left no problems because in the event there are issues, your system will need to roll back to the original setup, and then it may require these files
- Your Windows 11 version is facing compatibility issues and you, therefore, want to revert to the previous version
How To Free Up Hard Drive Space After Updating To Windows 11?
– Get Rid of Temporary Files Via Settings
Windows 11 smartly tells you about all those temporary files that you can get rid of and free up precious disk space on Windows 11. For example, you can clean up older update files that are no longer needed or previous installation files which have been moved to windows.old folder.
1. Open Settings by pressing the Windows + I key combination
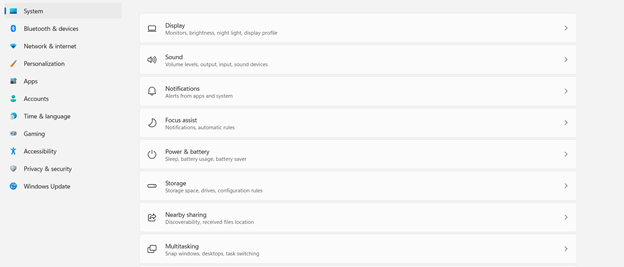
2. From the left-hand side, select System
3. From the right-hand side, select Storage
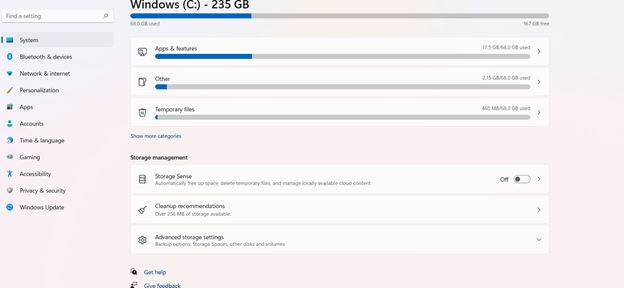
4. You will now be able to see Temporary Files
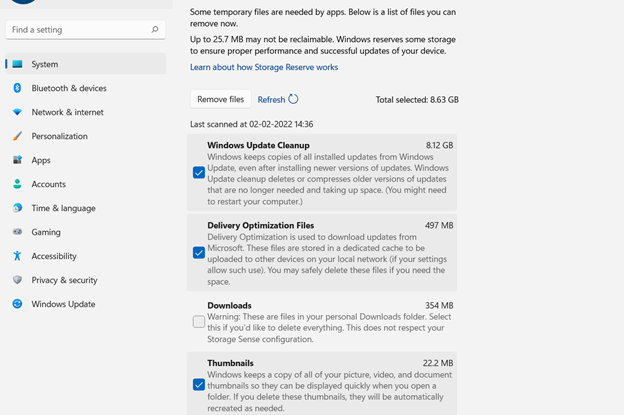
5. Clear all the items that are already selected
6. You will also be able to see the Previous Windows installation(s) if applicable. So, make sure that you even select this option
7. Click on the Remove files option
– Use A Dedicated Tool To Look At What’s Taking Up Disk Space
A large part of reclaiming disk space on Windows after updating to Windows 11 is to keep your disk space sorted.
How about we tell you that using a tool like Disk Analyzer Pro you can scan your hard disk and find exactly how much space is occupied by the various files and folders on your PC. You would probably (and almost instantly) install the tool right away because let’s face in amidst the daily chores and the hustle and bustle of ongoing tasks, you hardly have the time to catch breath leave alone spending minutes finding what files and folders are taking up space on your hard drive, isn’t it?
While we are going to give you a quick show around, you can check out a detailed overview of what Disk Analyzer Pro is capable of.
1. Download, install and run Disk Analyzer Pro. You’ll be amazed at how lightweight this application is
Click Here to Download Disk Analyzer Pro


2. Select the drive you want to scan
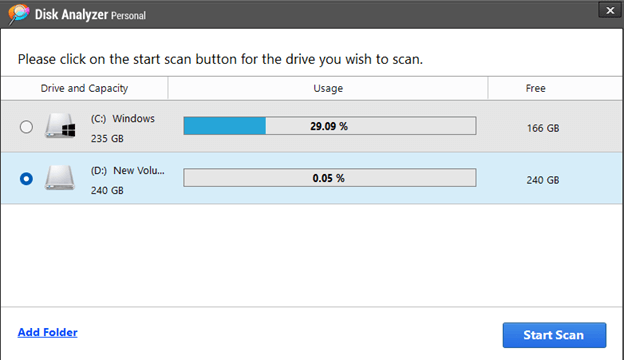
3. Click on the Start Scan button
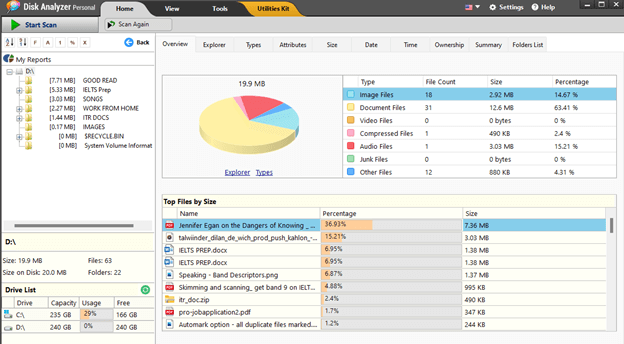
4. You can see how the tool tells us what files are taking up space on the PC and exactly how much.
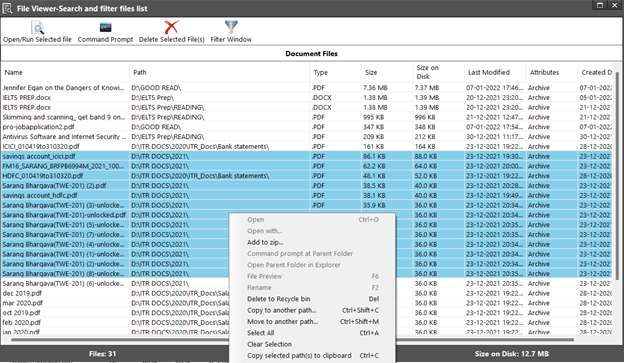
5. From the right-hand side, you can click on file type. For example, I can double-click on the Document Files, and then, the tool will list out all the documents with their type, size, and other attributes.

6. Before taking any further action, you can even apply several filters after which you will be able to zero down on the most space-hogging files
7. Now, you can select multiple files and perform any action you feel is right.
Accidentally deleted files that you shouldn’t have or lost important files after upgrading to Windows 11? Worry not! Here are ways you can recover lost files after you upgraded to Windows 11.
– Reclaim Disk Space In Windows 11 Using Disk Cleanup
Last but not the least, you can use the classic Disk Cleanup tool to free up hard drive space after you have upgraded to Windows 11. The main intent here is to get rid of all those system files which are not required. Let’s dive straight into the steps –
1. Press the Windows + R key combination to open the Run dialog box
2. When the Run dialog box opens, type cleanmgr and press Enter
3. You will now be able to see the Disk Cleanup: Drive Selection
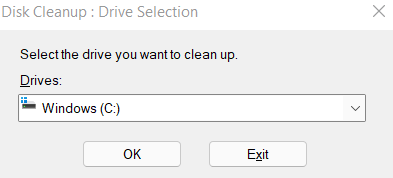
4. Select the drive you wish to clean up and press OK
5. Select items that you want to cleanup
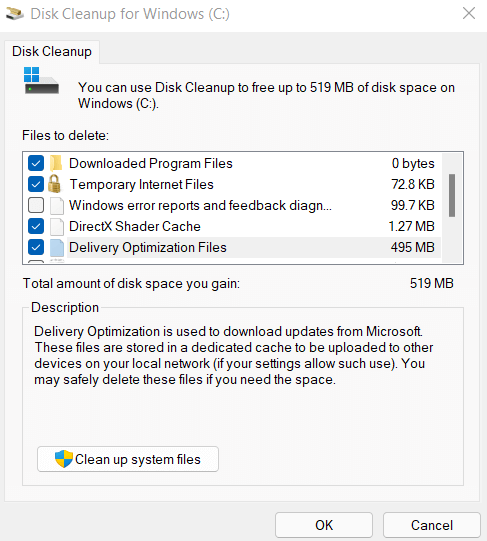
6. Press OK
Wrapping Up
No one wants to have a bloated disk space because often this doesn’t just take a toll on the storage space itself but even causes hindrance in the day-to-day functions as well. If you found the blog to be helpful, do let us know in the comments section below. For more such content, keep reading Tweak Library.


Leave a Reply