Saving files in Microsoft Office applications like Word, Excel, and PowerPoint can be described as the most important task. Most of use these applications professionally due to their ease of use and non-availability of better alternatives. One of the major issues faced is losing data we were working on due to system crashes and power surges. To avoid data loss and reattempting the work done we can either train our fingers to press CTRL and S, every few minutes to save our data or we can make a few changes in the Microsoft Office settings and let the software do it for us.
Microsoft has inculcated two features in its Office suite of applications, AutoSave & Auto Recover. Both features might sound similar but are poles apart in their functionality.
AutoSave: It assists the user to save the current Office file which is being currently worked upon automatically, every few seconds. However, to achieve this, the file must be saved on OneDrive, OneDrive for business or SharePoint. It does not support saving files on a local drive.
Auto Recover: For automatically saving the files when working on a hard drive, Microsoft has introduced another feature, Auto Recover, that can autosave your files every minute, provided you change the settings.
Steps to enable the AutoSave option in Office Word, Excel and PowerPoint
The AutoSave feature in Office is a very important feature that ensures no loss of work during any uncontrollable power issues or God forbid blue screen issues. Once activated, it automatically saves the file on which the user is working on, every few seconds without having to press and hold CTRL and S. However, Microsoft has provided this advantage only to those users who save the files on cloud storage like OneDrive, OneDrive for Business and SharePoint. For example, if you are working on a presentation then be assured that PowerPoint will autosave the file for every time. To enable this feature, follow the following steps to turn on the AutoSave option.
Check the AutoSave option
Step 1: Click on File on the top left corner and then click on Options in the blue bar.
Step 2: Click on Save from the various options on the left.
Step 3: Select the checkbox next to the first option” AutoSave OneDrive and SharePoint Online files by default on Word”.
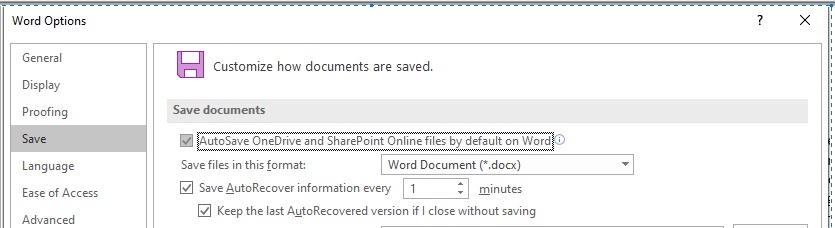
Step 4: Click on OK at the bottom of the window.
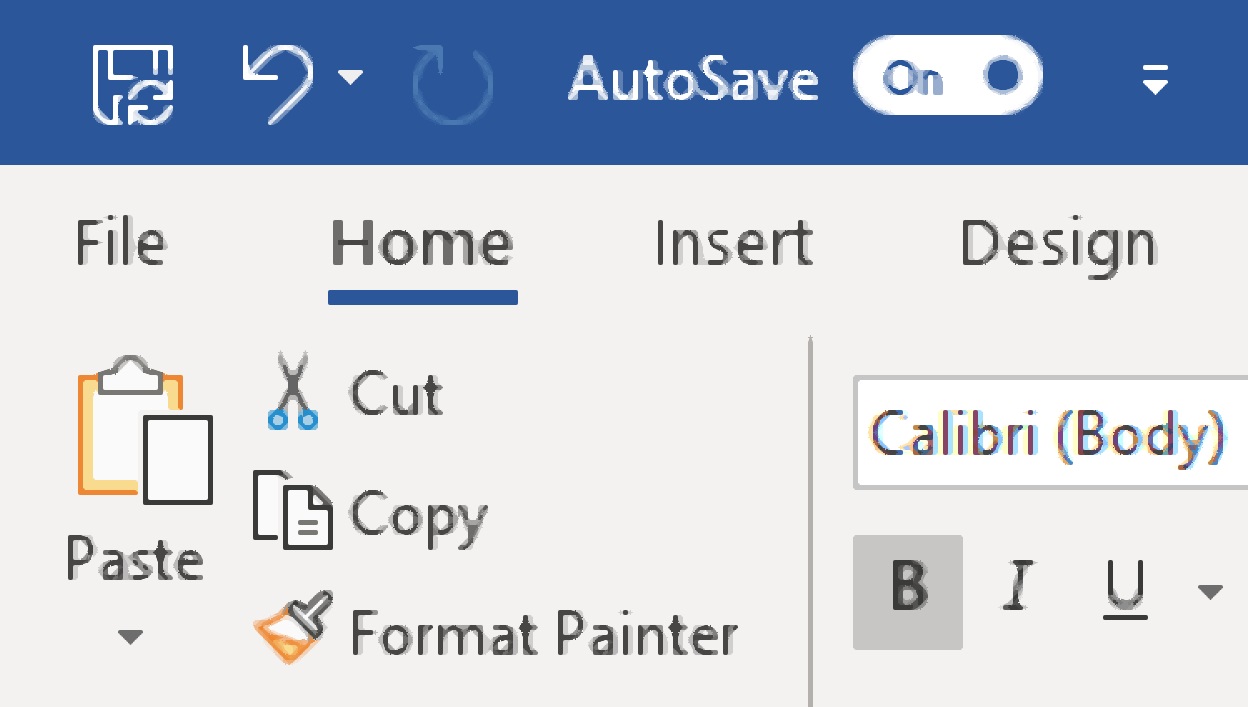
The AutoSave Option will now be turned on. You can check this on the top-left corner in any of the Office applications. This will now enable AutoSave in Excel, PowerPoint, and Word.
Issues with AutoSave option
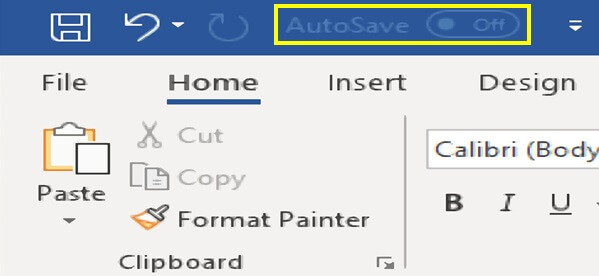
If the AutoSave is disabled in an OFF state, then you would need to check the following on your computer:
- Check if the OneDrive or SharePoint is configured with Office applications.
Try to save any file and check what happens when you try to save it on OneDrive. If the OneDrive is not configured, then the AutoSave button on the top will always remain disabled. To configure. Click on add a place option and follow the steps to sync your OneDrive with your Office applications. Click here for OneDrive.
- The computer is Offline.
If your computer is not connected to the Internet, then this option will be disabled as it will be able to connect to your OneDrive cloud storage account.
- The file format is old or unsupported. Any unsupported file format including older formats like .doc, .xls or .ppt is not supported for AutoSave. You will have to save your file in the new format like .docx, .xlsx or .pptx to enable AutoSave.
- Security Features turned on in Excel. This is for Excel files only. Excel workbooks consist of security features like shared workbooks, password encryption, restricted access and refresh data which need to be turned off for the AutoSave to function.
For more information on how to apply a password to an Excel sheet, click here.
Steps to reduce Auto Recover delay in Office Word, Excel and PowerPoint
Auto Recover feature in Office applications ensures that the Office files which are opened, get saved automatically in the background. You will not feel this process taking place as it does not give any notification while saving. This ensures that a backup is taken in unavoidable computer issues. It is similar to the AutoSave feature with two minor differences. One, it is applicable to the files that are saved on the hard drive or flash disk and secondly, it saves the file every minute as compared to AutoSave feature which does that in a few seconds.
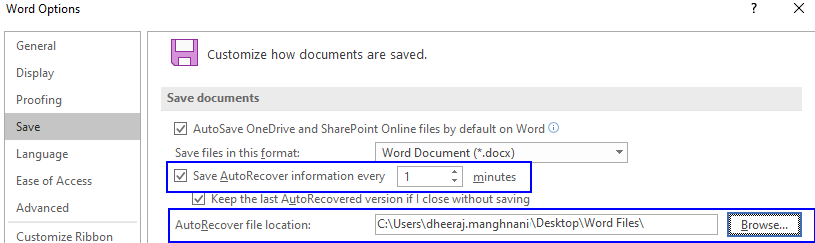
The default setting by Microsoft for Auto Recover is set at 10 minutes which means your files would be saved once every 10 minutes. I think 10 minutes is a considerably long time and reduced that time to just 1 minute. Now if I accidentally turn off my computer without saving my Office files, then I would only lose the work done in the past one minute. To change the settings from 10 minutes to 1 minute, please follow the following steps:
Step 1: Click on File on the top left corner and then click on Options in the blue bar.
Step 2: Click on Save from the various options on the left.
Step 3: Select the checkbox next to the option “AutoRecover information every” and enter the number of minutes. The default would be 10 and I have set it to 1.
Step 4: Click on OK at the bottom of the window.
Microsoft claims that setting a lower number in the minute’s box would slow down the working performance of Office applications as it would use more resources frequently to save the file. I personally did not find any difference with the functioning of the Office applications even after I set the timer to 1 minute. However, if you notice any difference then I recommend you increase the minutes to 2 or 3 and then check the performance.
There is another option that is worth noting and that is the location of the Auto Recovered files in Office Applications. There are doubts about where the Microsoft Word autosave location is. In the above figure, you can observe that the default location can be set by the user. I have set a folder on the desktop by the name of ‘Word Files’ as the default location for the autosaved Word files.
Note: AutoSave and AutoRecover must be configured individually in all Microsoft Office applications like Word, Excel, and PowerPoint. Turning on the feature in MS Word will not automatically turn it on in MS Excel.
For a complete list of shortcuts in MS Office, click here.
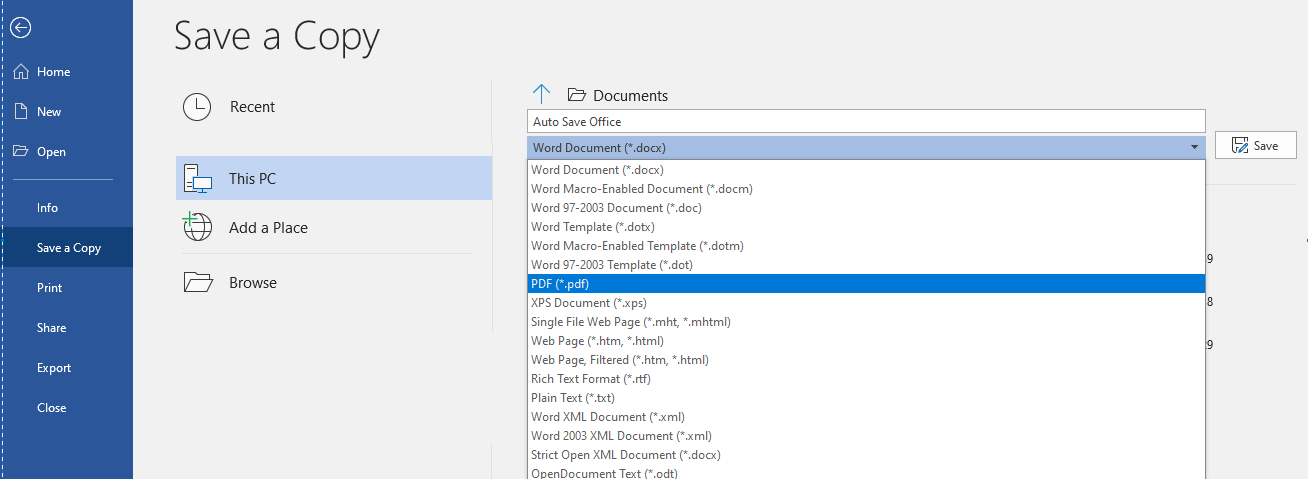
Save Microsoft Word files in PDF
One of the issues I have come across on the internet with regards to saving a Word document as a PDF file. It is very simple as it involves opening the file in Word application and saving it as a PDF document.
For more details on how to convert a document into a PDF, click here.
Microsoft Office is undoubtedly the best suite of applications for both professional and private use. There are many secrets hidden in Office applications and numerous ways to customize them to suit our needs. AutoSave and AutoRecover are both such options that are not well known but are among the top must-have features. Try to use them and let me know if you face any issues with enabling the AutoSave option on your computer. Do remember the location of autosaved files. Also, if you know of any such features which can be of great use in Office application, kindly mention them in the comments section below.


Leave a Reply