Have you noticed that your computer is no longer as efficient as it once was when you bought it. Memory leakage might be to blame. The term “memory leak” refers to the loss of RAM memory in Windows as a result of an app or software.
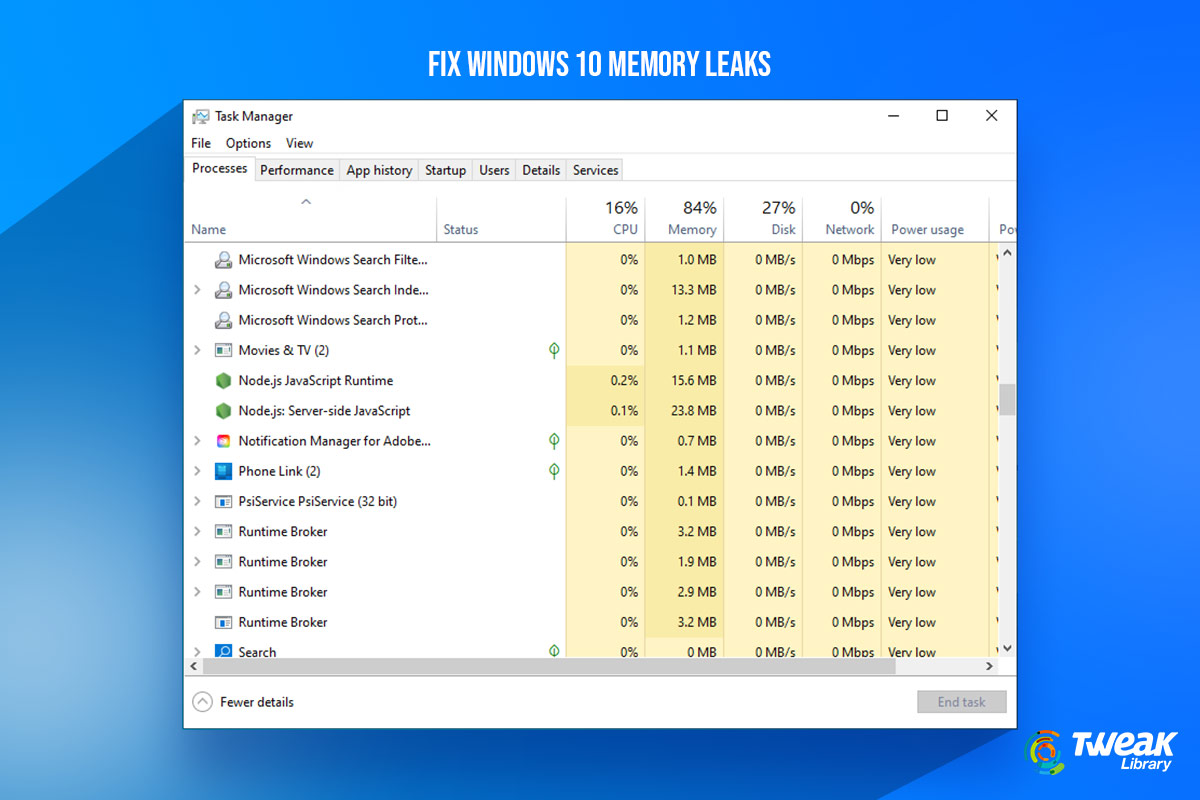
When you open the Task Manager, you may notice that a certain app is using a lot of memory, resulting in poor performance. Even the simplest activities on Windows may be difficult at times. Windows 10 memory leak could be a software-related problem. As a result, you don’t have to be concerned about your RAM being physically harmed.
In a nutshell, a memory leak occurs when software uses more memory than it should. Please continue reading to learn how to resolve a memory leak issue on Windows 10.
What are Windows Memory Leaks?
Memory leak refers to the loss of RAM memory in Windows as a result of a program or software. In Windows, each operating task consumes a set amount of RAM. Some applications are more demanding & require more RAM to function properly, such as Google Chrome or Adobe Photoshop. As a result, when software uses more memory than it should, we refer to it as a memory leak.
What is RAM Memory, and How does it help Programs?
RAM (Random Access Memory) is the memory used to store data from active processes.
Data is temporarily stored in RAM by programs while they are operating. As a result, when you restart your computer, RAM is cleared. In RAM, each application keeps track of its performance. As programs differ, the more demanding ones and high, performing, they are, the more data they store in RAM and hence require more memory, whilst the simpler programs require less.
1. Restart Computer
The best option is to restart your computer, and the memory leak will not show until you launch the problematic software again. While the computer is shut off, RAM only saves data from running programs. As a result, when you restart your computer, RAM will be empty, and the memory leak issue will be resolved.
2. Utilize Windows 10 in-built tool
- Open Memory Diagnostic Tool by going to Search and typing it in.
- Select Restart immediately to check for issues, and remember to save your work before resuming.
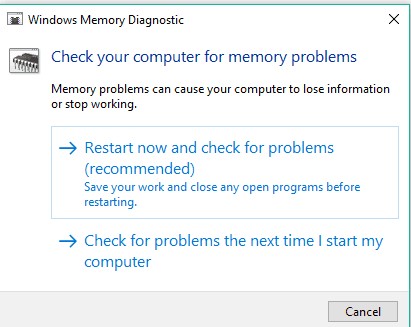
Windows 10 features built-in diagnostic tools that are frequently sufficient for delivering accurate analysis and assisting you in determining the cause of your issue.
This sort of software searches your computer for memory problems, such as memory leaks, and provides detailed diagnostics for any faults found.
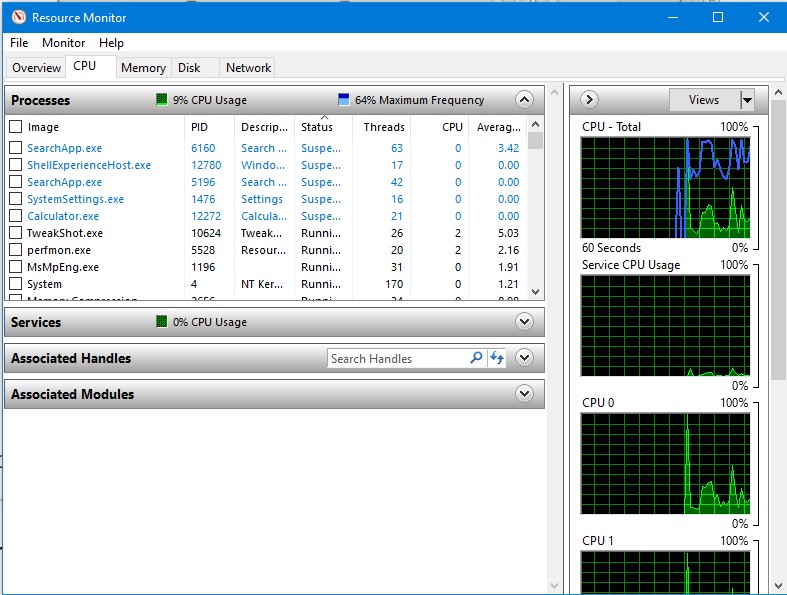
- Open Resource Monitor by going to Search and typing it in.
- It allows you to see data about your computer in real-time
3. Update Drivers
You can either download drivers manually from driver’s manufacturer website or you can use a third part driver updater tool. We recommend using Advanced Driver Updater to update your drivers seamlessly.
The tool recognizes outdated drivers when you ran a scan and gets the latest driver updates for you. Advanced Driver Updater is available in two versions: a free version and a premium version.
You can only update one driver at a time with the free version; however, the licensed version allows you to update all obsolete or corrupt older drivers in a few seconds.
Read complete review of Advanced Driver Updater
A 60-day money-back guarantee is included with Advanced Driver Updater.
Follow these steps to use Advanced Driver Updater:
1. Get Advanced Driver Updater and install it.

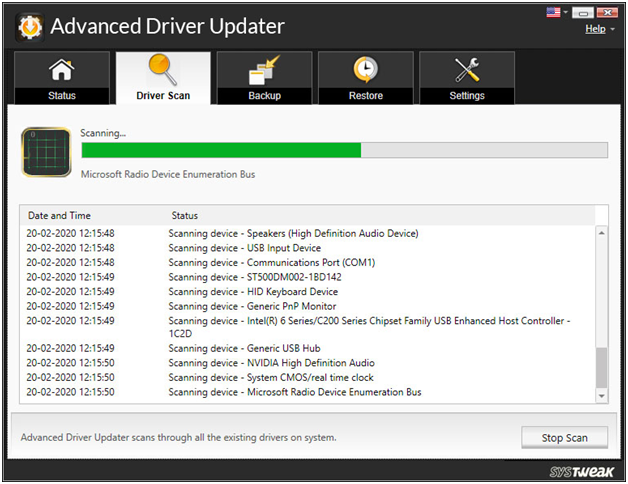
2. Launch the driver updater & select the Scan Now option.
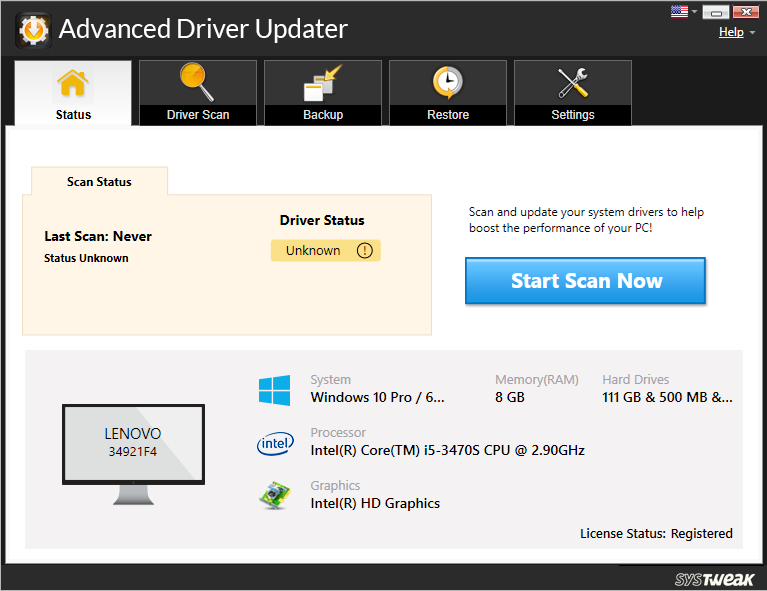
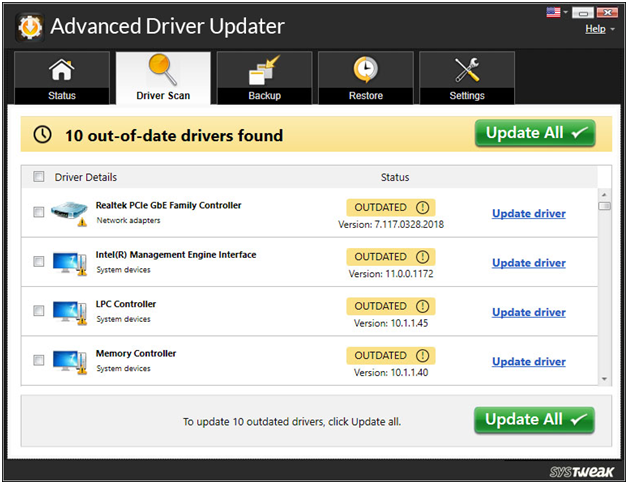
3. The utility will scan for outdated drivers and report back to you with the results.
4. Check the scan results to make sure your drivers are up to current. Click Update Driver next to the driver you wish to update if you’re a FREE user. If you’re a registered user, you may select Update all to update all of the outdated drivers at once.
5. You’ll need to restart the computer after updating your drivers for the changes to take effect.
See Also: Backup Drivers in Windows 10 & Restore Them
4. Adjust for Best Performance
- From your desktop, right-click This PC and click Properties
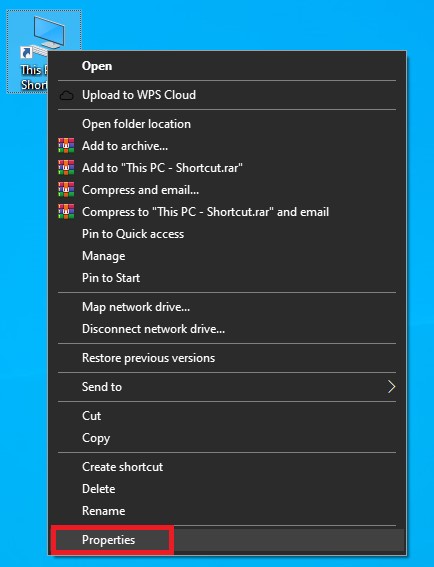
- Select Advanced system settings from from the menu.
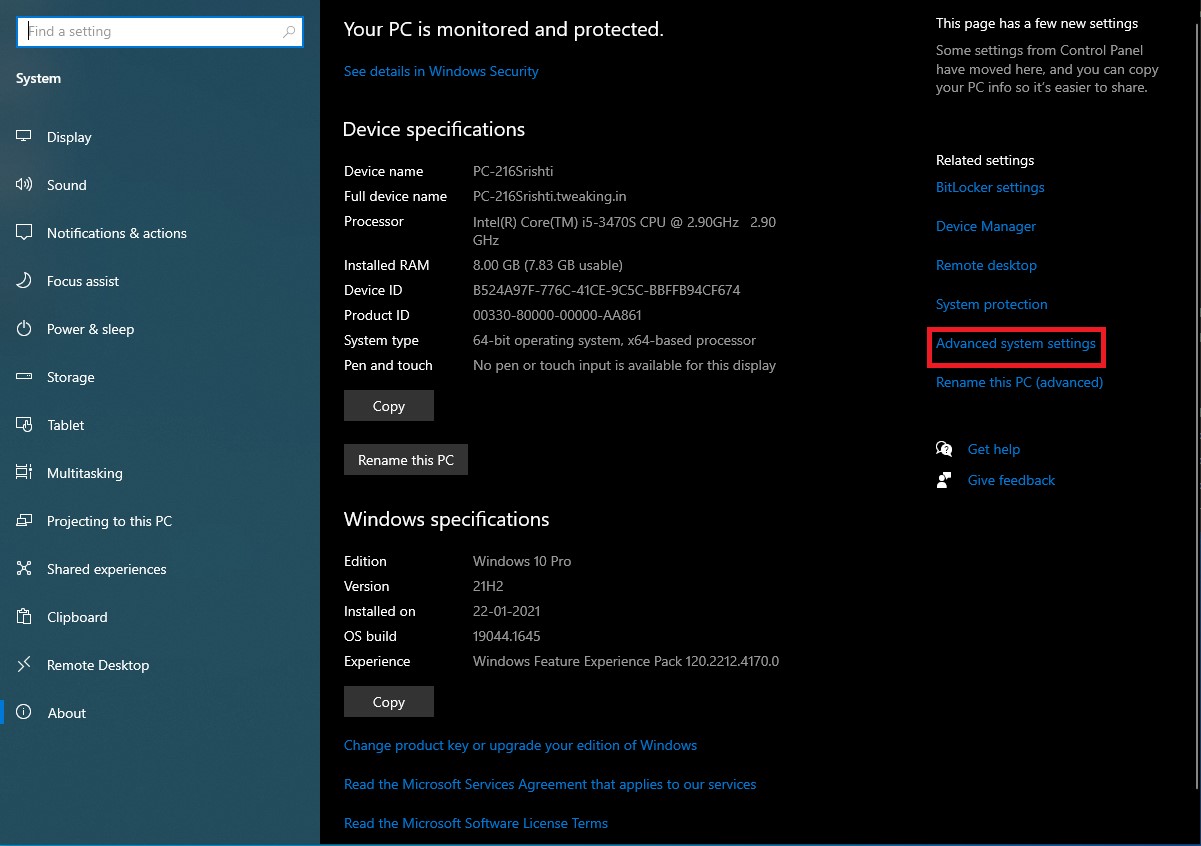
- To get started, go to the Advanced tab.
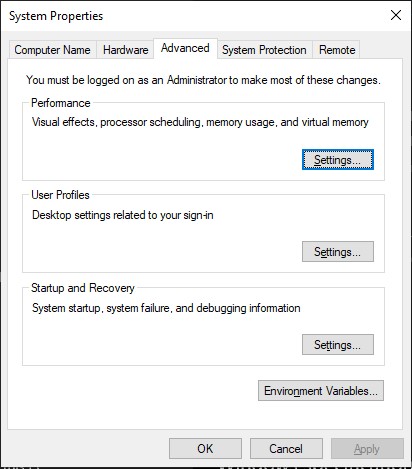
- Under Performance, choose Settings.
- Simply choose the option to “adjust for optimal performance.”
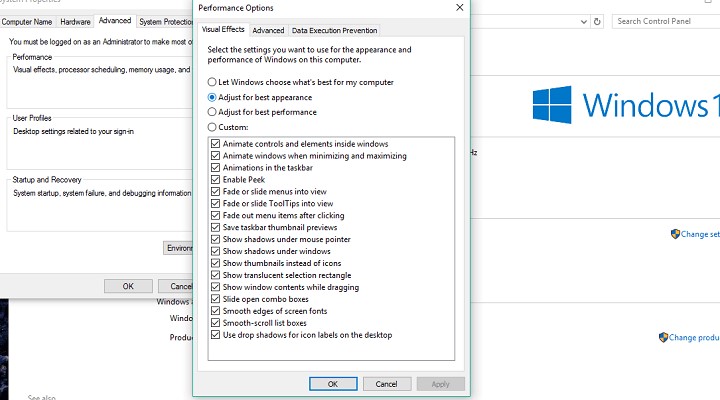
- Click the OK button.
- Restart your computer.
5. Disable applications that start up automatically.
- To launch Task Manager, press CTRL + SHIFT + ESC.
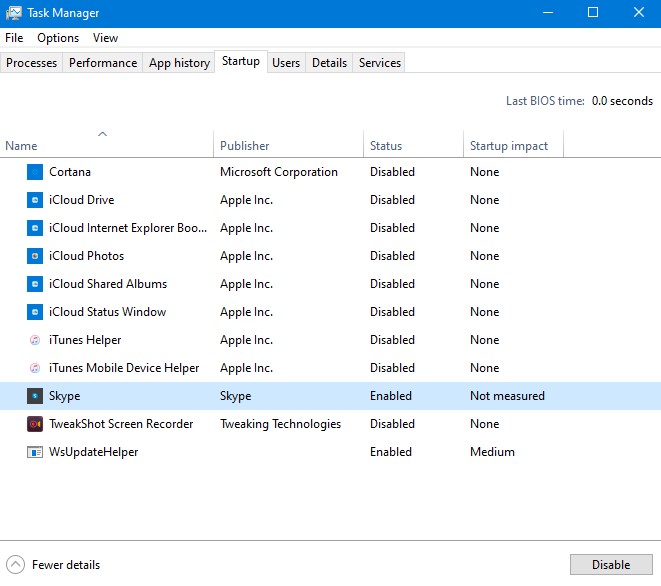
- Select the Startup option from the drop-down menu.
- Select Disable from the drop-down menu for the application you wish to disable.
- Restart your computer.
When software that causes a memory leak starts up, it’s dangerous. You’ll just become stuck in a loop, with the problem reappearing no matter how many times you temporarily solve it.
To solve this problem, we just need to disable the irritating software upon startup, and it will no longer give us difficulties.
If the Task Manager has previously shown you whatever software is leaking memory and it also happens to run on startup, simply deactivate the program, and you should be good to go.
6. Disable Runtime Broker
- To launch Task Manager, press CTRL + SHIFT + ESC.
- Locate and select the Runtime Broker process.
- Disable it.
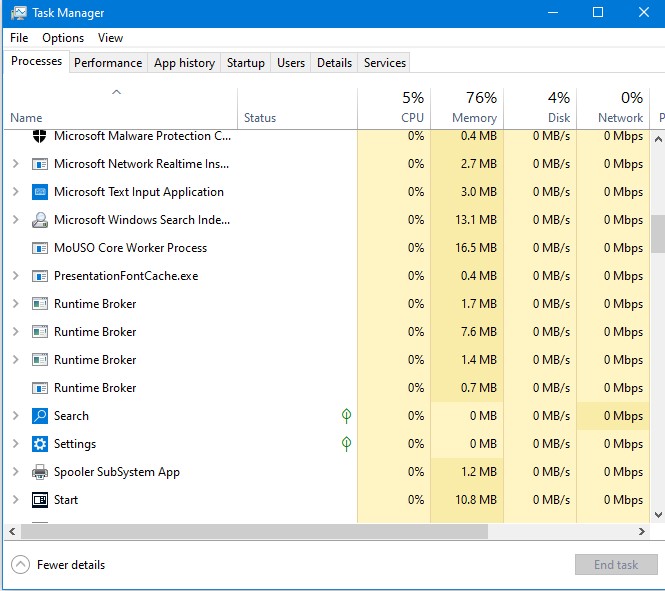
The Runtime Broker process assists the system in managing permissions for programs from the Microsoft Store on your PC.
Runtime Broker should only take a small amount of RAM by default, however owing to a potentially malfunctioning software, this procedure can drastically slow down your computer.
7. Disable Windows Tips and Tricks
- To access the Settings app, go to the Start Menu and select it.
- Select Notifications & actions from System
- Uncheck the box that says Get tips, techniques, and ideas as you use Windows.
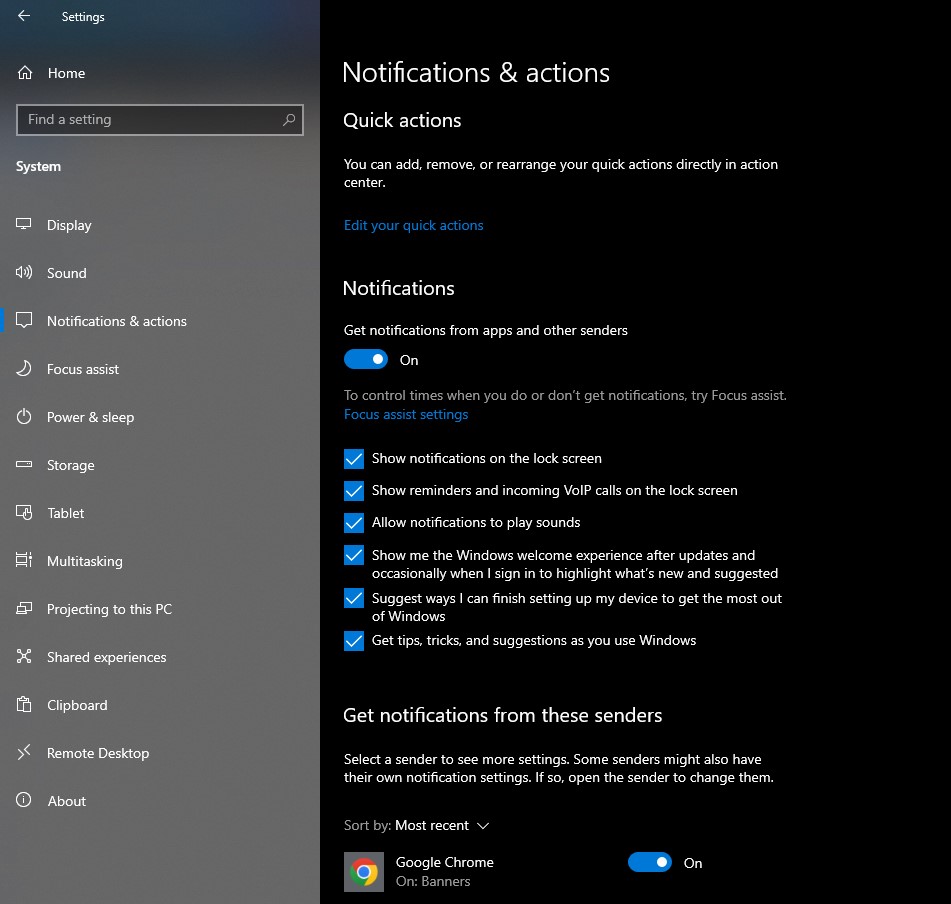
New users will benefit from Windows 10 tips & techniques. This feature demonstrates how to operate the system as well as some other important features.
8. Disable SuperFetch
- Open Services by going to Search and typing services. MSc.
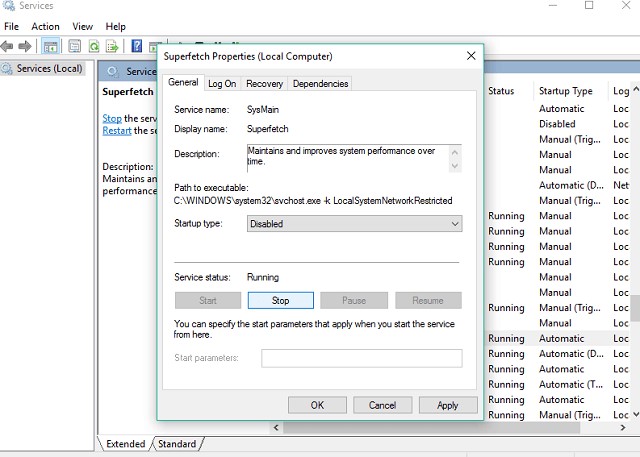
- Look for the SuperFetch process.
- Choose Properties from the context menu when you right-click it.
- Choose Disabled from the Startup Type drop-down option after selecting Stop.
- Restart your computer.
SuperFetch is another Windows service whose objective is to improve the system’s performance. This method helps Windows to better control RAM use, reduce boot time, and improve program loading.
Although disabling SuperFetch is not recommended, you can try it out to see whether it truly slows down your computer.
Compare the performance of your PC before and after deactivating. If the system is still as slow as before, you can enable Super fetch once again.
9. Registry Hack
- Select Registry Editor from the search results after typing Regedit in the search box.
- Look for the following route:
HKEY_LOCAL_MACHINESYSTEMCurrentControlSetControlSession ManagerMemory Management
- Change the value of ClearPageFileAtShutDown to 1.
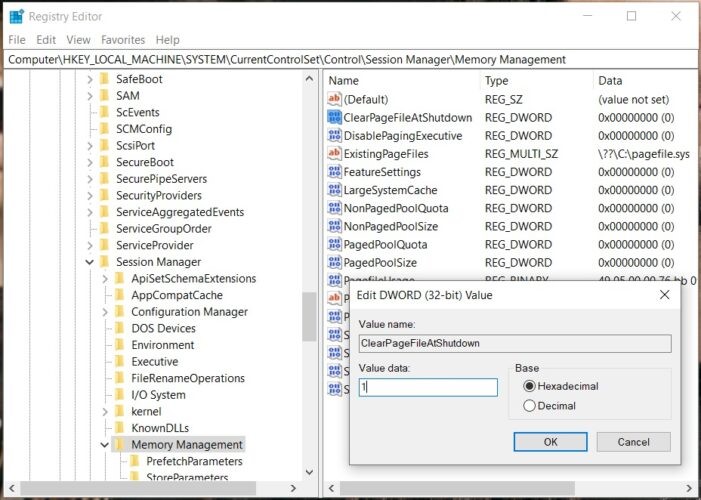
- Changes should be saved.Restart your computer.
10. Defrag C drive
- Go to this computer.
- Select your current system’s hard disc by right-clicking it (most likely C:).
- Click Properties> Tools tab> Optimize.
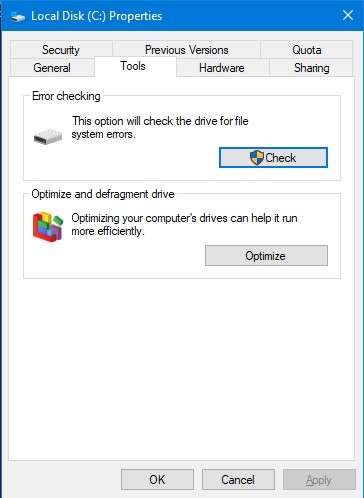
- Choose Analyze after selecting the drive you wish to defrag.

- Wait for the procedure to complete.
- Restart your computer.
It is advised that you defrag your hard disk regularly. Apart from optimizing your hard disk, it may also provide other benefits to your computer, such as improved memory management.
Conclusion:-
If you’ve lately encountered this issue on your PC, tried all of our suggestions, and your computer is still slow, the issue is most likely the quantity of RAM installed. If your PC’s RAM memory is insufficient to meet all demands, upgrading RAM memory is the best option if you want your PC to work properly. Your system memory will be larger as a result of adding more RAM, and it will be able to handle even more demanding processes.
Let us know about your views in the comments section below.


Leave a Reply