Imagine you are trying to stream music or a movie on your Windows 10 PC, and the speakers don’t work, there is no sound. Despite every attempt, you can’t get the Audio services to respond. It’s a nightmare-like situation and it means there is some audio problems on your Windows 10 system.

There can be tons of reasons behind, audio services becoming non responsive and this creates quite a mess. The problem can be with hardware of your system speakers, that unfortunately can’t be fixed from within the computer. But then, there are several causes associated with software and driver issues leading to sound on Windows not working.
Check out our guide on how you can fix-up Windows 10 sound problem and find out the cause responsible for audio services not working.
Fix Audio Problems On Windows 10
1. Verify Default Audio Device
Your Windows 10 PC has just one pre-installed audio device. But, there are options to connect multiple audio peripherals for enhanced audio output. You may have connected a surround sound headset for gaming, a speaker system for better movie experience, or an Xbox controller. In most cases, the PC automatically switches between the system speakers and your connected device. But in case of more than one connections, you need to switch the default audio device on your PC manually.
In case you don’t change it, you might continue facing audio problems on Windows 10 PC. Even if you disconnect the headphones or controller, your system may keep giving audio output from that device. It all would seem like a Windows sound problem, but it isn’t. You need to carry out a small tweak in audio settings and change your default audio device. There are two ways you can do that:
Using Taskbar:
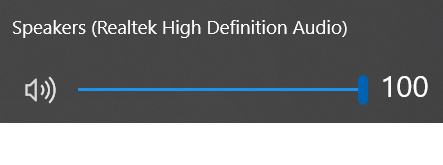
Step 1: Click on the volume button in the Windows 10 taskbar.
Step 2: Above the volume control panel, you’ll see the names of playback devices your system is connected to.
Step 3: Choose Realtek High-Def. Audio Speakers. These are default audio speakers for Windows 10 PC.
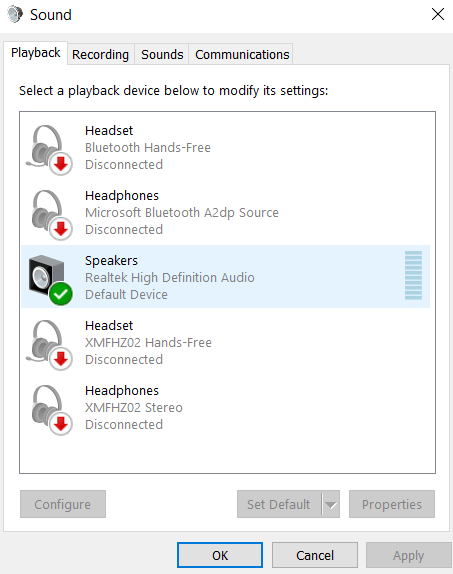
Using Control Panel:
Step 1: Head to Control Panel via the search field in the taskbar.
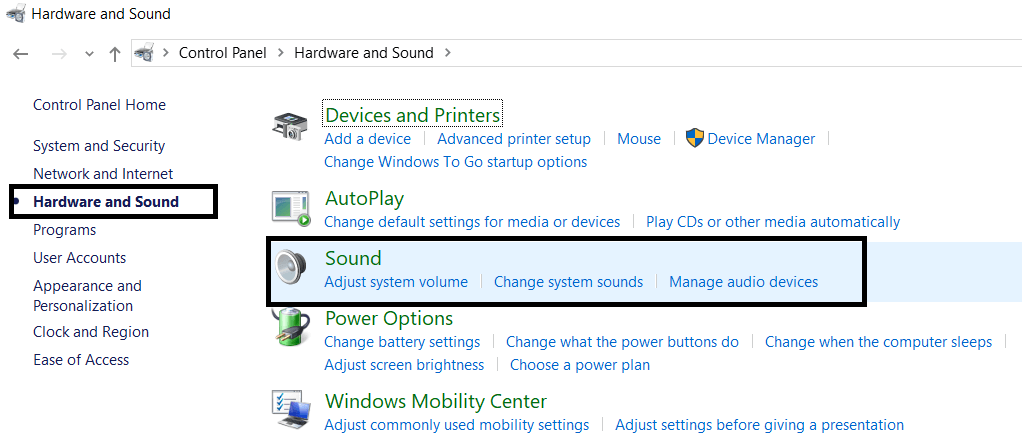
Step 2: Click Hardware and Sound. Once in, go to Sound.

Step 3: The Sound window would root out all the connected audio devices on your PC. Set your Realtek Speakers as default and click OK.
These steps would possibly resolve the audio problems on your Windows 10 PC. If not, look out for other possible causes for audio services to not respond, further in the guide.
2. Run Troubleshooter
There are instances when audio services aren’t able to communicate with the OS and associated hardware, resulting in possible sound problems on a Windows 10. These unexpected errors occur due to multiple issues.
But Windows 10 has an in-built troubleshooter to fix these audio issues. Here’s how you can run that:
Step 1: Search for Find and Fix Audio Playback Problems in the search field on taskbar. This would open a troubleshooting window.
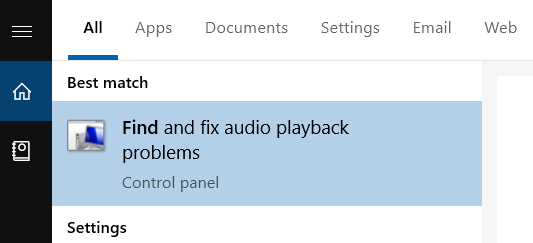
Step 2: Scan for issues. Windows 10 would run an automatic scan.
Step 3: Choose from scanned devices to troubleshoot. Since we’re looking for sound problems in Windows 10, you must troubleshoot default system speakers.
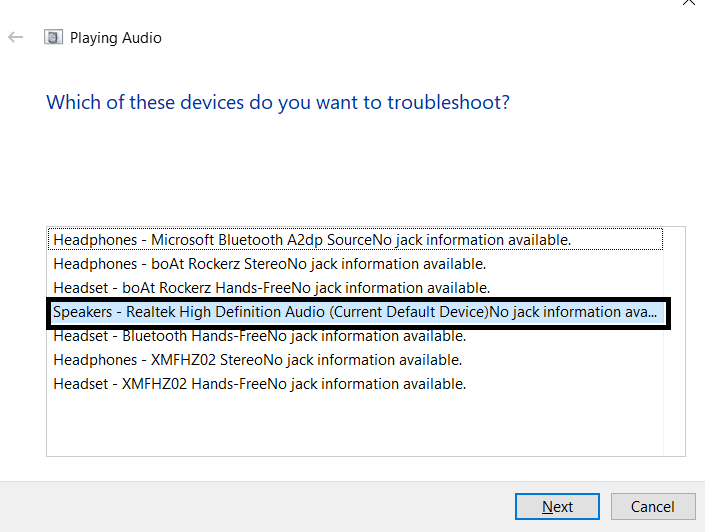
Step 4: Click on Next to head for the next directions as guided by the troubleshooter to resolve the issue.
This will help fix audio problems on your Windows 10.
3. Reboot Audio Services
Step 1: Search for Services in the taskbar search field.

Step 2: Go to Windows Audio.
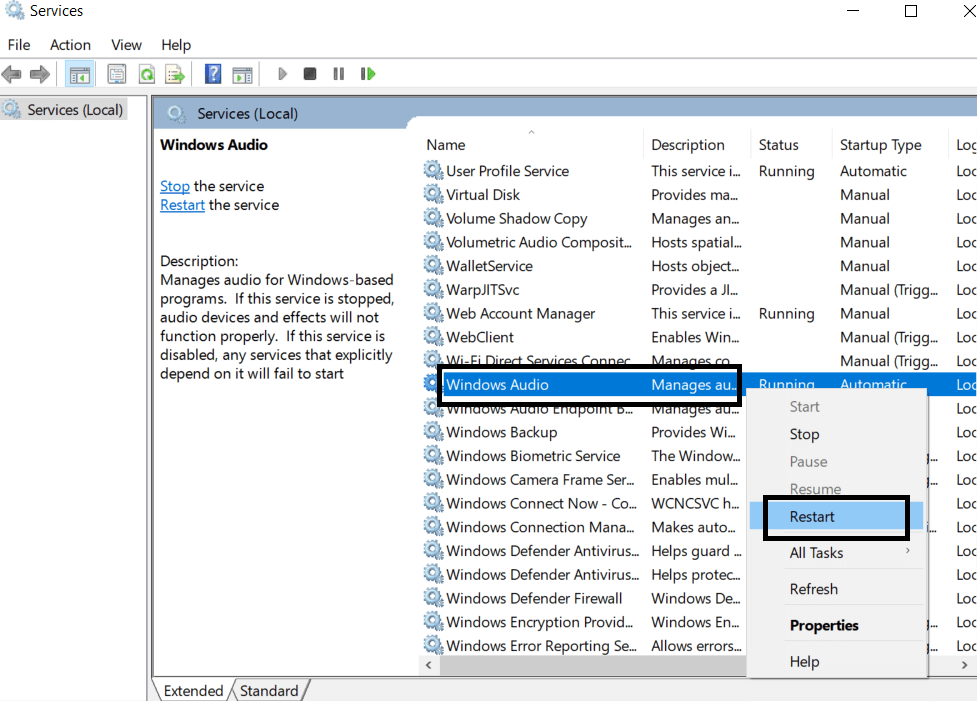
Step 3: Right-click on the service and click on Restart.
Repeat the same procedure for two more services; Remote Procedure Call (RPC), and Windows Audio Endpoint Builder.
4. Turn Off Audio Enhancements
Though these enhancements are offered by Microsoft to amplify your audio services experience on Windows 10 PC, yet these enhancements can also cause audio services to not respond on your system. To make sure they don’t trouble you, try turning these enhancements off and turn them back on:
Step 1: Search for Control Panel in the taskbar search field.
Step 2: Head to Hardware and Sound. From there, click on Sound.
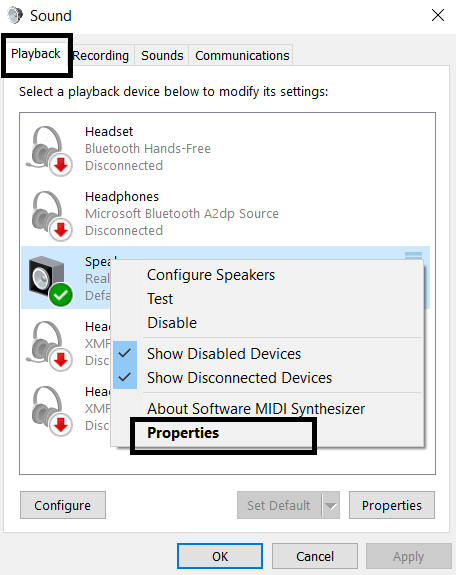
Step 3: Make sure that you’re on the Playback section.
Step 4: Here, head to Properties of your default system drivers.

Step 5: A new window will pop up. Here head to Enhancements section.
Step 6: Check the box for Disable All Sound Effects.

Note: Before you try this procedure, ensure that you have the right audio output set as default. Move on to the next step if this still doesn’t work.
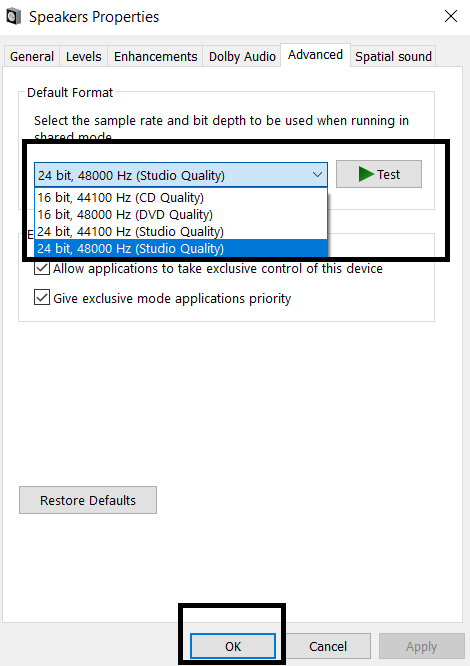
5. Change Audio Format
Audio Format refers to the studio-quality of your speakers. It determines at what frequency they are producing sound. Follow these steps:
Step 1: Follow the path Control Panel>>Hardware & Sound>>Sound.
Step 2: In the Playback section, head to system speakers’ Properties.
Step 3: In the next window, click Advanced section. Here change the Default Audio format.
By changing the audio format, you may be able to resolve audio problems on Windows 10.
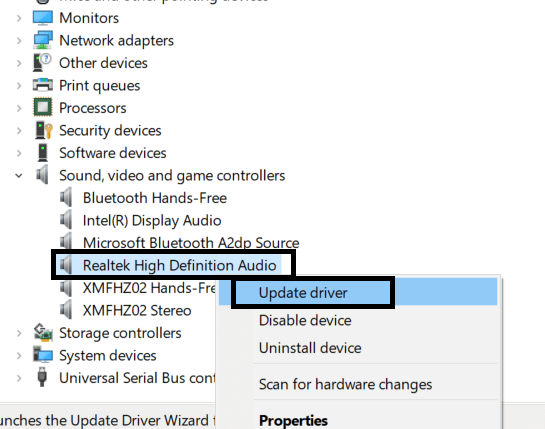
6. Update Audio Driver
Now, this is the most common concern associated with sound problems in Windows 10. Your device manufacturer rolls out new driver versions for hardware, so as to support the regular updates of the OS. To update your system’s speakers drivers, follow these steps:
Step 1: Head to Device Manager.
Step 2: Check Sound, Video, and Game Controllers option.
Step 3: Update Realtek Audio drivers.
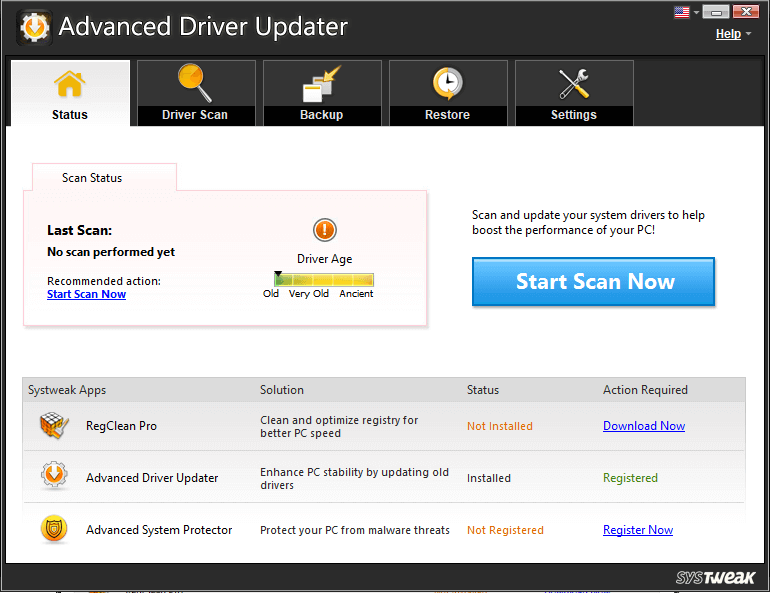
You can also automate the driver update process. The above-explained process would require you to check for audio driver updates from time to time manually. But with Advanced Driver Updater, you can do this job automatically. Download Advanced Driver Updater today and use this easy-to-go software to update not just Audio drivers but others drivers also in one simple click. Here’s how Advanced Driver Updater works:

Step 1: Scan for Driver Updates on.
Step 2: Click on Update All.
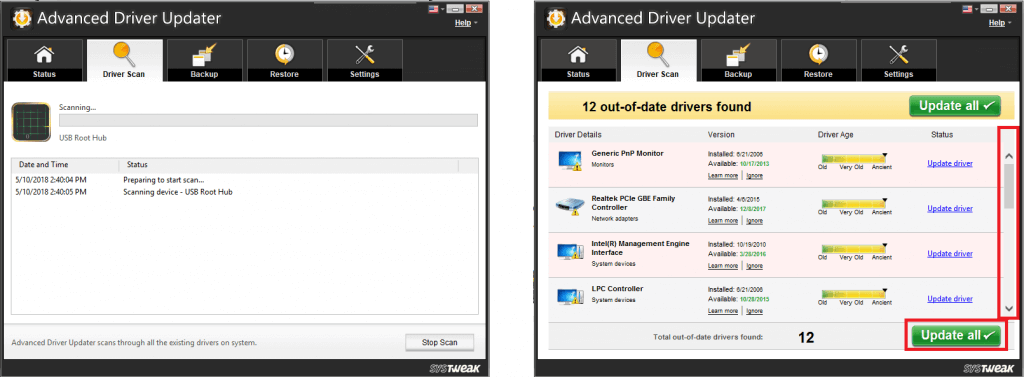
Step 3: Restart the system to accommodate your system to the newly installed drivers.
If rest of the measures fail to resolve audio problems on your Windows 10 PC, the driver updates will definitely do the job. And no tool other than Advanced Driver Updater can help you do that faster.
If you have some other points to add on to these solutions, write it down in the comments and contribute in resolving the sound problem on Windows 10. For more such tweaks and tricks, subscribe to our newsletter, or follow us on your Facebook and Twitter feeds.
Follow Us:


Leave a Reply