Windows 11’s, without a speck of doubt, is a smooth operating system and if you have it on a new desktop or laptop, you might get smitten by how fast and quick you can navigate from one function to another.
Having said that, there’s a lot that goes behind the scenes. Quite a lot. You might not even realize and these background services might soon take a toll on your computer’s performance as well. This is why it is better to disable services on Windows 11 that you don’t need.
Let’s shed some more light on why you should disable unwanted services from time to time –
Windows 11 Services ‘At Your Service’, But, At The Dispense of Performance
As a general notion, many services don’t amount much, but, as they stack up together they can have a considerable impact on your RAM, and before you even realize it, your machine will become slow.
So, might as well react promptly and disable services in Windows 11.
Words of Wisdom! – Please Create A System Restore Point
While we have tried to the best of our capabilities, to mention the best and the safe ways to turn off non-essential services, as a matter of prudence, we recommend that you create a System Restore point. This will ensure that should something go wrong and in case you accidentally disable an important service, you can fall back on a previous restore point when everything was working just fine. You can refer to this post and follow the step-by-step ways on how you can create a System Restore Point in Windows 11.
Now, that is out of the way, let’s dive into how you can safely disable non-essential services on your Windows 11 desktop or laptop.
Also Read: Fixed – System Restore Not Working Windows 10
Ways To Smartly And Safely Disable Unimportant Services On Windows 11
– With The Help of The MSConfig
With the help of this method, we’ll hide all Microsoft-related services. By doing this, you won’t mistakenly disable any important services which Microsoft itself recommends –
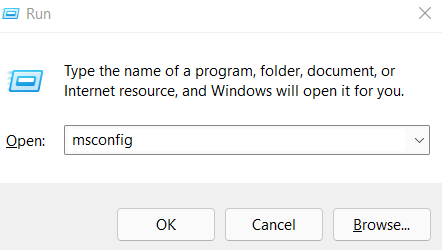
- Press Windows + R to open the Run dialog box
- When the dialog box opens type msconfig

- In the System Configuration window, click on the Services tab
- At the bottom, click on the Hide all Microsoft services This will leave us with all third-party applications which you can safely disable
- Click on the Disable all button at the bottom-right corner of the screen
- Click on OK
- You will also be prompted to Restart your computer. So, click on the Restart button to proceed

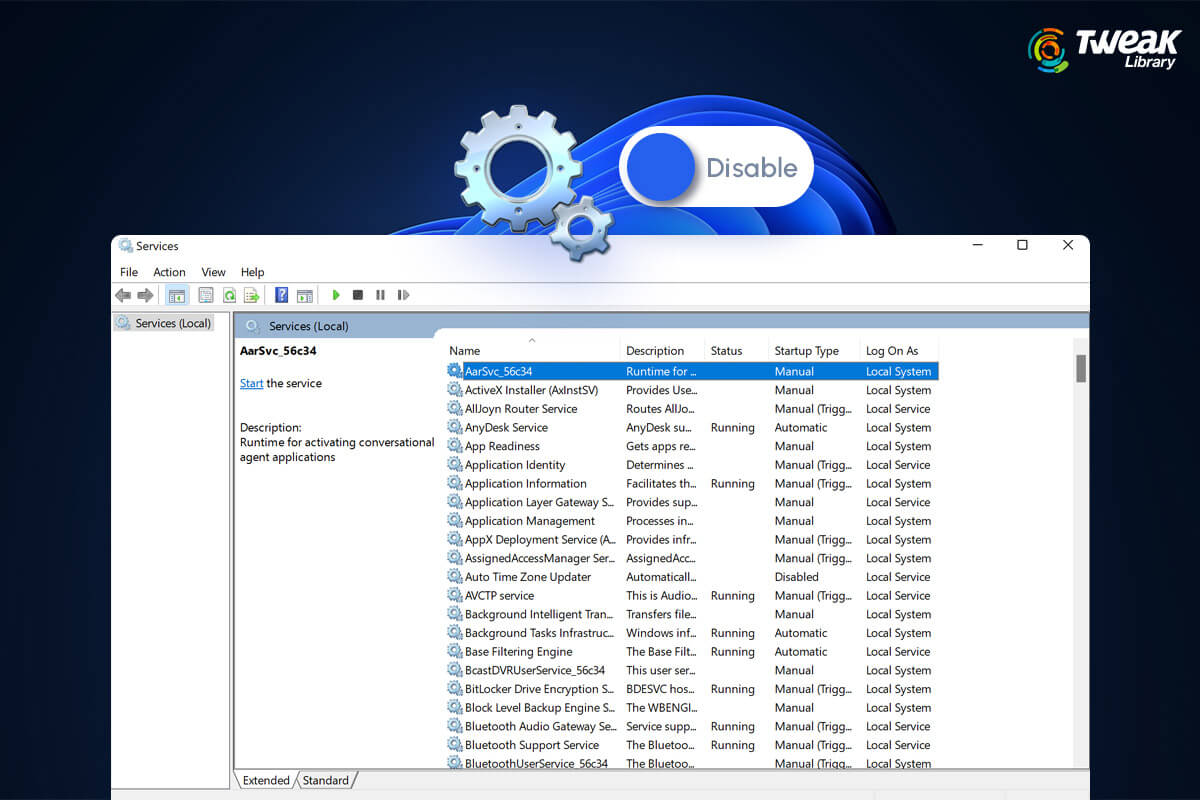
– Using The Services Option
There are probably tons of services that you may not need in day-to-day working. You can therefore disable such services. That doesn’t mean you can’t enable them in the future. If you are aware of what services to disable, you can dash straight ahead to the step-by-step guide and in case you want an overview of what all services you can disable, you can refer to the box given just below. We’d still urge you to practice caution and discretion –
What Services Can I Disable
As we said, there are tons of services. But, here’s a list of services that are safe to disable. Keep in mind that this is not an all-inclusive list, but the kind of services that you can safely disable –
Connected User Experiences and Telemetry – Concerned about privacy? Don’t want to send data to Microsoft? Disable this service
Fax – Fax is soon becoming passe’, obsolete to say the least. Better disable it
Remote Desktop Service – Don’t often connect with remote desktops? Disable this service
Remote Registry – Under normal circumstances, you wouldn’t need to put your hands in your registry, leave alone do it via a remote computer. However, if you are making some changes in your registry, better back it up first
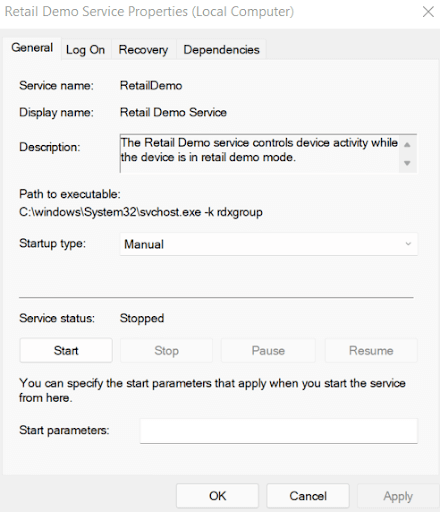
Retail Demo Service – Useful service for retailers and vendors who have to show Windows features to customers. For the general user base (which we suppose is you, the reader), this service is not required
Windows Insider Service – Unless you are into checking out Windows 11 builds before everyone else, you don’t need this service in the background
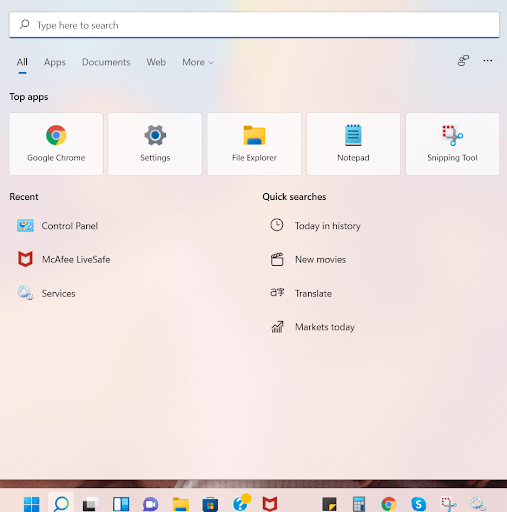
- Click on the Search icon represented by a magnifying glass on the Taskbar
- Type Services
- Click on Open from the right-hand side
- Double-click on the service that you don’t need and that you see is Running (check the status column to check if the service is running or not)
- You can further read the Description. This will further help you judge if you need the service or not
- Next, click on Stop
- Now, click on the Startup type dropdown and then select Disabled
- Click on Apply and then OK
– Take Help of A Utility
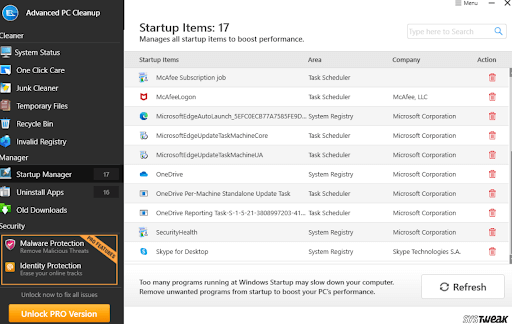
You can also utilize applications that can help you disable the right startup items or uninstall unwanted applications. One such application is Advanced PC Cleanup. It comes with a system manager that can help you manage startup items to enhance your PC’s performance. Along with that, this module even helps you uninstall redundant and unnecessary apps.
So, how do I use Advanced PC Cleanup to get rid of startup items or remove apps? The process is simple –
1. Download, run and install Advanced PC Cleanup
Download Advanced PC Cleanup

Complete Review on Advanced PC Cleanup
2. From the left-hand pane, first, click on Startup Manager under Manager, and then all you have to do is click on the red colored bin icon under Action to remove a startup item
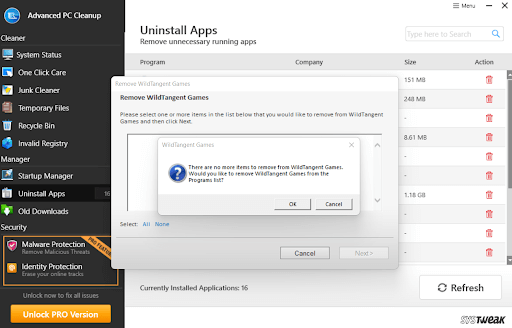
3. Under the same module i.e. Manager, click on the Uninstall Apps Again, click on the red-colored bin icon to remove an unnecessary application
Do give this tool a try and let us know in the comments section if you have seen a boost in your computer’s performance.
Wrapping Up:
That’s it! Disable unwanted services in Windows 11 and improve your computer’s performance especially in the long run. If you found value in this post, give it a thumbs up and share it with other Windows users as well. For more such tech-related engaging and useful content, Tweak Library is the place to be.


Leave a Reply