Summary: Windows offers built-in options to help you edit date and time when needed. While it is detected automatically by your system, still you try changing it if you are in a different time zone.
So, why would you change date or time in the first place?
Well, reasons could be numerous as if your system is detecting the wrong date or time, or you are in a different time zone and want to set the right date and time, you probably also want to set time for different time zones, the reasons could be many.
Changing time or date on your Windows 10 PC is something that nobody cares about as you get it fixed automatically by the manufacturer. It is fetched automatically to avoid any trouble. Now that you have decided to change time and date in Windows 10, we have few different methods here to do this.
Quick Navigation
- Change date & time via Taskbar
- Change date & time via Windows Settings
- Set a new clock for a different time zone
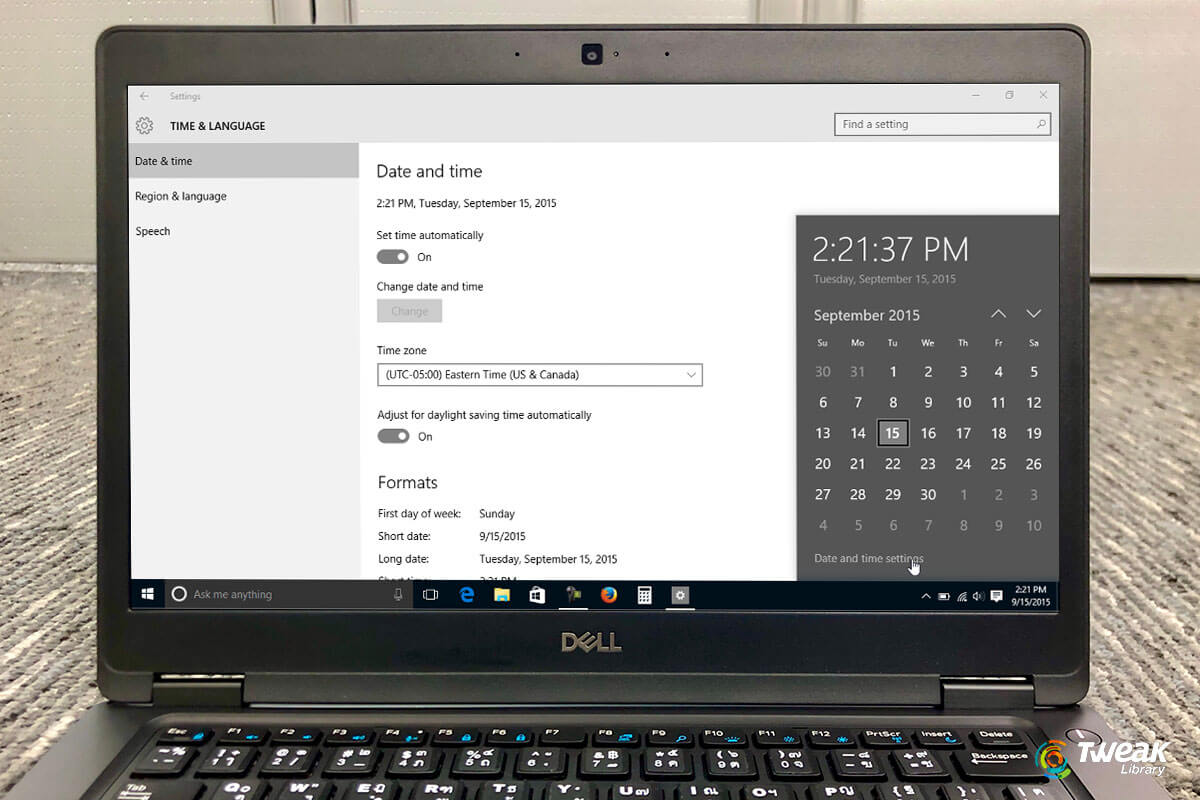
Change date & time via Taskbar
If you find the date and time is not set correctly on your system, then you can try to edit it manually from the taskbar. To do this, follow these steps:
At the right-side of the taskbar you will find clock icon with date mentioned here. Right-click on it and select Adjust date/time option.
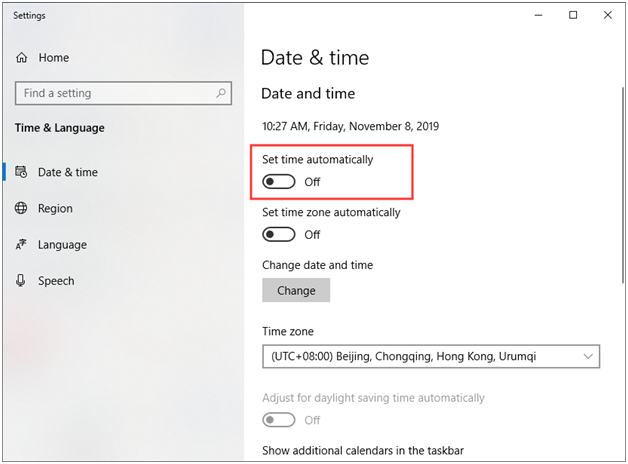
Now you will be on a new window. Here, you need to locate Date & Time section.
Once located, find Set Time Automatically option and turn it off.
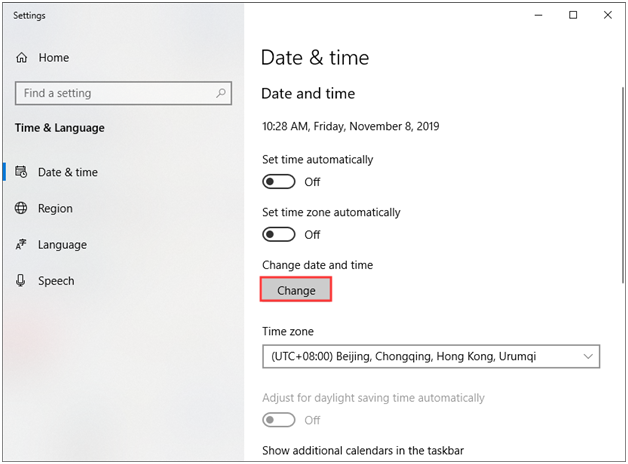
Once done, click Change button below to edit date and time.
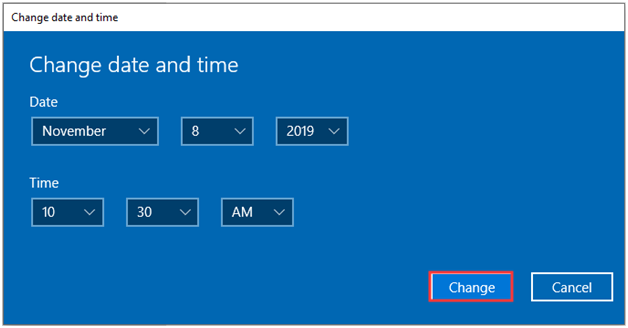
In the next window, you will find two different options to change date and time. Mention correct date and time information and press Change button to apply the changes.
Also Read: Windows 10 Taskbar Isn’t Hiding in Fullscreen? Check Out The Fix!!
Change date and time in Windows 10 via Settings
Next quick method to change date and time in Windows 10 is via Settings of the settings. Like any other setting on your PC, you can try to change date & time following a few simple tweaks here. To do this, follow these steps:
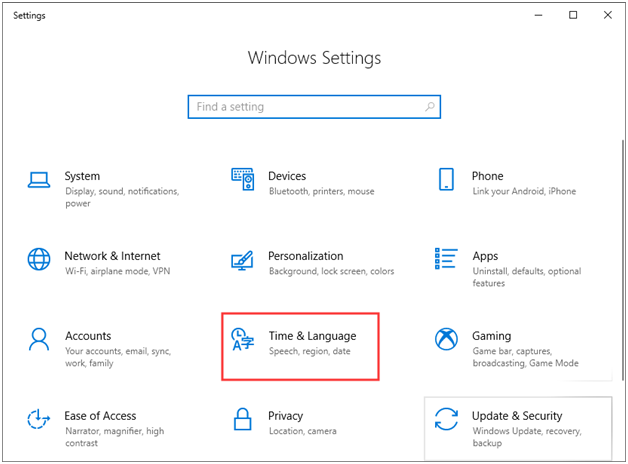
From the Start menu select Settings.
Once you are in the Settings window, select the Time & Language option.
Here, locate Set Time Automatically option and turn it off.

Once done, click on the Change button given below.
On the next window, set the correct date and time and click the Change button to apply changes.
You are done.
Also Read: Amazing Hidden Windows 10 Tricks And Tips!
Set a new clock for different time zones
In addition to changing date and time on your system, you can also tweak Windows 10 settings to set a new clock for different time zones and countries. You can do it easily by following steps below.
Head to Start menu and select Settings.
On Settings page, select Time & Language option.
Once you are on Date & Time window, scroll through it to locate Add clocks for different time zones option.
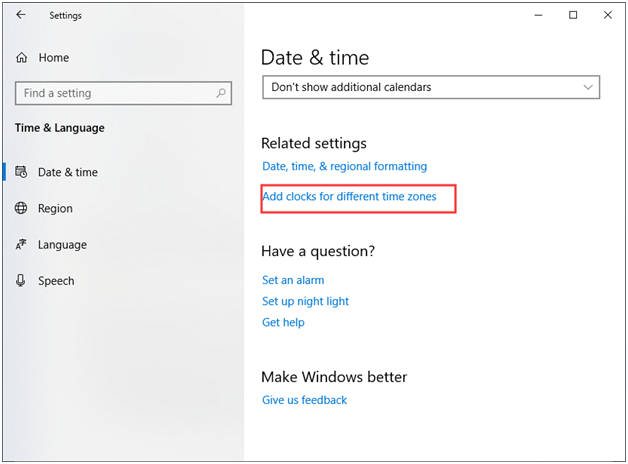
Once located, click on it.
On the next window, select the Additional Clocks tab.
Here, check Show this clock option.
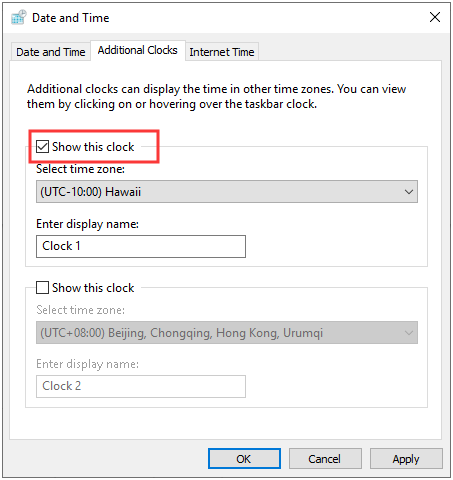
Next is to select time zone and display name for this new clock. You can also check Show this clock option to display second clock with different time zone.
Once done press Apply and OK.
That’s it. Now you will have additional clocks displayed on the taskbar on your Windows 10 screen.
Use third-party software
In addition to following manual steps to add additional clocks in the taskbar, you can also try to use best third-party apps to include additional clocks on your window. These smart apps come loaded with multiple options to customize your clocks for better view. You can also set different time zones using these apps. You can find many of these apps for free to us. While some of them are paid with additional useful features to explore.
Following a few quick steps mentioned above, you can easily manage to change date and time in Windows 10. In addition to that, you can also try to set multiple clocks for different time zones following these steps. If you have found the steps useful do comment in the section below. You can also comment if you had found any issue applying these steps on your PC. We are here to help!
Next Read:
How To Fix Personalized Settings (Not Responding) On Windows 10


Leave a Reply