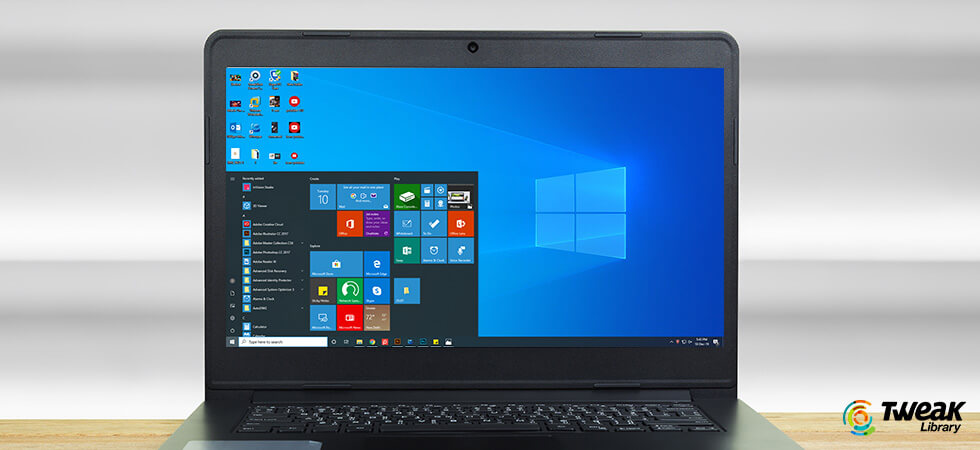
Windows 10 Startup Folder – An Effective Windows Weapon
If your desktop or laptop is your second home, you should optimize it as per your needs and requirements. Let’s take a scenario for instance, where day-in and out there are a bazillion files and folders that you work on. How would you tackle them?
Wouldn’t it be convenient to have a file and folder popup as soon as the system boots up?
If you are still wondering why? Then let us tell you that this would make it easier for you to start working on it immediately. You wouldn’t need to open folder after folder or file and after file. But, here’s the main question how do you do that?
You can add items to the Windows startup folder. This is also one of the ways you can optimize Windows for best performance. But, before we look at the steps of how to add items in startup folder, let’s first understand what a startup folder is in the first place.
What Is A Startup Folder In Windows?
Initially introduced in Windows 95, the startup folder feature in Windows allows a user to run a desired set of programs when Windows boots up. It is a hidden folder that can be navigated in the file explorer. This again can be accessed in many ways.
Coming to the steps to add items to Windows 10 startup folder, let’s break the steps into 2 parts –
(i) Using Startup Manager Software
(ii) Manual route
(i) Add Items To Startup Folder Using Startup Manager Software
There are several startup manager software that let you add and remove files and folders from startup. Software such Advanced System Optimizer help you manage items on your startup by enabling, disabling and even removing programs. Other such software includes Startup Delayer, CCleaner, Starter and several others.
Download Advanced System Optimizer

(ii) Manual Route to Add Items To Startup Folder
Follow the steps mentioned below to manually add items in Windows 10 startup folder –
Step No. 1
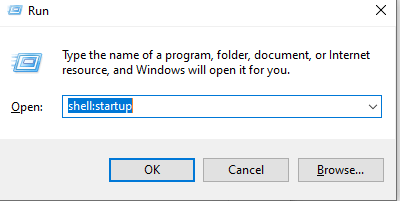
Finding and opening the startup folder in Windows 10 is very simple. All you have to do is press the Windows key + R. Once you have done that copy and paste the following –
shell:startup
Now, what opens is the startup folder for the current user. As you can see my startup folder is empty. So, I will try and add items to this folder so that they can appear on the start menu.
For once, leave the startup folder open because we shall be working with this.
Alternate Method
1. Open the Startup Windows by –
Windows+R > shell:startup
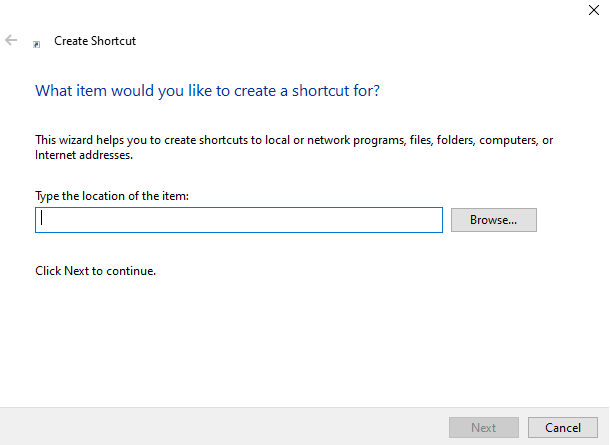
2. In the blank Window that opens, right click and then follow the path mentioned below –
New > Shortcut > Browse > Choose the file > Next > You can give your shortcut a name> Click on Finish
Disclaimer –
Before heading onto the next step here is a small piece of advice. You need to be cautious that if you try to add many files, apps, folders or programs to Windows 10 startup folder, your system might start booting slowly.
Step No. 2
For making a file, app or a folder on the start menu of Windows, we will have to create a shortcut of that particular app inside the “startup folder” that we had just opened.[5] So, go to a particular file or folder (try and do these steps with an “.exe” file), copy it and then in the startup folder, right click and choose Paste shortcut.
The next time you open Windows, the program will appear on the startup.
The steps are pretty much the same if you desire to open a word or excel or any other file for that matter.
Also Read: Best Duplicate Files Finder And Remover Software
In The End
How often do you have to deal with finding files and folders on urgent basis? Well, the steps above would pop up your desired files as soon as the Windows open. But, as mentioned don’t add many files and folders to the Windows 10 startup folder.
You will not like many swarming your desktop one after another And, most importantly, did the above steps prove to be helpful. If yes, do share this with your friends, family members and everyone you care for. And, more such informative and fun-filled content, keep reading Tweak Library.


Leave a Reply