DNS Cache on Windows is a name that is less heard but often ignored. As the name says DNS stands for Domain Name System, it has something to do with the Internet. But do you know more beyond that? DNS is a way that is used by your computer to translate website names into IP addresses. Website names are easily understood by people but not your computers. Therefore, DNS aims at converting local names into IP addresses. This is where your PC stores the DNS data locally and this speeds up the browsing process.
Well, not only does it have positives. Sometimes, the DNS data stores compiles space on your PC and it starts lagging. Here, you might need to flush DNS cache on your Windows 10 PC. Wondering how? Well this entire blog covers the ways to clear DNS cache on Windows.
How to Flush DNS Cache of Windows 10: Best and Easy Ways
Method 1: Our Recommendation: Flush DNS Cache Using Systweak VPN
Click Here to Download Systweak VPN

Read Full Review on Systweak VPN
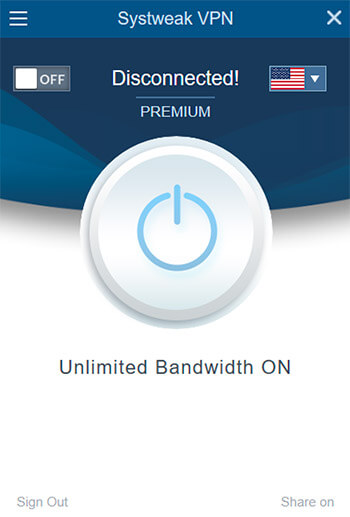
Systweak VPN is the best VPN for Windows 10 that is fast, secure and a reliable way to browse anonymously over the Internet. It guarantees unrestricted access to Netflix like streaming services and much more. If you are seeing a lag while browsing the internet you can flush DNS cache using a smart VPN service like Systweak VPN. This VPN service stands out from other competitors as it allows you to unblock all types of regional content, add an extra layer of protection, and secure your communications with no hassle. Additionally, you can use this amazing VPN service to stream fast with SmartDNS and its DNS leak protection feature.
Why Use Systweak VPN?
1. To Uphold Your Right To Privacy
2. Bypass Restricted Network & geo-blocked sites
3. Protect Data from Intrusive Eyes When Using Public Wi-Fi
4. Access Blocked Content Especially Netflix, Hulu, Etc.
Benefits of Using Systweak VPN
1. Systweak VPN pricing starts at $ 9.95 monthly and $71.40 annually per user. Currently, they don’t offer a free version.
2. Compatible with Windows XP, 7, 8, 8.1, and Windows 10.
3. Offers 30-day money-back guarantee.
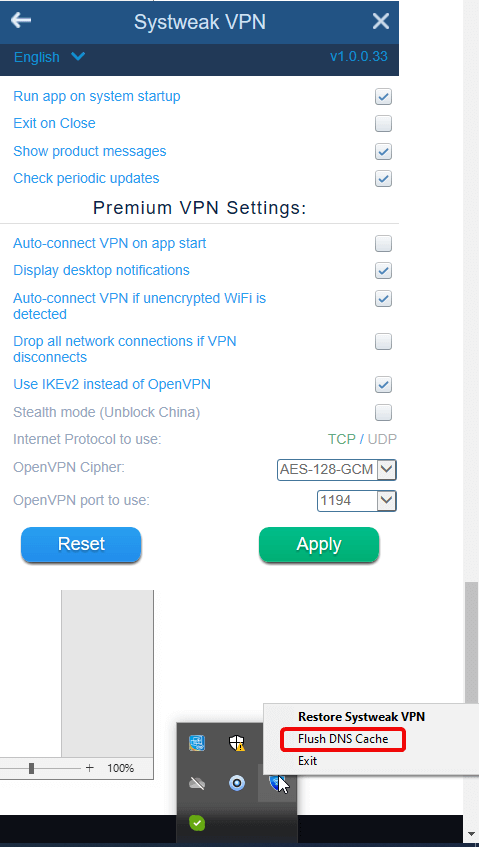
To flush DNS cache, right click on the Systweak VPN icon from the system tray on the taskbar, and choose Flush DNS Cache.
This is the best and the easiest way is to trash DNS cache on Windows PC. The other ways to run DNS commands on Windows 10 are explained below.
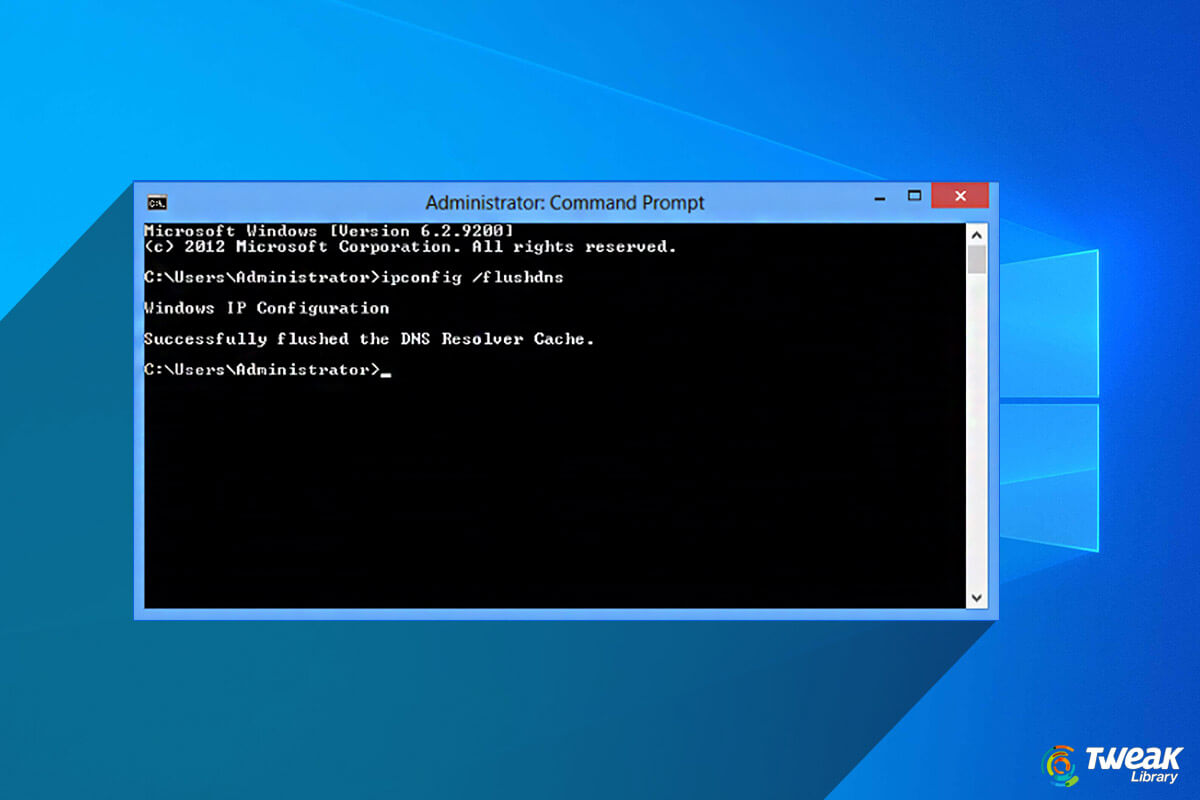
Method 2: Using Command Prompt
To run the flush DNS command on Windows 10, you’ll have to run it through the Windows Command Prompt window. Here are the steps and commands you need to follow to reset the DNS resolver cache.
- On your Windows PC, click on Start or Search bar and type in
- Now, right click on the Command Prompt option and choose Run As Administrator.

- Type in ipconfig /flushdns and press
- A command box will flash on the screen for a split second and this way DNS Resolver cache is cleared.
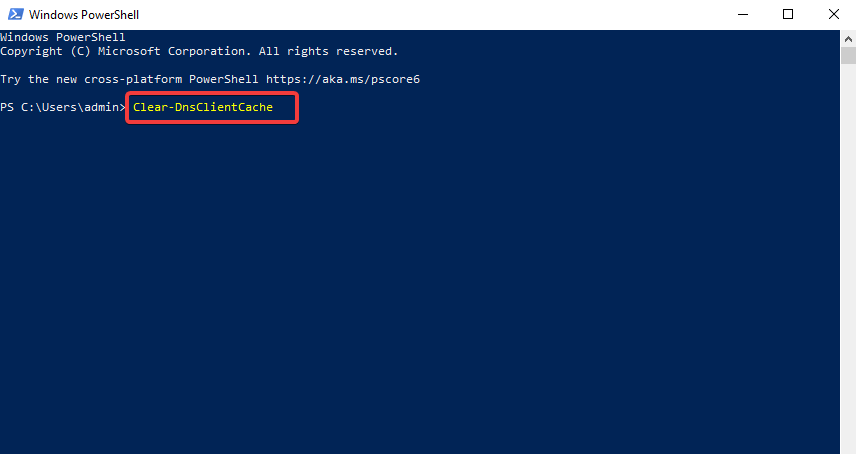
Method 3: Flush DNS Cache Using PowerShell
Another way to flush DNS cache is through PowerShell on Windows 10. Here’s how:
- Go to Start and type powershel
- Click on the first result that appears ‘Windows PowerShell’.
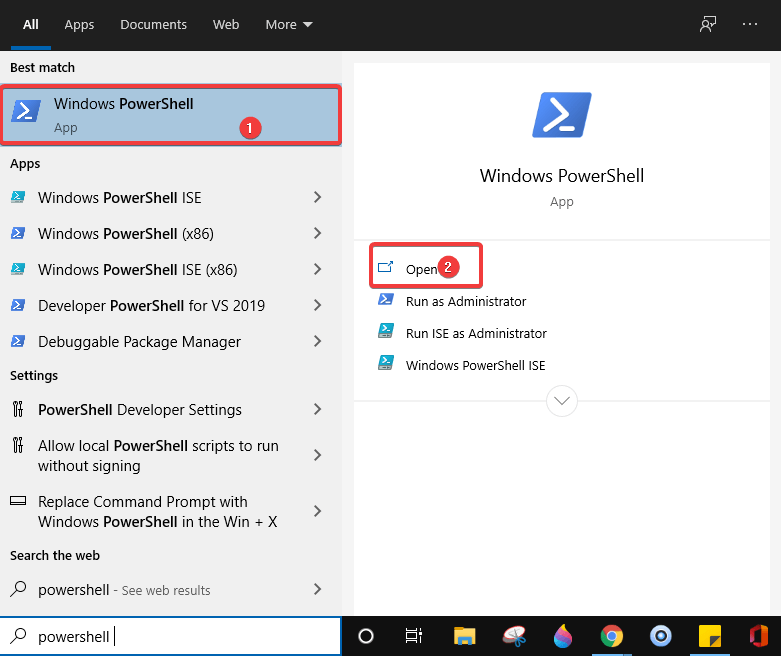
- Now, type the command ‘Clear-DnsClientCache’.
What Happens When You Flush DNS Cache on Windows 10?
When you flush DNS cache, you can remove all the entries and delete all invalid records. It further asks your computer to re-identify those addresses the next time you browse those websites. Sometimes, even the router can have DNS cache and a mere reboot can help you get rid of all the DNS entries stored in the temporary memory.
Check this out and try these ways to flush DNS cache on Windows 10. Do let us know if you experienced any problems while operating these steps on your PC.
Keep reading Tweak Library for more troubleshooting tips and tricks.


Chris Smith
This new feature to 'Flush DNS Cache' on Systweak VPN is wonderful. Now there is no need to struggle with that old Windows Command Prompt screen.