If you’ve used either Windows 10 or 11 for a while you can surely understand the frustration of encountering the “Your PC Did Not Start Correctly” error message. This problem typically appears when you attempt to boot their computer, indicating that Windows has encountered an issue during startup that cannot be fixed automatically. This error is usually accompanied by options for users to either restart the computer or use Advanced options. The latter attempts to diagnose and fix the issue that caused the error, but it may not always succeed.
This issue occurs due to various reasons such as hardware failures, corrupted system files, problematic software updates, outdated drivers, or misconfigured system settings. And, many users are left scrambling for potential solutions to resolve the issue.
Hence, we’ve listed a series of troubleshooting techniques and tools to fix “ PC did not start correctly” on Windows 11/10 PC.
Also Read: How To Find Stop Codes And Fix Windows 10 Errors
How To Fix “Your PC Did Not Start Correctly” Error On Windows 11/10 PC?
Here are some of the basic and advanced workarounds to “Your PC did not start correctly error” fixes.
A. BASIC METHODS:
- Restart your computer: The first and easiest step is to restart your computer and see if the error message disappears.
- Use System Restore: You can try using the system restore feature to restore your PC to a previous state when it was working correctly.
- Check for Hardware issues: Check your hardware components, such as your hard drive, RAM, and motherboard, to ensure they are functioning correctly.
B. ADVANCED METHODS:
Run the Startup Repair tool
The tool helps users to diagnose common errors & fix boot issues that prevent a computer from booting properly.
STEP 1 = Restart your computer and press the F8 key repeatedly until the Advanced Boot Options menu appears.
STEP 2 = Select “Repair Your Computer” and press Enter.
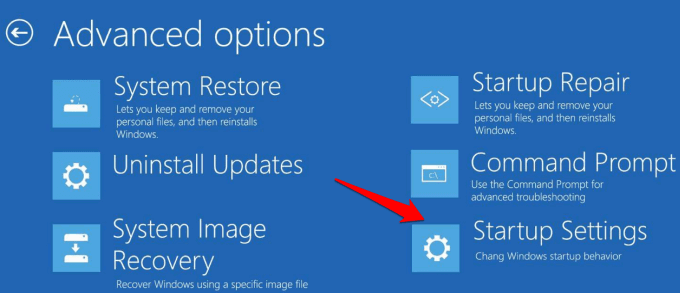
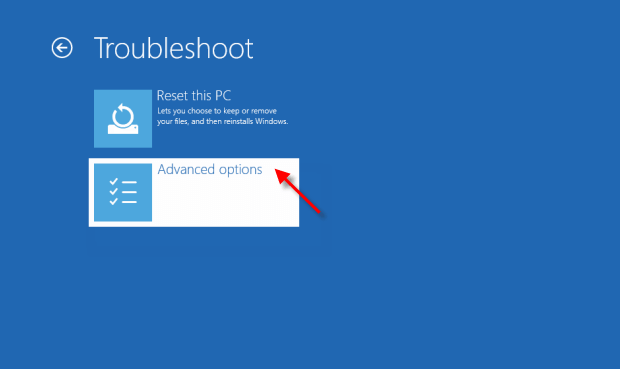
STEP 3 = Select “Troubleshoot” and then “Advanced Options”.

STEP 4 = Click on “Startup Repair” and follow the on-screen instructions to complete the repair process.
You have to login into your user account, and then allow the tool to do its task. Once done, try restarting and see if you’re able to boot into Windows.
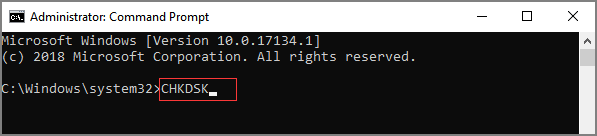
Use the Command Prompt
Using the CMD tool, users can scan for and repair corrupted system files that may be causing the “Automatic Repair Your PC did not start correctly” error on Windows 11/10.
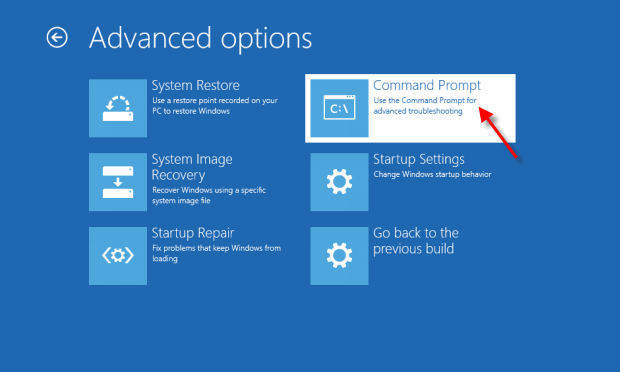
STEP 1 = Restart your computer and press the F8 key repeatedly until the Advanced Options menu appears.
STEP 2 = Select “Command Prompt” and enter the following command: sfc /scannow
STEP 3 = Press Enter and wait for the scan to complete.
STEP 4 = If any corrupted files are found, enter the following command: chkdsk C: /f /r /x
STEP 5 = Press Enter and wait for the repair process to complete.
Additional information = You can try these alternate commands as well to fix the corrupted system files.
Note: It is recommended to use these commands with caution and only after thorough research or guidance from a technical expert, as incorrect use of these commands can lead to system instability or data loss. |
Check & Update Faulty Drivers
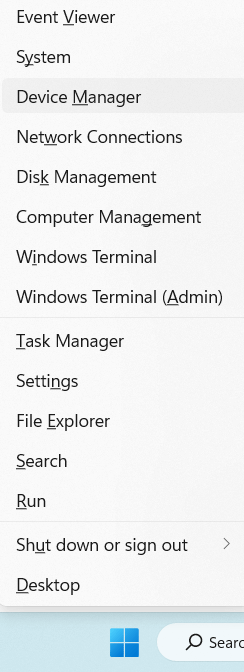
STEP 1 = Press the Windows key + X and select “Device Manager” from the list.
STEP 2 = Expand each category and check for any devices with a yellow exclamation mark.
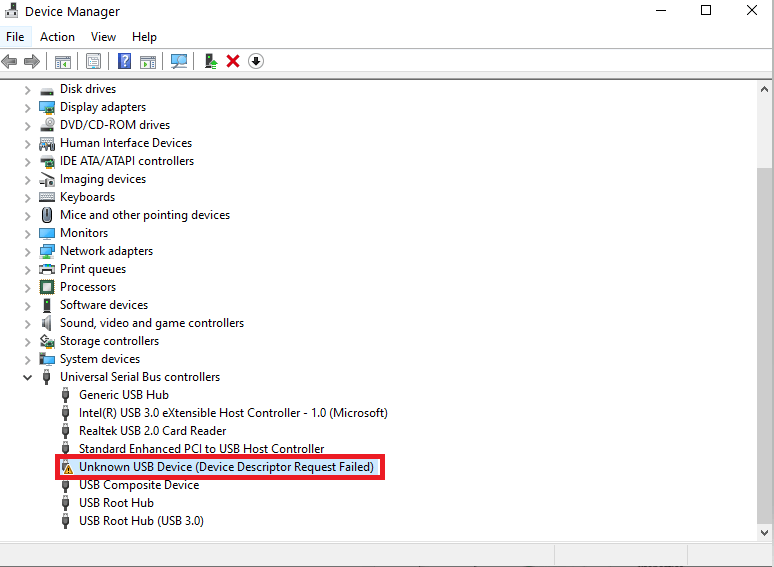
STEP 3 = Right-click on the device and select “Update Driver” to check for updates.

STEP 4 = Follow the on-screen instructions to update the respective drivers in each category.
Since, updating so many drivers on Windows 11/10 PC can be a time-consuming and troublesome task. We recommend you take the help of a reliable driver updater software that finds and updates all the drivers in one go.
We’ve been using Advanced Driver Updater by Systweak Software for quite a long time now and it has been a helping hand to replace all the problematic Windows drivers in a few clicks.
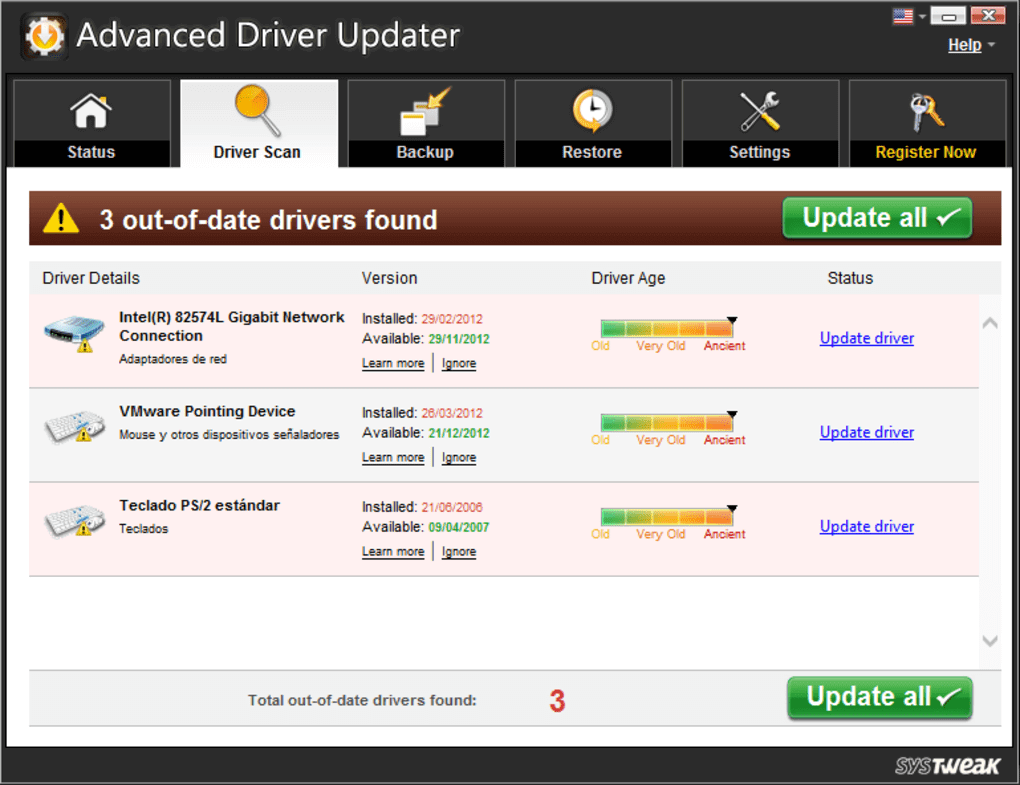
It boasts a vast driver database that is regularly updated, ensuring that users have access to the latest and most compatible updates for their hardware components. With just a few clicks, this software can quickly scan and replace any outdated or corrupted drivers on your Windows PC, thus resolving the error message.
Download Advanced Driver Updater

To learn more about this driver updater program, read this: Advanced Driver Updater – Complete Review!
Reset Windows
Restore your Windows operating system to its default settings to fix a variety of system errors and other issues including “PC did not start correctly”.
STEP 1 = Press the Windows key + I to open Settings.
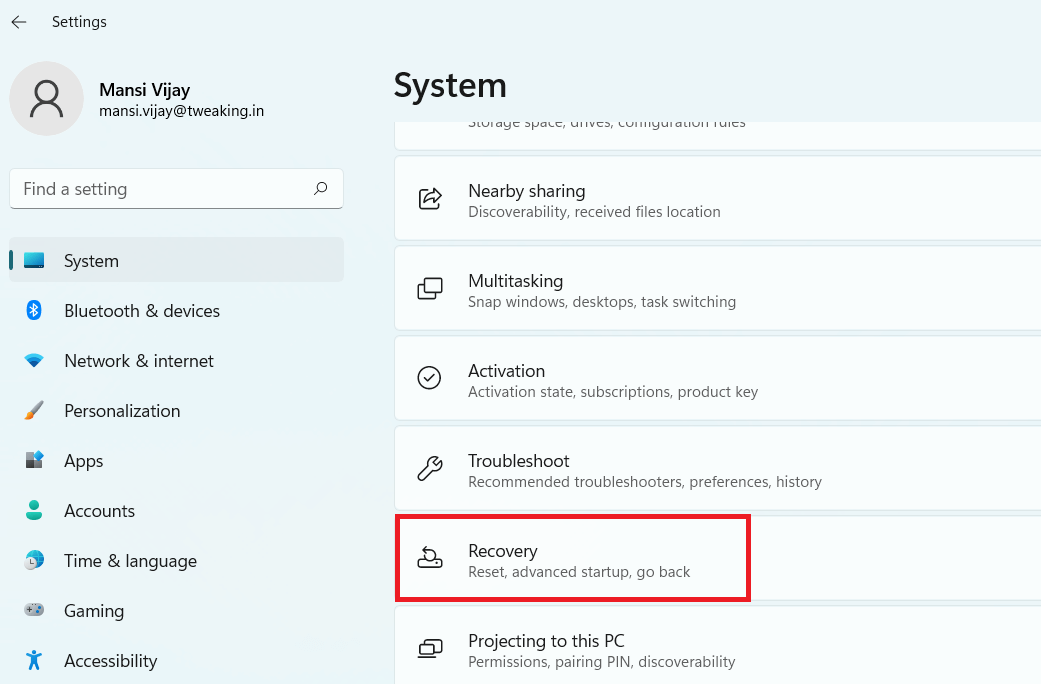
STEP 2 = Navigate to the “Update & Security” module and then select “Recovery” option. On Windows 11, you can find the “Recovery” option under the “System” module.
STEP 3 =Under “Reset this PC”, click on “Get started”.
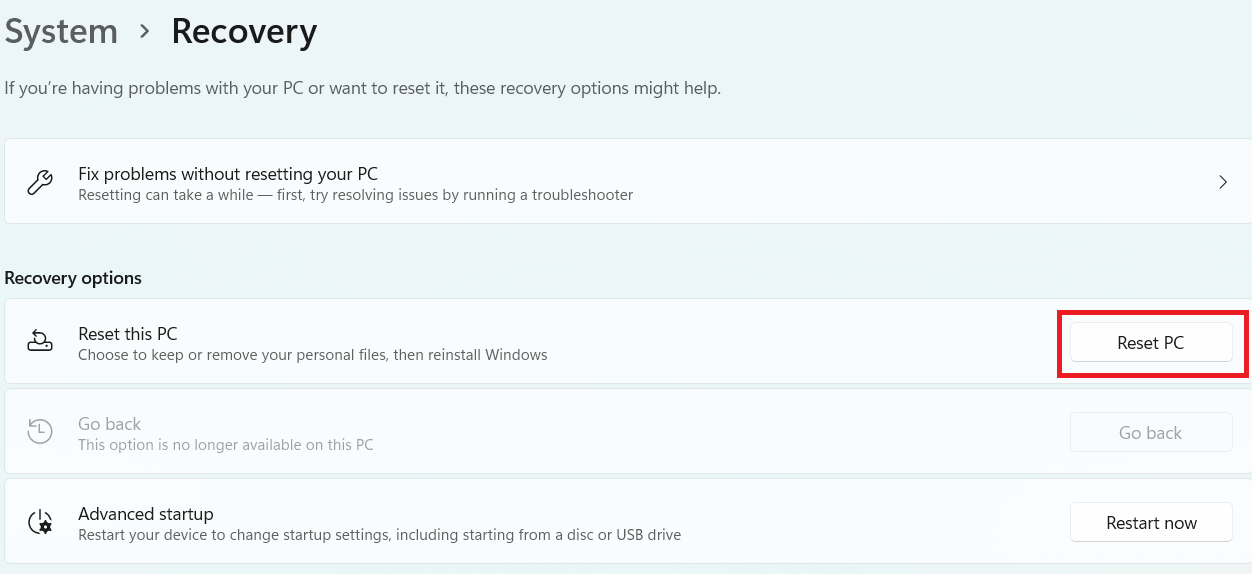
STEP 4 =Choose whether you want to keep or remove your files and follow the on-screen instructions to complete the reset process.
Try restarting your computer and hopefully, you will not face any further error messages or similar problems.
MUST READ: How To Fix: There Was A Problem Resetting Your Windows 10 PC
My Take On Resolving “Your PC did not start correctly” on Windows 11/10 PC!
Well in my experience, I have found that using Advanced Driver Updater can be a game-changer in resolving the “Your PC Did Not Start Correctly” error caused by outdated or problematic drivers. This software is user-friendly and easy to navigate, making it an excellent choice for both advanced and novice users.
If you know any other helpful workaround that can help users in fixing the issue, do share your opinion in the comments!
NEXT READ:
- How To Fix The “All Cameras Are Reserved” Error On Windows PC
- Ways To Fix The “This PC Can’t Run Windows 11” Error
- Fix the “Your PC Ran Into a Problem and Needs to Restart” Error
- How To Fix Windows Update Troubleshooter Not Working

Leave a Reply