What is image quality? While the blog is aimed at telling you how to improve the quality of an image on Mac, it is also important that we get a fair idea of what image quality is since only then you will move in the right direction of enhancing the picture quality. The below explanation is given keeping in mind that a reader has just begun photography. Of course, we click images now and then, thanks to our high-end smartphones, but, this explanation is written keeping in mind that the reader is now wanting to take more impeccable photos (journeying towards being a photographer).
Note: If you are aware of the concept of image quality, you can skip to the “how-to enhance picture quality on Mac”.
Choose an object whose photo you want to click. It could be a flower, a splendid dish, your favorite bike or car (if you have access to them), a gadget you desire, your favorite hang around park or restaurant, a friend of yours, the list is endless.
Observe your object carefully and with all your heart. Now, click the image. Compare the image you have snapped with the original image. Here are the factors you should consider –
- Visibility of the elements in the image/ composition.
- Colors of the elements in the composition i.e. how well the colors are matching.
- Lighting (very dim, very bright)
- Sharpness (how crisp the image is)
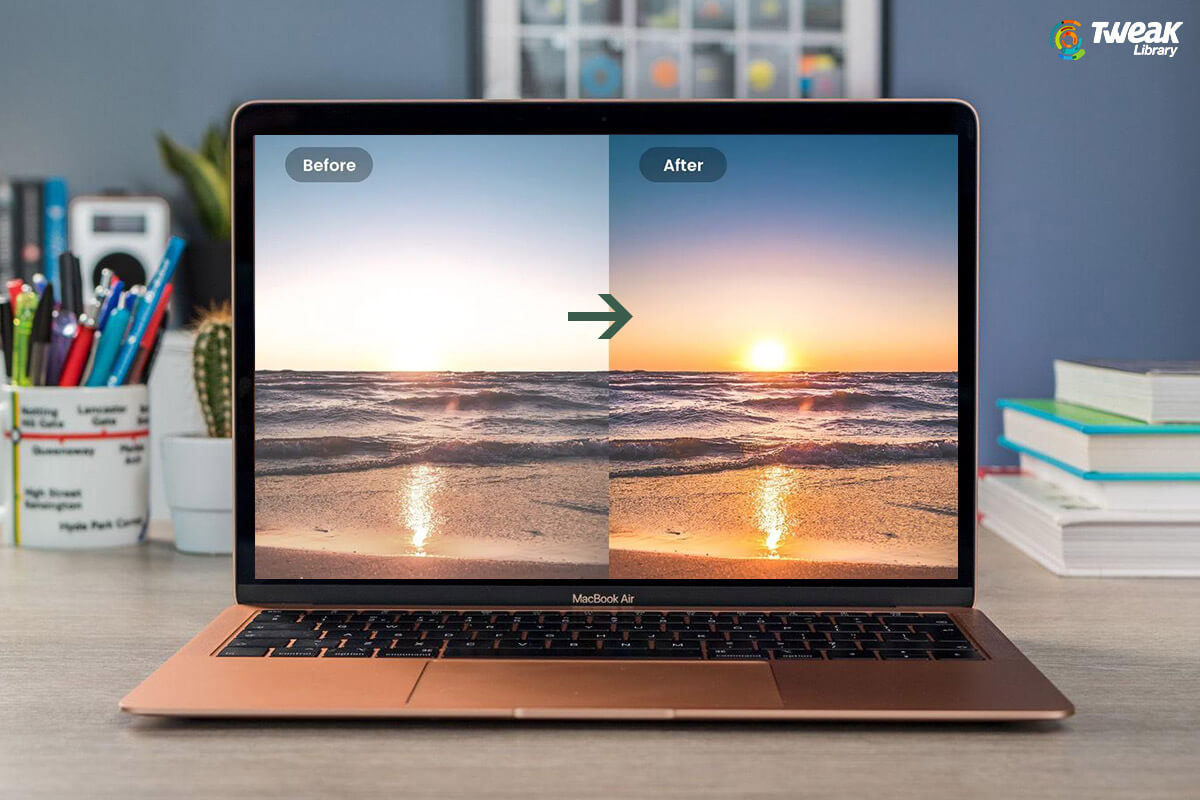
All in all, is the image able to bring out the feeling as that of the real object? How close is your clicked photo closer to the real object? While a lot of this depends on the camera you are using, several aspects can be fixed on your Mac (for the same task you can involve a smartphone or Windows, but, we are assuming you love to watch photos on your Mac.
Ways to Enhance Image Quality on Mac:
Sharpen Photo On Mac

Using the Photos app, you can sharpen an image on Mac. This particular adjustment can help improve the overall definition of your photo while also making the edges crisper in the process. This method can also be used to enhance a video, but we’ll take it up in a later blog. To sharpen an image on Mac, follow the steps listed below –
1. Open your Photos app
2. Double-click on a photo and click on the Edit in the toolbar.
3. Inside the Adjust pane, click on the arrow (>) next to Sharpen
4. Drag the sliders as per your requirements. To give an insight, here is a brief description of what each of the options signifies –
- Intensity: It lets you tweak the strength of how sharp you want the edges to be.
- Edges: With this option, you can set the threshold and select groups of pixels that you want as edges and which you don’t want as edges.
- Falloff: Here you can adjust the prominence of the sharpness. The higher the number, the more severe the sharpness will be.
Use A Third-Party Tool To Enhance Photo Quality on Mac
Going by this title, you are probably thinking that we are going to discuss some high-end photo editing tools. Don’t worry, here we are going to discuss an easy-to-use, feature-rich photo editing tool that will help you improve the image quality in a matter of a few clicks and more so help you make your photo even more beautiful. That being said, we even love high-end photo editing tools (Our graphic designing peeps love them to the core and so do we!).
However, we know that Mac users of varying levels would be reading this blog. So, a photo editing tool like HDR Effect is something you can bring aboard. If you are just starting with photography or photo editing and stuff, HDR Effect will help you pique your interest. Also, we’d like to mention that by using this tool, you will also be able to strengthen your grip on various nuances of photo editing as well.
Let’s Discuss In Brief Some of The Important Facets of This Tool –
- HDR Algorithm: helps increase the luminosity of a low-quality image
- Colour Enhancement: Increases color range and color perception
- Contrast Enhancement: Increase HDR contrast
- HDR Denoise: Helps in removing noise
- Smart Tone: Adjust the tonal quality of the image as per your liking
- Colour Filter: add a color filter to enhance the beauty of an image
- Predefined High-end Presets: These presets can help in improving the picture quality on Mac
Other features you will like during using the tool:
- Image Radiance
- Colour Adjustment
- Vignette
- Custom Presets
- Support for RAW Image
How To Use HDR Effect On Mac
1. Download, install and run HDR effect on Mac
Download Now HDR Effect

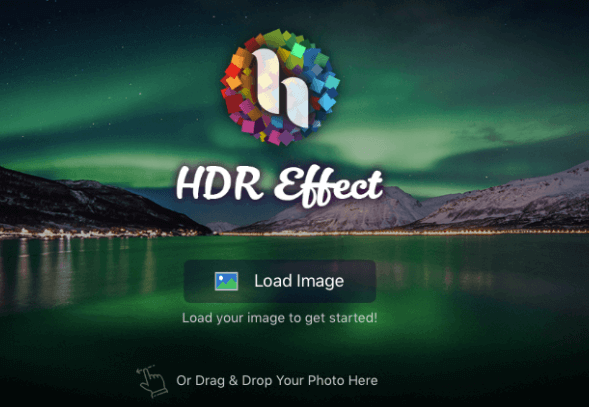
2. You can either click on Load Image to select an image from a location on your Mac or you can simply drag and drop the photo into the interface.
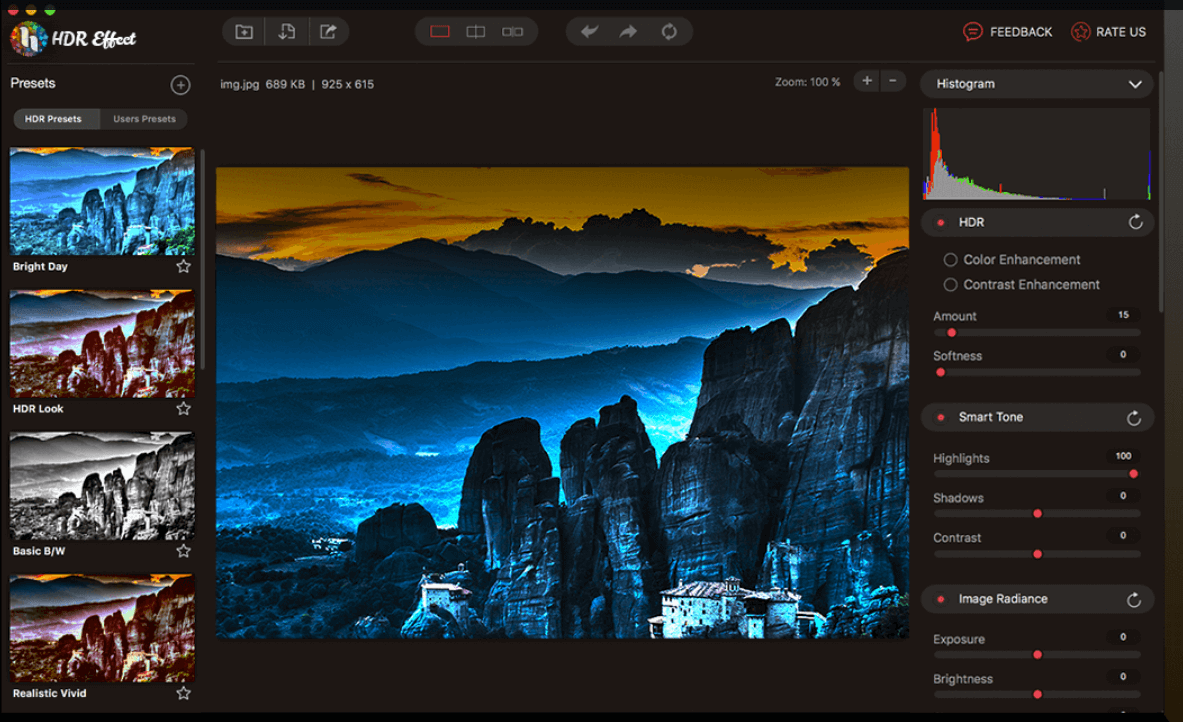
3. Now you have tons of options or experiments that you can perform on the image. You can increase the tonal quality, use HDR presets, enhance colors, make the image sharp or soft, and do loads of other things.
Wrapping Up
If we have been able to change your perspective at how you look at clicked images and if now you are after enhancing the quality of photos on Mac, do give us a big shout-out in the comment section below. For more such content, keep reading Tweak Library.

Leave a Reply