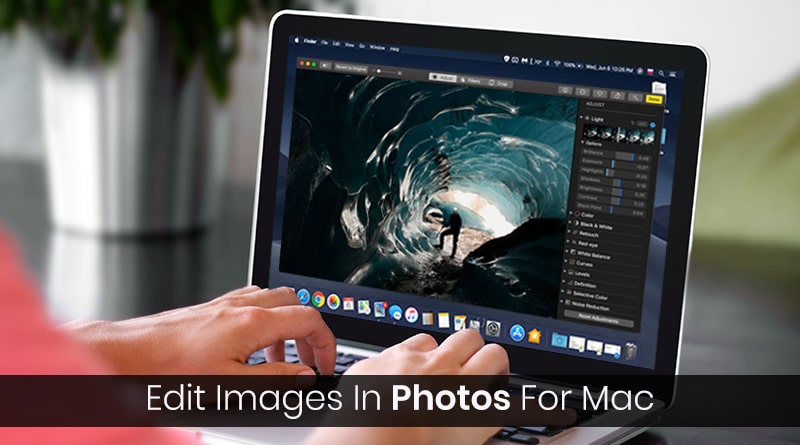
We tend to edit photos on a smartphone and that’s the most preferred way. But have you ever tried to edit, crop, fix red eyes, color, filters, brightness, and saturation on your Mac? Yes, it is possible! Photos for Mac comes with everything that is required to turn your picture into a masterpiece. Moreover, Photos for Mac is a free photo editor for Mac making photo editing simple for even beginners.
Besides, being one of the best photo editing software for beginners, it is the easiest way to edit images in Photos for Mac with ease. If you’re wondering how to edit photos on Mac without Photoshop, don’t worry! Here you can learn and become a pro in seamlessly editing Photos on Mac.
Must Read: Best Duplicate Photo Cleaner Tools To Organize Your Photo Collection
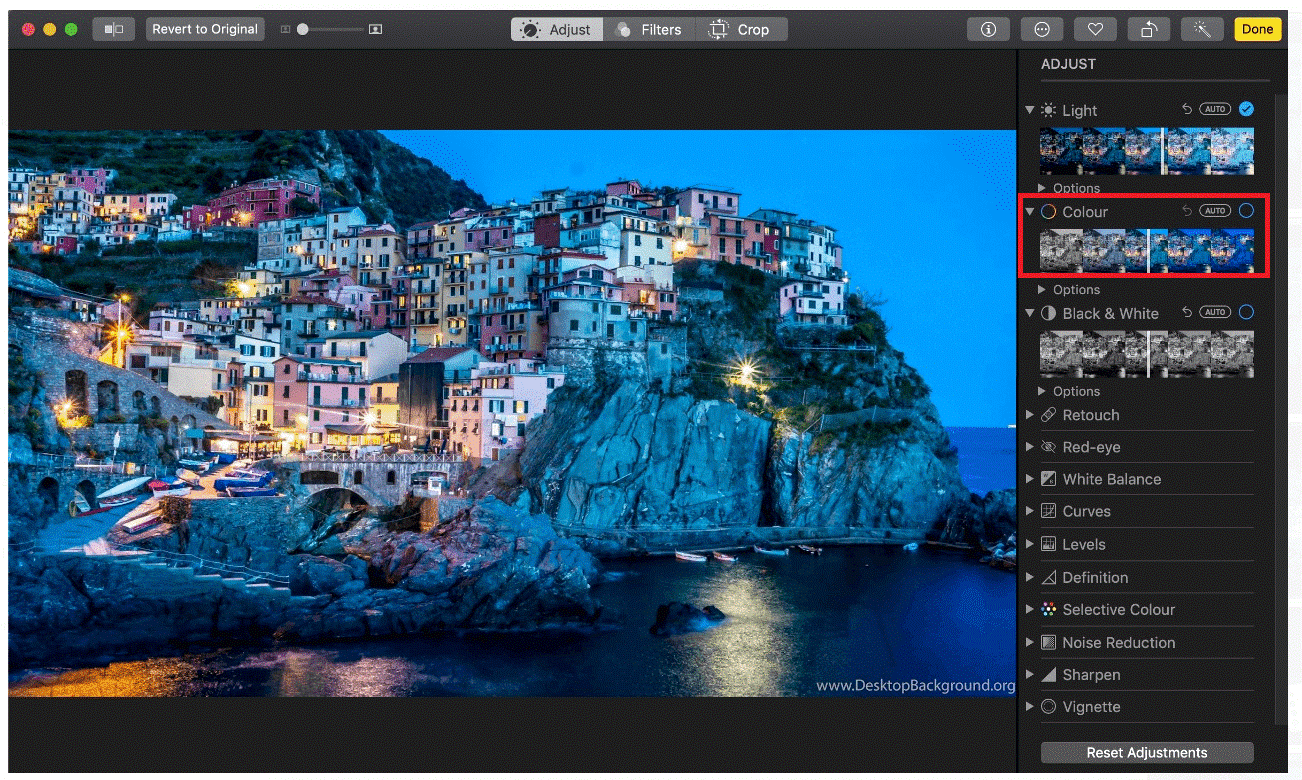
Steps to Fine-Tune Color Saturation in Photos for Mac
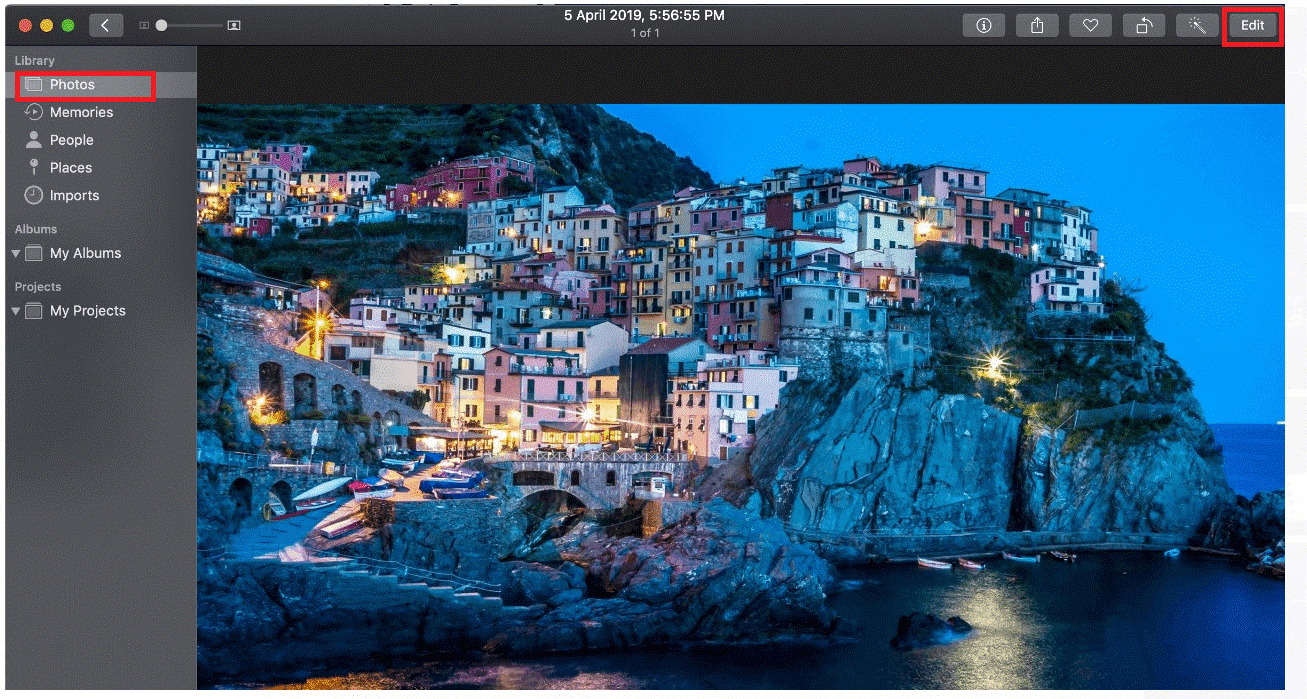
Step 1: Go to Photos app on your machine.

Step 2: Now, find photos for which fine-tune is required and click on them.
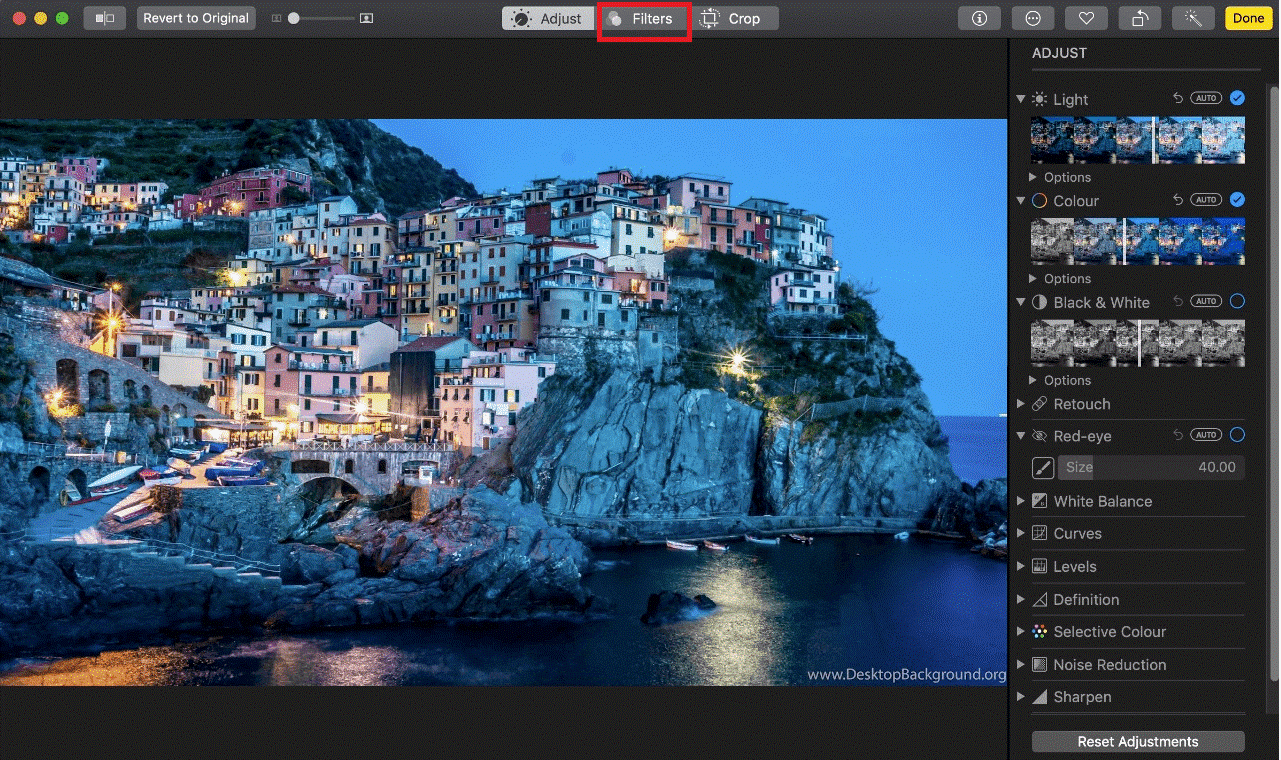
Step 3: Next, click on the Edit button present at the upper right panel.
Step 4: Now, drag the color slider and fine-tune color saturation in photos for Mac.
Step 5: Hit Done at the upper right corner to save the changes. That’s it, you’ve now successfully edited image color and saturation.
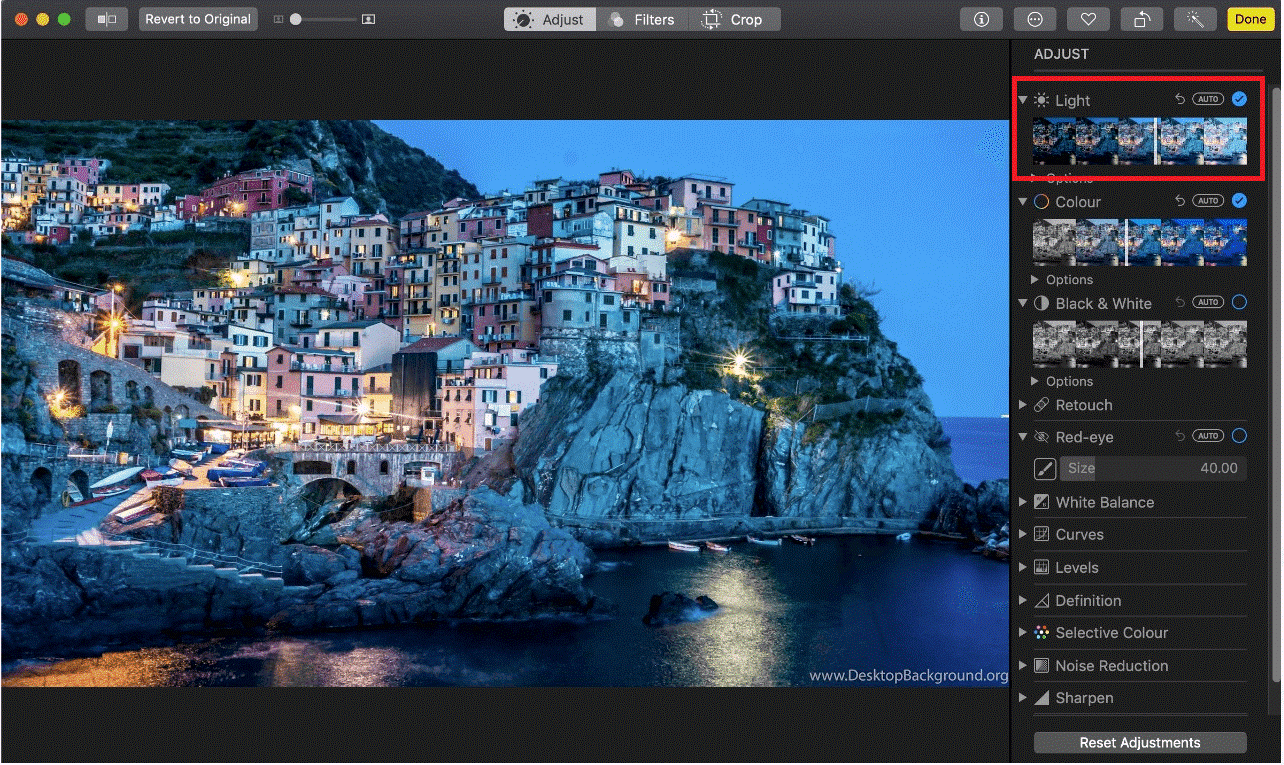
Steps to Fine-Tune Brightness in Photos for Mac
Step 1: Navigate to the Photos app on the Mac.
Step 2: Now, locate the image in the photo library that you’re interested in editing and click on it.
Step 3: Hit Edit button. You can get the button at the upper-right corner of the screen.

Step 4: Now, you need to drag the light slider from left to right to fine-tune brightness in the image.
Step 5: Choose Done from the upper-right of the screen.
Steps to Change Definition in Photos for Mac
Step 1: Open the Photos app.
Step 2: Look for the images that need editing and double-click on it.
Step 3: Select the Edit button.

Step 4: Now, hit on the arrow available next to Definition.
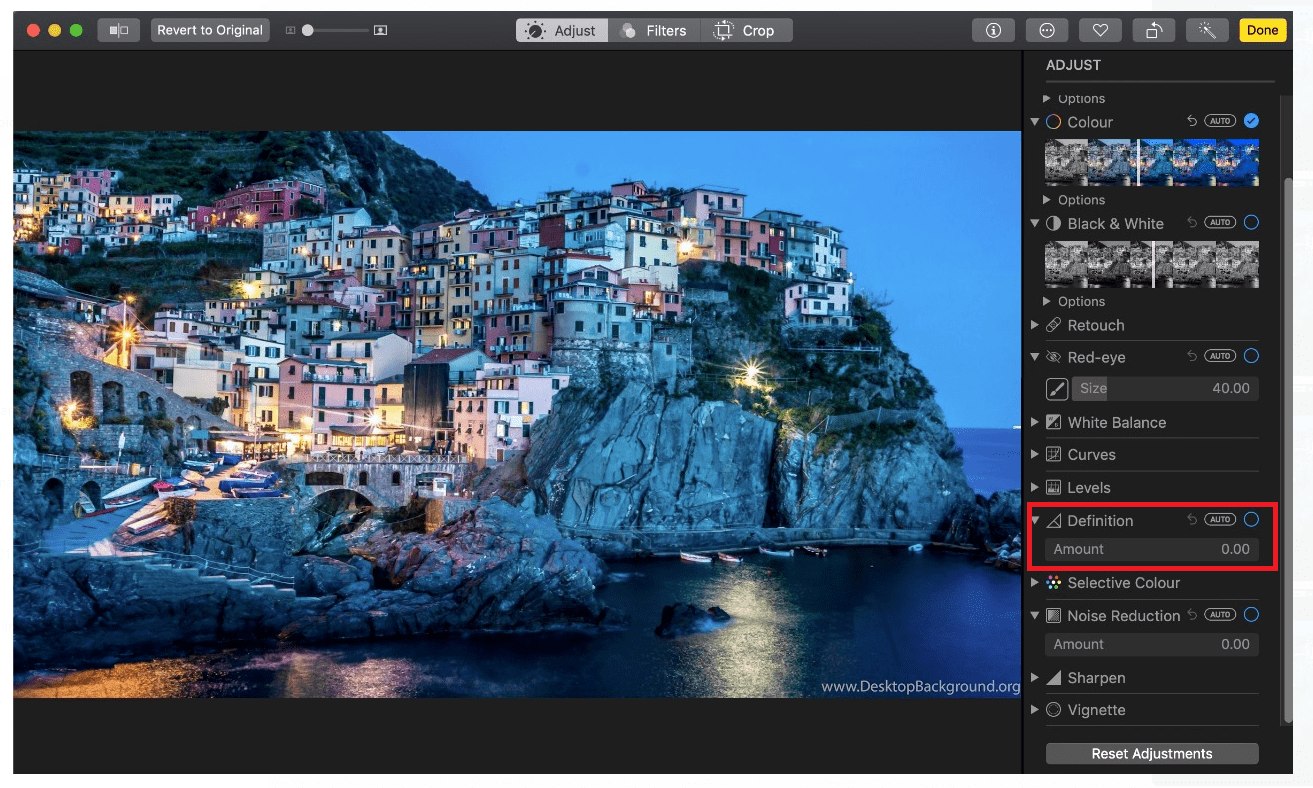
Step 5: Adjust definition by dragging the slider left to right. You can use the Auto button to fine-tune definition automatically.
Step 6: Hit Done button once you’re finished editing.
Steps to Use Noise Reduction with Photos for Mac
Step 1: First, launch your Photos app on Mac.
Step 2: Now, look for the images that you would like to edit and double click on the image.
Step 3: Hit Edit from the top navigation panel.
Step 4: Now, hit the arrow located beside Noise Reduction.
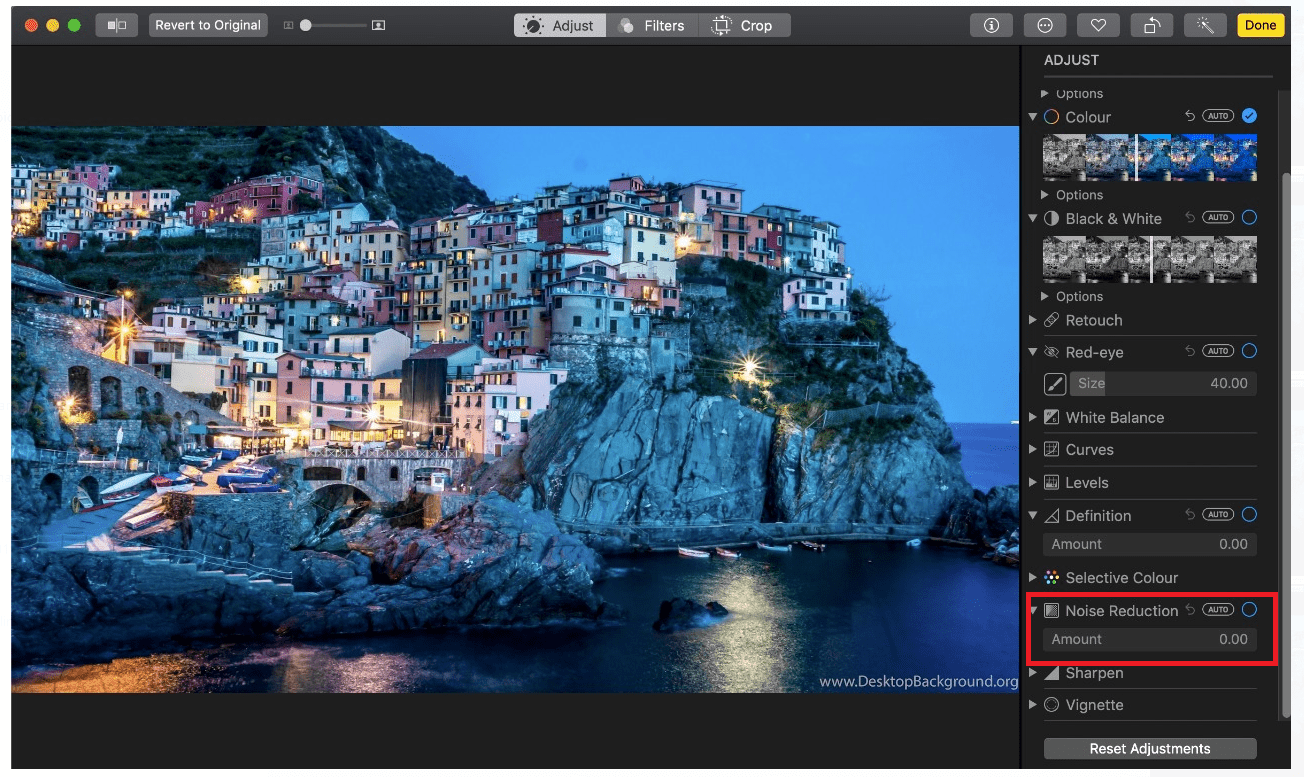
Step 5: Drag the slider according to your preference to reduce image noise. Here you can also automatically auto fix noise reduction for your image.
Step 6: Hit Done.
Steps to Fix Your Red-Eye in Photos
Step 1: Go to Photos app on the Mac.
Step 2: Now, double-click the image you are interested in editing.
Step 3: Choose Edit button.

Step 4: Select Red-eye in the sidebar.

Step 5: Now, using the slider, adjust the size of the brush.
Step 6: Select your desired brush.
Step 7: Select the eye you would like to fix now.
Step 8: Hit Done from the upper right corner of the same window.
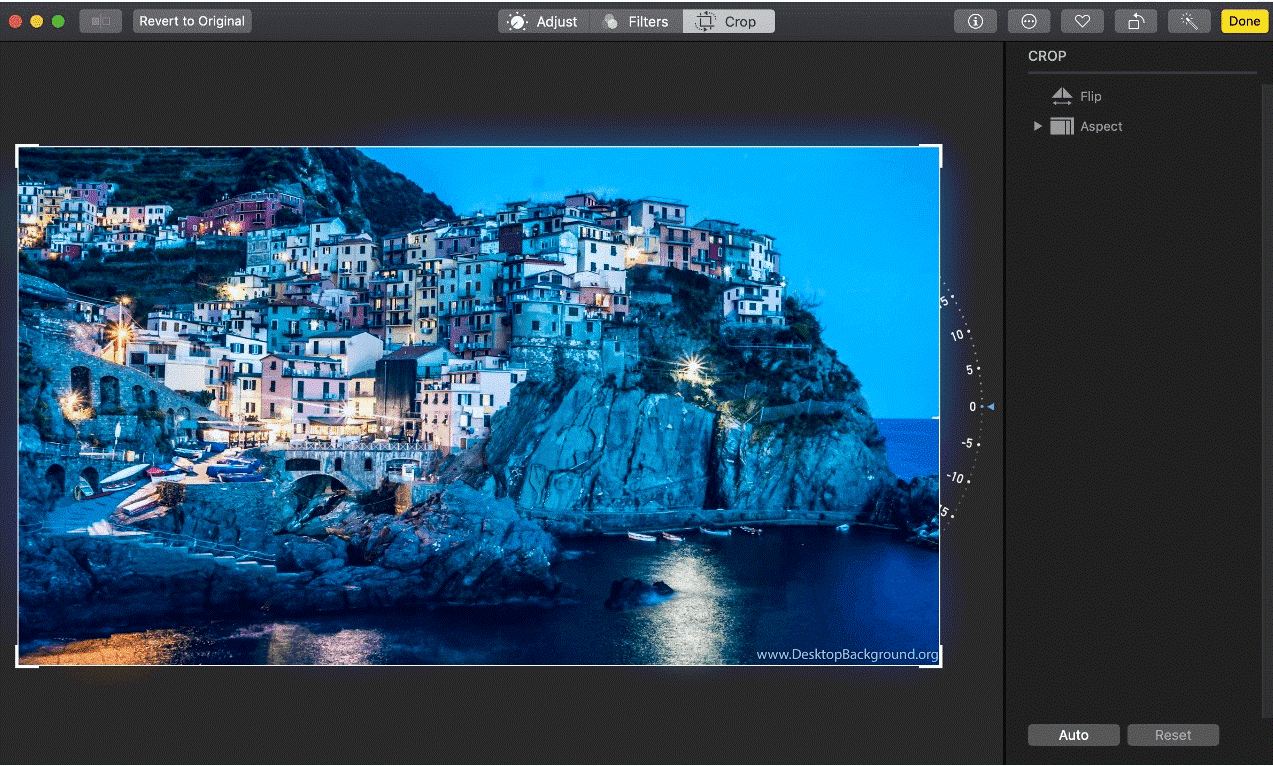
Steps to Crop Photos Manually on Mac
Step 1: Launch the Photos app.
Step 2: Now, locate the photo that you would like to crop.
Step 3: Double click on the same photo.
Step 4: Hit Edit.
Step 5: Now, you need to select Crop from the upper navigation.

Step 6: Select the arrow located beside Aspect.
Step 7: Now, according to your need select the aspect ratio. You can also grab the corners of the photo and free crop, then hit Custom, to create a custom aspect ratio.
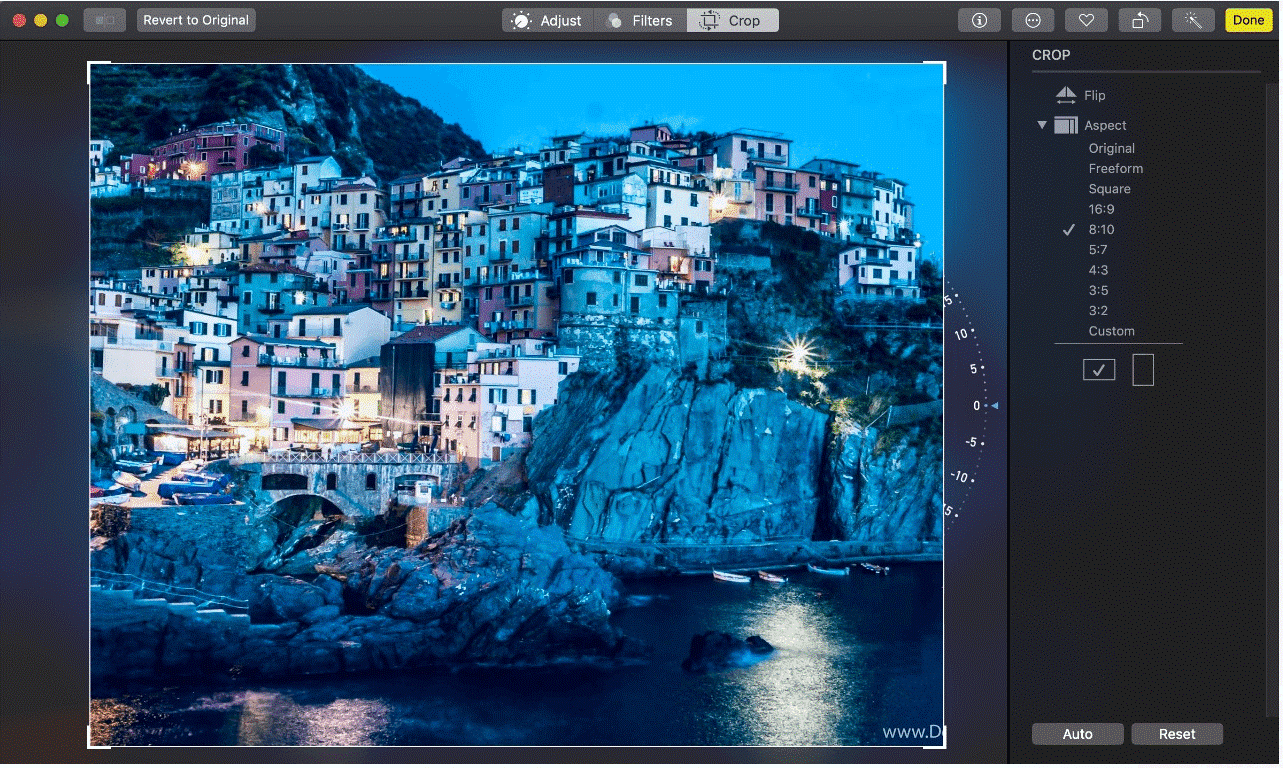

Step 8: When you are done deciding the aspect ratio, hit Done.
Steps to Add Filters to Your Images
Step 1: Navigate and open the Photos app on your Mac.
Step 2: Now, select the photo on which you want to add a filter and then double-click on the same photo.
Step 3: Choose Edit which is available at the upper-right corner on the same window.
Step 4: Hit Filters from the upper navigation.
Step 5: Now, select the filter that you’re interested in applying.
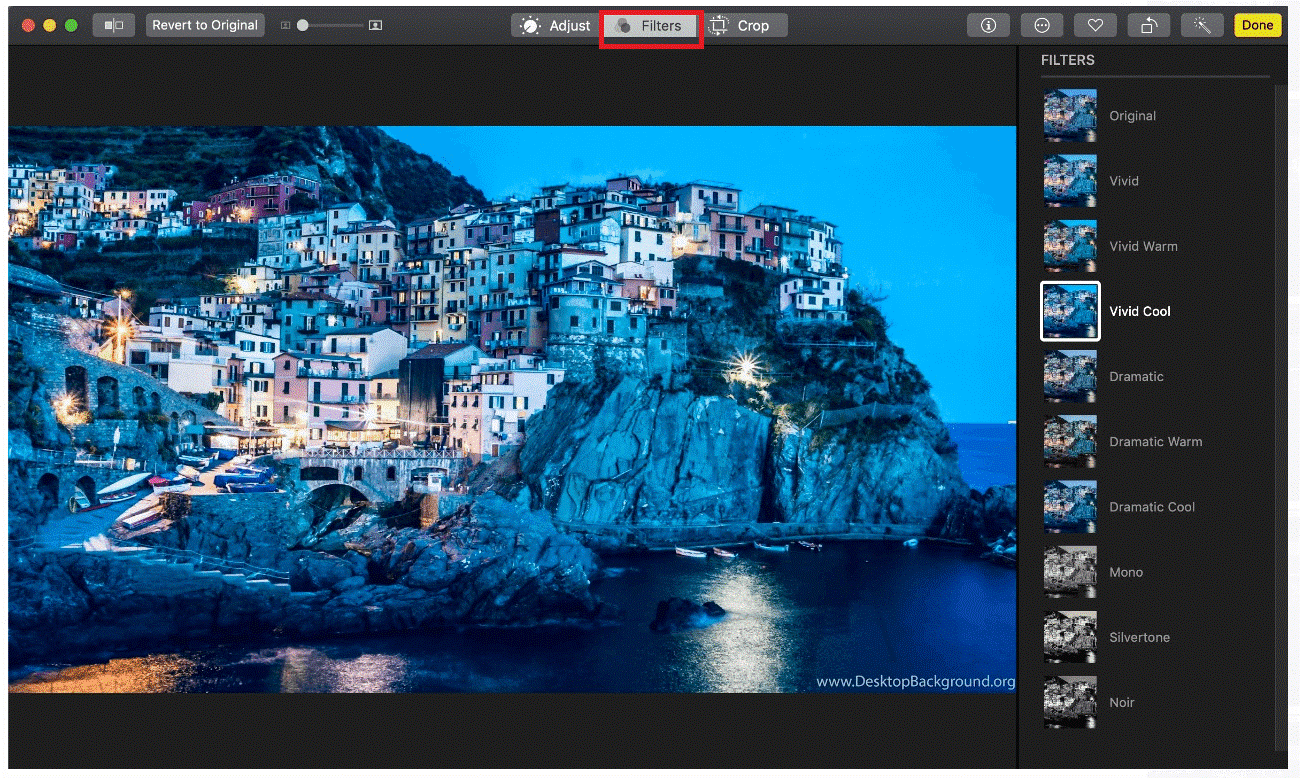
Step 6: Once you are done selecting your preferred filter, click on the Done button.
Also Read: Best Duplicate File Remover Tools For Mac
You’ve now successfully learned the easiest way to edit images in Photos app for Mac. We hope you find this article useful for editing your photos and making the most out of your Mac.


Leave a Reply