No matter who you are – an avid professional photographer, a graphic designer, a hobbyist, or a general user, you would need more than just skills and sharp eyes to sieve and delete duplicate photos on Mac’s library.
It is important to delete duplicate photos on Mac, not just because they make it difficult to filter out the right images at the time of emergency but they even clutter your storage space. And, we all know for the fact that manually removing duplicate photos on Mac is next to impossible. So, in this blog, we will discuss an efficient, effective, and powerful tool that will undoubtedly help you delete duplicate photos on Mac.
Duplicate Photos Fixer Pro – Remove Duplicate Photos On Mac With Utmost Ease And Efficiency
What is Duplicate Photos Fixer Pro For Mac?
Duplicate Photos Fixer Pro is an ultimate tool that scans and helps delete duplicate photos on Mac arising out of several situations. For accuracy, it offers several scanning that eliminates the chances of deleting the right image.
Why Should You Use Duplicate Photos Fixer To Delete Duplicate On Mac?
Came across a situation, where you couldn’t discern between two images since both had more or less the same content. We’ll how about putting it under the powerful scanner of Duplicate Photos Fixer? Let’s delve a little deeper and you’ll understand what we are talking about –
If you haven’t yet considered installing a specialist tool like Duplicate Photos Fixer Pro, the below-mentioned reasons will certainly motivate you to install Duplicate Photos Fixer Pro right away. Here’s why you should have Duplicate Photos Fixer Pro on your Mac –
- To quickly retrieve tons of space by removing duplicate photos on Mac
- To scan duplicate images scattered every nook and cranny of Mac – hard drive, external storage devices, or even the iPhoto library
- Easily find duplicates from several backups of images and get rid of unnecessary junk
- To find duplicate and near-identical images such as those taken in quick succession or on images where minor edits are made
How To Use Duplicates Photos Fixer Pro and Remove Duplicate Photos On Mac
List of Contents
Note: Each of the options mentioned in the steps in point.no.(i), are explained in point.no.(ii)
1. The Basics: How To Remove Duplicate Photos On Mac Using Duplicate Photos Fixer Pro
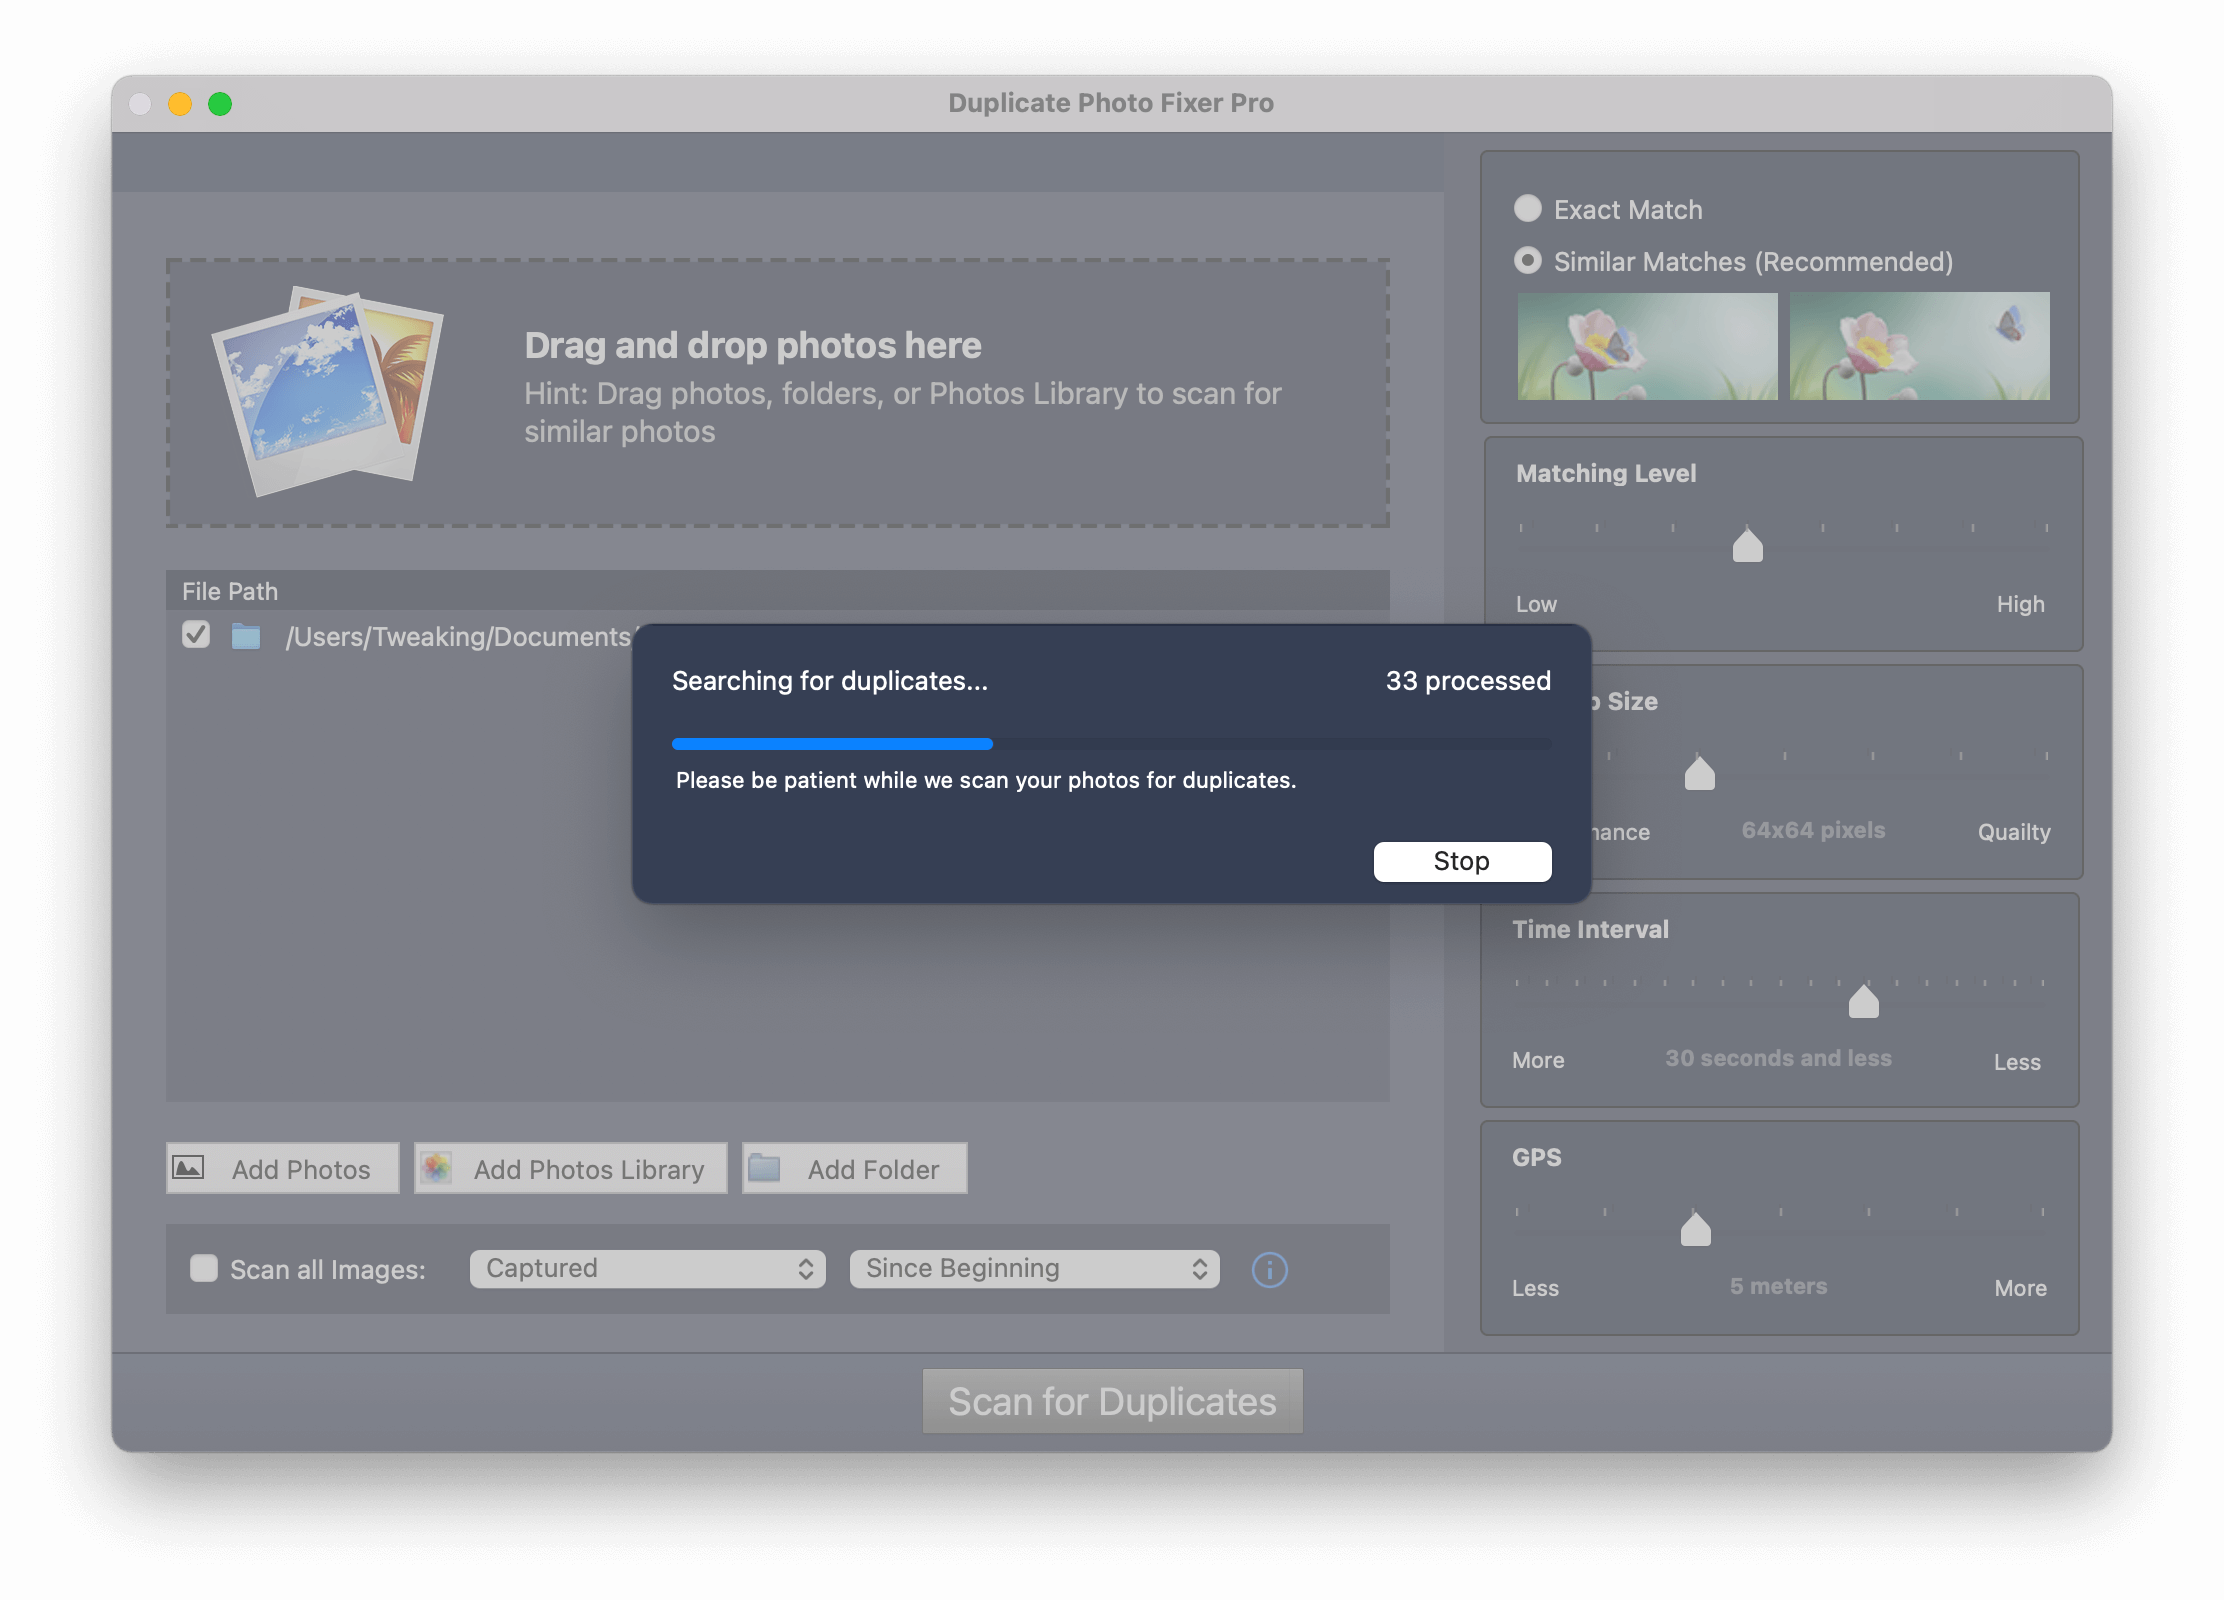
Let’s first get a brief overview of how you can use Duplicates Photos Fixer Pro for Mac so that you won’t find it difficult to delve into the modules which we are going to discuss in just a short while.
1. Ensure you have MacOS 10.7 or above and you are running a 64-bit processor
2. Install and run Duplicate Photos Fixer Pro on your Mac
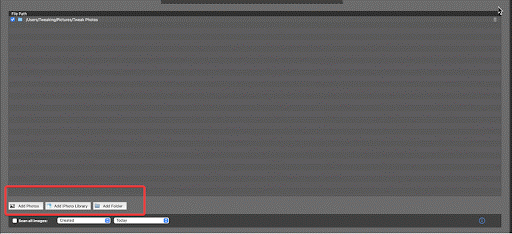
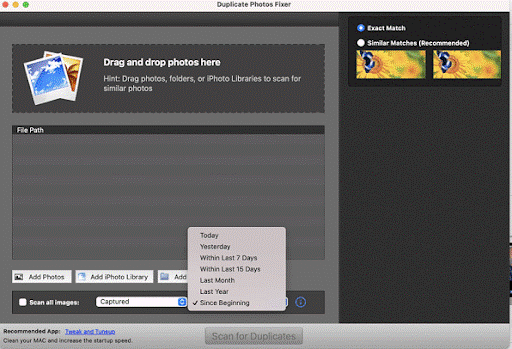
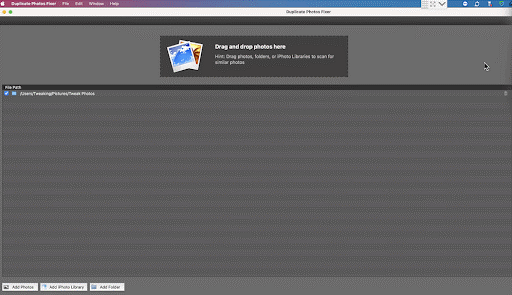
3. You can either drag and drop individual photos, folders from drives or folders from iPhoto (Now Photos library) or choose any of the options as shown in the screenshot mentioned below
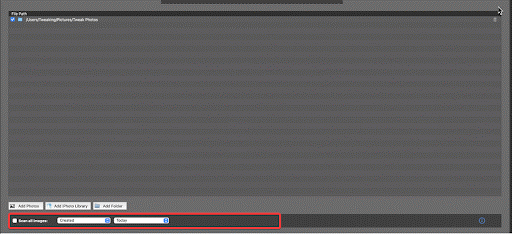
4. Either check the Scan all images or select images based on creation, capture or import date or time when they were captured
5. Select your Matching Criteria

6. Click on Scan for Duplicates

7. You will now have all the duplicates in front of you. On the right-hand side, you can even see the meta-data of the images as well
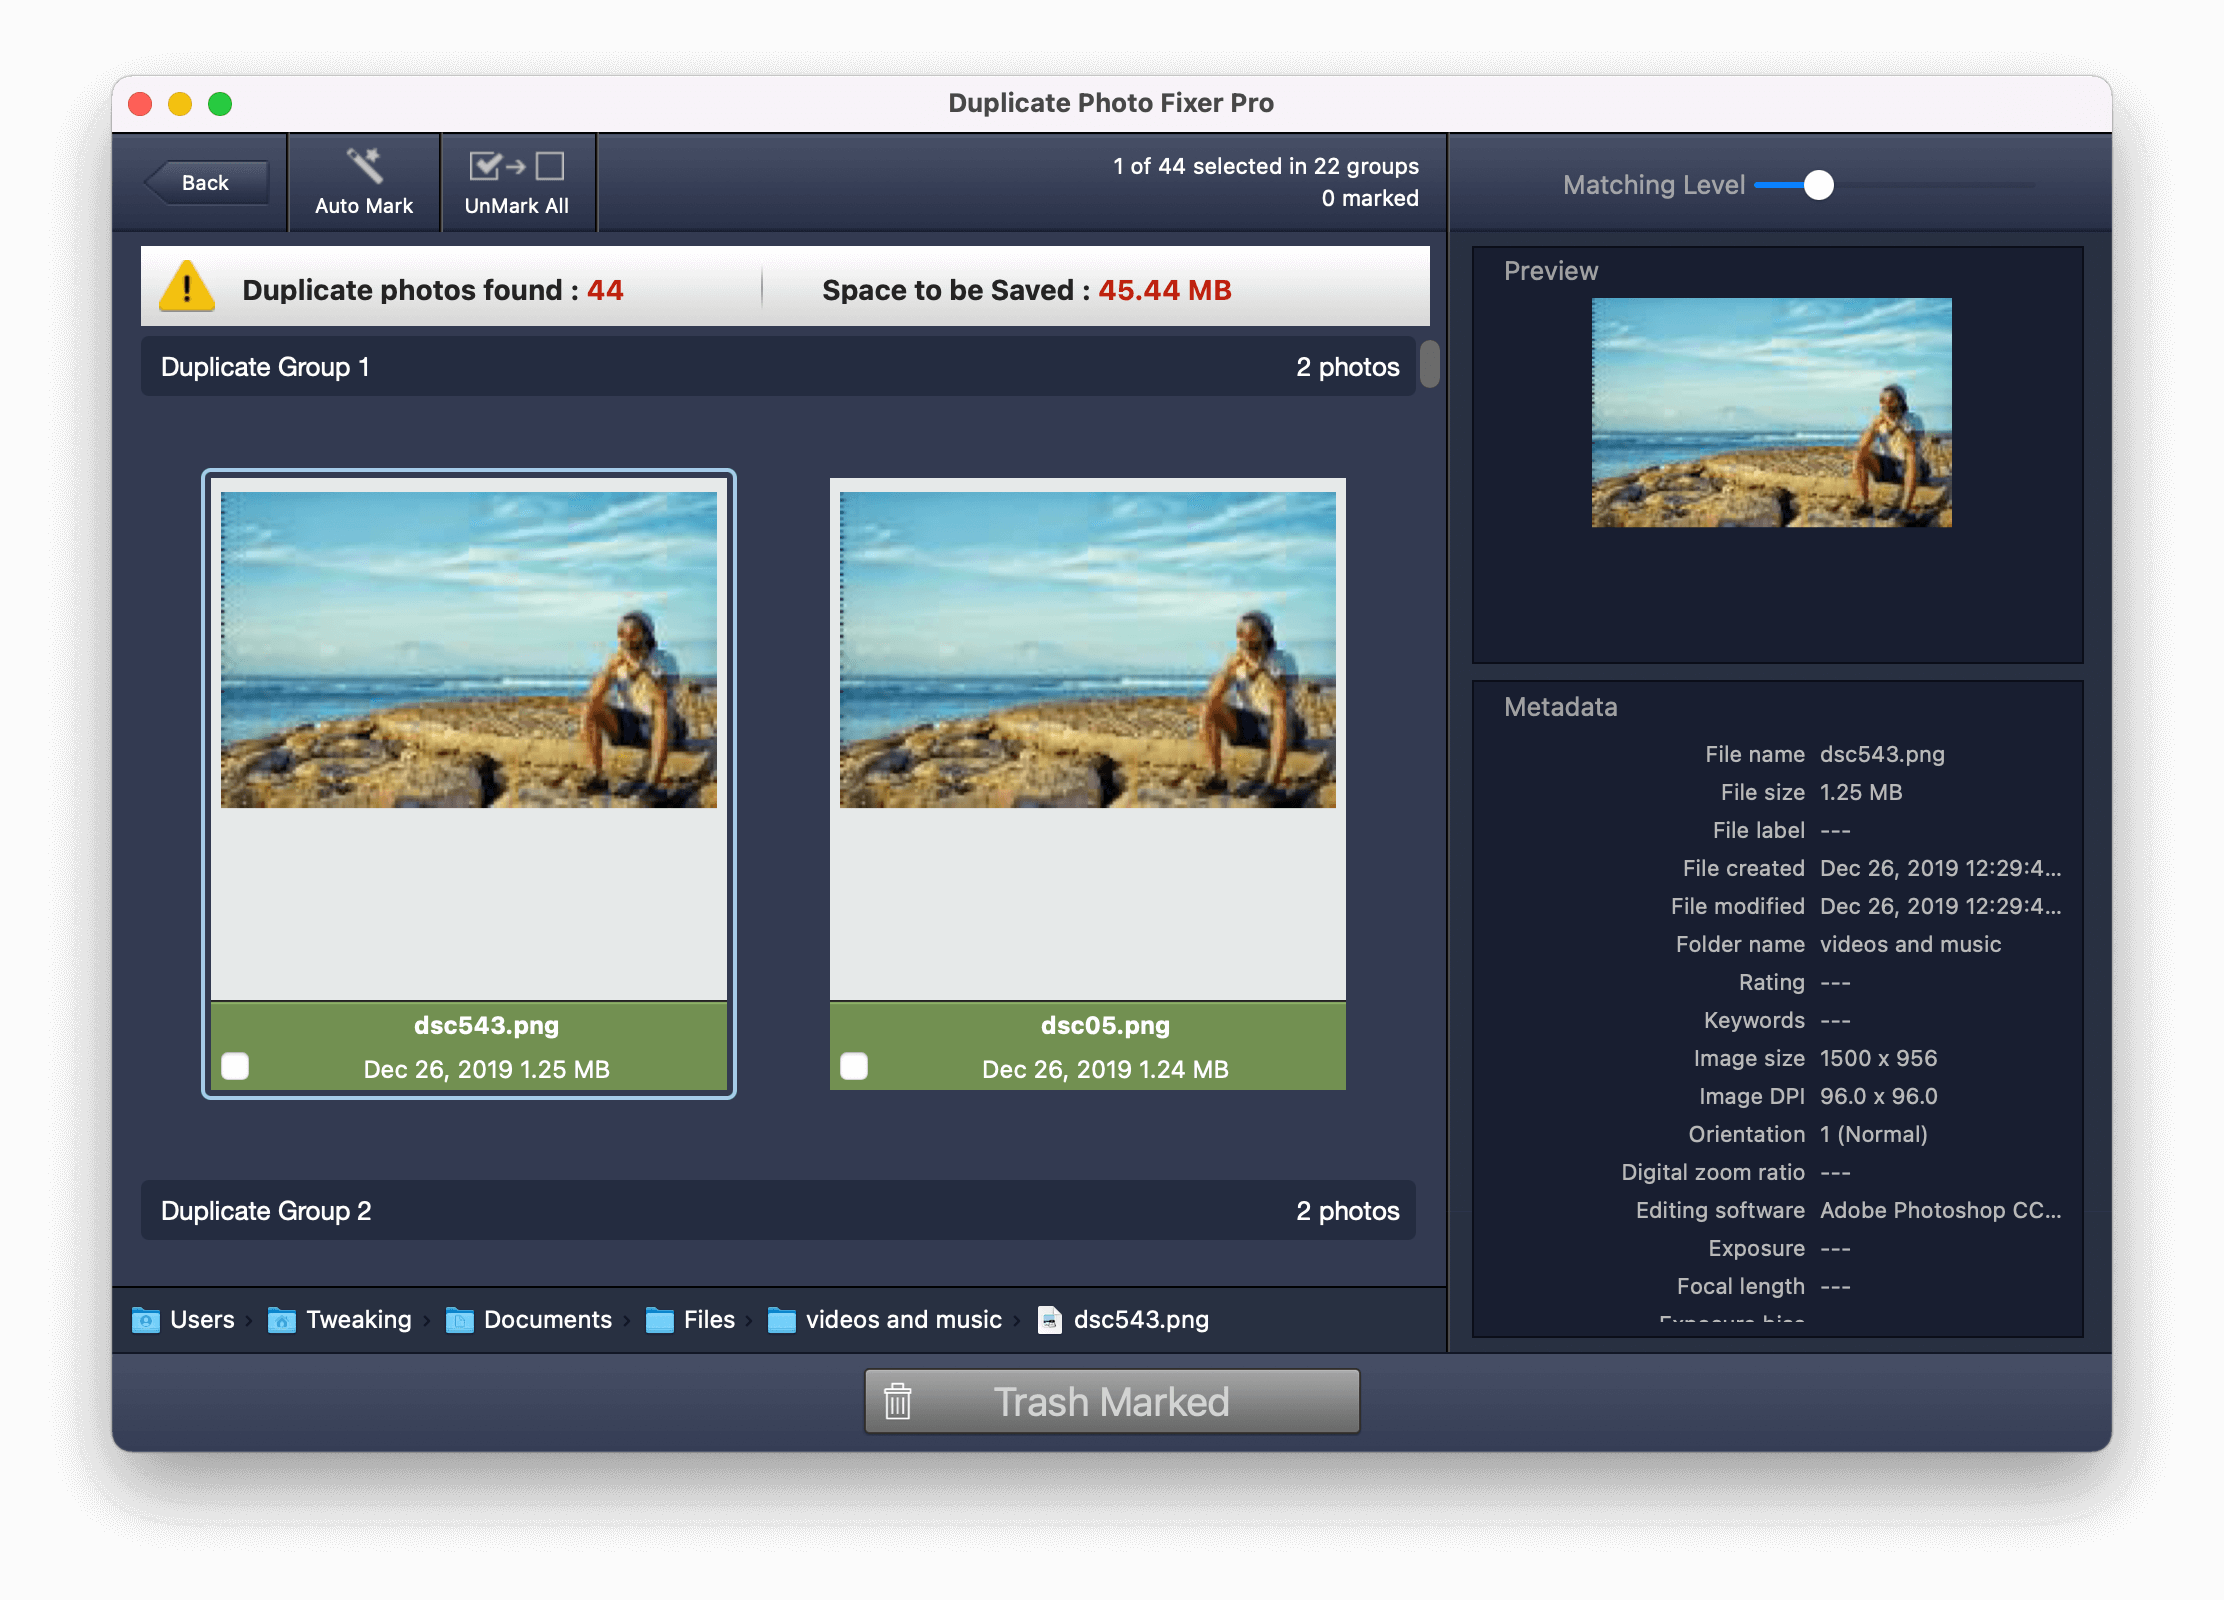
8. You can use the Auto Mark functionality present at the top of the screen. This way Duplicate Photos Fixer will mark the duplicate for you. You can even change the auto-marking priorities in the settings that you can open by clicking on Duplicate Photos Fixer (at the topmost bar) > Preferences
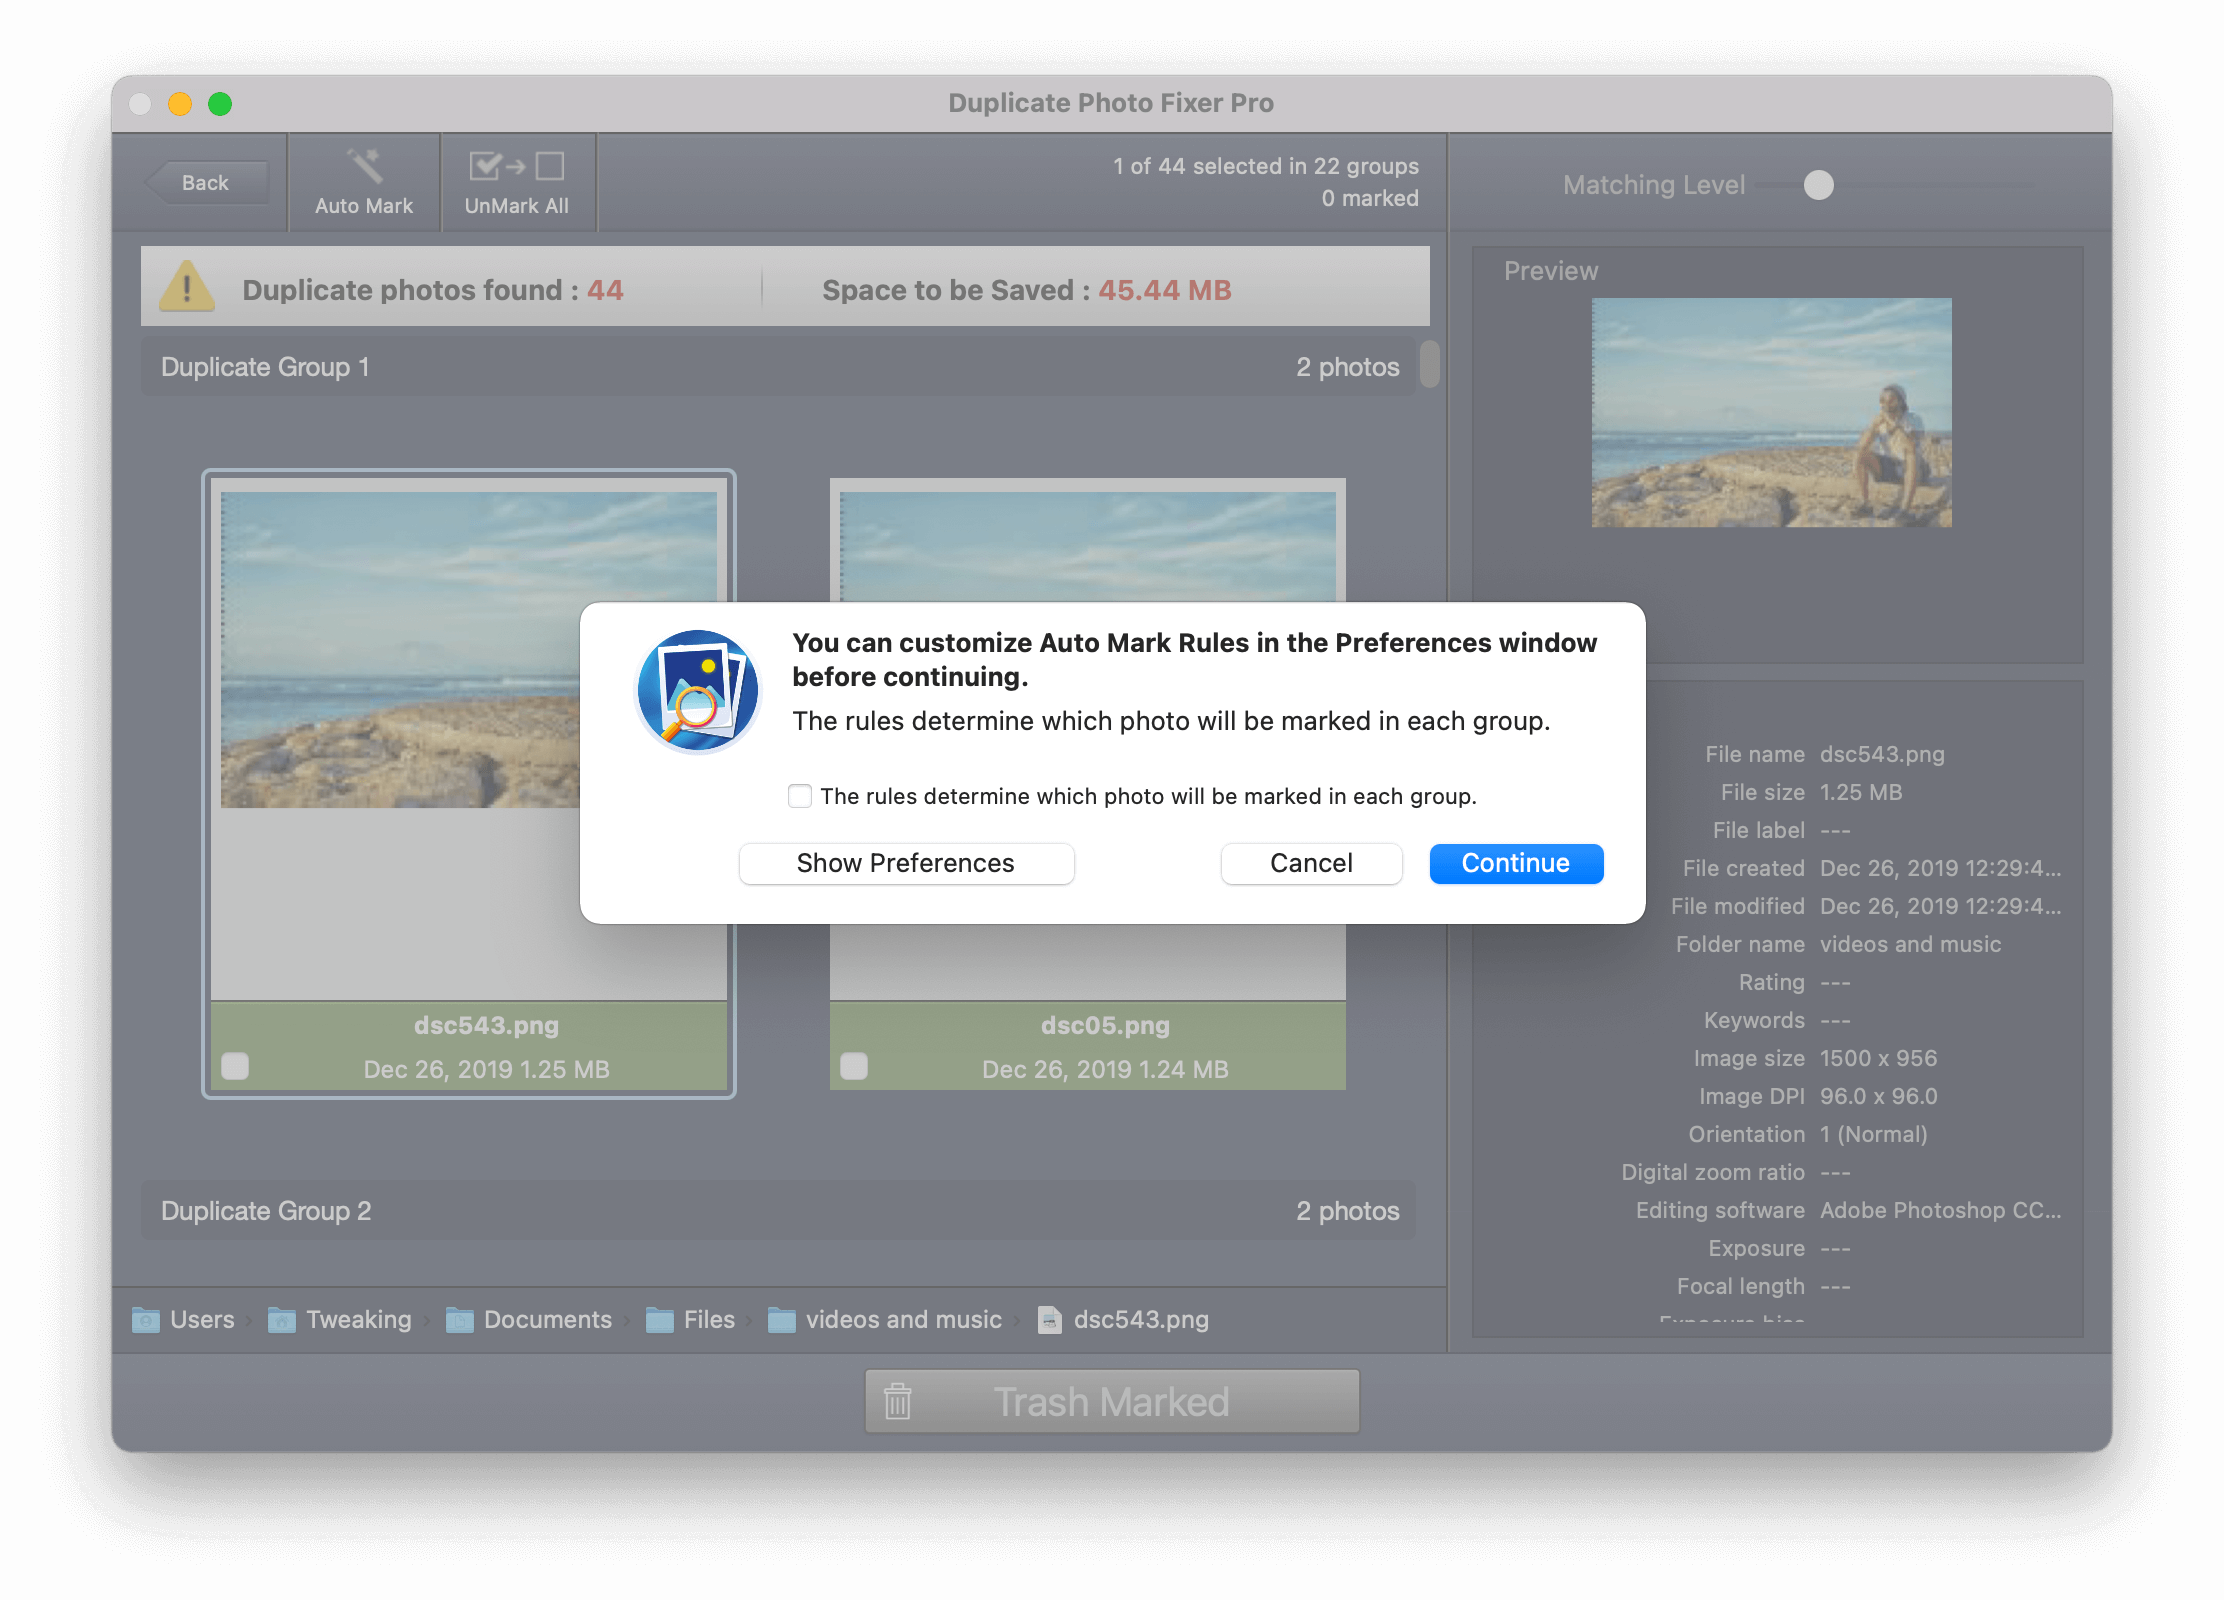
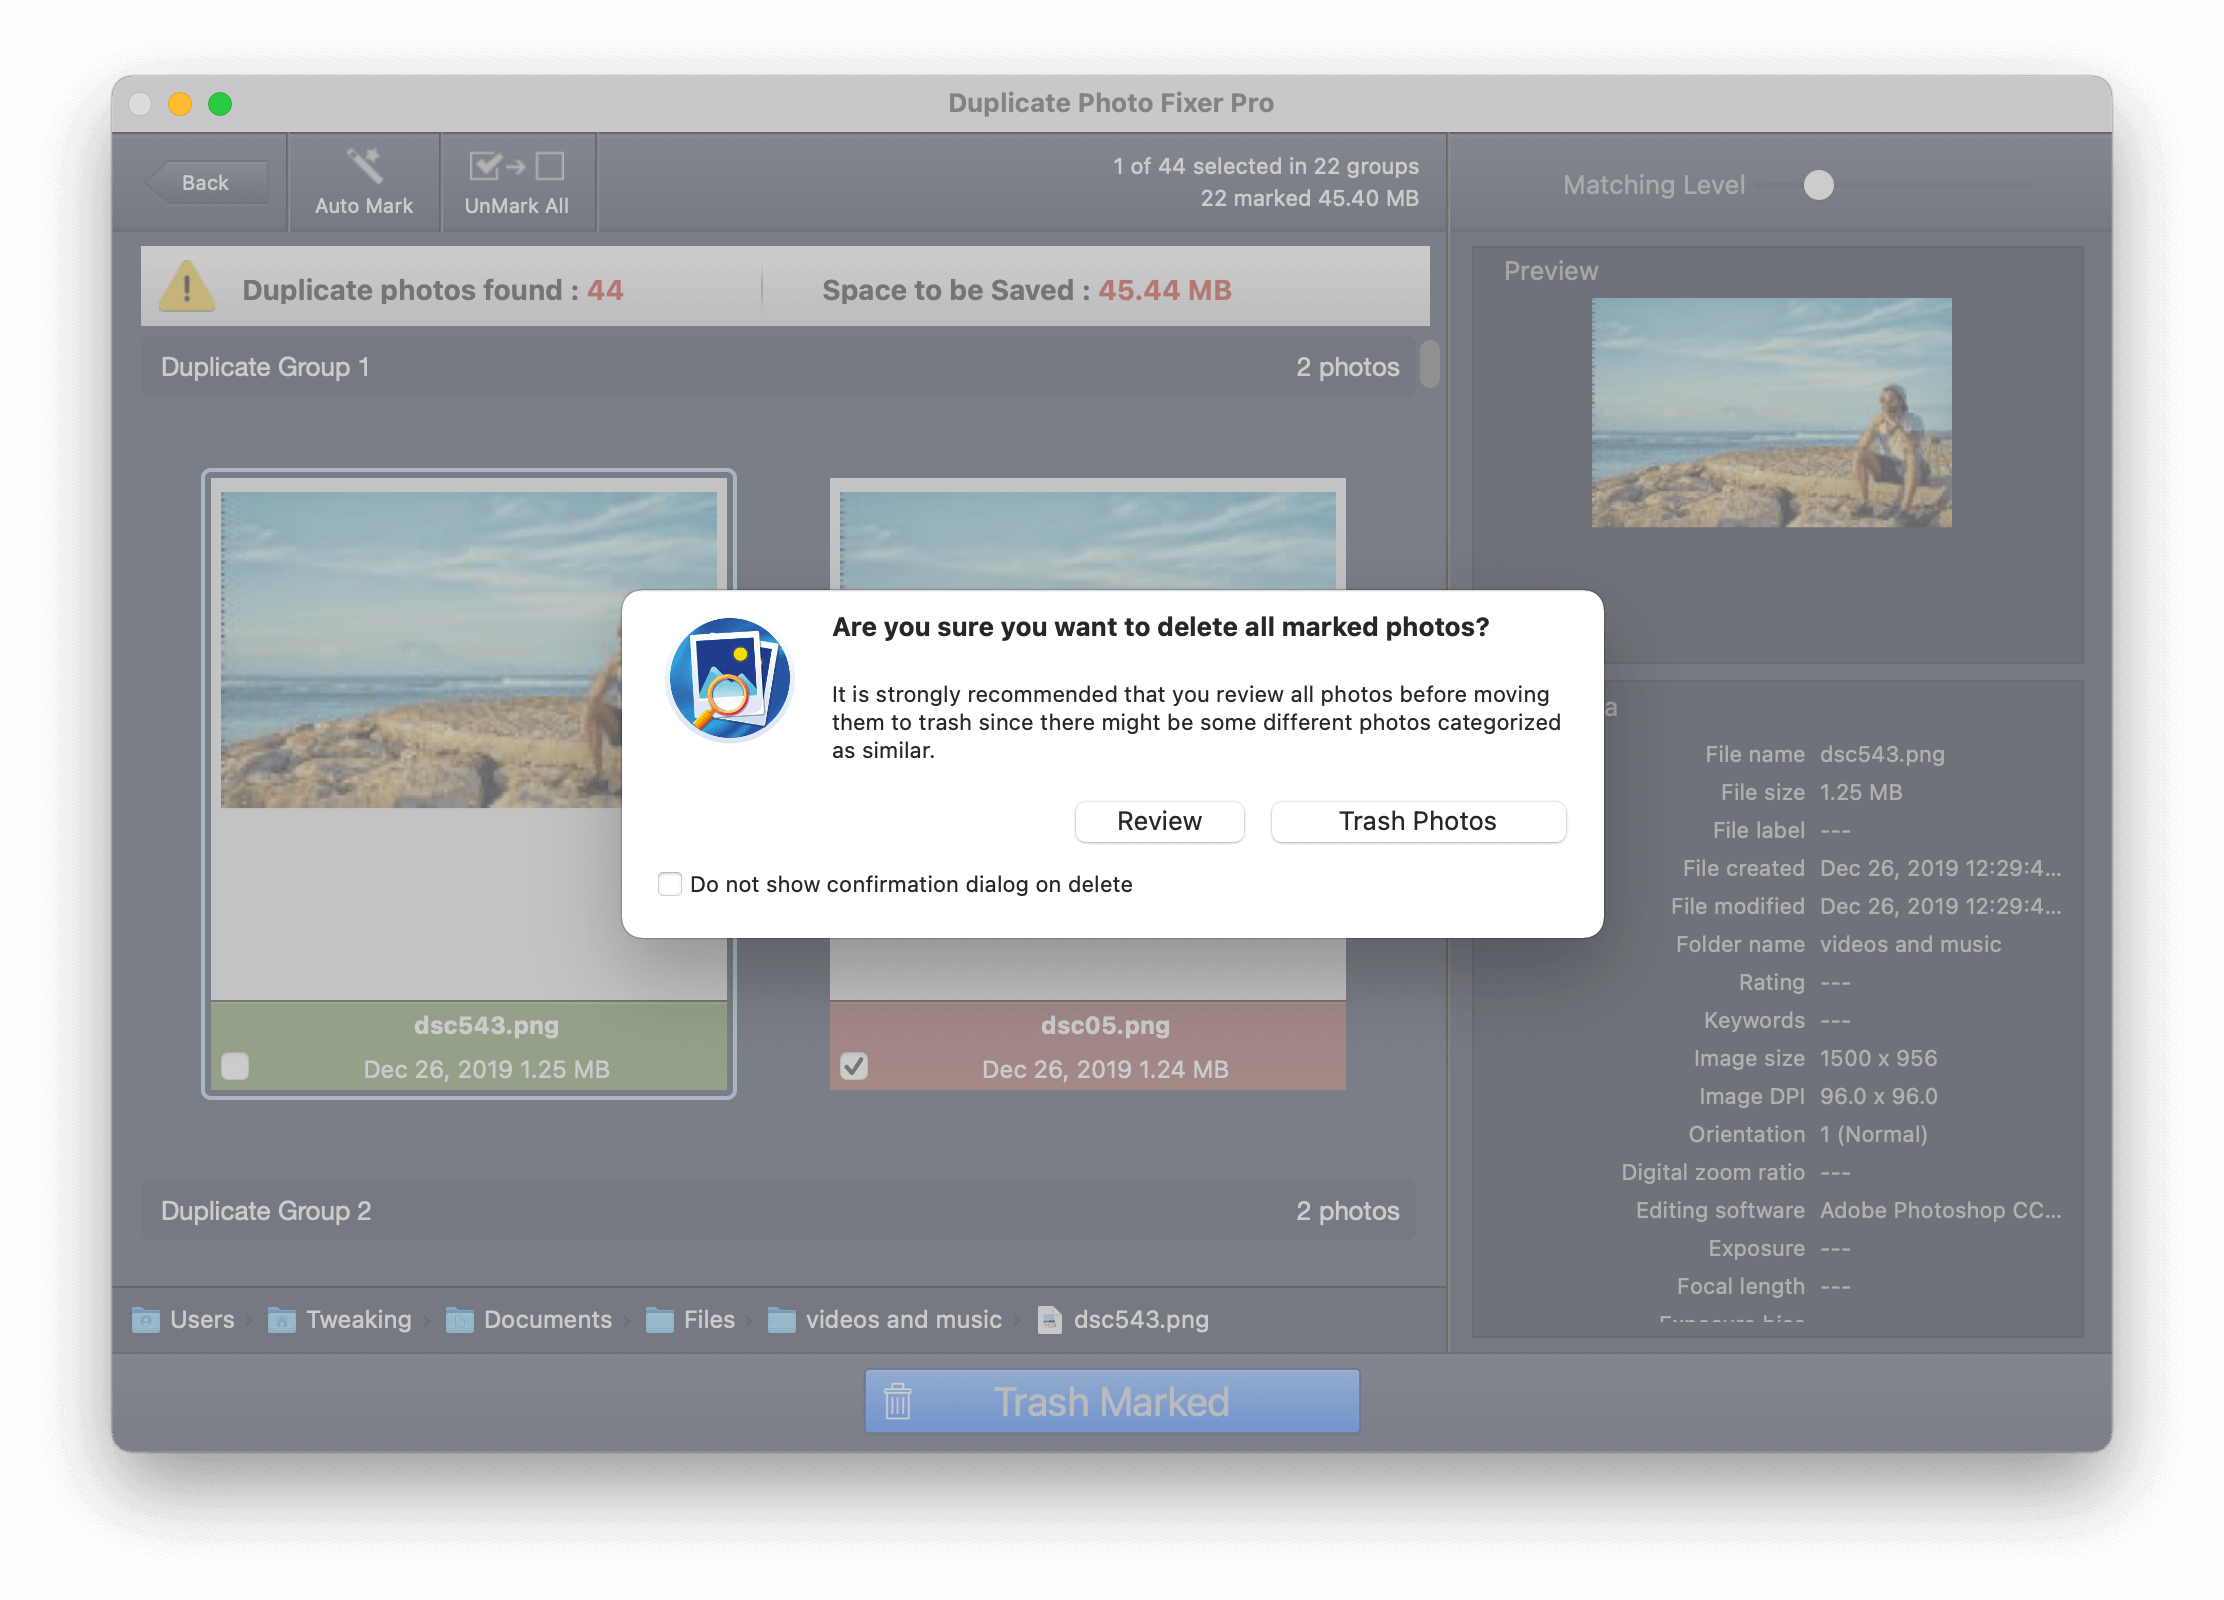
9. When you are sure of the image you want to delete click on the Trash Marked
Now, that you have the basics down, do read the several aspects of Duplicate Photos Fixer Pro for in-depth knowledge of how the various modules work.
2. The Several Aspects Of Duplicate Photos Fixer Pro For Mac
Here are the features of Duplicate Photos Fixer Pro which make it very simple for you to remove duplicate photos for Mac. Here we will have a look at some of the features/ modules of the tool in greater detail –
Also Read: How To Find Duplicate Images Both On Windows and Android
1. Scan all Images
- Filter out those images based on capture date, creation date, and images that have only been imported from the photos library
- Filter out images based on the time – Since the beginning, within the last 7 days, within the last 15 days, last month or last year
2. Scanning Criteria
Until there are two identical images – most duplicate photo finders do a fair job. But, things can get tricky when there are near-identical images when minor edits such as noise removal, minor cropping, format change, size compression, etc. have been performed. That is the time you need an advanced algorithm that can look at images from different perspectives. And, Duplicate Photos Fixer for Mac has just that algorithm.
- Exact Match: As the name suggests, this option helps remove duplicate images that are exactly identical to each other

- Similar Match: Things can get tougher when you have snapped images in succession at different time intervals, at different locations, or have made minor edits on an image using photo-editing software. In that scenario, Duplicate Photos Fixer further filters out near-identical images by exercising filters mentioned below –
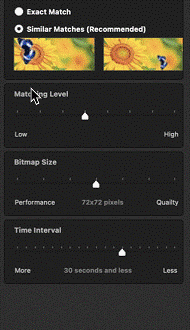
- Matching level: You can identify duplicates based on the similarity levels ranging from high similarity to low similarity levels.
- Bitmap Size: Here you can slide between performance and quality for more accurate results.
- Time Interval: This setting can come in handy in case you have taken two near-identical images but at different time periods.
- Location (GPS) settings: This setting checks the location coordinates of your photos and then on the basis of that identifies duplicates
3. Settings
The settings of Duplicate Photos Fixer Pro are highly customizable. The settings are broadly categorized into General, Filter & Sort, Auto Mark and Exclusions. To reach the settings –
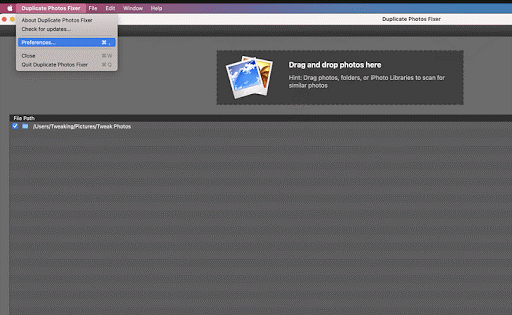
1. Click on Duplicate Photos Fixer from the bar present at the top
2. Click on Preferences
3. You will now have the settings in front of you
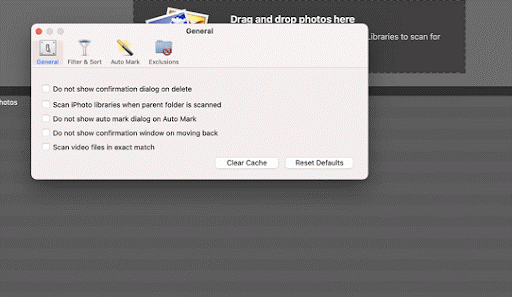
Let’s have a look at what each of the settings does –
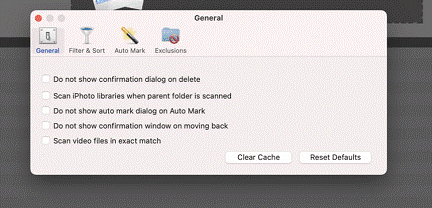
General: Choose whether or not you want the following things to appear
- Confirmation dialogue when deleting an image
- Auto-Mark dialog box
- Videos
- Also, choose to clear cache or reset settings to default
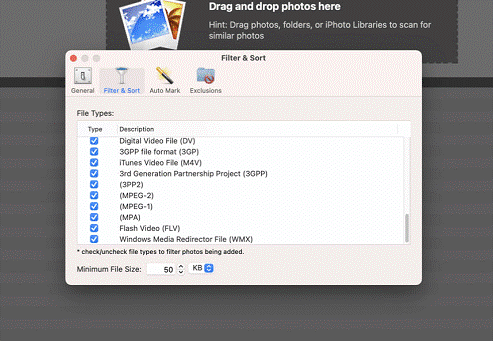
Filter & Sort: Filter and sort types and formats of images you want and don’t want in the scan
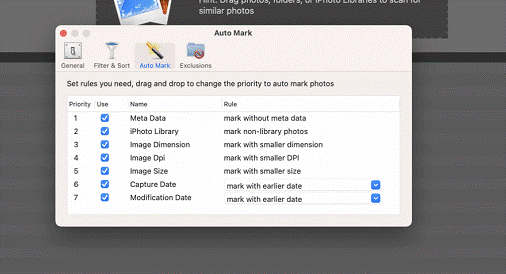
Auto Mark: Reorder auto marking priorities such as Meta Data, Image DPI, Image Size, etc. as shown in the screenshot below. When selecting/ deselecting the below-mentioned priorities, images will accordingly be auto-marked.
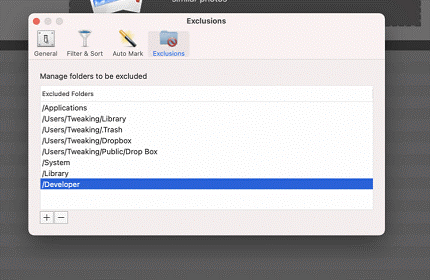
Exclusions: Fear deleting an important folder or photo, worry not! With these settings, you can exclude or add desired folders from scanning so you don’t accidentally delete or miss anything.
Wrapping Up:
Now, that you are armed with this powerful tool to delete duplicates on Mac, do give it a try and let us know if it has been able to fulfill your expectation and has helped scan and remove duplicate images from Mac. If you find the blog to be helpful, do give it a thumbs up and share it with your friends and family.
Recommended Readings:
How To Find And Delete Duplicate Photos Using Duplicate Photos Fixer
Here’s How to Sort Out Our Digital Photos on Windows


Leave a Reply