Windows 11 is getting a lot of love and admiration from its users. In any case, if you are planning to switch from Windows 10 to Windows 11, there is one option where you can enjoy the best of both worlds – you can dual boot Windows 10 and Windows 11. One way to do that is by setting up VMWare or any other virtual machine on your Windows system (something that we’ll keep for some other time) or you can instead dual boot Windows 11, right on your existing Windows 10 PC.
Prerequisites –
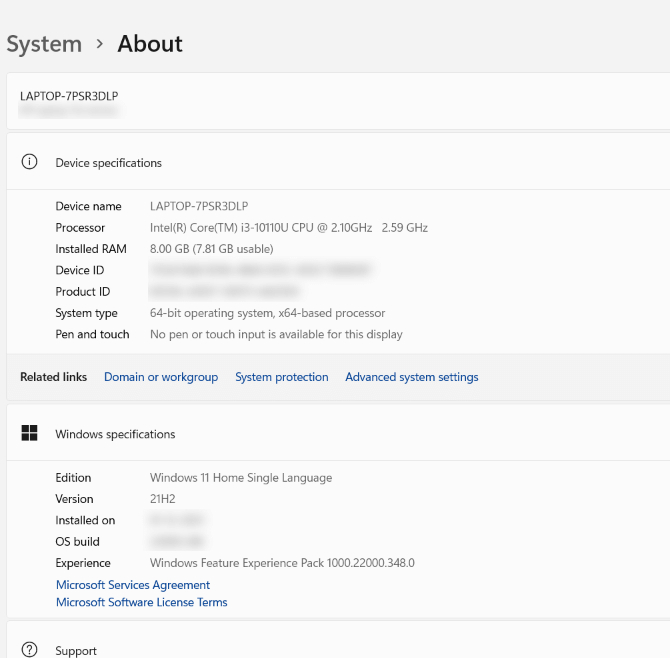
Here you are essentially checking whether your system is cut for Windows 11 or not.
Something That Might Intrigue You: Is 4GB Sufficient For Windows 11?
Before we start with the process of dual-booting Windows 10 and Windows 11, let’s get a few essential things ready –
- Stable internet connectivity
- USB flash drive, preferably 16 GB but, even an 8 GB flash drive should suffice
How To Dual Boot Windows 10 and Windows 11 on The Same System
Stage No.1: Create A Partition
When prepping up your computer to dual boot Windows 10 and Windows 11, one of the first things you should do is create a partition to house Windows 11.
Wait! Shouldn’t an existing partition do the trick? Let’s have a look at some pointers that substantiate the fact that a fresh partition is best for installing Windows 11 –
- The partition that you choose to install Windows 11 on should not have any existing running operating system
- Your chosen partition shouldn’t have any data because the installation will wipe off everything. Better back your data up before you shrink the partition
However, if you wish to shrink an existing partition, make sure that it has enough space to house not just Windows 11 but even the apps that you might want to install later. And, while you may take the route of Disk Management to create a partition, you can always count on a reliable third-party utility like MiniTool Partition Wizard. Here’s how you can create a new partition using MiniTool Partition Wizard –
1. Download, install and run MiniTool Partition Wizard

2. Select a non-system partition and then, from the left-hand pane click on Move/ Resize Partition
3. In the Window that pops up drag the slider to shrink down the partition, you have selected
4. Click on the OK button
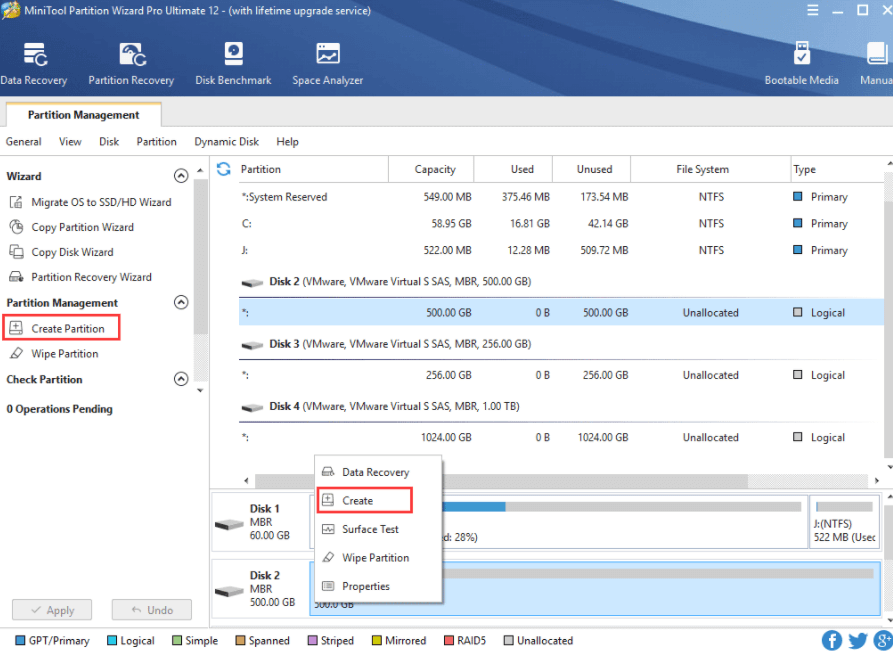
5. Right-click on the newly formed unallocated space and further click on Create to create a new partition
6. Next, in the Windows that follows, select file system type (preferably NTFS), size (considerably more than 64 GB), and location to set the new partition. Also, you need to ensure that the partition you have created for Windows 11 should be Primary and not Logical
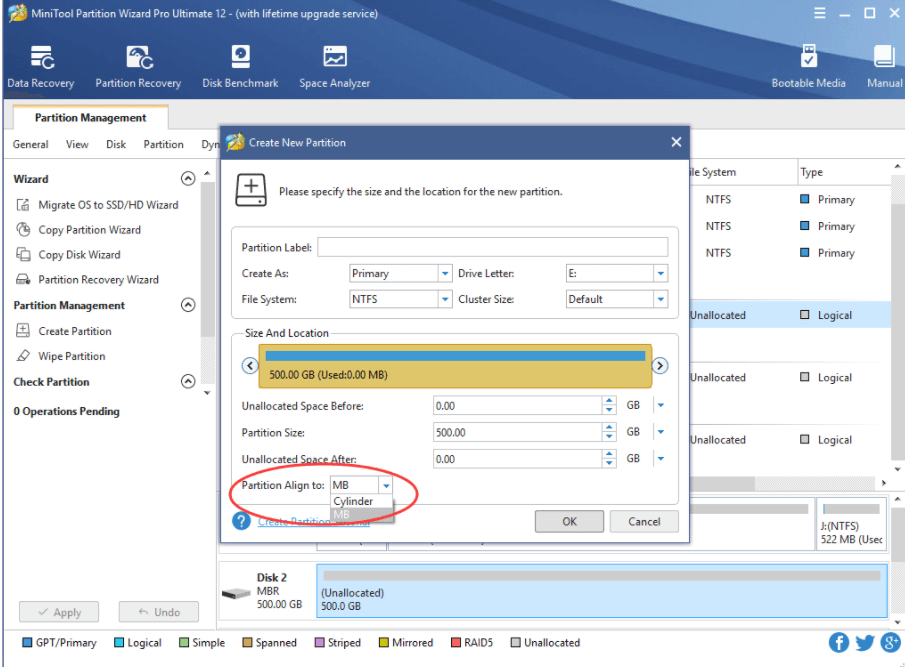
7. Click on OK
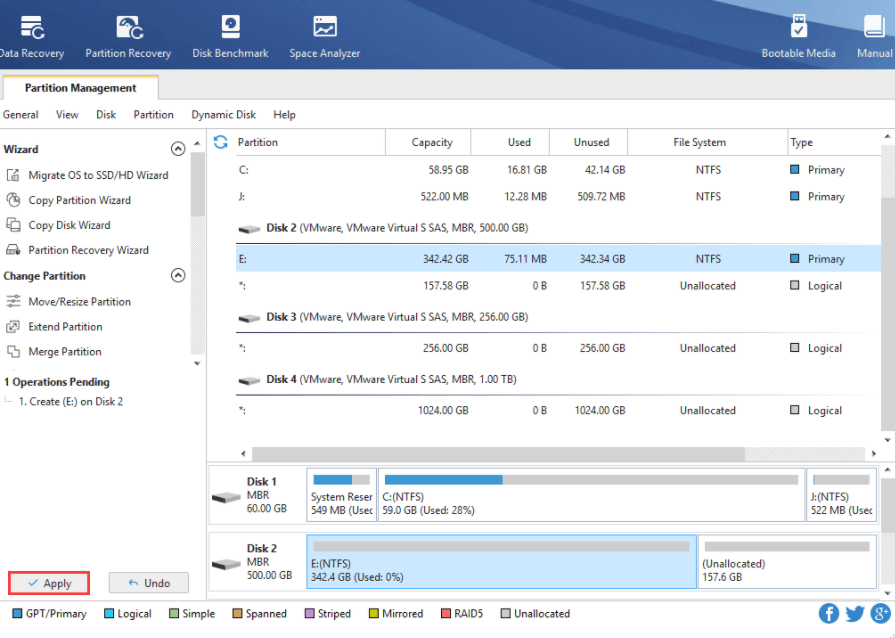
8. Click on Apply
Stage No.2: Creating Installation Media
Here we highly recommend that you use a USB flash drive that has advisably 16 GB space and no data on it.
1. Connect USB flash drive to your computer
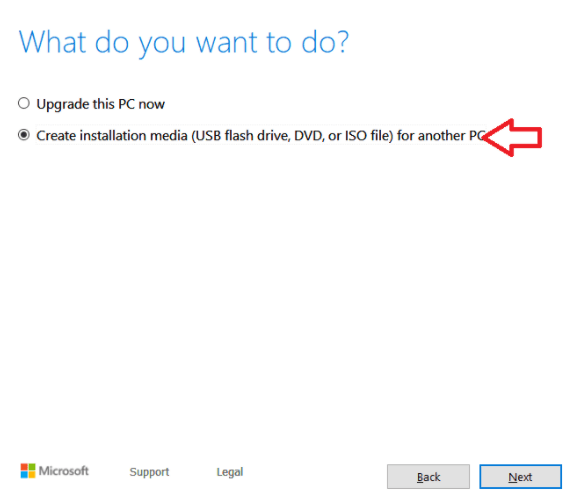
2. Download and run Windows Media Creation Tool
3. Select the USB flash drive option, followed by your USB flash drive. Wait for some time while the installation media is being created. Meanwhile, you can resume working on your computer
Stage No.3: Installing Windows 11
Now, that you have created the bootable drive, you are all set to install Windows 11. But, before that save all your existing work and shut your computer down.
1. Connect USB flash drive to your computer
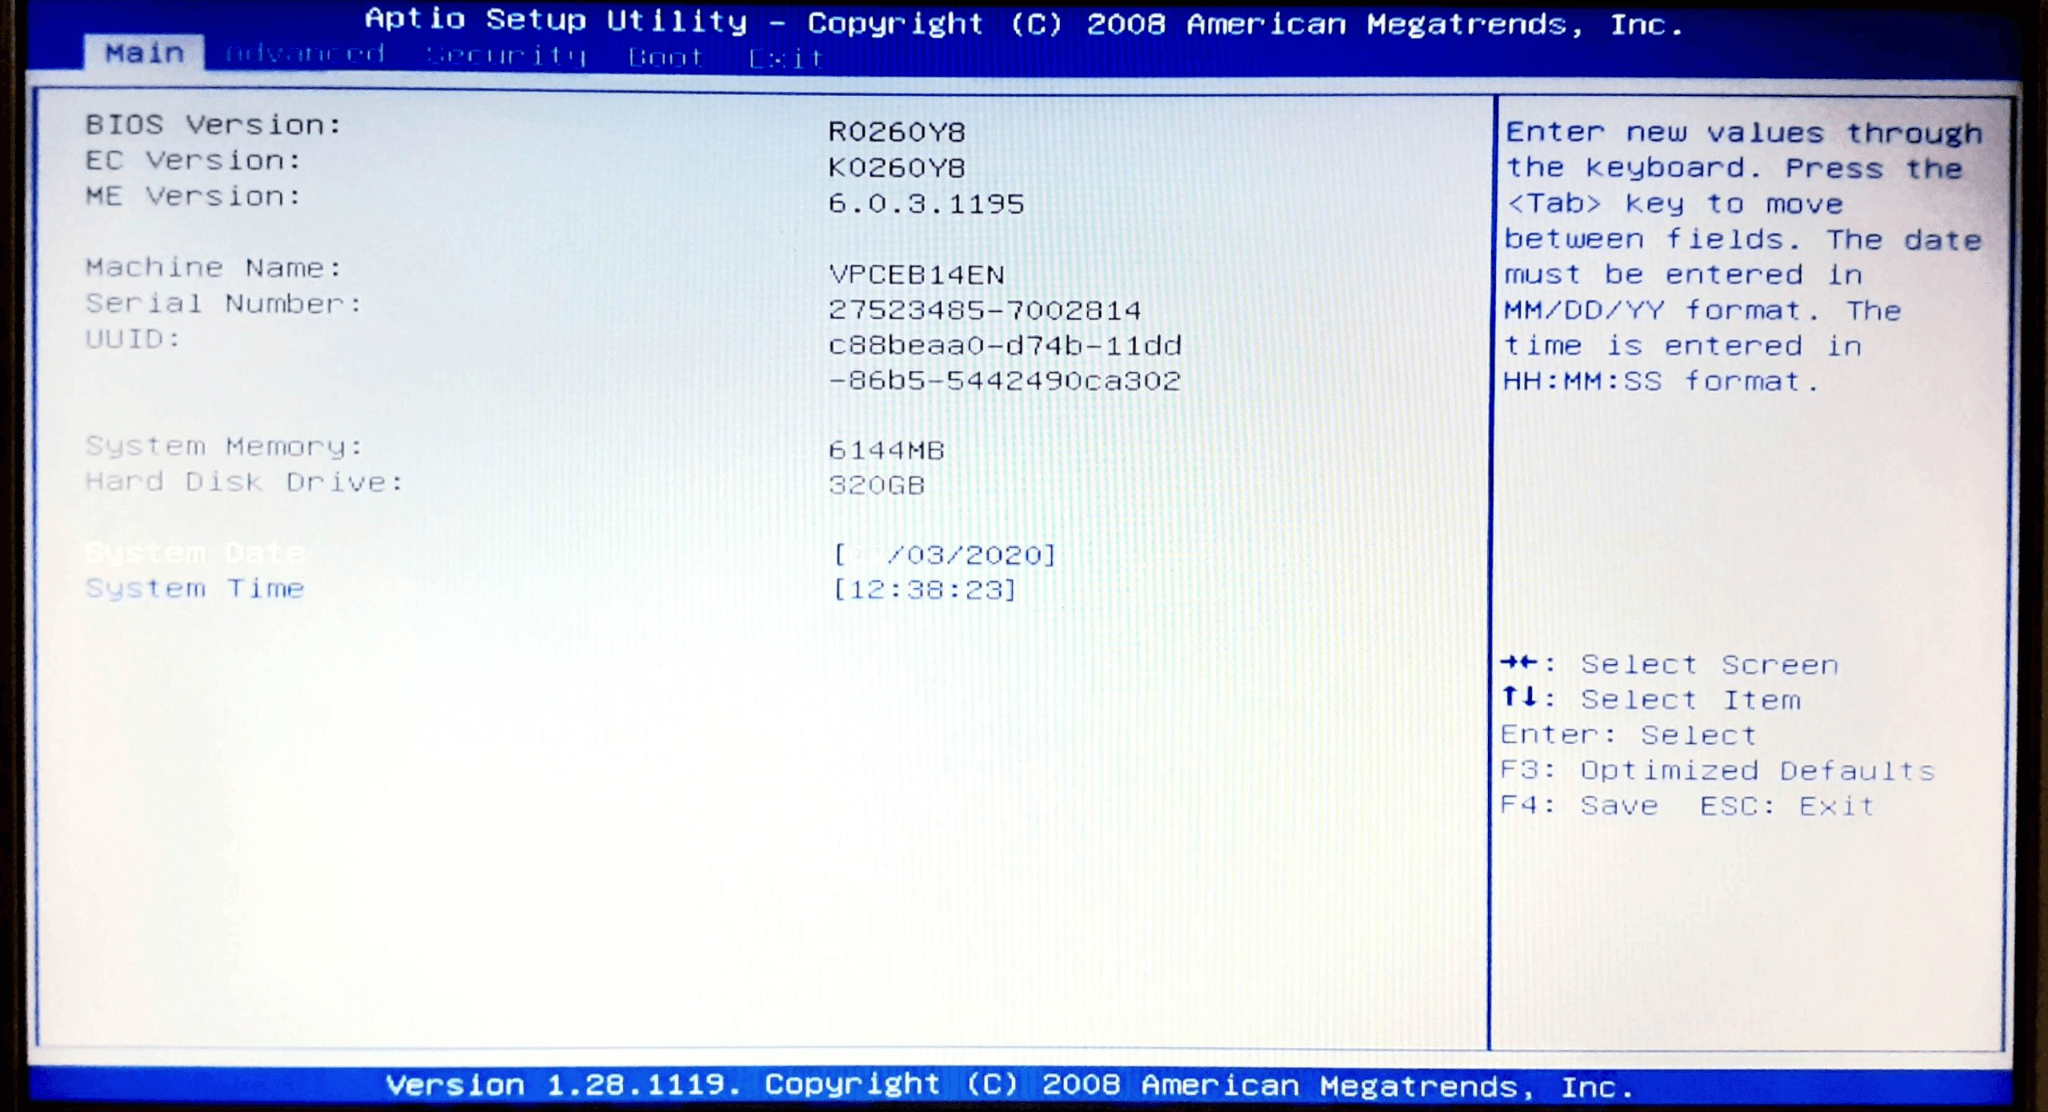
2. We’ll now be entering the computer’s BIOS. Different manufacturers have different ways to enter the BIOS. Depending on your manufacturer you can for instance, continuously press the F2 key
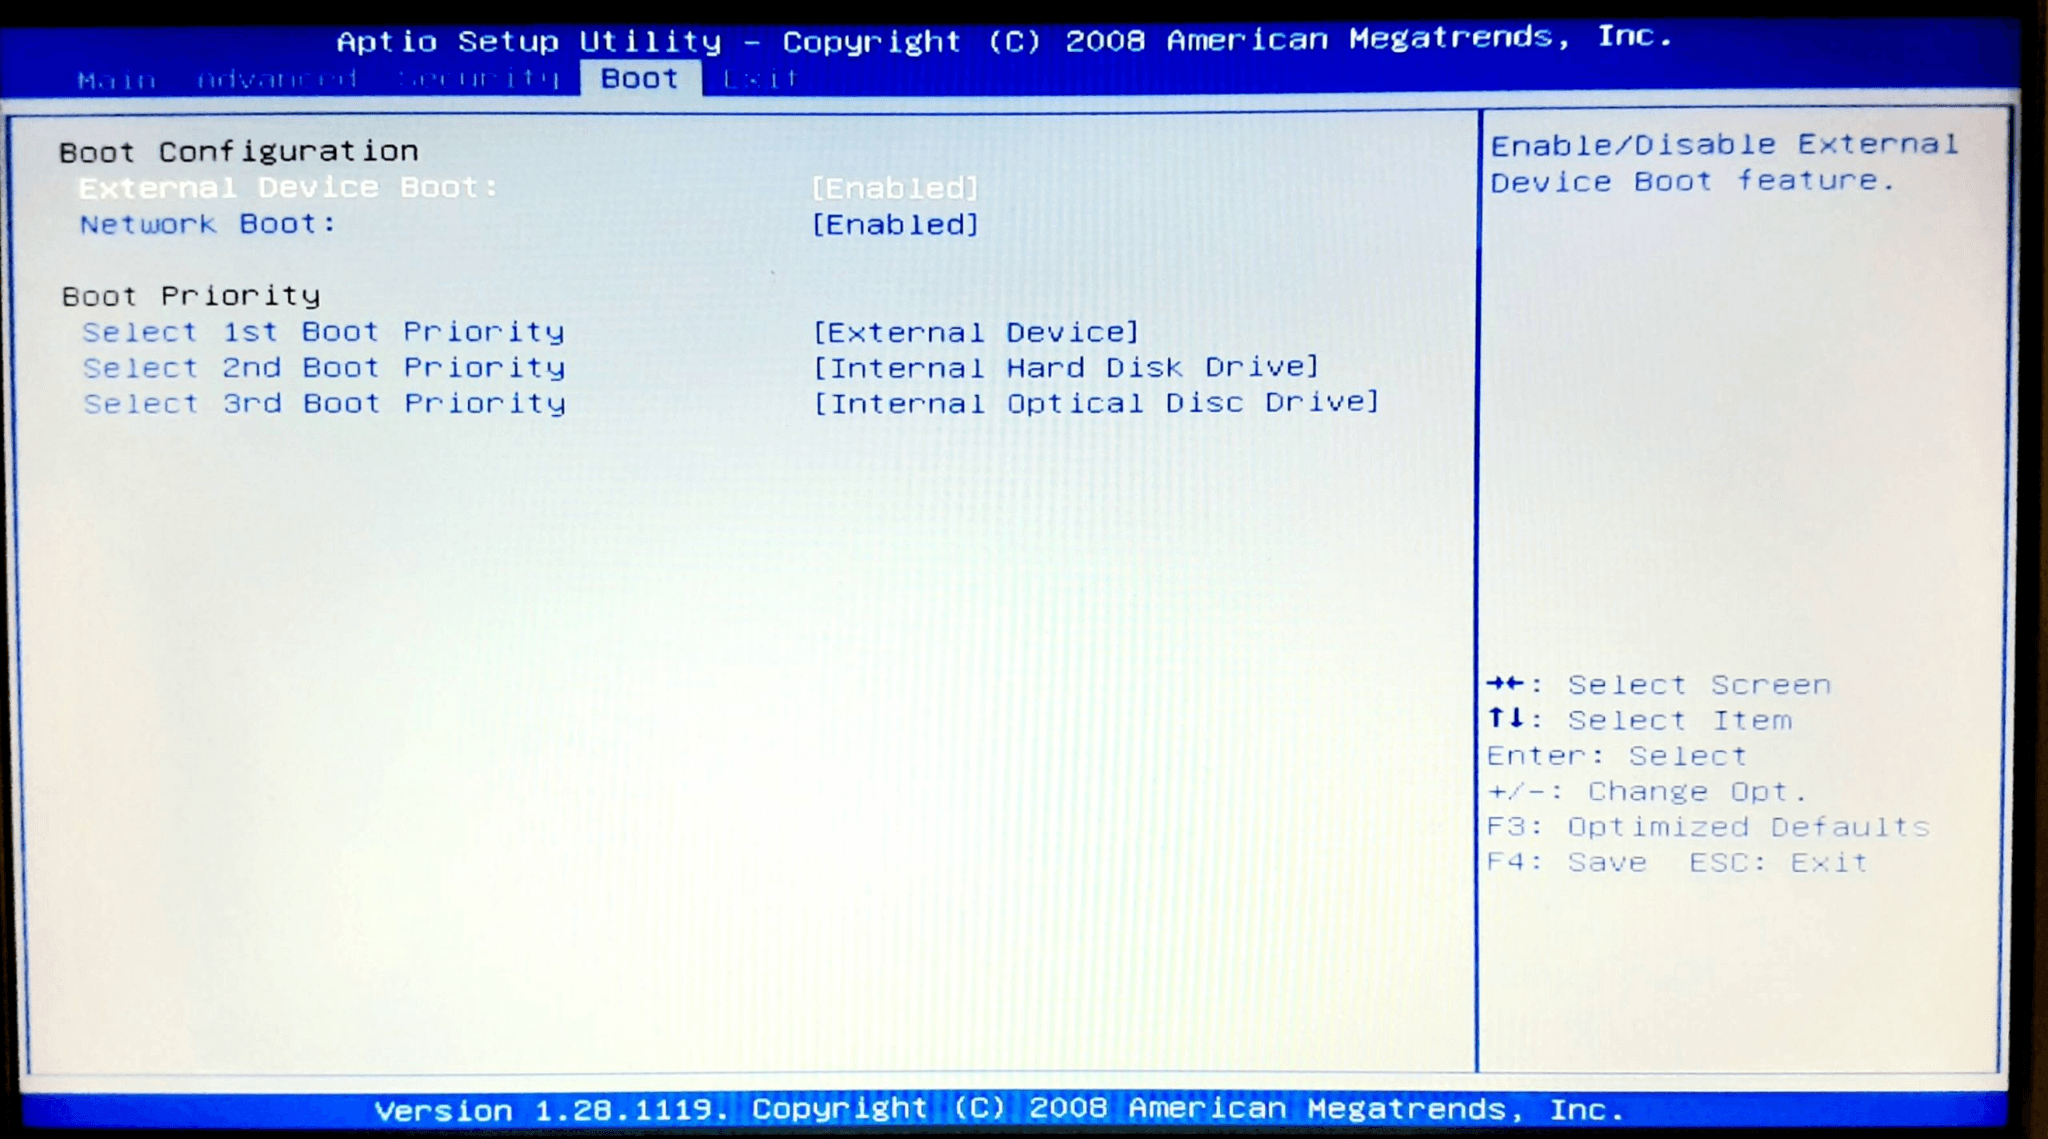
3. Once you are inside your BIOS settings, change the boot order. Here you will be keeping the USB drive that has Windows 11 first. Save and Exit
4. Now, you can boot or rather start the installation process
5. Follow the on-screen instructions and click on Next
6. If you don’t have the product key, select the I don’t have a product key option and then click on Install Now
7. Select Windows 11 version and then click on Next
8. Accept license terms and click Next
9. Select Custom: Install Windows only (advanced)
10. Now, select the partition for Windows 11. Remember the partition you had created in Stage No.1? Click on Next. Wait for Windows 11 to get installed on your computer
11. Follow the on-screen instructions to configure settings. Although, you can Skip this process, if you like personalization, don’t.
How To Set Windows 11 As Your Default Operating System?
After dual-booting Windows and Windows 11, every time your computer will boot up, you will be asked to choose an operating system. However, you can change the default operating system. For example, you can choose to run Windows 11 every time you power on your PC. To do that –
1. Press Windows + I keys to open Settings
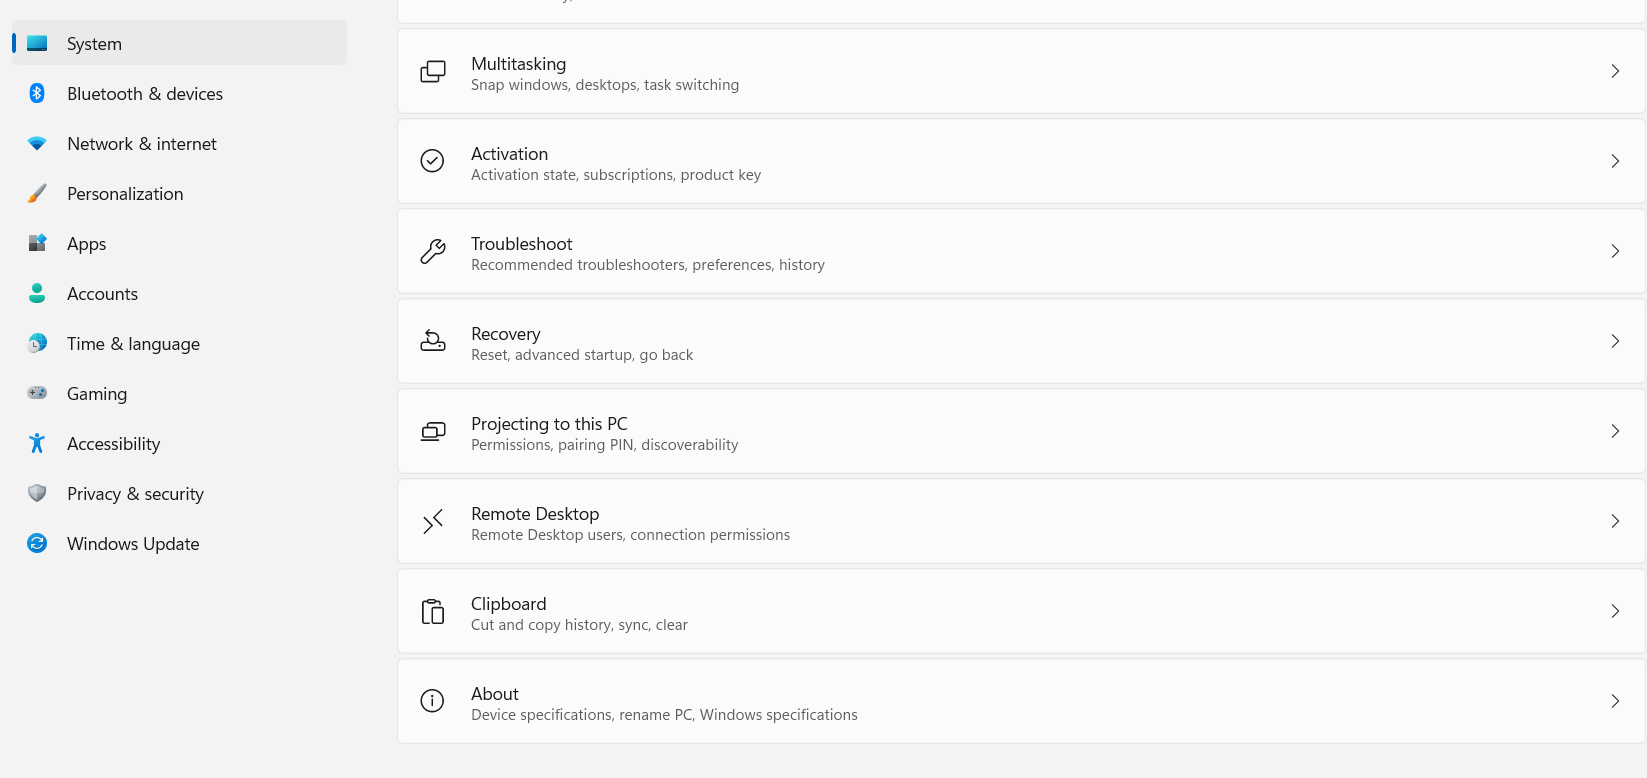
2. From the left-hand pane click on the first option that reads System
3. From the right-hand side, scroll down and click on About
4. Click on the hyperlinked Advanced system settings
5. When the System Properties window opens, click on the Settings under Startup and Recovery
6. Under System startup, select Windows 11 as your default operating system
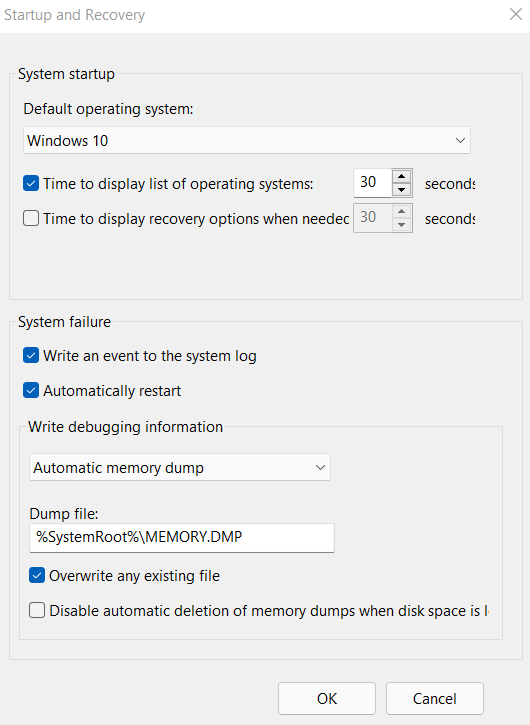
7. Click on OK
Why Dual Boot Windows 10 And Windows 11 On the Same PC?
If you have a slight spec of apprehension of whether or not to upgrade to Windows 11, you can choose to have both Windows 10 and Windows 11. Also, installing Windows 11 on a virtual machine first may consume a lot of memory and you might not be able to get an adequate experience.
That is out of the way – Do let us know if you were able to easily dual boot Windows 10 and 11 on your PC. And, more so, how was your experience?


Leave a Reply