Dropbox is the most convenient way of sharing or storing files, and it is very easy to access them. Indeed, Dropbox is the first cloud storage service offered for Mac. Despite it being the most convenient way to store and share files, sometimes users face issues when Dropbox takes space on Mac even when they have cleaned it. This leads us to believe that Dropbox uses a lot of space.
There are some tips you can do to keep your Dropbox clean and fix the “Dropbox still taking space on Mac” error easily. In this blog, I have covered how to fix “Dropbox still taking space on Mac”.
Introduction to Dropbox
Before moving to the solution, let’s know something about Dropbox.
Dropbox is generally a cloud storage service that offers us to store files and folders on the servers and access them from different devices like iPhone, iPad, Mac, and PC. Dropbox’s free version provides 2GB of space and a paid version provides more space along with additional features. Additionally, Dropbox also has a business version that comes with collaboration tools named Spaces.
How Does Dropbox Work?
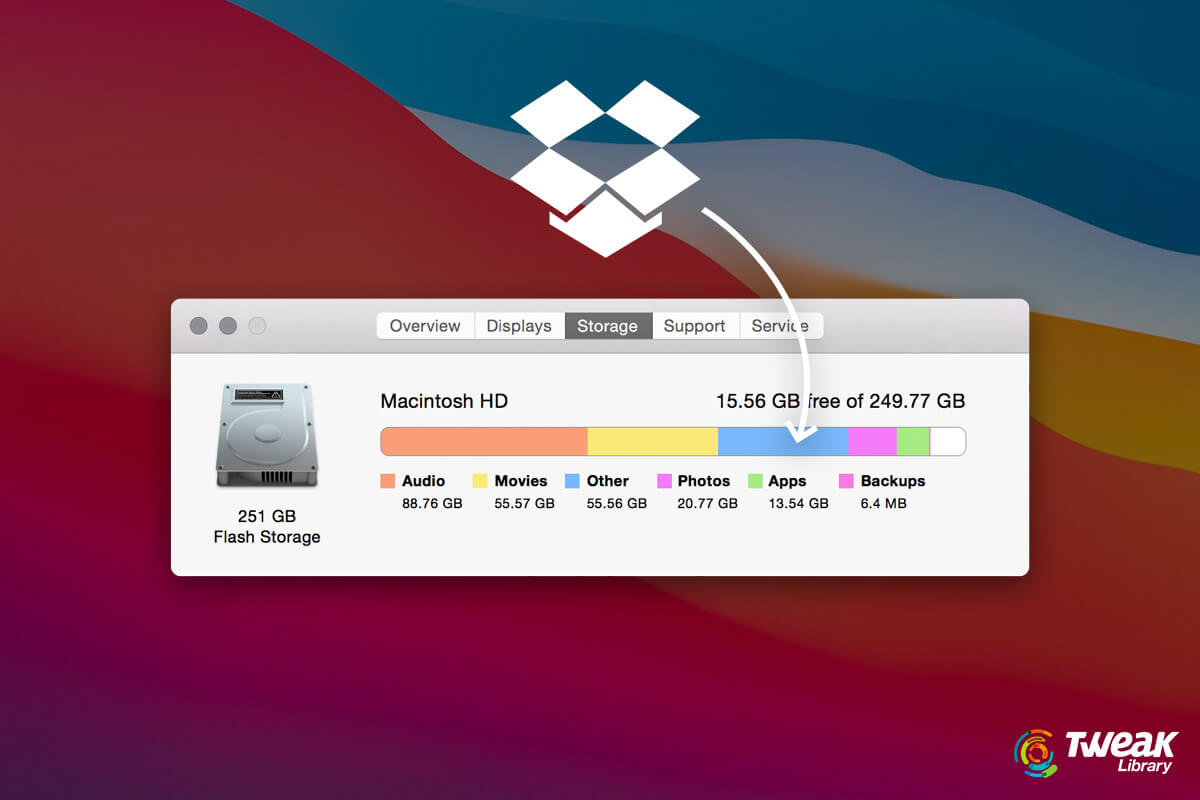
Whenever you install the Dropbox software on your Mac and try to connect it with your account, every file or folder you’ve placed is synced with Finder with Dropbox servers. It also gets available on other devices wherein you have signed up for your iCloud account. People think that storing files and folders on Dropbox clears up space on your Mac, which is completely wrong. The point is every file or folder on your Dropbox is mirrored on your SSD or hard drive which means that a version of your file or folder is already saved on your Mac and iCloud. Hence, if you have 2GG files on your Dropbox, it means you also have 2GB files on your Mac.
Also Read: How To Create Dropbox Account & Configure With Mail Client?
How to Clean Up the Space Dropbox Uses?
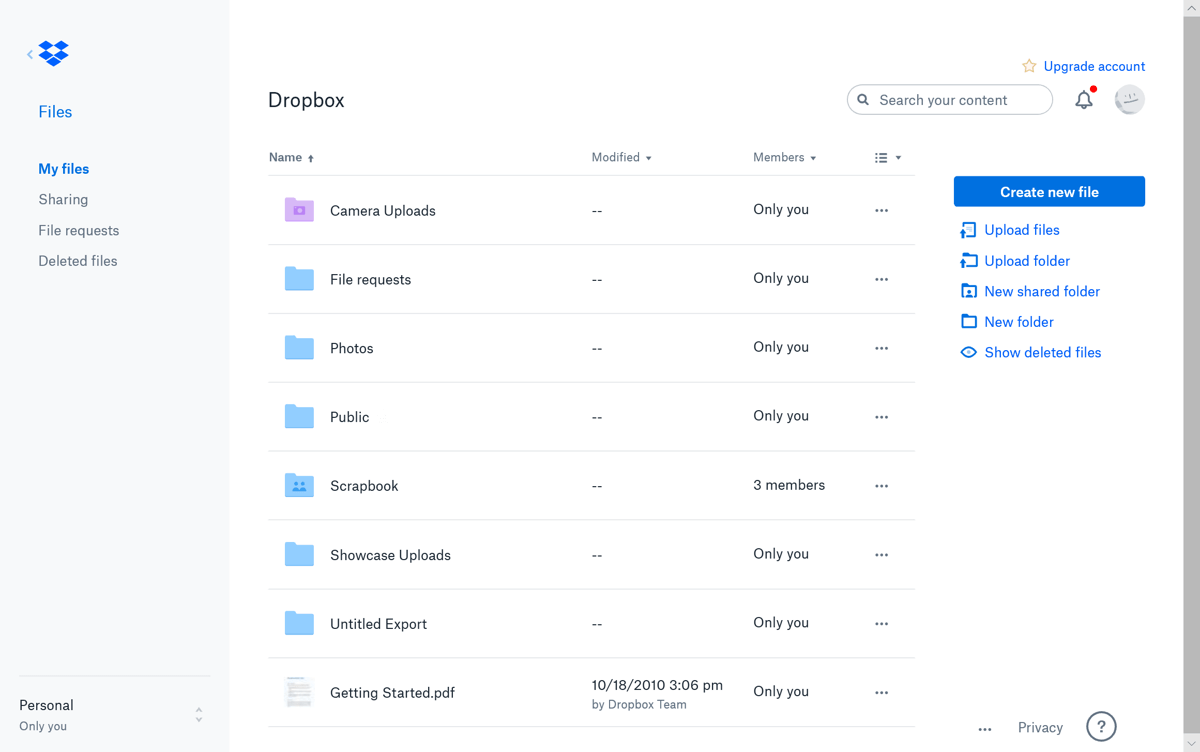
To clean up space on your Dropbox, you can take the help of a tool available in the Preferences named Selective Sync. A selective sync is a tool that will allow you to select folders for Dropbox with Mac. By taking this action, your files and folders will still be visible to you on Mac, however, you will have to download the files if you wish to use them or view them. To use Selective Sync, follow the below-mentioned steps:
- Open the Dropbox app from your Applications
- Now, click on the double arrow available at the bottom of the sidebar.
- Select Preferences and then go to Sync.
- Now, click on Folders.
- Uncheck the box present next to the files or folders you do not wish to be stored on your local device.
- Now, click on Update.
By doing this, Dropbox will remove the files or folders by saving space on the Mac. Selective Sync tool is available for free versions as well. The paid version has the Smart Sync tool which performs similarly.
You can also free up space on your Dropbox and your Mac by removing files or folders that are no longer of use. You can also archive such files or folders on an external USB stick or hard drive.
Also Read: How to move iTunes Library to Dropbox
How To Clear Dropbox Cache?
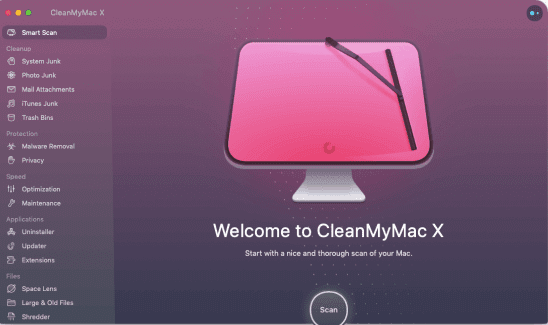
By clearing Dropbox caches, you can reduce the space. The best way to clear the Dropbox cache is by using a junk-removing app. CleanMyMac X is the perfect app for cleaning junk from your Mac. This app instantly detects large files from your macOS and deletes them. This app also removes language files that you no longer use and also removes log files and system cache files from your Mac. Also, CleanMyMac X is free. Follow below steps to use CleanMyMac X for clearing Dropbox cache:
Download CleanMyMac X

Complete Review on CleanMyMac X
- Download and launch CleanMyMac X.
- Select System Junk from the sidebar and press Scan.
- Now, click on User Cache Files and select Dropbox from the checkbox.
- Enter Clean.
You can also track your Dropbox folder by clicking on the small iMac icon available on the Menu bar. Furthermore, you can also check Mac Health from CleanMyMac X. you can also monitor from your Dropbox if it has space or not.
Always remember that moving files or folders to Dropbox does not clear up space on your Mac. Instead, the files and folders are mirrored in Mac and Dropbox. However, by following these steps and using CleanMyMac X you will be able to use Dropbox without any hassle as it will clear Dropbox caches instantly.
I hope this blog helps you to fix the “Dropbox taking space on mac” error. Comment down and share if you face any discrepancies during the process. For more such content, connect with us on all social media platforms.
Thanks for reading!
Next Readings:
How to Password Protect a Dropbox Folder?
Share Dropbox Folders On Different Devices
How To Clear Dropbox Cache in Windows & Mac OS


Leave a Reply